- Sesame app on
https://apps.apple.com/app/id1532692301/
- Sesame app on
https://testflight.apple.com/join/Rok4GOFD/
CANDY HOUSE Official Site
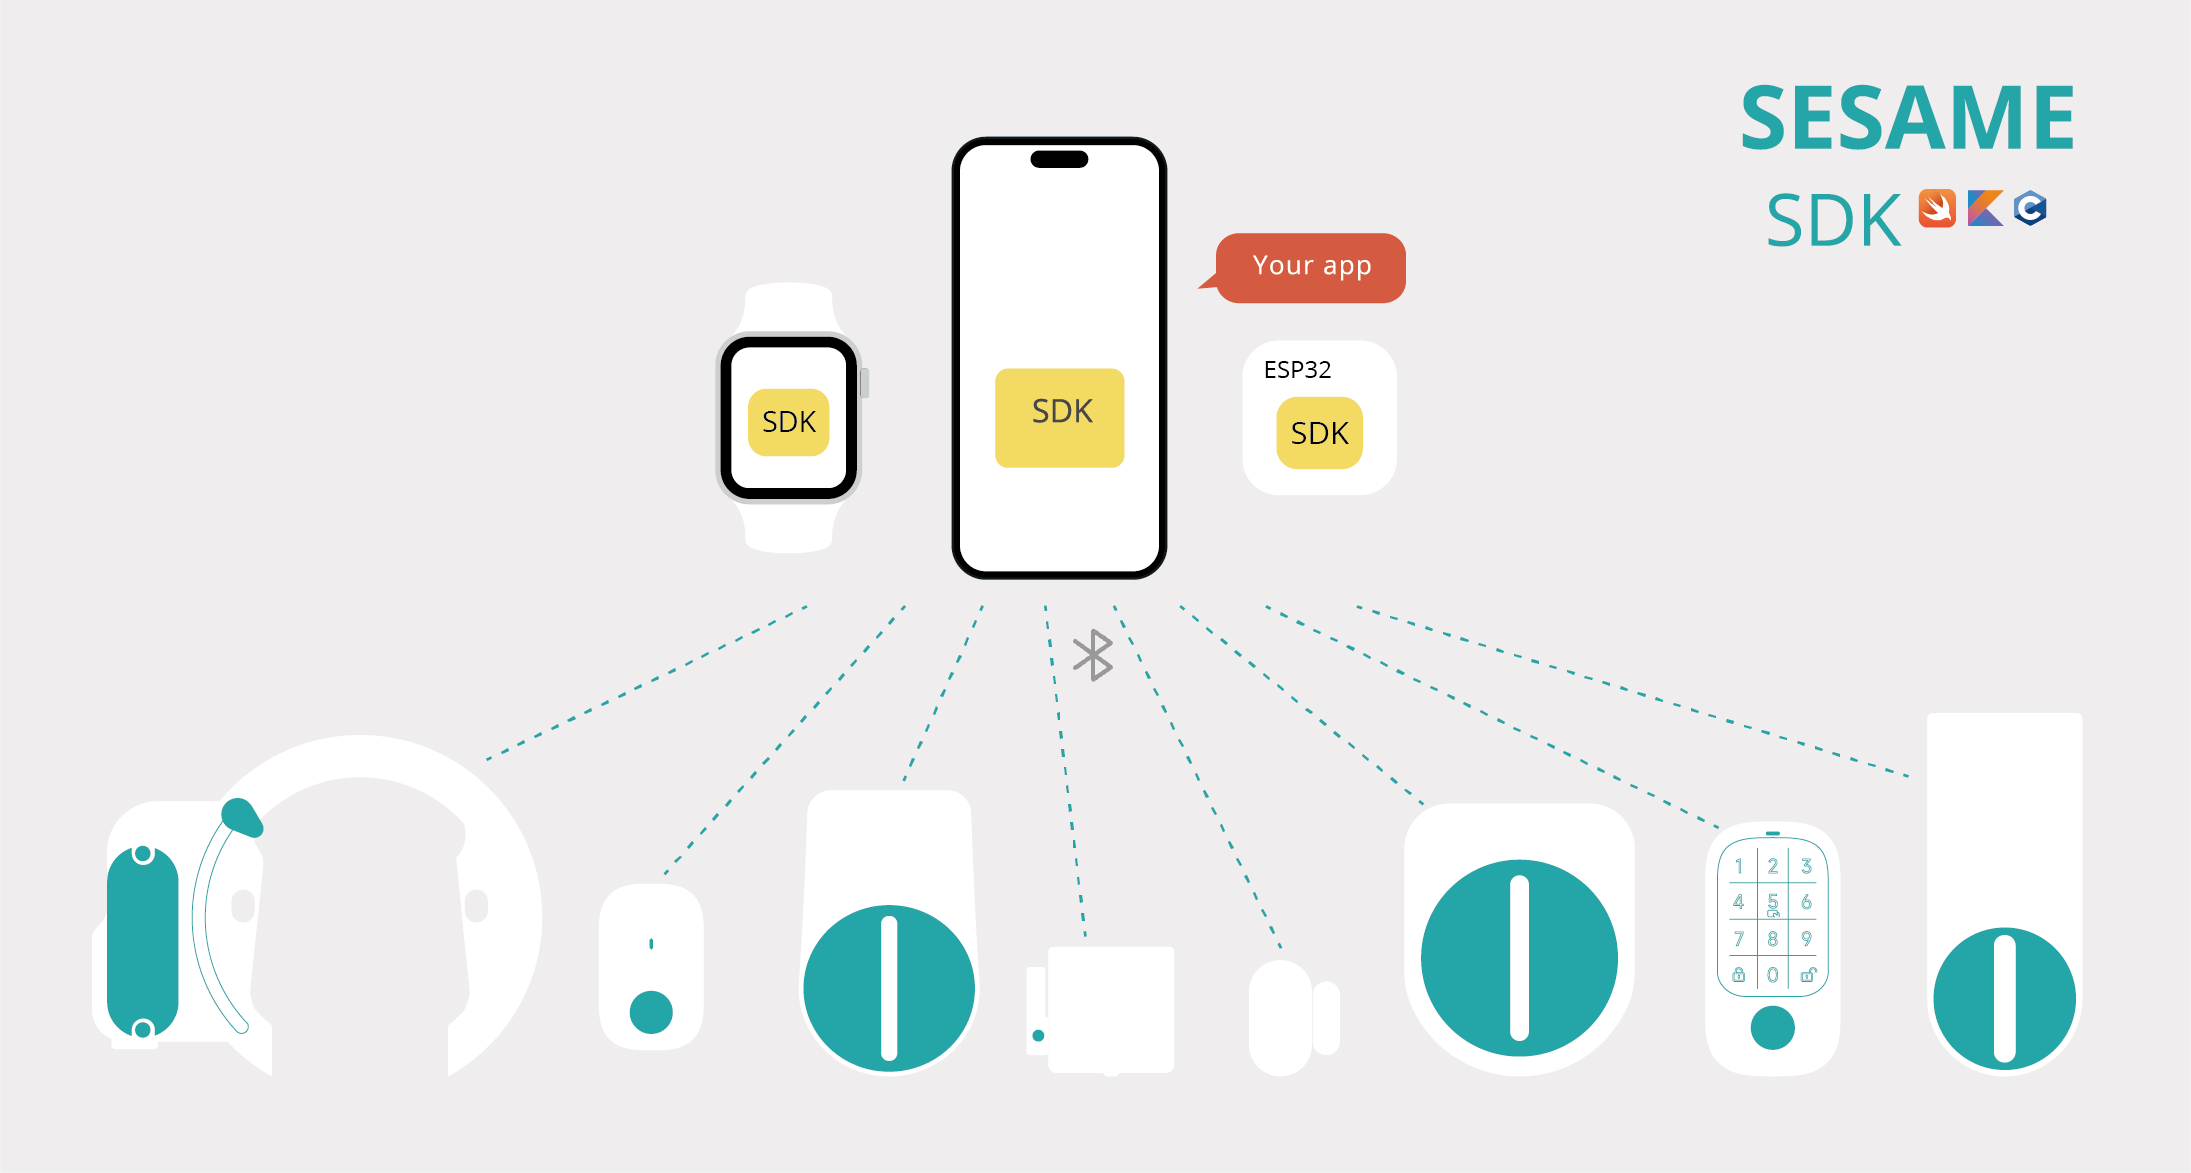
SesameSDK is an open-source, free, easy-to-use, and powerful Bluetooth/AIoT library for Apps on iOS/macOS/watchOS/iPadOS. The official Sesame application also uses this SesameSDK to build and realize all its features. Things you can do with SesameSDK:
- Register Sesame devices (Sesame 5, Sesame 5 pro, Sesame Bike2, BLE Connector1, Open Sensor1, Sesame Touch 1 Pro, Sesame Touch 1, Sesame Bot1, WIFI Module2, Sesame 4, Sesame 3, Sesame Bike1)
- Lock, unlock, or operate
- Obtain historical records
- Update SesameOS over the air(OTA)
- Various device settings
- Get battery level
Swift Package Manager is a tool for managing the distribution of Swift code. It integrates with the Swift build system to automatically carry out the process of downloading, compiling, and linking dependencies. To integrate SesameSDK into your Xcode project using Swift Package Manager:
dependencies: [
    .package(url: "https://github.com/CANDY-HOUSE/SesameSDK_iOS_with_DemoApp.git", .branch("master"))
]
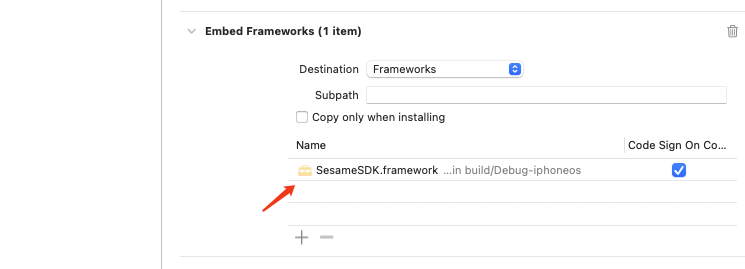
If you don't want to use any dependency manager, you can manually integrate SesameSDK into your project.

<key>NSBluetoothAlwaysUsageDescription</key>
<string>To connect Sesame Smart Lock and lock/unlock the door.</string>
<key>NSBluetoothPeripheralUsageDescription</key>
<string>This app would like to make data available to nearby bluetooth devices even when you're not using the app.</string>
Please start the Bluetooth scan at the appropriate time
CHBluetoothCenter.shared.enableScan { res in }
Callback when the Bluetooth status changes
public protocol CHBleStatusDelegate: AnyObject {
    func didScanChange(status: CHScanStatus)
}
The list of scanned Sesame devices will be passed back to the caller at a frequency of once per second.
public protocol CHBleManagerDelegate: AnyObject {
    func didDiscoverUnRegisteredCHDevices(_ devices: [CHDevice])
}
Before establishing a connection, you should first confirm that the device's status is connectable
if sesame5.deviceStatus == .receivedBle() {
    sesame5.connect() { _ in }
}
At this point, you will receive the Sesame device's connection status callback
public protocol CHDeviceStatusDelegate: AnyObject {
    func onBleDeviceStatusChanged(device: CHDevice, status: CHDeviceStatus, shadowStatus: CHDeviceStatus?)
    func onMechStatus(device: CHDevice)
}
When the connection status changes to ready to register, you can register the device to complete the pairing. Registration is a necessary step to bind the device
if device.deviceStatus == .readyToRegister() {
    device.register( _ in )
}
After registration, you can get paired devices through the CHDeviceManager
var chDevices = [CHDevice]()
CHDeviceManager.shared.getCHDevices { result in
    if case let .success(devices) = result {
        chDevices = devices.data
    }
}
After completing the registration and pairing, you can now control the Sesame device via Bluetooth
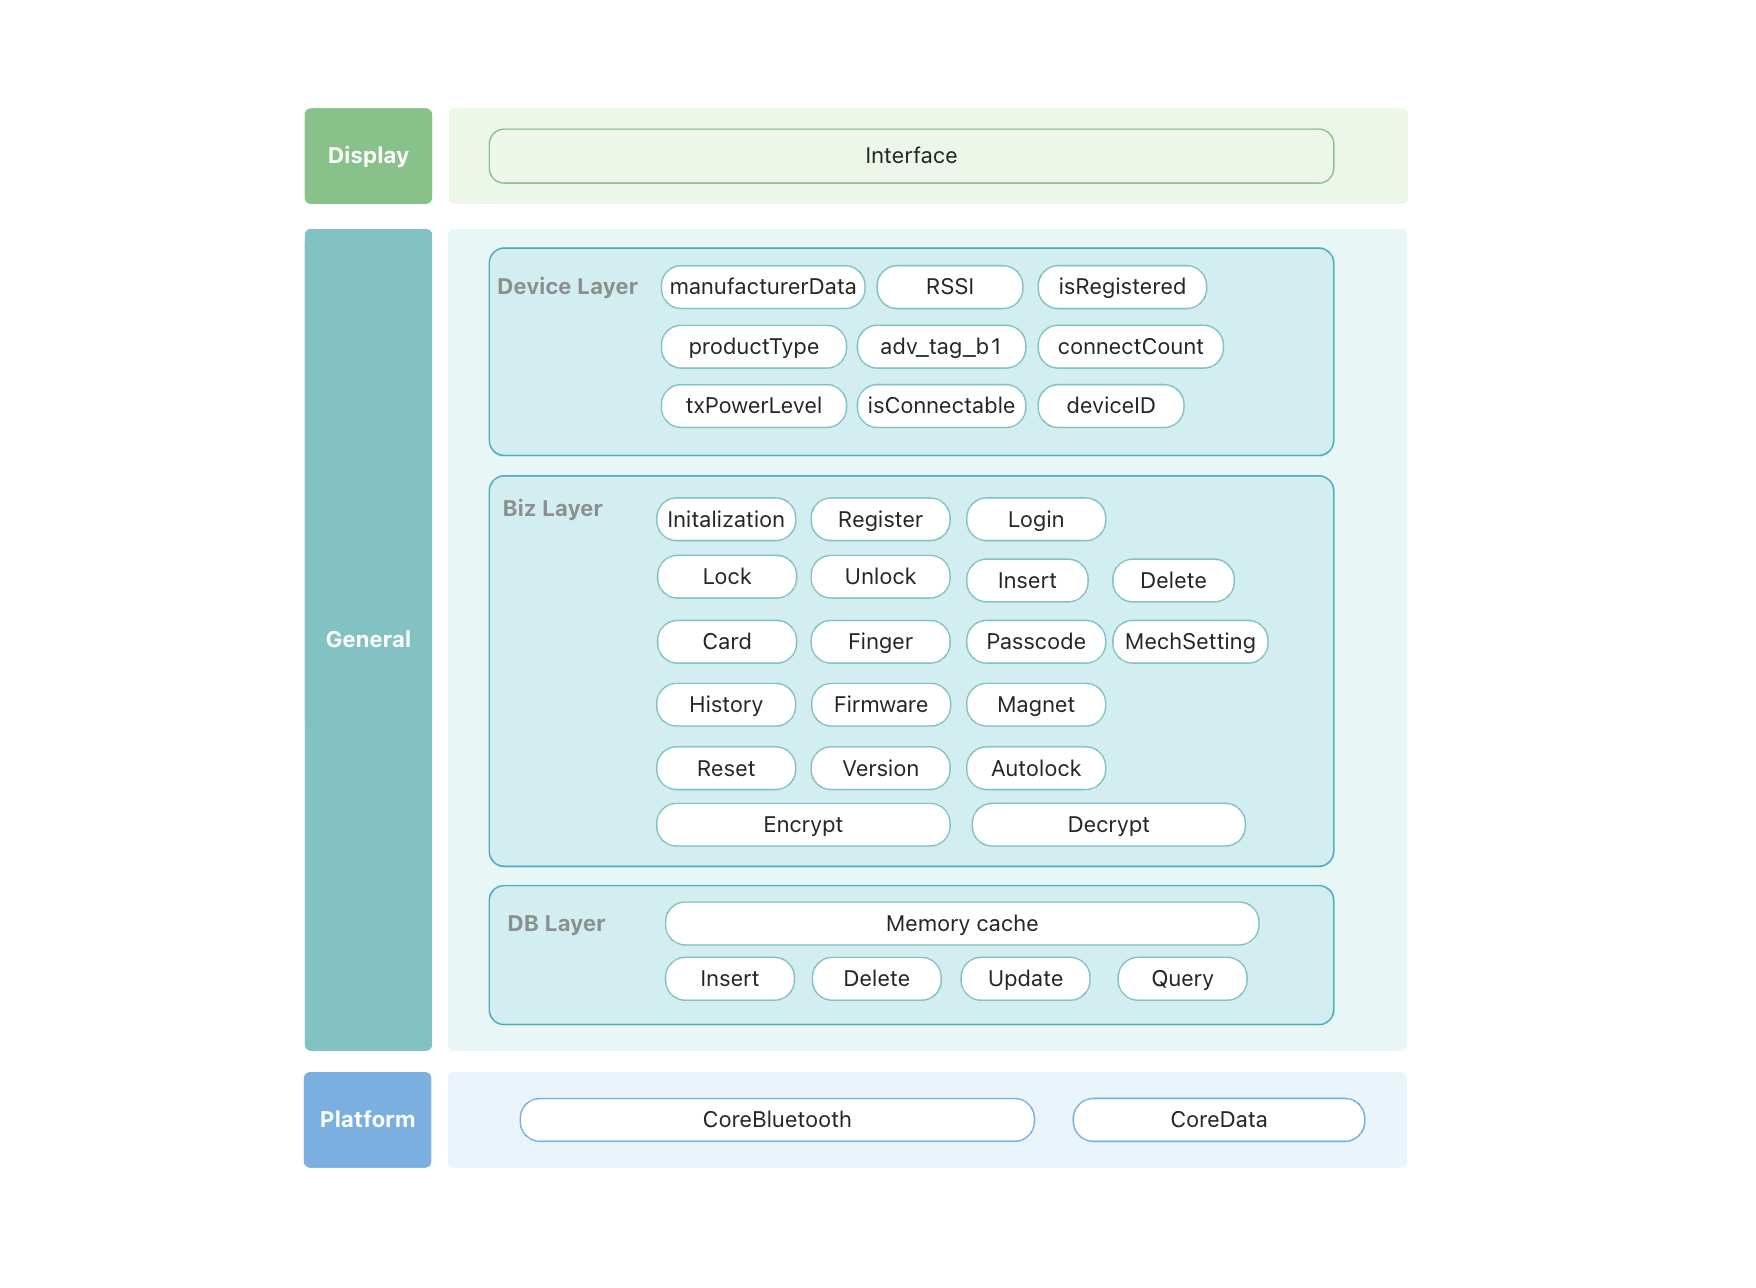
Regarding the design details of SesameSDK, please refer to the following design diagrams and flowcharts.


