A pytorch implementation is available on https://github.com/Purkialo/CrowdDet now.
This is the MegEngine implementation of our paper "Detection in Crowded Scenes: One Proposal, Multiple Predictions", https://arxiv.org/abs/2003.09163, published in CVPR 2020.
Our method aiming at detecting highly-overlapped instances in crowded scenes.
The key of our approach is to let each proposal predict a set of instances that might be highly overlapped rather than a single one in previous proposal-based frameworks. With this scheme, the predictions of nearby proposals are expected to infer the same set of instances, rather than distinguishing individuals, which is much easy to be learned. Equipped with new techniques such as EMD Loss and Set NMS, our detector can effectively handle the difficulty of detecting highly overlapped objects.
The network structure and results are shown here:


If you use the code in your research, please cite:
@InProceedings{Chu_2020_CVPR,
author = {Chu, Xuangeng and Zheng, Anlin and Zhang, Xiangyu and Sun, Jian},
title = {Detection in Crowded Scenes: One Proposal, Multiple Predictions},
booktitle = {Proceedings of the IEEE/CVF Conference on Computer Vision and Pattern Recognition (CVPR)},
month = {June},
year = {2020}
}
-
Requirements:
- python3.6.9, MegEngine 0.3.1, cuda10.0
-
CrowdHuman data:
- CrowdHuman is a benchmark dataset to better evaluate detectors in crowd scenarios. The dataset can be downloaded from http://www.crowdhuman.org/. The path of the dataset is set in
config.py.
- CrowdHuman is a benchmark dataset to better evaluate detectors in crowd scenarios. The dataset can be downloaded from http://www.crowdhuman.org/. The path of the dataset is set in
-
Compile gpu_nms library:
cd lib/layers sh ./setup.sh- Please note that in some environments you may need to modify setup.sh!
-
Inference (GPU required):
cd model/emd_simple
python3 inference.py -r path/to/meg_emd_simple.pkl -i ../../assets/running_1.jpg
you will get
result.jpglike this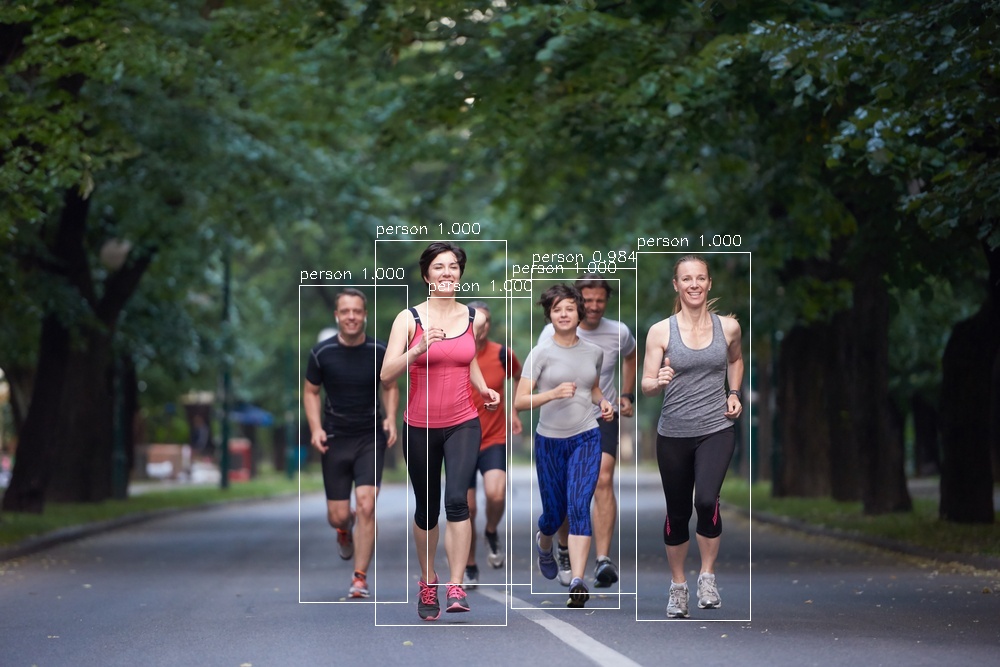
-
Steps to train and test:
- Step1: training. More training and testing settings can be set in
config.py.
python3 train.py- Step2: testing. If you have multiple GPUs, you can use
-d 2to use more GPUs.
python3 test.py -r 30- Step3: evaluating.
python3 .evaluate/compute_APMR.py --detfile ./model/crowd_emd_simple/outputs/eval_dump/dump-30.json --target_key 'box' python3 .evaluate/compute_JI.py --detfile ./model/crowd_emd_simple/outputs/eval_dump/dump-30.json --target_key 'box' - Step1: training. More training and testing settings can be set in

We use pre-trained model from MegEngine ModelHub: https://data.megengine.org.cn/models/weights/resnet50_fbaug_76254_4e14b7d1.pkl. (or resnet50_fbaug_76254_4e14b7d1.pkl)
All models are based on ResNet-50 FPN.
| AP | MR | JI | Model | |
|---|---|---|---|---|
| FPN Baseline | 0.8662 | 0.4227 | 0.7957 | meg_fpn_baseline.pkl |
| EMD Simple | 0.8996 | 0.4171 | 0.8223 | meg_emd_simple.pkl |
| EMD with RM | 0.9034 | 0.4110 | 0.8273 | meg_emd_refine.pkl |
| Cascade FPN Baseline | 0.8624 | 0.4016 | 0.8037 | meg_cas_fpn.pkl |
| Cascade EMD Simple | 0.9064 | 0.3865 | 0.8392 | meg_cas_emd.pkl |
If you have any questions, please do not hesitate to contact Xuangeng Chu (xg_chu@pku.edu.cn).