Logistics Wizard / Deploy / logistics-wizard-toolchain
This toolchain deploys the Logistics Wizard sample application. Logistics Wizard is a supply chain management web application composed of several micro-services. Refer to the Logistics Wizard home page for more information.
The toolchain is preconfigured to provide:
- issue tracking
- source control
- continuous delivery and integration (CI/CD)
- unit and code coverage testing
- blue-green deployment
- Ensure you have a GitHub account.
- Ensure you have an IBM Cloud account.
- Ensure you have 2GB of free memory and space for 4 additional services in your IBM Cloud organization.
- It is recommended to create a new space named
logistics-wizardin your organization. This helps grouping the apps and services together in the console. - To create the toolchain, click this button:
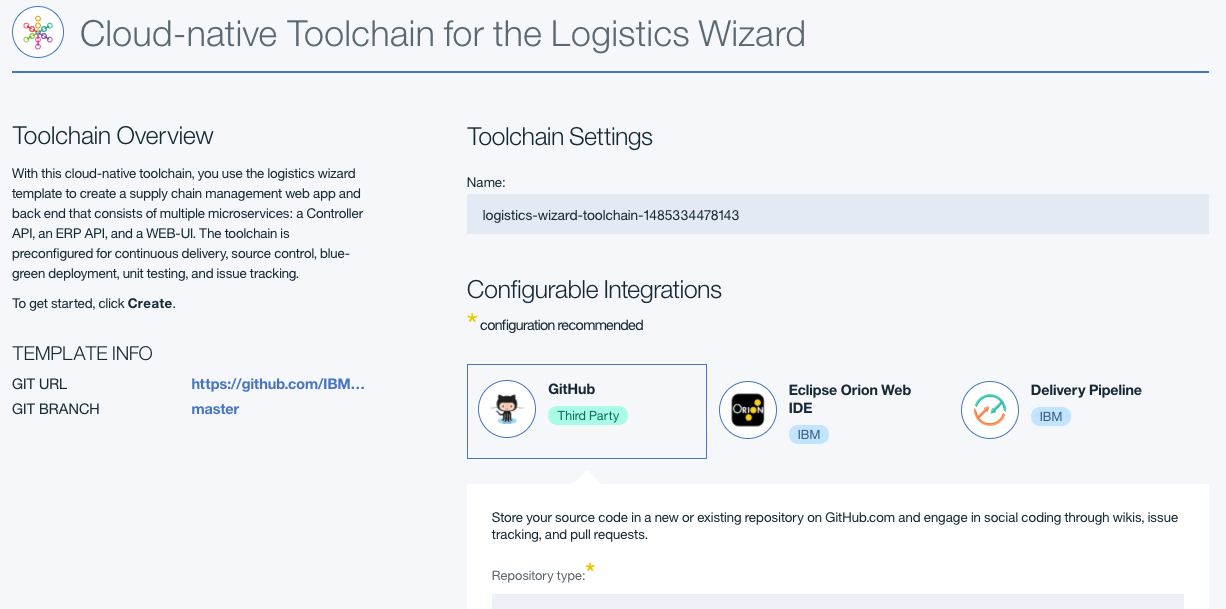
After clicking the deployment button, the toolchain's configuration page is shown.
- Provide a name Toolchain name. This name is used as the prefix for the deployed applications. The name must be unique within your organization.
- Under Tool Integrations select the GitHub tab.
- Choose to either Clone or Fork the Logistics Wizard's GitHub repositories.
- Optionally change the GitHub Repository Names that will be created in your GitHub account.
- Select the Delivery Pipeline tab.
- Ensure the App Name for each microservice is unique.
- Select the Cloud Foundry Region, Organization and Space where you want to deploy the application.
- Paste your IBM Cloud Platform API key into the corresponding textbox. If you do not have an existing API key, create on using the
ibmcloud iam api-key-create <name>command. Record the API key in a safe place; it will be shown only once after the command completes. - The coveralls tokens remain empty. (These are used for IBM development.)
- Click the Create button.
Once the toolchain is created, several delivery pipelines corresponding to the microservices will also be created. Upon creation, the pipelines will automatically begin.
- Select each Delivery Pipeline to ensure no failures have occurred.
- Once all pipelines have successfully completed, visit the walkthrough for a tour of Logistics Wizard.
⚠️ If any Deploy or Test stages fail because you are already using the Lite plan for Cloudant databases, edit the stage properties and change the environment variableCLOUDANT_SERVICE_PLANfromLitetoStandard.

