A collection of Material presets for the GFS/GMD Blender Importer. These materials are useful only in the case of importing into the game.
Please read through the entire readme, as just downloading this with even basic Blender knowledge and applying them won't work.
- General Presets for Skin, Clothes, and Hair
- Gold and Metal Presets
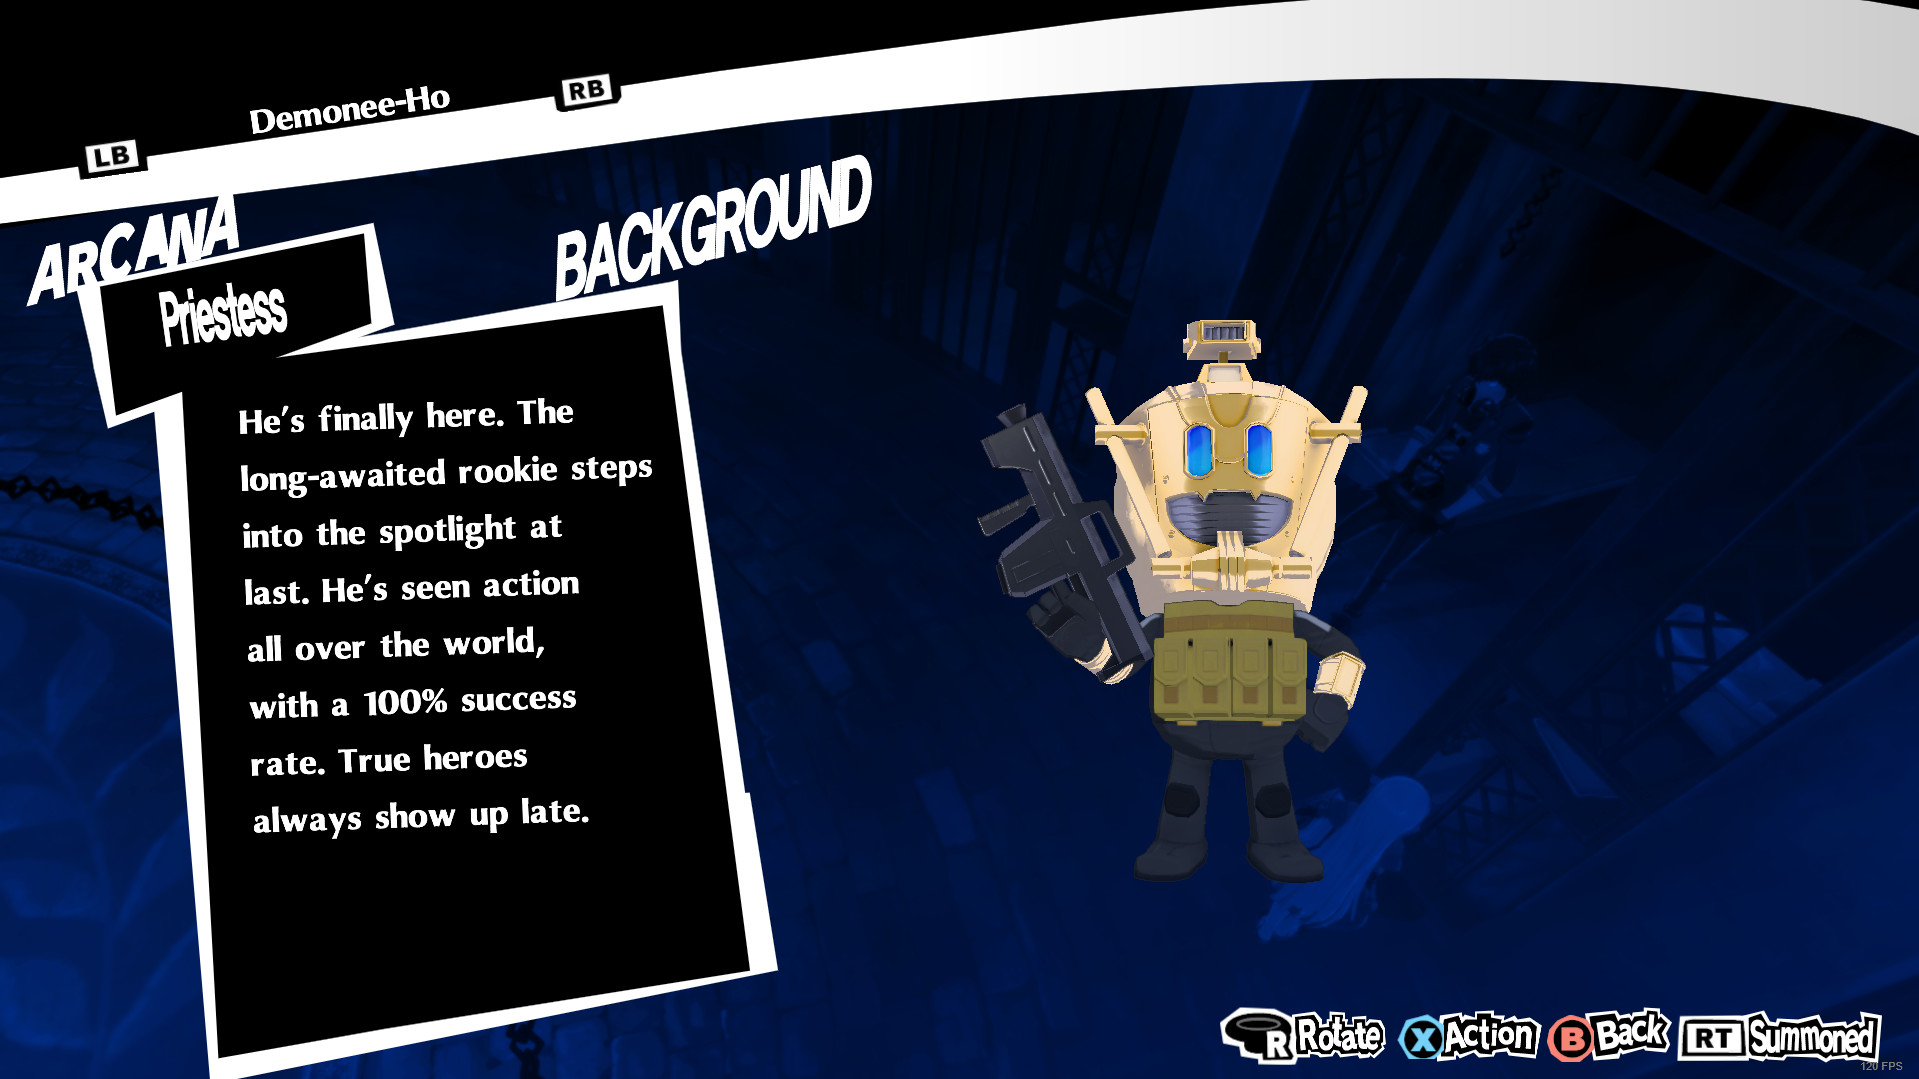
- (Summoned) Persona Preset
- P3D, 4D, and 5D Default Preset
A quick rundown of how to use these.
MAKE SURE YOU HAVE THE GFS/GMD BLENDER PLUGIN
Download the gfd and blend file by clicking the Green "code" button then download as zip. Unzip the file and open the .blend in blender.
Once you open the blend, you should see the armature with the uv balls inside it.
You then want to nagivate to the meshes, and then the material tab
Then right click on the material and click "mark as asset"
Do this to each material you want, there is one material per uv sphere.
Once you've marked the assets you want, open the asset library in blender.
Now make a new category, you can get as creative as you want with this. For instance you could make multiple for different scenarios if you plan on expanding your own preset library. So a "metal," "character," "clothes," "reflective," etc. To keep it simple though, I'll just be making a "gfd" category to add the materials too.
Now go back to "unassigned," then click and drag to select all your materials, dragging them into your new category.
Now you want to click "save as" and save this new blend.
You want to save this blend in your asset library folder, if you don't know where it is, or don't have one. Go to Edits --> Preferences --> File Paths
Now that you have your materials in your asset library, you need to know how to actually properly apply them.
First up is to import your model. Once you do that identify the mesh you're going to be slapping your material onto. Once you do, click it, then go into the shading tab. Inside the shading tab, you'll need to indivually click nodes and drag them away from the main BSDF node. You'll specifically want to find all your textures.
In this example I have a Night Map and a Diffuse Texture. I'm only looking for the Diffuse here, so I'll be ignoring the Night Map. With your textures located, make note of the name.
Once you have the name, go back to the "Layout tab" (or whatever workspace you've been working in). Now you want to drag the material you want from your asset library, right onto the mesh.
Now click your mesh again, and go back into the Shading tab. Being sure to seperate all your nodes from the main BSDF node.
You'll notice alot more textures here, but don't fret, dummy textures are in those slots. So unless you have your own shadow maps, specular, etc, you can just ignore it and locate the diffuse. Once you do, replace the name of the texture in that node with the one you noted earlier.
Now do whatever other materials then export, and you're done!
Now the names alone should show what materials are made for what, but a further breakdown is needed to explain specifics about the materials, and general troubleshooting for issues.
These are very basic materials. Showcased best with my femc model here.
These materials are specifically chosen to also look good in the infamous third semester palace. Who sort of has really awful lighting, making older "default" materials look like they were biblically accurate angels.
The clothes are very self explanatory, simply taken from Joker's shirt with the ambient darkened a bit so the white rim light isn't super noticeable.
The hair is also pretty simple, it's Kasumi's hair with dummy textures. One thing to note however is for proper results you'll want to edit the emmisive color to mathc you're characters hair a little closer.
I reccomend doing this in GFD Studio, but you can use Blender, but again, I do not reccomend doing that.
The face is Joker's face from his Velvet Room outfit, it works well as a general skin material as well. However if you want a marginally better more "authentic" feel you can use this for the face then grab skin mats from various swimsuit models. I personally don't see too much of a difference though so it's up to personal preference. Something to keep in mind about this mat though is you need to change the "Hightlight" map to match your diffuse. Otherwise when summoning personas your models will use default_tex.
If you notice blips of light or odd reflection, you might have broken normals. If you do I reccomend grabbing "dum_alp" from the gmd file in the repository and using that for your shadow map, as it's most likely broken normals. You could also just fix your normals but I know none of you are going to do that.
These mats are pretty interesting ones.
For the metal, it's best shown here.
I'll be real I don't remember where I got this from. However, it's a very good metal map, especially since it supports normal maps. However if this doesn't float your boat, various persona models have metal maps, along with the SMT:4 gauntlets in the dlc outfits.
The Gold mat is a more niche one I found. It's very harsh in it's shading, in a way that images don't properly convey. So if you have some kind of metal and need a rough mat, maybe give this a try.
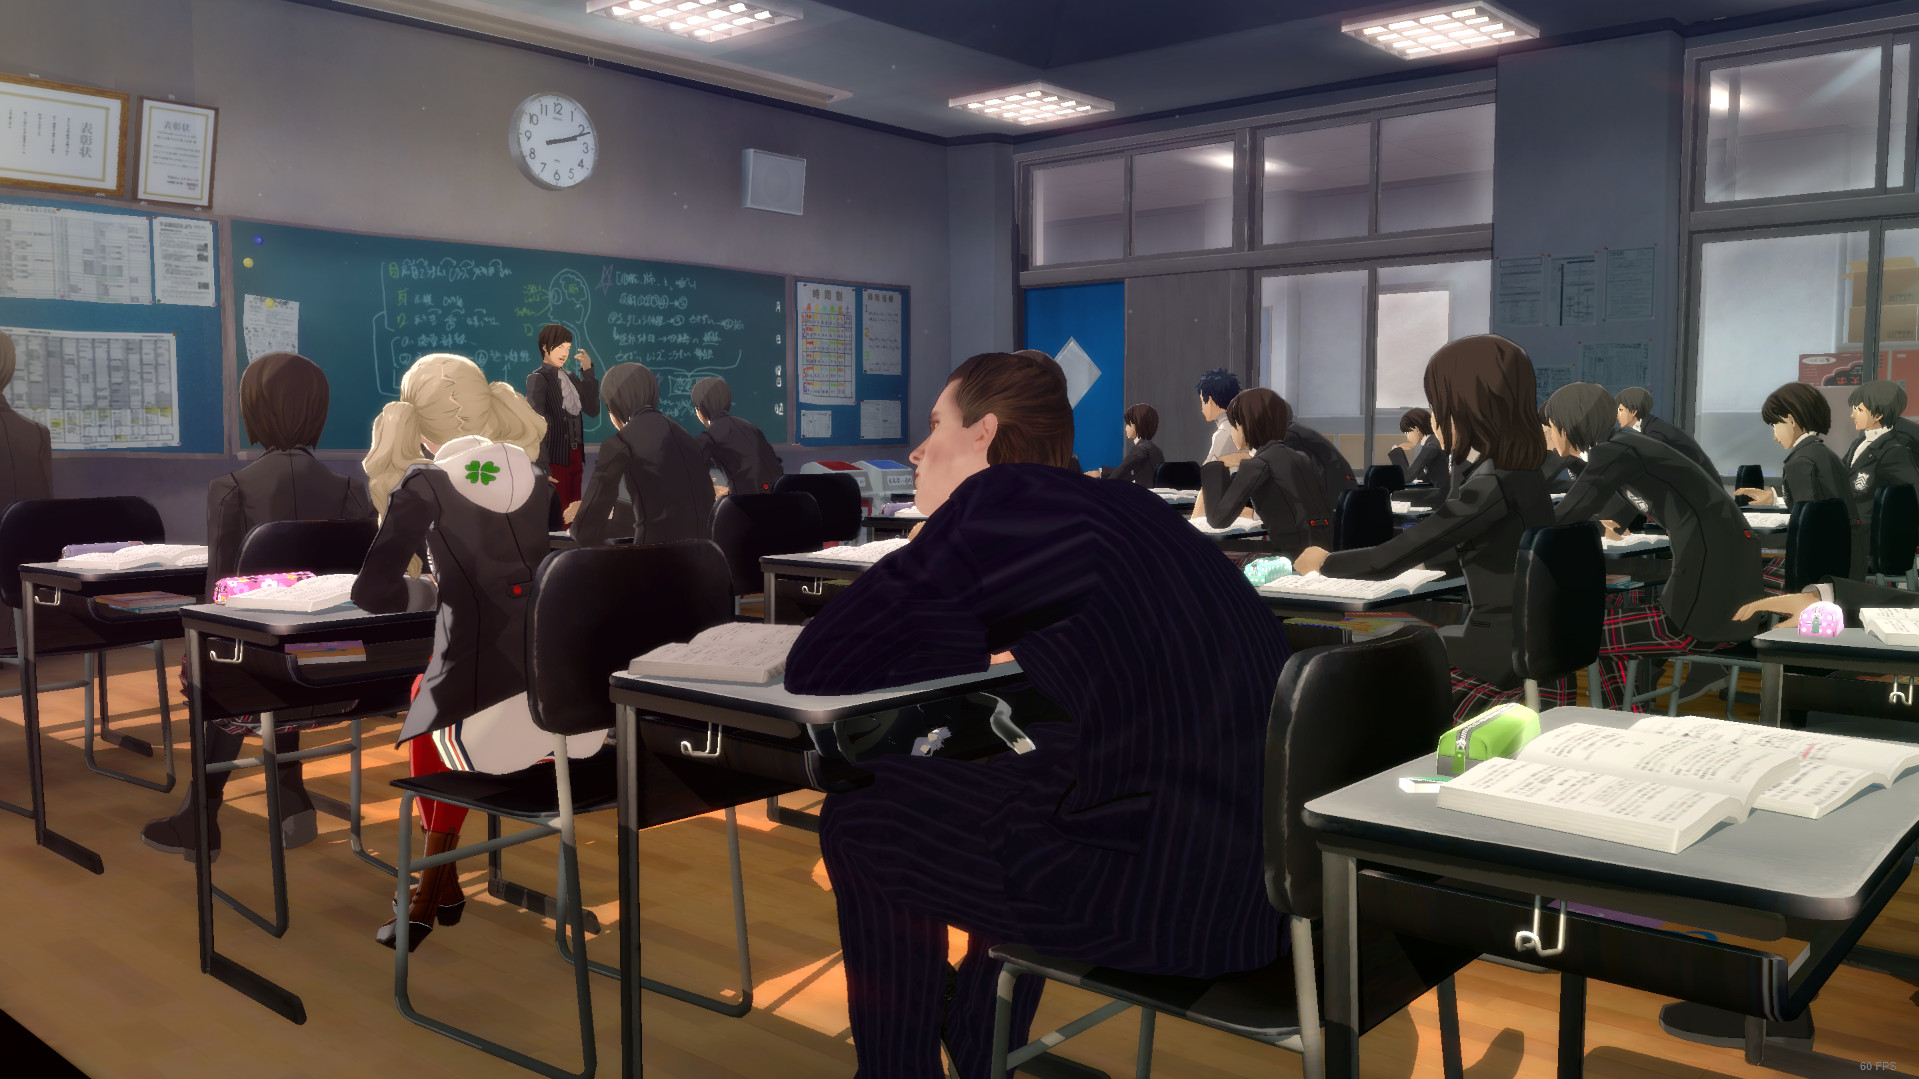
This fullbright material is for you lazy fuckers, or for people using models that are not at all anime style, but wouldn't work with pbr anyway. It is exactly what it says, it's fullbright, with an outline, with animation support. The best look at this is my Patrick Bateman mod.
The Suda mat is a style similar to Suda51 shading, seen in No More Heroes 1-3. It's very comic booky shading, doesn't look the greatest in every scenario though. Best seen with my Travis Touchdown mod.
A scrolling texture mat, not much more to it.
A good default mat for summoned personas, has the blue glow and everything. Will crash on characters in battle but, surprise surprise, works just fine on personas.
It's just a material for exporting to dancing games, works in p3, p4, and p5d. Will crash in P5R though.
If you contribute, make sure to use the blend I posted here, make new uvspheres, add some random material, export, then replace the material as yml in GFD Studio.
Upload your gmd too so I can export and backup your material yml.


