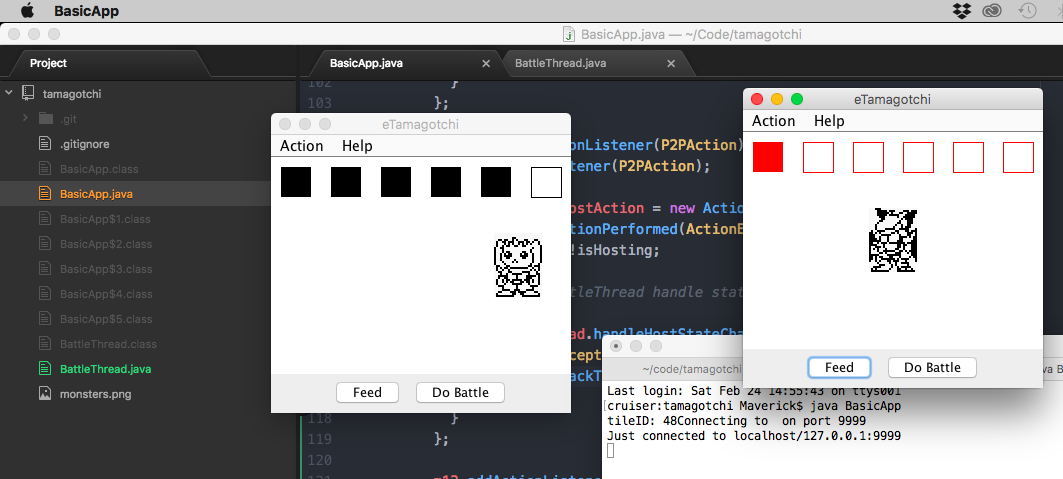
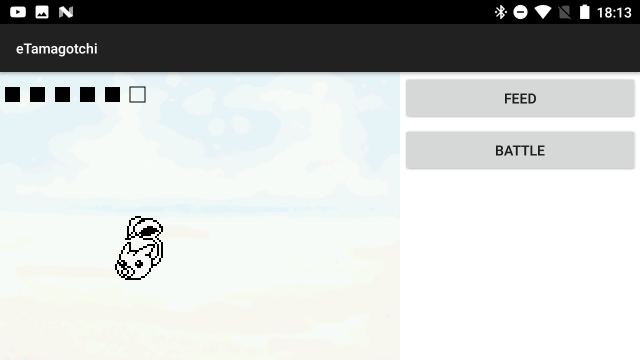
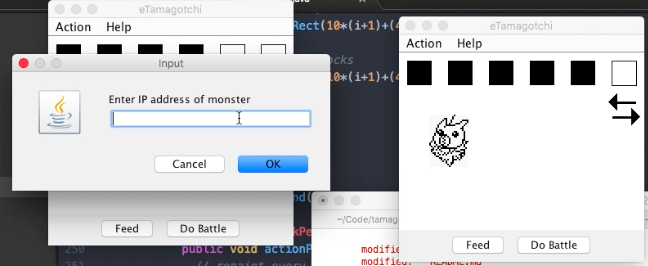
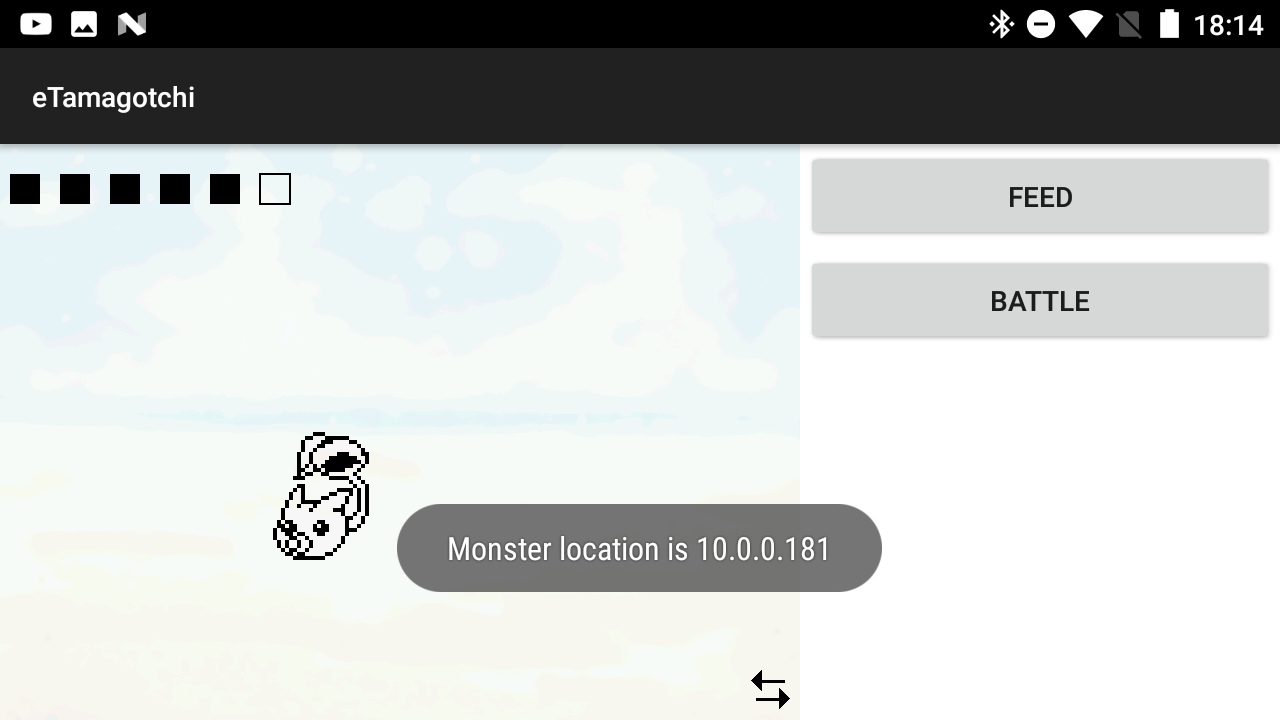
Desktop version is at 1.5
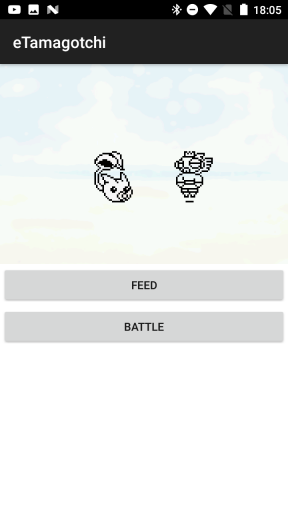
Android version is at 1.5
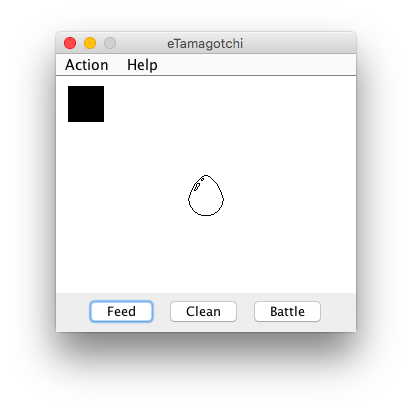
- Monsters start out as eggs
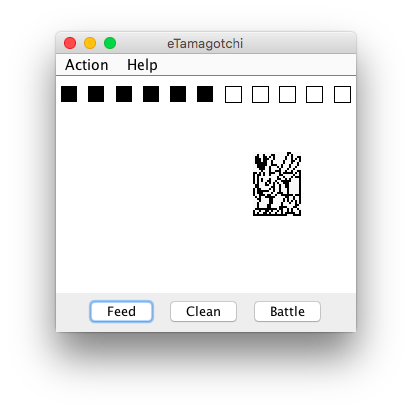
- Monsters can evolve over time when certain conditions are met
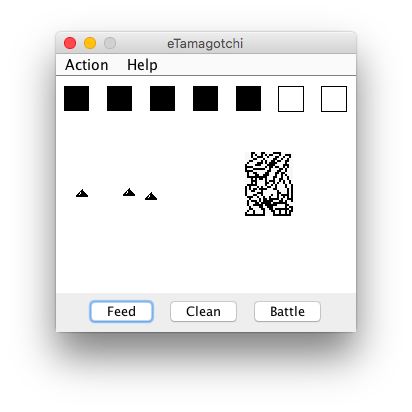
- Messes can be cared for (clean up mess)
- Monster avoids Messes
- HP UI dynamically scales to fit screen
- Stats are boosted if monster has a winning streak
- Monster names are now read from table
- Monsters can evolve all the way to Mega form
- Android has a new activity (screen) to display stats
- Monster format keeps up with last feeding time - this affects hp and acts in place as hunger and 💩
- Monsters have birthdays
- Monsters can calculate age (in days old)
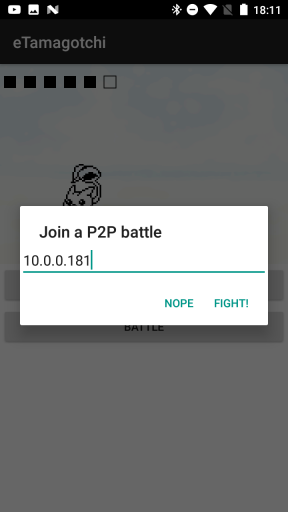
- Added battle codes - shortened IPs which are easier to remember, type, and looks better
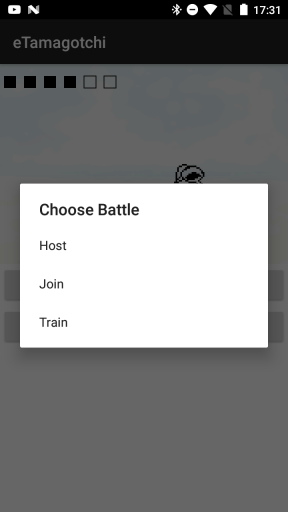
- Android build now hosts and joins battles
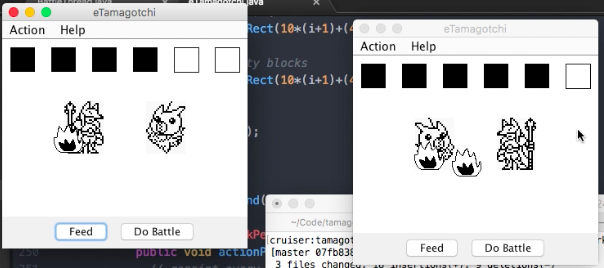
- Don't have android? Battle from PC! - P2P Battles tested across phone and desktop apps
- New android landscape layout
- Both android and desktop builds are consistent structurally so that new features in one can be immediately added in the other.
- Digimon data is persisted - close and come back to your friend later
- Standardized eTamagotchi file store structure (version 1.0)
- Encapsulated digimon
Monsterclass abstracts away the digimon data to easily move it around between threads and ohter objects
- Android project files and working build on
androidbranch
- Simple desktop tamagotchi proof-of-concept with P2P multiplayer action
Maverick Peppers "TheMaverickProgrammer"
MIT commercial free use - open source means you can take, edit, and contribute
Inspired by Digimon "Digivices" tamagotchis circa 1990's. A good foundation for a more advanced virtual tamagotchi or "learning" material.
-
A random digimon tile is selected and random stats are generated.
-
eTamagotchi runs as both a host (timeout=60 seconds) and a client depending on the menu item selected.
- The digimon moves side to side when healthy (HP > 1)
- P2P battles.
- Battles are computed similarly to the originals: one of the devices decides who would win before the effects took place on screen. The battles were simulated. For eTamagotchi, the Host requests stat data from the Client and simulates a battle by reducing each monsters stats by eachother's attack power at the same time. Whoever has the most before K.O. wins. The client is updated with HP from the resulting battle.
- View stats from toolbar
Lots of it. I hacked this together in 8 hours.
-
The logic is in the main thread which happens to be the render loop. Bad. Decouple the rendering from the main thread.
-
Create a Monster class that represents the stats, tileID, and pass that back and forth the BattleThread and the Render instances instead of how I'm doing it. -
Divide the BattleThread into two different classes HostBattleThread and ClientBattleThread.
-
Too many battle flags managing the thread states... speaking of threads...
-
It's fine in Java
Unsure of the thread saftey. Each time a host or client is established a new thread is made. This can't be good. -
Creating new graphics each render call in P2P for opponent has to go
Android SDK is the development kit you'll be dealing with, and with source compatibility you'll use Java 6, 7 or 8.
See which one you have installed using java -version
On Mac OS you can see all installed java version using /usr/libexec/java_home -V
Set the java version you want to use in your .bash_profile like so:
# NOTE: Leave one export command uncommented. Comment the rest.
# Java 1.9
export JAVA_HOME=$(/usr/libexec/java_home -v 9)

# Java 1.8
export JAVA_HOME=$(/usr/libexec/java_home -v 1.8)

# Java 1.7
export JAVA_HOME=$(/usr/libexec/java_home -v 1.7)

# Java 1.6
export JAVA_HOME=$(/usr/libexec/java_home -v 1.6)
Compiling on desktop has changed since the first desktop release. The folders have been reorganized to be structurally consistent across both desktop and android. Rename build.sh.template to build.sh and run chmod +x build.sh && chmod +x run.sh
If everything goes well the desktop build and run scripts should be executable.
./build.sh spits out a eTamagotchi.jar file
./run.sh runs the main class file
Follow the first bit of this tutorial to install Android build tools.
For easier development, set your Environment variables. For unix based machines, edit the .bash_profile in your user's root directory. Include paths for JAVABIN, ANDROID_SDK/tools, and ANDROID_SDK/platform-tools.
Here's what my .bash_profile looks like:
export JAVA_HOME=/Library/Java/JavaVirtualMachines/jdk1.8.0_131.jdk/Contents/Home
export JAVABIN=${JAVA_HOME}/bin
export ANDROID_SDK=/Users/Maverick/Library/Android/sdk
export PATH=${JAVABIN}:$ANDROID_SDK/tools:$ANDROID_SDK/platform-tools:$PATH
NOTE: When building for an android target, your java and Android SDK (aka API Level) versions must be compatible with that android device. For example, my phone is Android 7.0 and only compatible with Android SDK 24 and earlier. Read more here.
Keystores are not included in the repo. You'll need to create your own keystore to sign the app here. Keystores must reside in the same folder as your project.
From your terminal in the android folder, run the keygen command:
${JAVABIN}/bin/keytool -genkey -v -keystore etamagotchi-release-key.keystore -alias etamagotchi -keyalg RSA -keysize 2048 -validity 10000
Remember to store your password somewhere or you can't sign your apps.
I've written a build script that does a lot of the hand-holding for you. After creating the keystore file in the keystore/ directory, replace the path, alias, and password in the build.sh.template file and rename it to build.sh. Change any other environment settings in the script before running. Then
sh buil.sh
If everything goes well and there are no compiler errors, the app's .apk file will spit out as /bin/eTamagotchi.apk.
For further reading, see this highly detailed article.
To install eTamagotchi.apk you must do a few things on your phone first. Since we're not verified by a 1st party app marketplace like Google Play, we have to enable developer settings on our phone before the app will be allowed on it.
You need to enable USB debugging on the phone itself (by starting the Settings application and selecting Applications > Development > USB Debugging), install the Android USB device driver if you haven’t already (Windows only), and then plug the phone into your computer using the USB cable that came with the phone.
Go to Settings > Security > Unknown Sources and toggle "Allow installation of apps from unknown sources".
With the phone connected to your dev computer via USB, run sh install_apk.sh to install the app.
