createboilerplate.sh is a bash script for generating boilerplate code for projects based on specific libraries and frameworks. It's intended to help kickstart projects by laying out the empty templates and take over the repetitive task of setting initial configurations.
Clone the repository to your local environment.
git clone https://github.com/alvii147/Boilerplate.gitIt's convenient to set up an alias for the path to this script so it can be called from anywhere. Add the following line to .bashrc or .bashprofile to set up a permanent alias.
alias createboilerplate="/absolute/path/to/./createboilerplate.sh"There are some dependencies within the individual projects, all of which are explored below.
createboilerplate [OPTIONS] django
-p = project name
Install Django, Django REST Framework, and Django CORS Headers.
pip3 install django djangorestframework django-cors-headerscreateboilerplate -p MyProject django
This creates a Django project and application. The application includes development and production settings, and an accounts app with a custom user model.
MyProject/
├── MyProject
│   ├── __init__.py
│   ├── asgi.py
│   ├── settings
│   │   ├── __init__.py
│   │   ├── base.py
│   │   ├── dev.py
│   │   └── prod.py
│   ├── urls.py
│   └── wsgi.py
├── accounts
│   ├── __init__.py
│   ├── admin.py
│   ├── apps.py
│   ├── migrations
│   │   └── __init__.py
│   ├── models.py
│   ├── tests.py
│   └── views.py
└── manage.py
To start using the application, set the appropriate environment variables.
# development/production environment
export MYPROJECT_DJANGO_ENV="<environment>"
# secret key
export MYPROJECT_DJANGO_SECRET_KEY="<secret key>"
# postgres settings
export MYPROJECT_POSTGRES_DB="<postgresql database name>"
export MYPROJECT_POSTGRES_USER="<postgresql username>"
export MYPROJECT_POSTGRES_PASSWORD="<postgres password>"
export MYPROJECT_POSTGRES_HOST="<postgres host name>"
export MYPROJECT_POSTGRES_PORT="<postgres port number>"
# email backend settings (only for production)
export MYPROJECT_EMAIL_HOST_USER="<host email address>"
export MYPROJECT_EMAIL_HOST_PASSWORD="<host email password>"
Once environment variables are set, Django server is ready to be run.
python3 manage.py runserverIn order to create and apply initial migrations (include those of the custom user), run migrations command.
python3 manage.py makemigrations
python3 manage.py migratecreateboilerplate [OPTIONS] flask
-p = project name
Install Flask and Flask SQLAlchemy.
pip3 install Flask Flask-SQLAlchemyInstall Flask SQLAlchemy (optional, required for setup database option).
pip install flask-sqlalchemy
createboilerplate -p MyProject flask
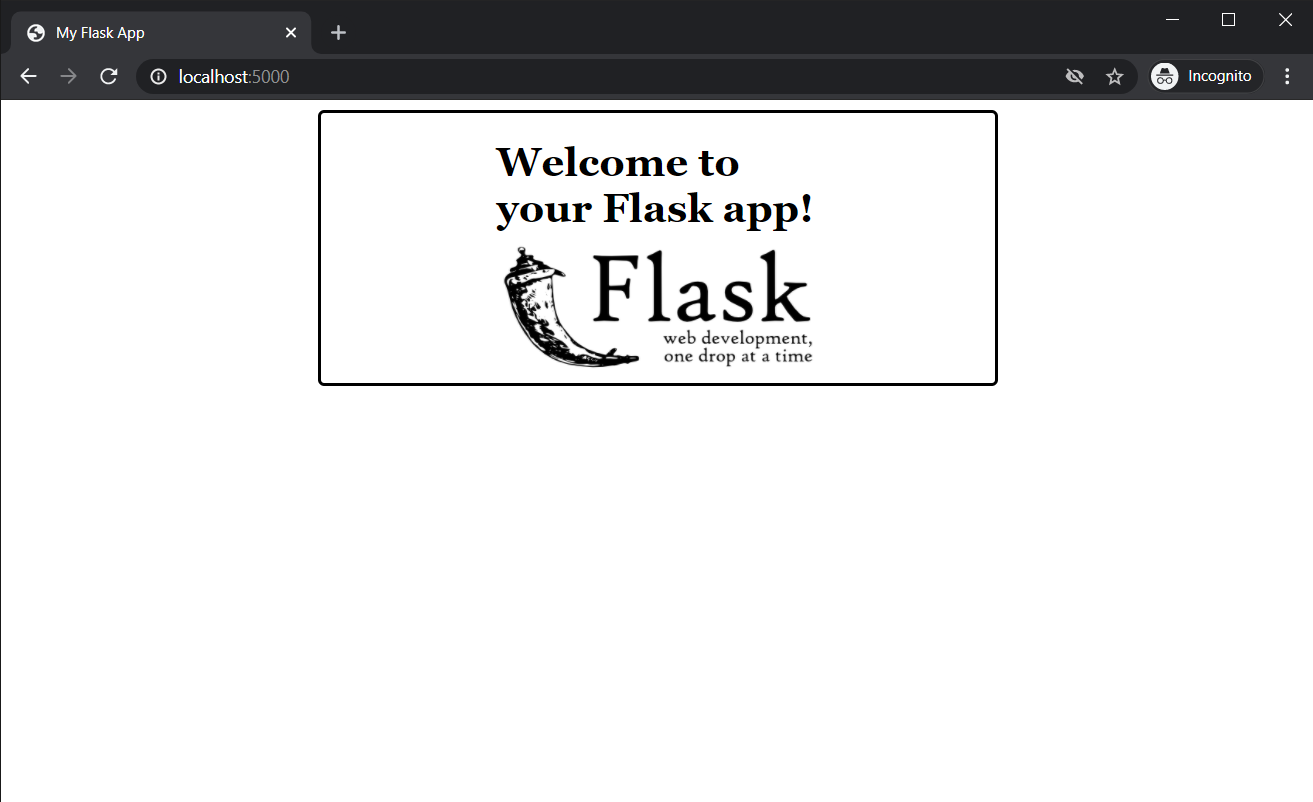
This creates a boilerplate Python Flask application, with an HTML template, a CSS file and a SQLite3 database.
MyProject/
├── MyProject.py
├── static
│   └── styles.css
└── templates
    └── home.html
Set up environment variables.
export FLASK_APP_SECRET_KEY="<secret key>" Executing MyProject.py runs the basic Flask application on https://localhost:5000.
python3 MyProject.pycreateboilerplate [OPTIONS] go
-p = project name
-u = github username
Install Go from the official Go website
createboilerplate -p MyProject -u Noobmaster69 go
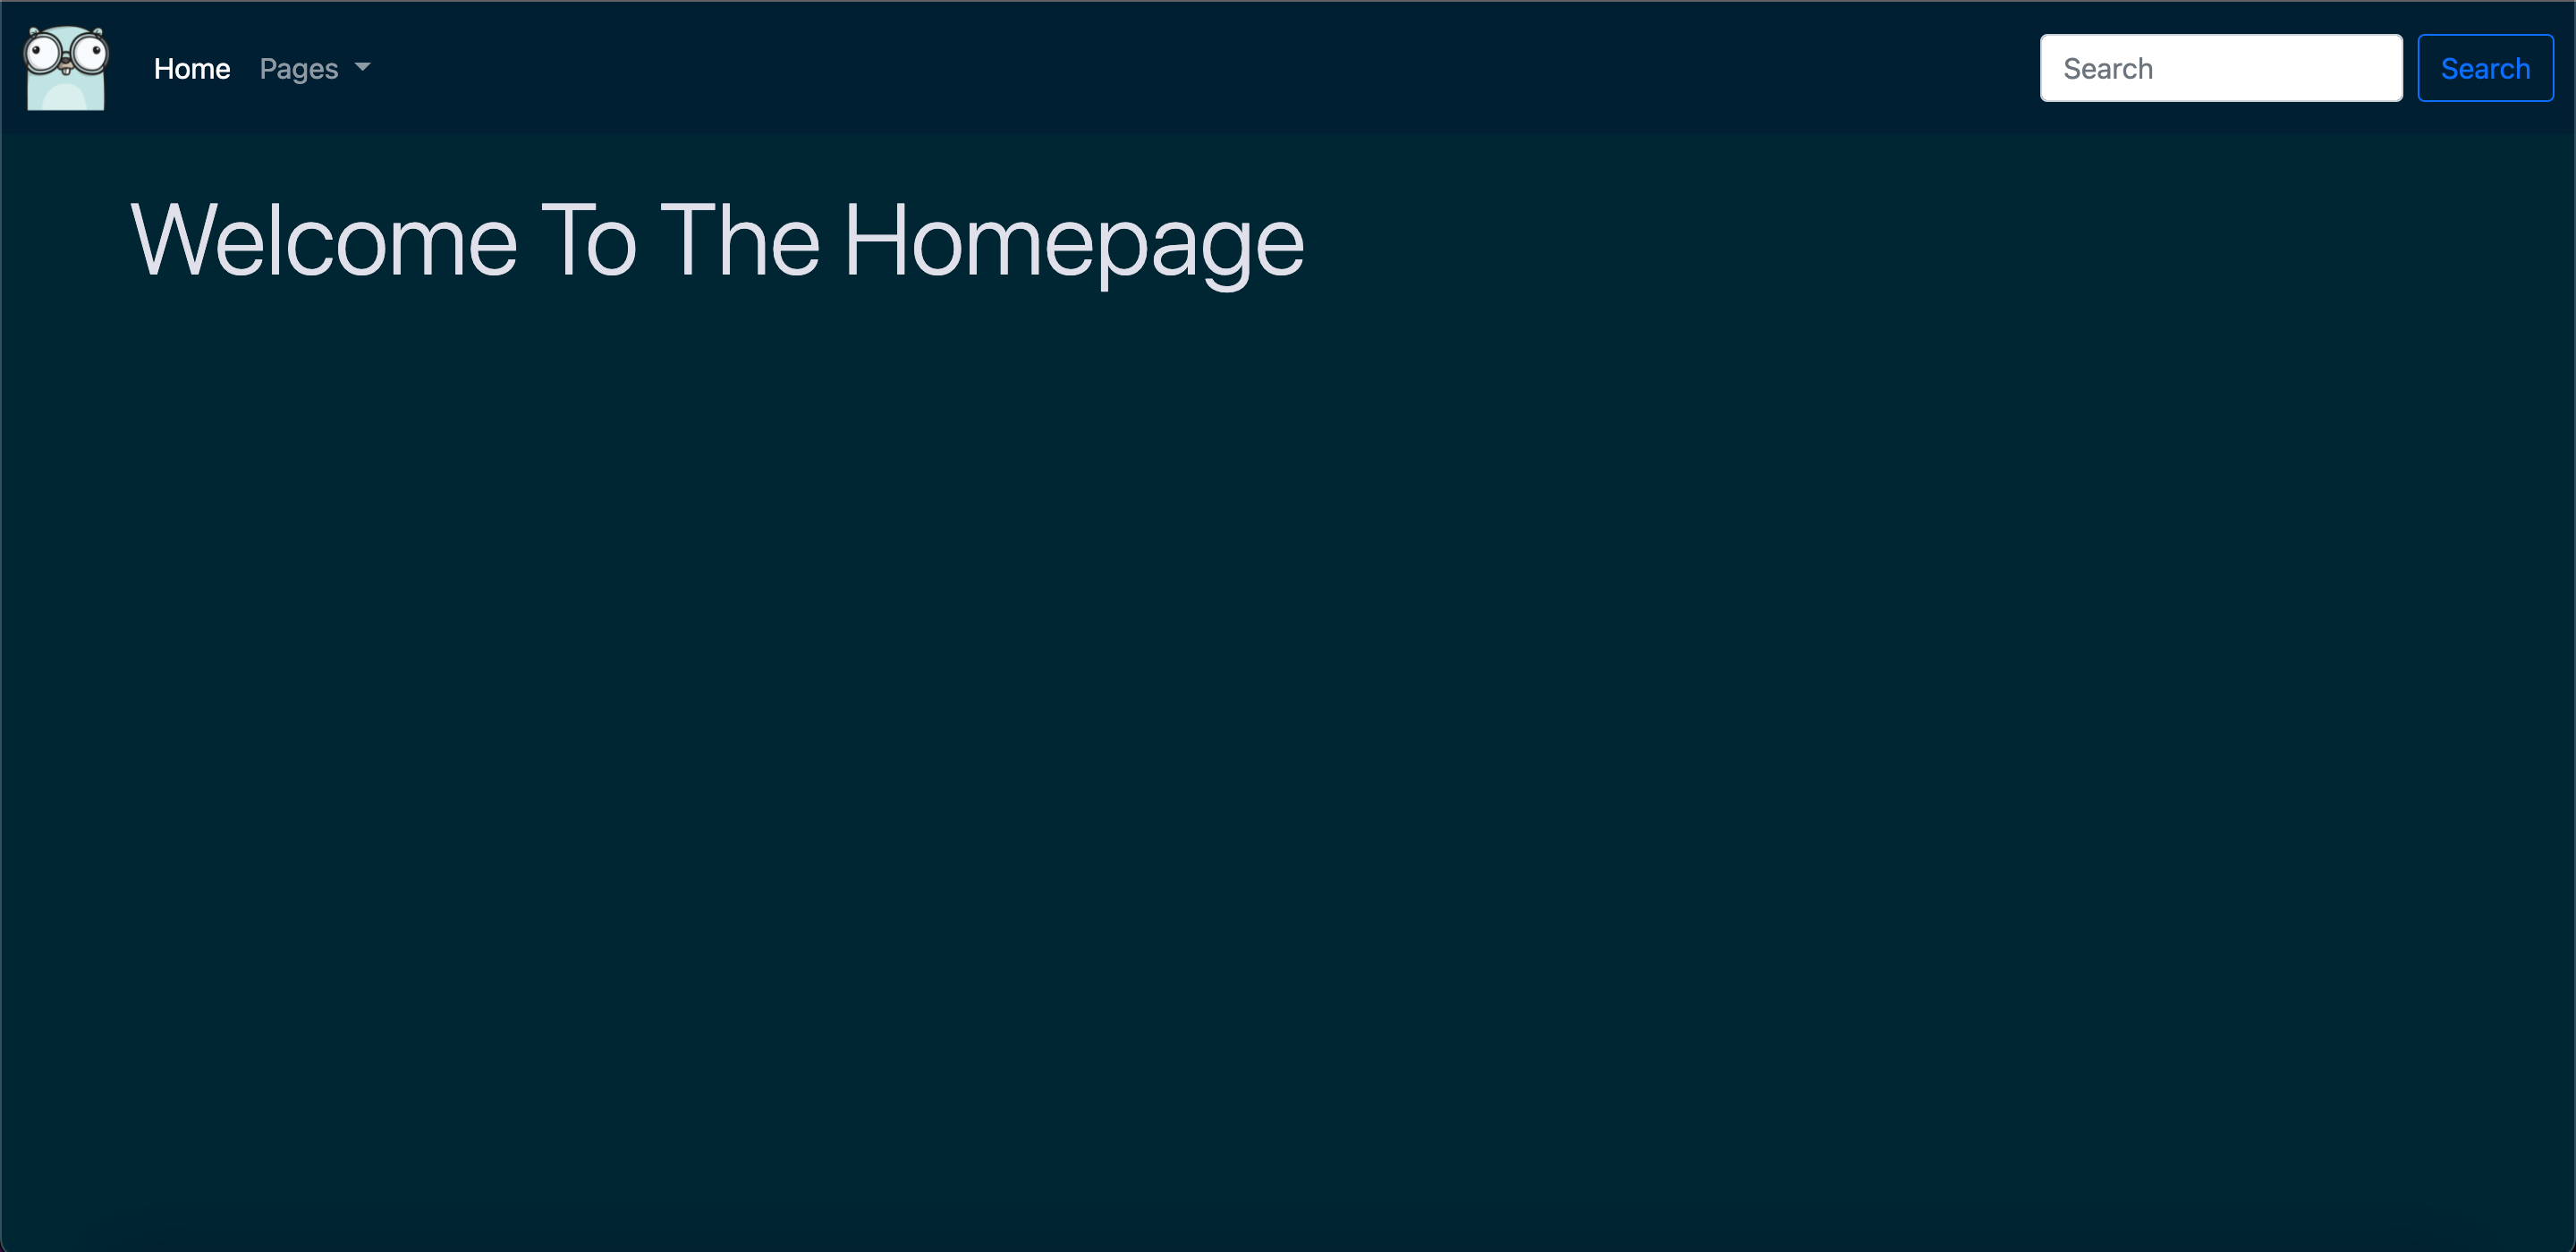
This generates a boilerplate Go server that serves HTML templates using Go's built-in templating library, styled with Bootstrap. A Dockerfile is also generated to build and run the application inside a Docker container.
MyProject/
├── Dockerfile
├── go.mod
├── handlers
│   ├── home.go
│   ├── logging.go
│   └── templates.go
├── main.go
├── static
│   ├── css
│   │   └── styles.css
│   ├── images
│   │   └── gopher.png
│   └── js
│       └── index.js
└── templates
    ├── head.html
    ├── home.html
    ├── navbar.html
    └── scripts.html
Execute the go module to run the web server on https://localhost:8000.
go run .createboilerplate [OPTIONS] pyqt6
-p = project name
Install PyQt6.
pip install pyqt6
createboilerplate -p MyProject pyqt6
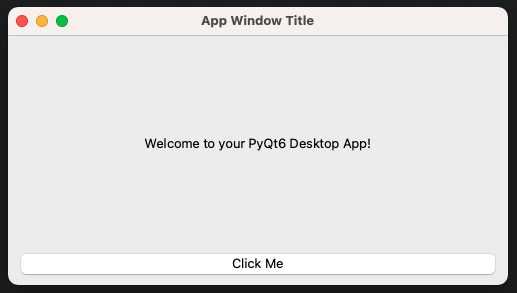
This creates a boilerplate PyQt5 script, MyProject.py. Running it starts a basic PyQt6 desktop application.
python3 MyProject.py
