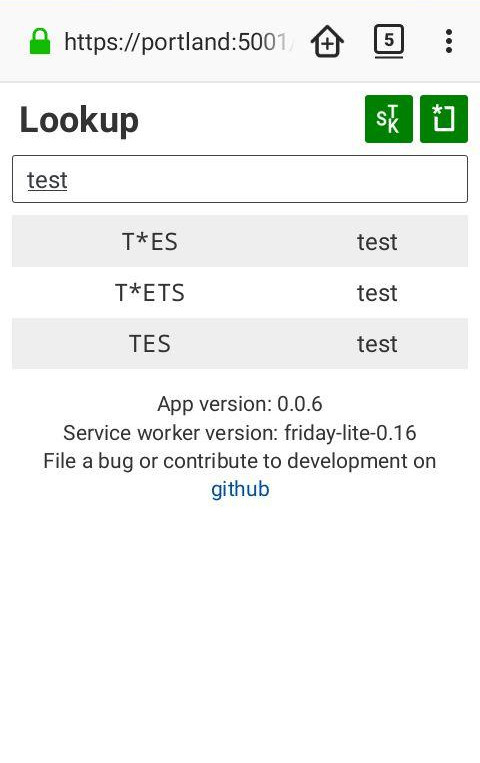
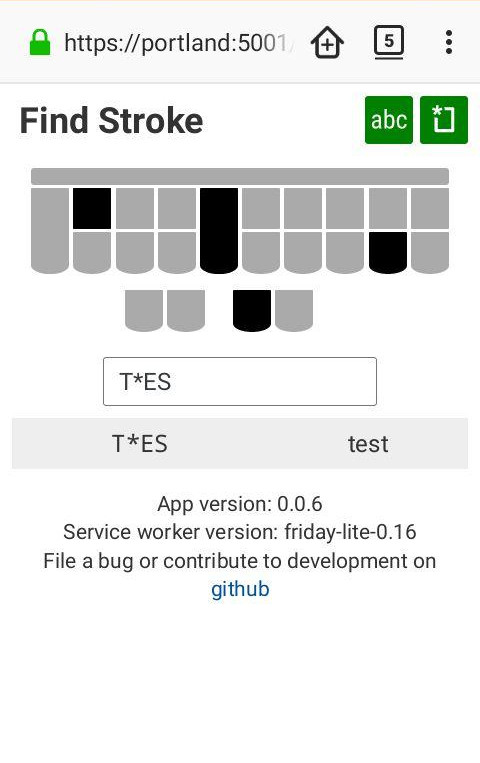
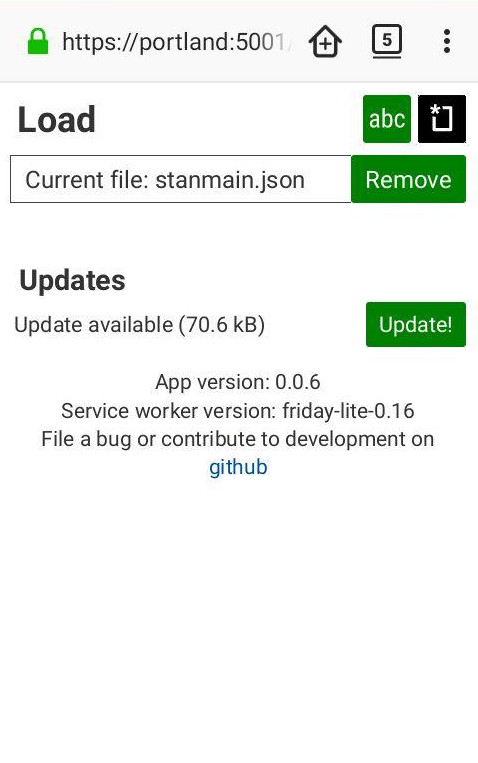
this is a small and lightweight app i made that lets you look up definitions from your steno dictionary on the go. it uses service workers to provide offline support, and webassembly to make lookups fast while keeping the memory footprint as small as possible. the ui framework is svelte, which is why the ui is so lightweight.
- small (less than 100kB for the whole app)
- does not need the internet at all after it's been loaded the first time (only if you want to update)
- fast (runs well on my 8-year-old galaxy s2)
- low memory usage, so the tab can stay open in the background (just a few megabytes, about as much as the dictionary in json form)
- the page can take a looong time to load on my old phone. i've done some testing and i think this is probably inherent in using a service worker (at least with the current version of firefox on android), which is kind of sad. i've thought of working around this by making a pure http cache version, which should also provide some form of offline support even if it's less user friendly.
- the current lookup/dictionary handling code is kind of complex and not that easy to modify. i think part of that is the price to pay for the performance characteristics, but it might be worth trying alternatives and seeing if we can do without it.
- absolutely does not work without a modern browser, since webassembly support is crucial. also because i never want to do css layout with anything other than grid/flexbox ever again.
you'll need node for the main app, and rust for the wasm module. optionally, you can also install wasm-strip from the webassembly binary toolkit to make the resulting wasm file smaller.
the main app is based on the project template for svelte apps from https://github.com/sveltejs/template. i've included the relevant section from their readme below.
Install the dependencies...
cd svelte-app
npm install
...then start Rollup:
npm run devNavigate to localhost:5000. You should see your app running. Edit a component file in
src, save it, and reload the page to see your changes.By default, the server will only respond to requests from localhost. To allow connections from other computers, edit the
sirvcommands in package.json to include the option--host 0.0.0.0.
the normal development build (npm run dev) includes a very simple service worker that does basically nothing. if you're working on the service worker that's actually used in production, you'll want to use the server.py script. it automatically serves the release service worker instead of the normal one, and it provides automatic hash-based versioning based on the files it finds in the directory. be aware that it has a master list of all files that are included in the app, so you may have to adjust that if you're adding or removing files. resources that are not on this list will not be included. server.py listens on port 5001 by default, so you can let it run alongside npm run dev. ⚠ warning: by default, this server listens on all interfaces, not just local ones. this is so that you can test on your smartphone, but it also means that anyone on the same network as you can talk to the probably insecure testing server. be careful what network you're on before using this!
to make a release, use prepare-release.py <release-directory>, and give it the directory where you want all the files to go. it will pull the version number from package.json and automatically tag the current commit, so it expects the working directory to be clean. it will then run npm run build (just to make sure), generate the version info file, and copy all of the files into your release directory. it will also make a special subdirectory for just this version, which is used by the service worker. just like server.py, it also needs an up-to-date list of all the resources to be included with the app, so be sure to update that when you add or remove files!
the rust code lives in the wasm directory. it does not rely on wasm-pack, since that includes a lot of boilerplate code and requires an allocator, both of which i've tried to avoid in the current version. instead, it just builds directly to the wasm32-unknown-unknown target, which is suprisingly simple. however, you may have to install the target manually with rustup target add wasm32-unknown-unknown.
once you have done this, switch to the wasm directory and just run cargo build --release. once that's done, run the post-build.sh script. (if you're on linux – i'm sorry that this doesn't work cross platform currently.) this script does two things:
- run
wasm-stripon the binary, to remove the debug sections produced by the rust compiler. (yes, it does this even in release mode. no, i did not figure out how to turn this off.) - copies the file from
target/wasm32-unknown-unknown/release/wasm.wasminto thepublicdirectory of the web app, renaming it tohelpers.wasm.
you can do these steps manually if you can't run the script. running wasm-strip is optional, too. you really only need to copy the file to the right place.
note that if you're using npm run dev, neither the script nor the manual way will trigger the automatic reload, so don't forget to reload the page!


