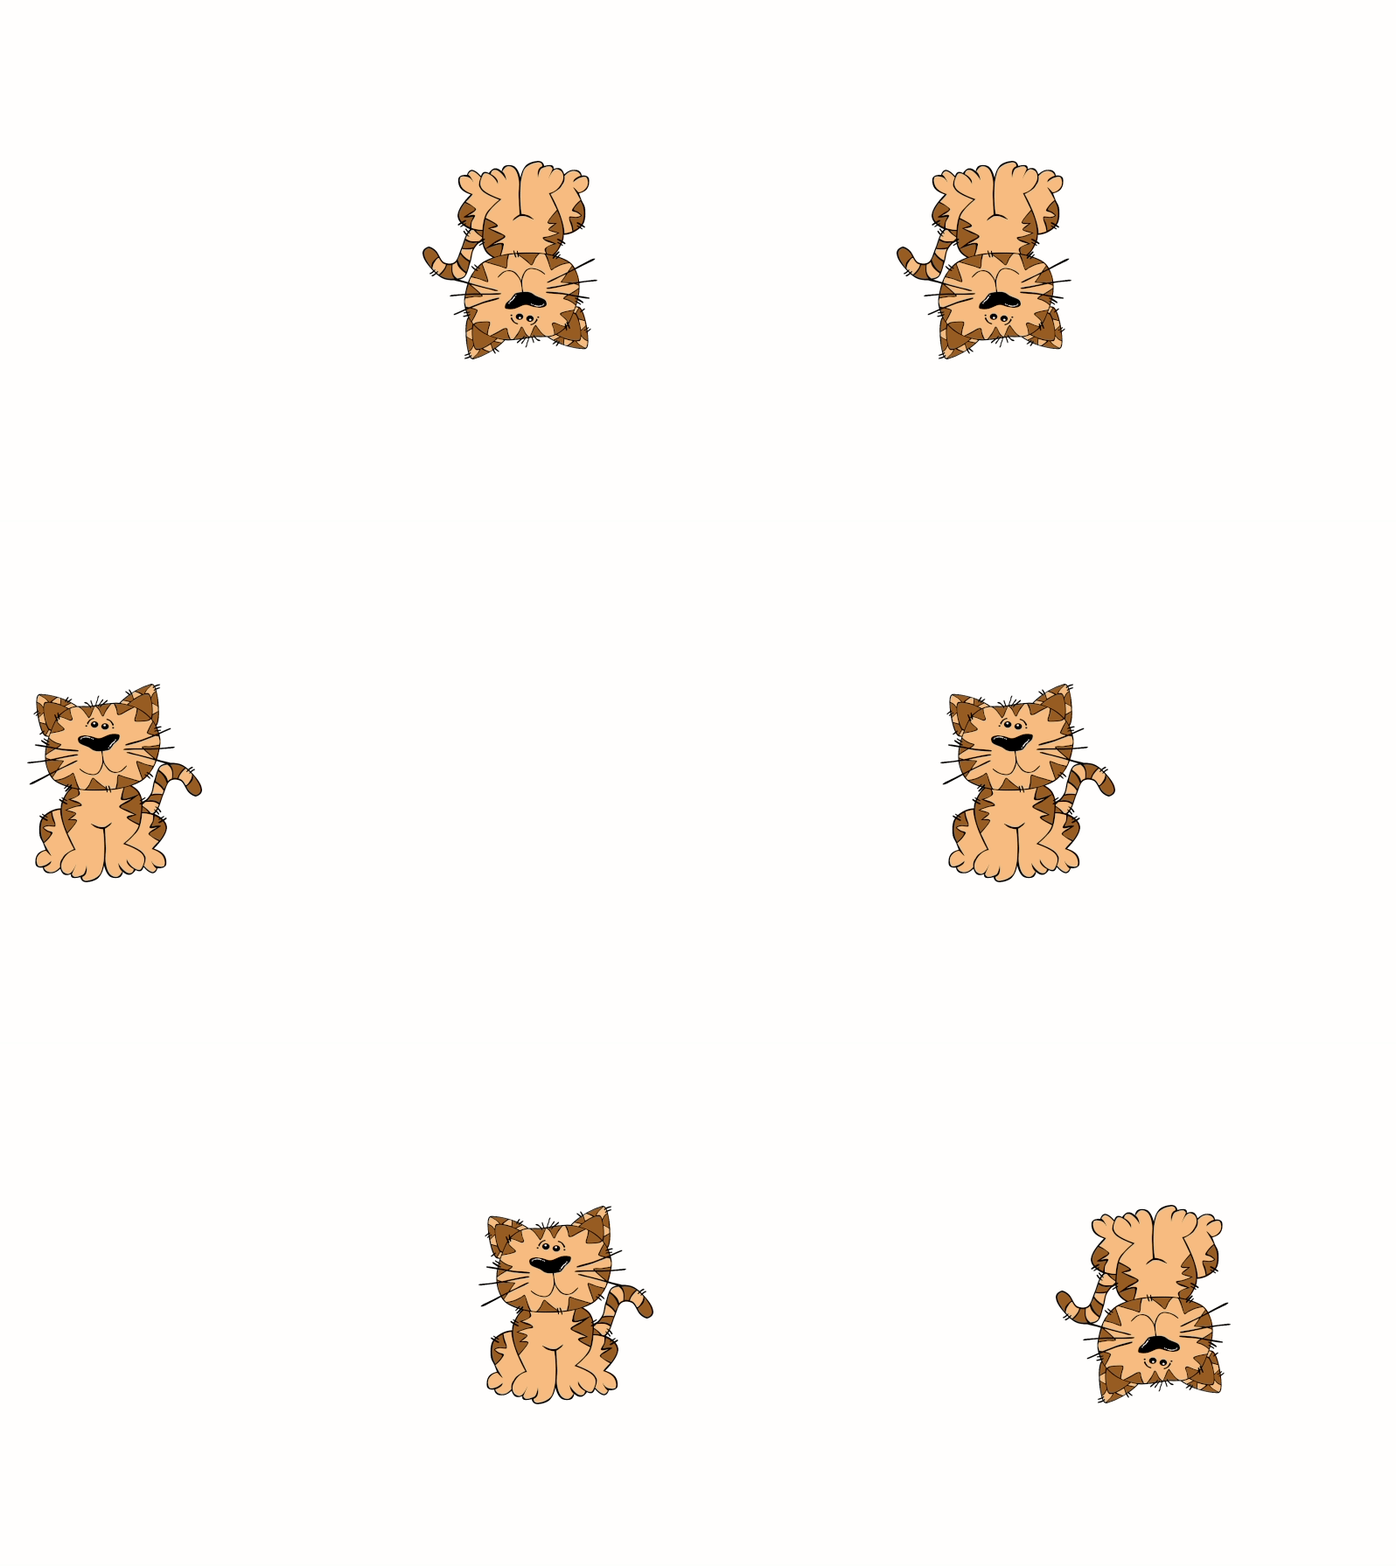
To ease the transition from the block-based programming environment Scratch to Processing this library was created. Therefore the core elements of Scratch are remodelled.
Usage: import eu.barkmin.processing.scratch.ScratchStage
Before you can use any of the class provided by this library be sure to
initialize the ScratchStage. You only need to place this statement
ScratchStage.init(this) in your setup function. A minimal example could look like this:
import eu.barkmin.processing.scratch.*;

ScratchStage stage;

void setup() {
  ScratchStage.init(this);
  stage = ScratchStage.getInstance();
}

void draw() {
}
With ScratchStage.init(this, true) you can enable the debug mode. It will display the mouse cursor position and all hitboxes.
To add a new backdrop call stage.addBackdrop("newBackdrop", "path/to/newBackdrop.png");. Afterwards you can swith to the backdrop by calling
stage.switchBackdrop("newBackdrop");.
| Scratch | Processing |
|---|---|
stage.isMouseDown() |
|
stage.getMouseX() |
|
stage.getMouseY() |
|
stage.isKeyPressed(32) For key pressed you need to use key codes see https://keycode.info/ to find the appropriate one. |
|
stage.getCurrentYear(), stage.getCurrentDay(), stage.getCurrentHour(), stage.getCurrentMinute(), stage.getCurrentSecond(), stage.getCurrentMillisecond(), stage.getCurrentDayOfWeek() |
| Scratch | Processing |
|---|---|
Overwrite stage.whenKeyPressed(int keycode). This method is called everytime a key is pressed. See http://keycode.info for keycode information |
|
Overwrite stage.whenMouseMoved(float x, float y). This method is called everytime the mouse is moved. |
| Scratch | Processing |
|---|---|
 |
stage.pickRandom(1, 10) |
| Processing | Description |
|---|---|
stage.addSprite(sprite) |
Adds a sprite to stage |
stage.removeSprite(sprite) |
Removes a sprite from the stage |
When you work with sound you need to install
processing-sound and need
to import the library in your main .pde file. import processing.sound.*;
| Scratch | Processing |
|---|---|
 |
stage.play("Meow"); |
 |
stage.stopAllSounds(); |
To add a new sound call stage.addSound("newSound", "path/to/newSound.wav");.
Afterwards you can play the sound by calling stage.playSound("newSound");.
Hint: On my notebook I was not able to playback mp3 files, therefore I converted them to wav files with SoundConverter.
Usage: import eu.barkmin.processing.scratch.ScratchSprite
In Scratch sprites are the main actors. Every sprite has a custom set of costumes and sounds, which could be dynamically changed. Most of the functionality which sprites in Scratch have were tried to reimplement in processing. When added to the stage, the run method of a sprite will be called continuously.
import eu.barkmin.processing.scratch.*;

ScratchStage stage;
CatSprite myCat;

void setup() {
  size(800, 600);
  ScratchStage.init(this);
  stage = ScratchStage.getInstance();
  myCat = new CatSprite();
  stage.addSprite(myCat);
}

void draw() {
}

// Define a class Cat
class CatSprite extends ScratchSprite {
  CatSprite() {
    this.addCostume("cat", "sprites/cat.png");
    this.setOnEdgeBounce(true);
  }
  void run() {
    this.move(2);
  }
}To add a new costume call sprite.addCostume("newCostume", "path/to/newCostume.png");. Afterwards you can switch to the costume by calling
sprite.switchCostume("newCostume");.
| Scratch | Processing |
|---|---|
sprite.isMouseDown() |
|
sprite.getMouseX() |
|
sprite.getMouseY() |
|
sprite.isKeyPressed(32) For key pressed you need to use key codes see https://keycode.info/ to find the appropriate one. |
|
sprite.getCurrentYear(), sprite.getCurrentDay(), sprite.getCurrentHour(), sprite.getCurrentMinute(), sprite.getCurrentSecond(), sprite.getCurrentMillisecond(), sprite.getCurrentDayOfWeek() |
|
sprite.isTouchingMousePointer() Pixelperfect, transparent pixel will be ignored |
|
sprite.isTouchingEdge() based on the default hitbox |
|
sprite.isTouchingSprite(anotherSprite) based on a custom or the default hitbox |
| Scratch | Processing |
|---|---|
Overwrite sprite.keyEvent(KeyEvent e). The method will be called everytime a new KeyEvent is fired. For example when pressing or releasing a key. See KeyEvent for more Information. |
|
Overwrite sprite.mouseEvent(MouseEvent e). The method will be called everytime a new MouseEvent is fired. For example when pressing, releasing or moving the mouse. See MouseEvent for more Information. |
| Scratch | Processing |
|---|---|
 |
sprite.pickRandom(1, 10) |
| Processing | Description |
|---|---|
sprite.run() |
Will be called continuously, when the sprite is added to the stage. |
sprite.draw() |
Overwrite this methode to gain more controll over the sprite and draw it without added it to the stage. |
The following code will show the same result. The normal sprite is handled by the ScratchStage, the custom sprite is handled by us.
Custom custom;

void setup () {
  ScratchStage.init(this);
  ScratchStage.getInstance().addSprite(new Normal());
}

void draw() {
  custom.draw();
}

class Normal extends ScratchSprite {
  run() {
    this.move(10);
  }
}

class Custom extends ScratchSprite {
  draw() {
    super.draw();
    this.move(10);
  }
}
When you work with sound you need to install
processing-sound and need
to import the library in your main .pde file. import processing.sound.*;
| Scratch | Processing |
|---|---|
 |
sprite.play("Meow"); |
 |
sprite.stopAllSounds(); |
To add a new sound call sprite.addSound("newSound", "path/to/newSound.wav");.
Afterwards you can play the sound by calling sprite.playSound("newSound");.
Hint: On my notebook I was not able to playback mp3 files, therefore I converted them to wav files with SoundConverter.
Usage: import eu.barkmin.processing.scratch.ScratchPen
In Scratch every sprite can use a pen to draw lines, therefore every ScratchSprite object has an pen associated with it. Through a similar api the pen can be modified.
Usage: import eu.barkmin.processing.scratch.ScratchAnimatedSprite
This class inherits form ScratchSprite. Therefore everything you can do with a ScratchSprite, you can also do with a ScratchAnimatedSprite. Additionally you can add animations.
| Method | Description |
|---|---|
sprite.addAnimation("idle", "sprites/pictures_%02d.png", 10) |
This will add a new animation called idle. For this animation 10 picture with match the pattern sprites/pictures_%02.png will be loaded. If these pictures are not present an error will occur. The pattern sprites/pictures_%02d.png will match sprites/pictures_01.png, sprites/pictures_02.png and so on. |
sprite.playAnimation("idle") |
This will play the animation "idle" repeatedly. |
sprite.playAnimation("idle", true) |
This will play the animation "idle" only once. |
sprite.isAnimationPlayer("idle") |
This will return a boolean indication if the animation "idle" is fully played. |
sprite.resetAnimation() |
This will reset the current animation. |
sprite.getAnimationFrame() |
This will return the current animation frame. |
sprite.getAnimationInterval() |
This will return the current animation interval. |
sprite.setAnimationFrame(10) |
This will set the animation frame to 10. If you only have 6 frame, this will set the animation frame to 4. |
sprite.setAnimationInterval(40) |
This will set the animation interval to 40. Lower values mean that the animation will be played faster. |
import eu.barkmin.processing.scratch.*;

ScratchStage stage;
CatSprite myCat;

void setup() {
  size(800, 600);
  ScratchStage.init(this);
  stage = ScratchStage.getInstance();
  myCat = new CatSprite();
  stage.addSprite(myCat);
}

void draw() {
}

// Define a class Cat
class CatSprite extends ScratchAnimatedSprite {
  CatSprite() {
    this.addAnimation("idle", "sprites/cat_idle_%02d.png");
    this.addAnimation("running", "sprites/cat_running_%02d.png")
    this.setOnEdgeBounce(true);
  }
  void run() {
    if(this.isTouchingMousePointer()) {
      this.playAnimation("running");
      this.move(2);
    } else {
      this.playAnimation("idle");
    }
  }
}Sometimes you want to trigger an event after a certain time or at a certain time
interval. Therefore the stage and every sprite have one or more Timer objects.
You can access the timer objects through stage.getTimer() or
sprite.getTimer(). The timer object has some useful methods:
| API | Example | Description |
|---|---|---|
void getMillis() |
cat.getTimer().getMillis() |
Returns the milliseconds since the sprite was created |
boolean everyMillis(int) |
stage.getTimer().everyMillis(600) |
Returns true every 600 Milliseconds |
boolean forMillis(int) |
dog.getTimer().forMillis(600) |
Returns true for the first 600 Milliseconds |
boolean afterMillis(int) |
cat.getTimer().afterMillis(600) |
Returns true after the first 600 Milliseconds |
boolean intervalMillis(int) |
cat.getTimer().intervalMillis(600) |
Returns toggles between true and false every 600 Milliseconds starting with false |
boolean intervalMillis(int, boolean) |
cat.getTimer().intervalMillis(600, true) |
Returns toggles between true and false every 600 Milliseconds starting with true |
boolean intervalMillis(int, int) |
cat.getTimer().intervalMillis(600, 200) |
Returns toggles between true for 600 Milliseconds and false for 200 Milliseconds starting with false |
boolean intervalMillis(int, int, boolean) |
cat.getTimer().intervalMillis(600, 200, true) |
Returns toggles between true for 600 Milliseconds and false for 200 Milliseconds starting with true |
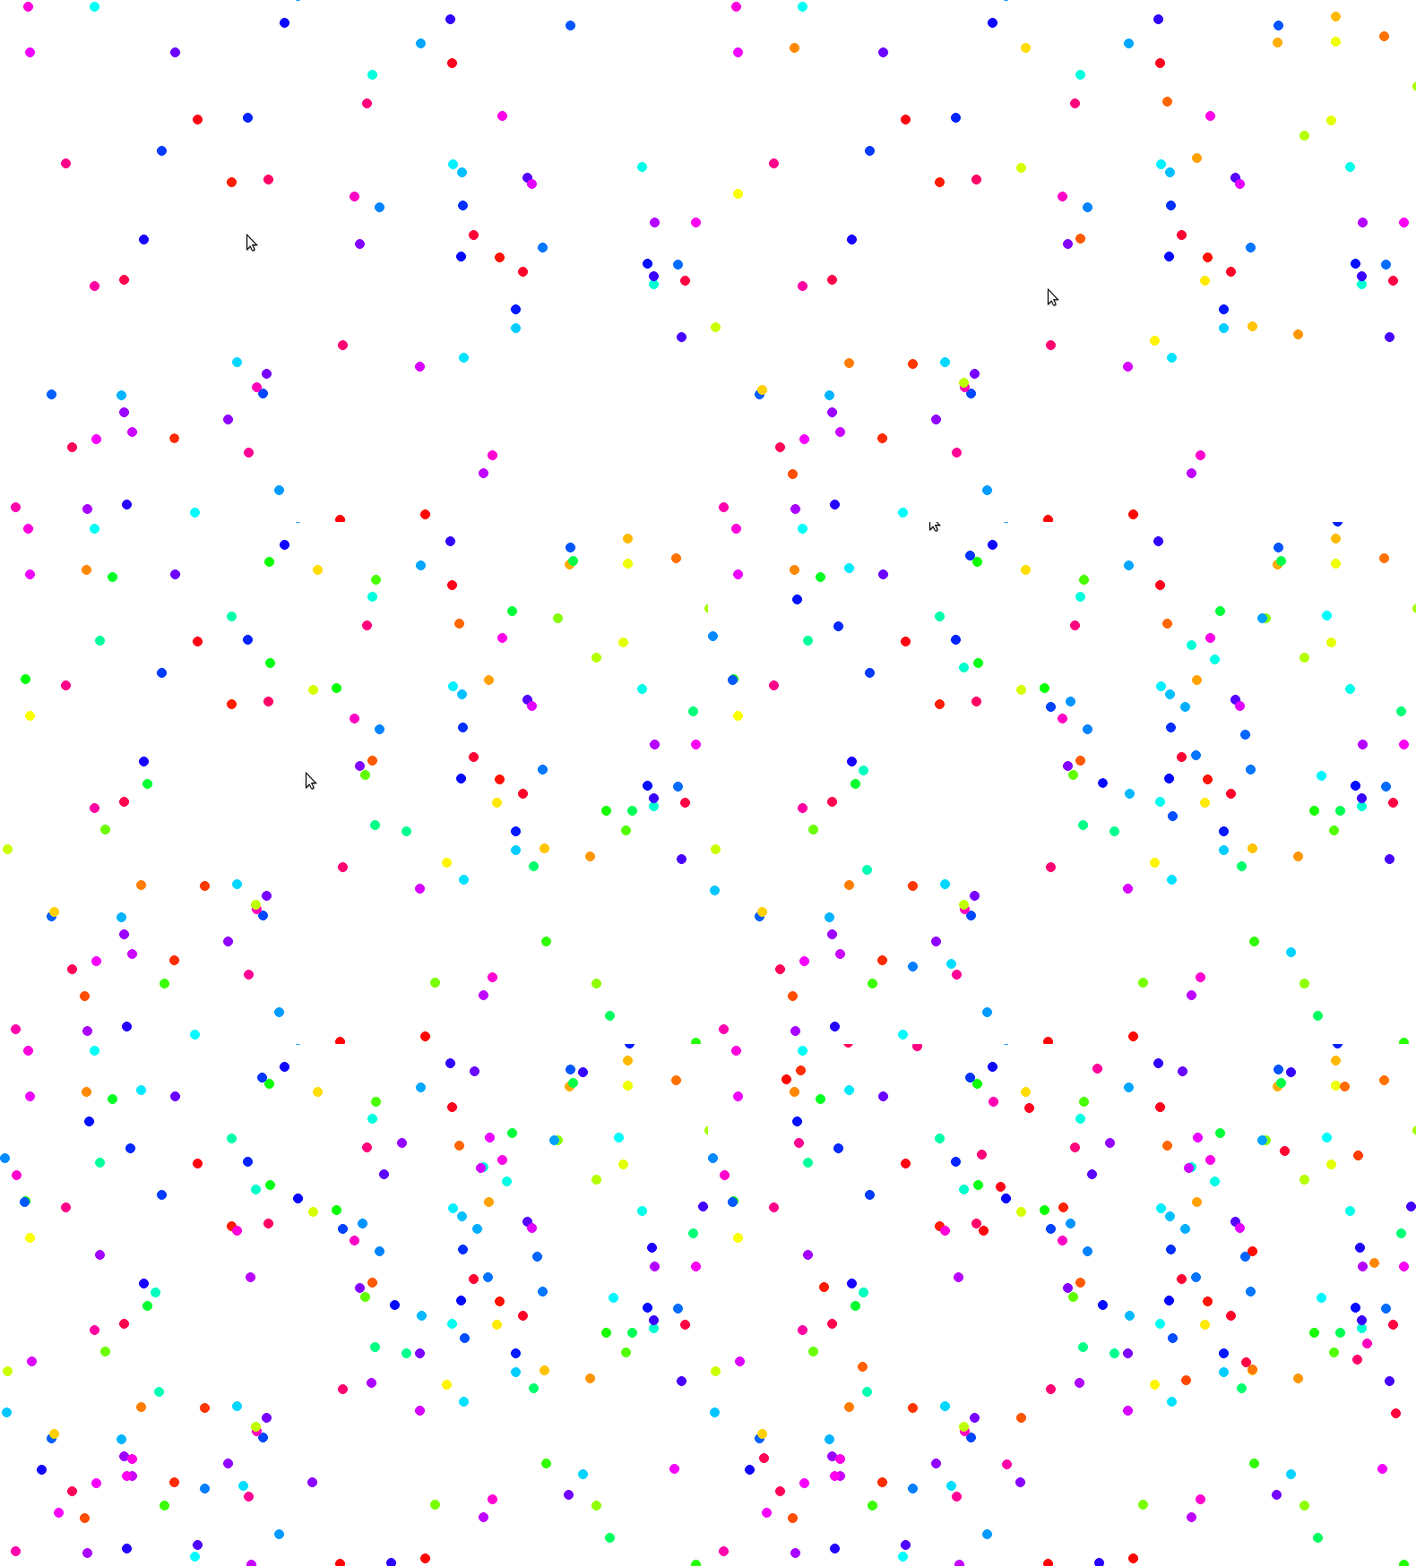
For a visual example of these methods see example Timer or the gif below. A dot represents the return of true.
everyMillis(600) -> orange (first line)
forMillis(600) -> lime (second line)
afterMillis(600) -> green (third line)
intervalMillis(600) -> skyblue (fourth line)
intervalMillis(600, true) -> blue (fifth line)
intervalMillis(600, 300) -> pink (sixth line)
intervalMillis(600, 300, true) -> red (seventh line)
If you want that a sprite should do something every 2000ms and every 1000ms,
you need two timers. To add a timer you simply call
sprite.addTimer("timerForMe"). The timer is than accessible with sprite.getTimer("timerForMe").
Unfortunately the timer are not on point. Sometimes they are lacking behind. This happens when the frame rate drops. This can lead to a unwanted rendering order. For example the pattern which was tried to achieve in the example TimedDot should look like this:
Lila, Lila, Green, Lila, Lila, Green, Clear.
Especially at the beginning of the sketch the frame rate increases slowly to the desired one. Therefore there are some missing frames in the beginning and the pattern is messed up. To achieve a better result you should use a multiple of the frame rate for millis. (If not set the standard frame rate is 60). You can see the difference below.
| Millis multipe of 100 | Millis multiple of 60 |
|---|---|
 |
 |
Usage: import eu.barkmin.processing.scratch.ScratchSound
Usage: import eu.barkmin.processing.scratch.ScratchImage
Usage: import eu.barkmin.processing.scratch.ScratchColor
Scratch makes it easy to work with colors on the hsl color spectrum. To achive a similar behaviour the class ScratchColor was created.
Source Code: https://github.com/mikebarkmin/processing-library-scratch/tree/master/examples/Cat
An example with a simple one file setup.
Source Code: https://github.com/mikebarkmin/processing-library-scratch/tree/master/examples/Robot
An example with a class in another file.
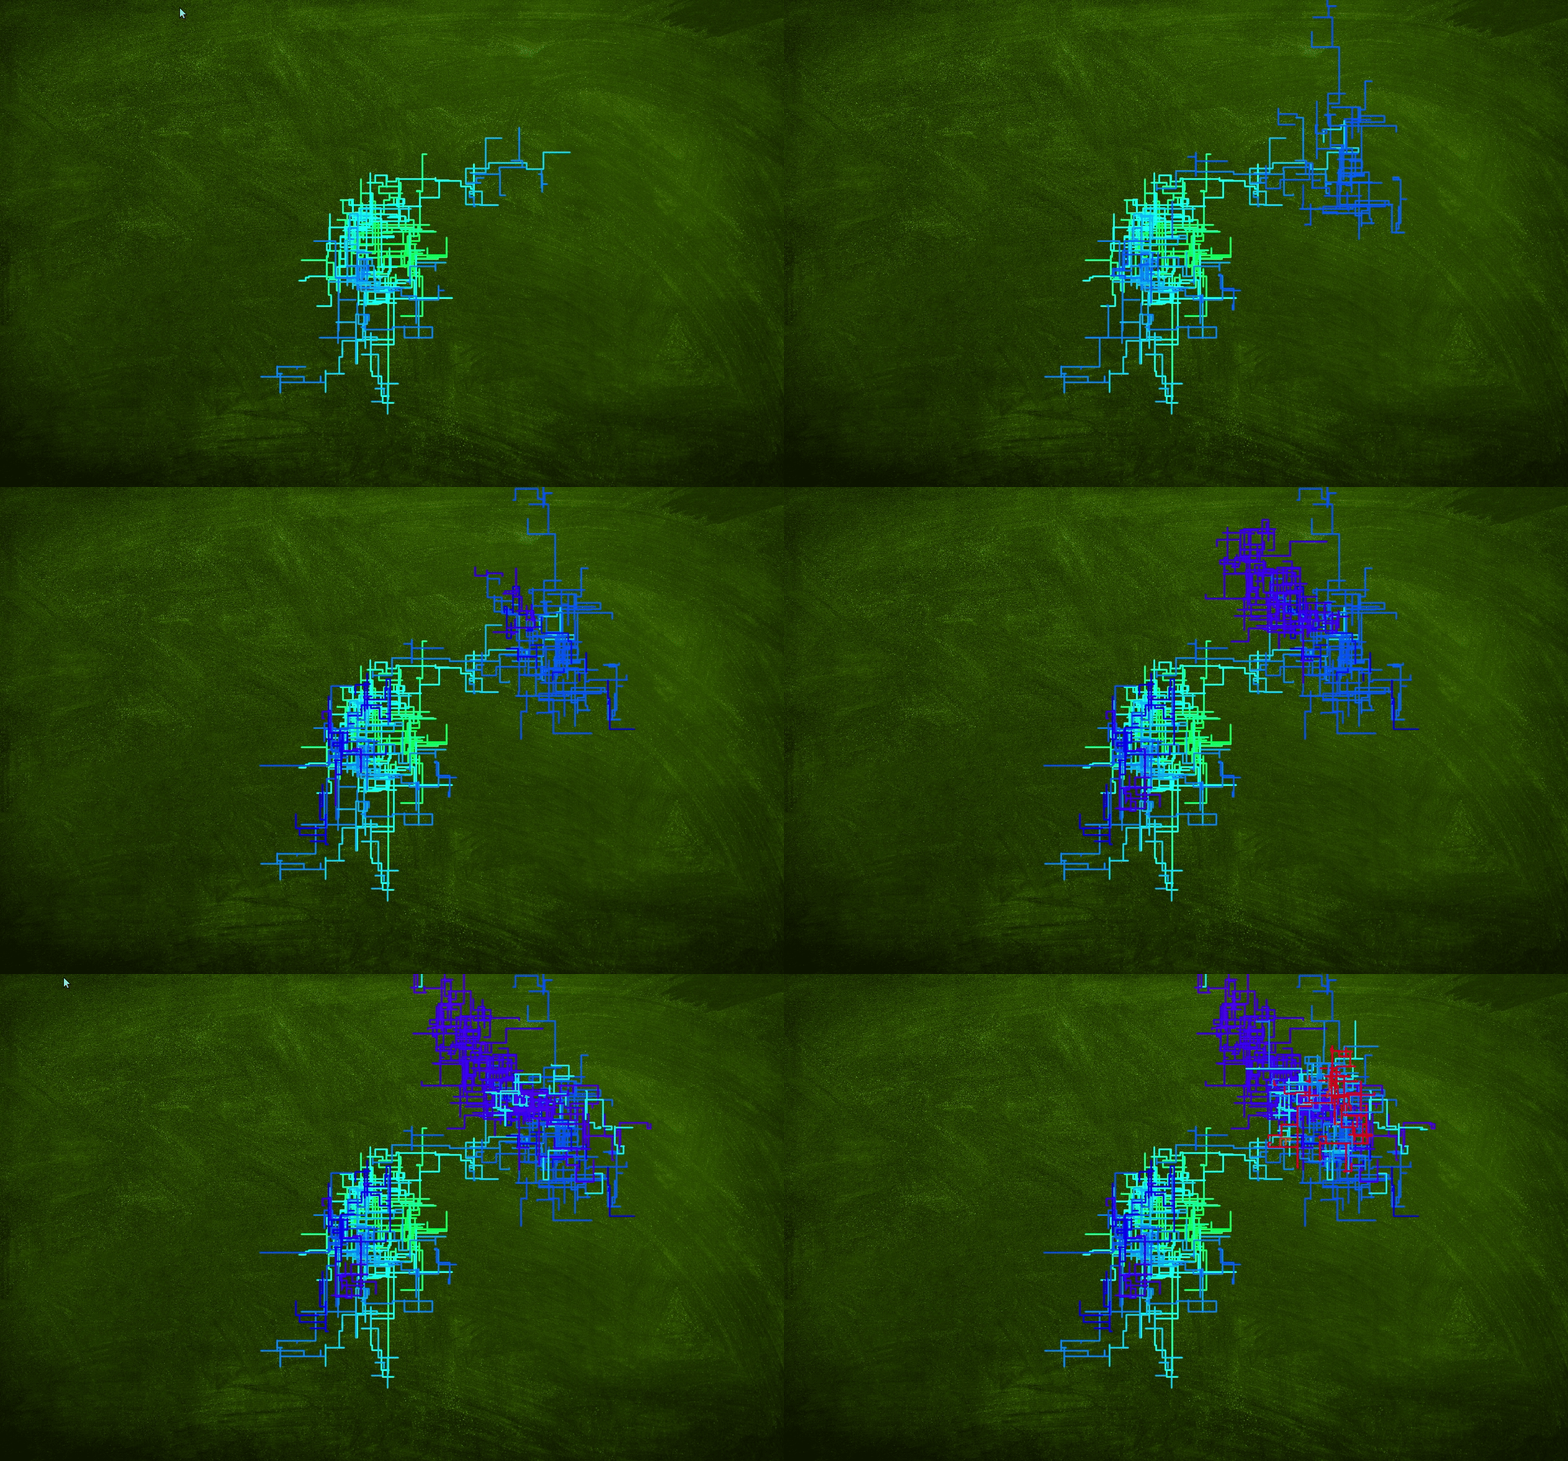
Source Code: https://github.com/mikebarkmin/processing-library-scratch/tree/master/examples/Pipes
An example with heavy use of the ScratchPen. It also plays an sound file in the background.
Source Code: https://github.com/mikebarkmin/processing-library-scratch/tree/master/examples/RainbowVine
An example which makes use of mouse events and timers.
Source Code: https://github.com/mikebarkmin/processing-library-scratch/tree/master/examples/RandomDot
An example which makes use of timers.
Source Code: https://github.com/mikebarkmin/processing-library-scratch/tree/master/examples/TimedDot
An example which makes use of timers.
Source Code: https://github.com/mikebarkmin/processing-library-scratch/tree/master/examples/Timer
An example which makes use of the many methods of the timer.
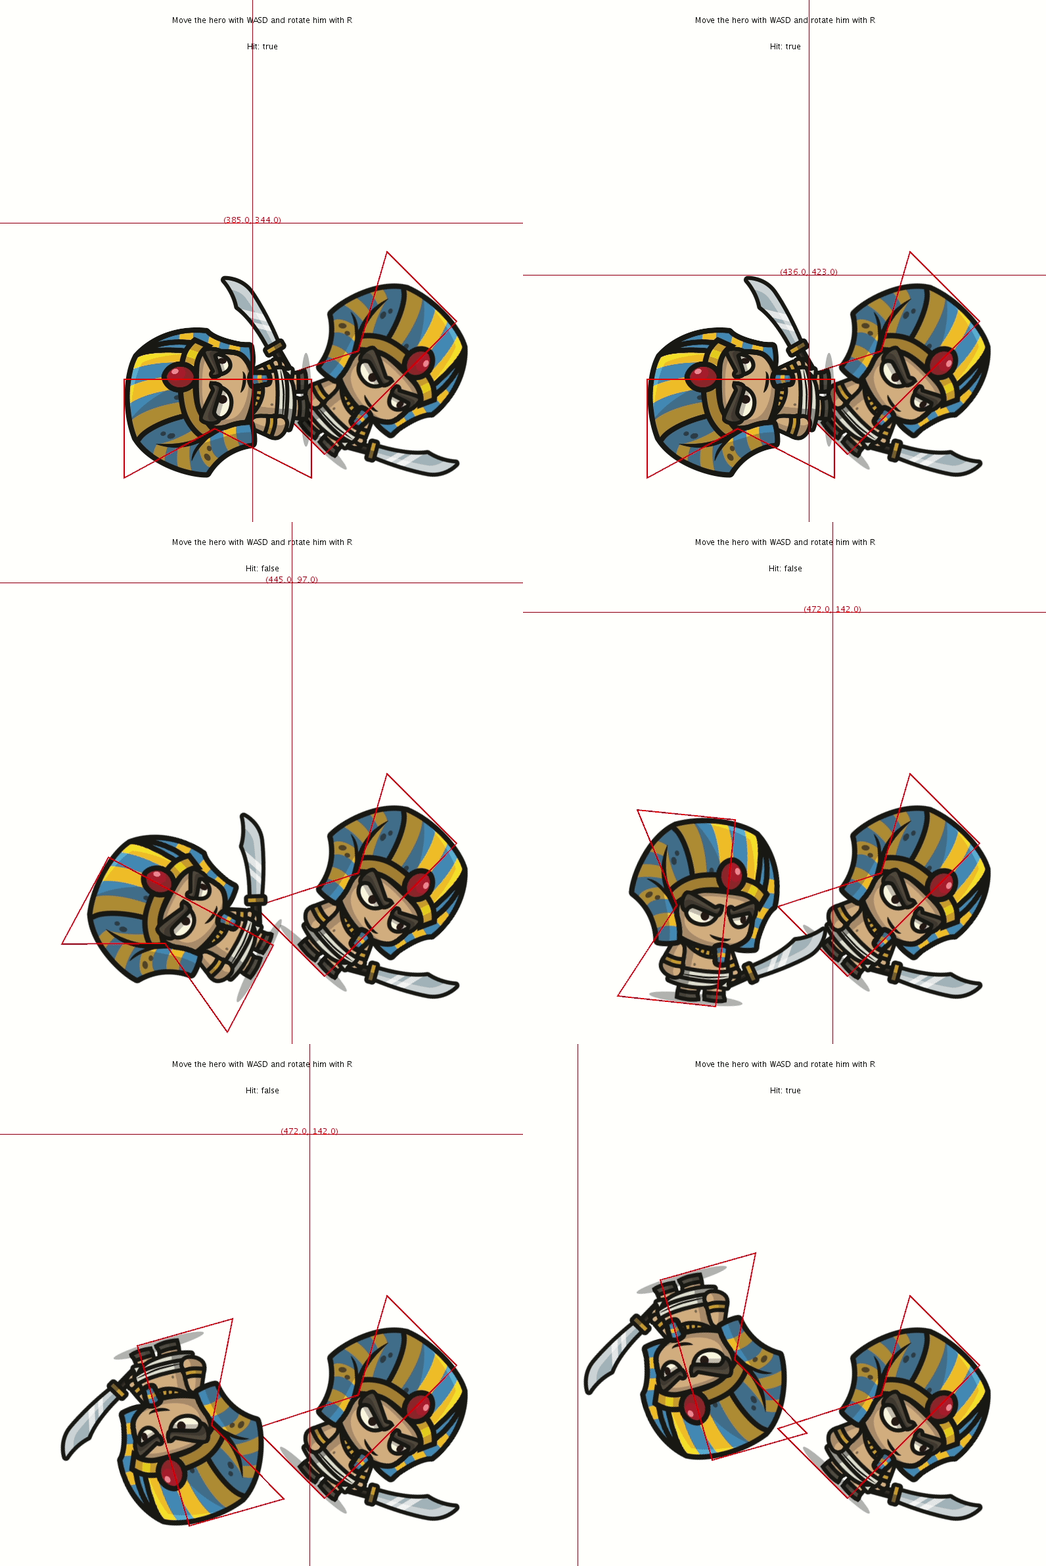
Source Code: https://github.com/mikebarkmin/processing-library-scratch/tree/master/examples/Sensing
An example which shows the usage of isTouchingMousePointer and custom hitboxes.
Source Code: https://github.com/mikebarkmin/processing-library-scratch/tree/master/examples/StressTest
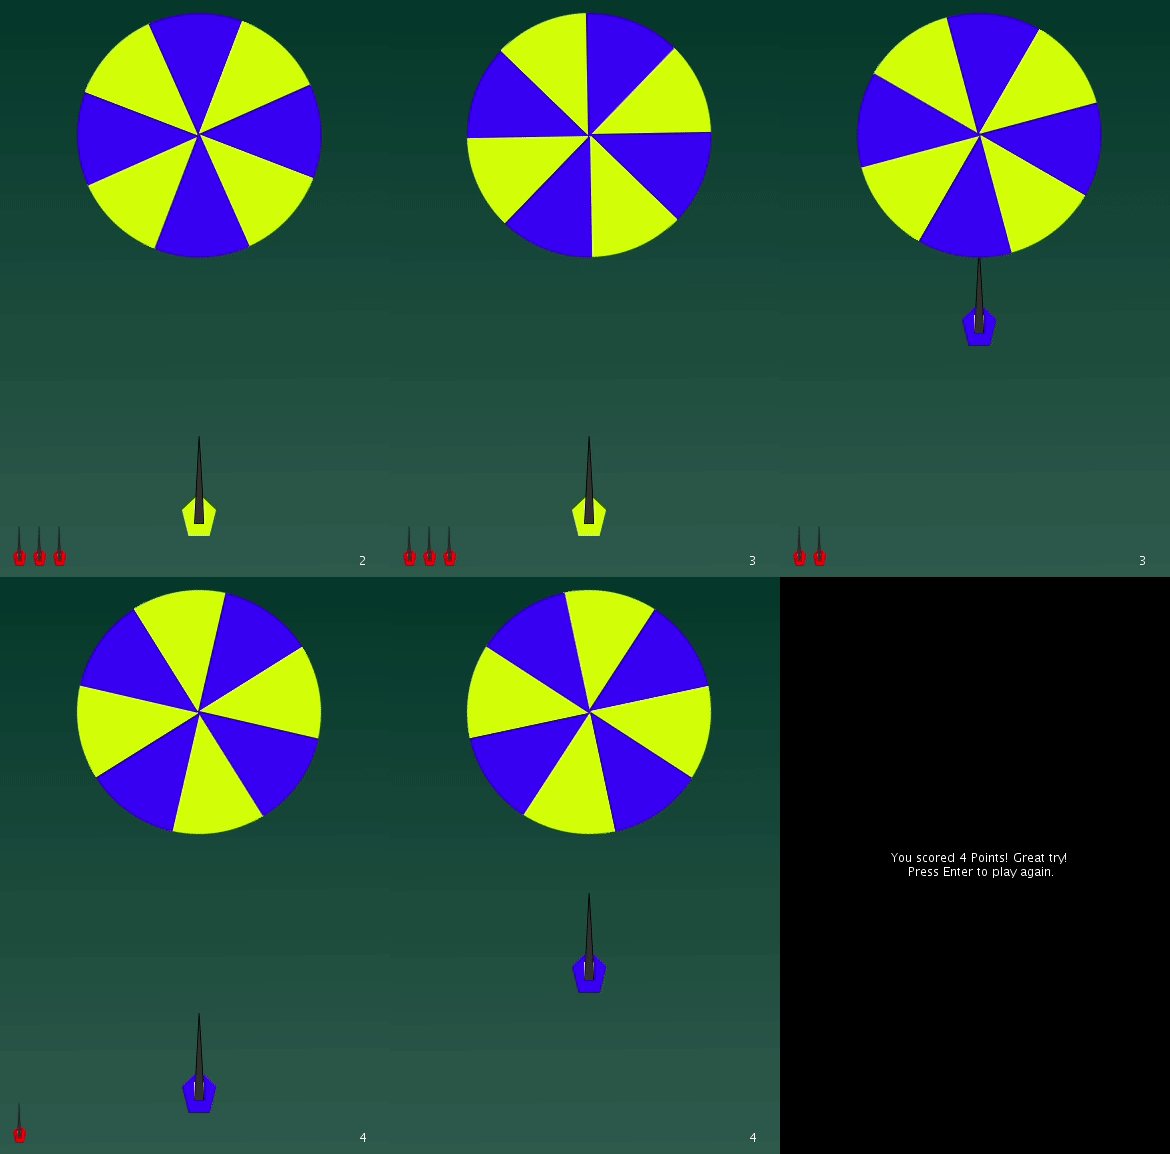
How many sprites can you display? And how does it effect the frame rate and memory usage of your scratch. Test it with this example.
It also show how to animate a sprite.
Source Code: https://github.com/mikebarkmin/processing-library-scratch/tree/master/examples/ColorHit
A little game developed which this library.
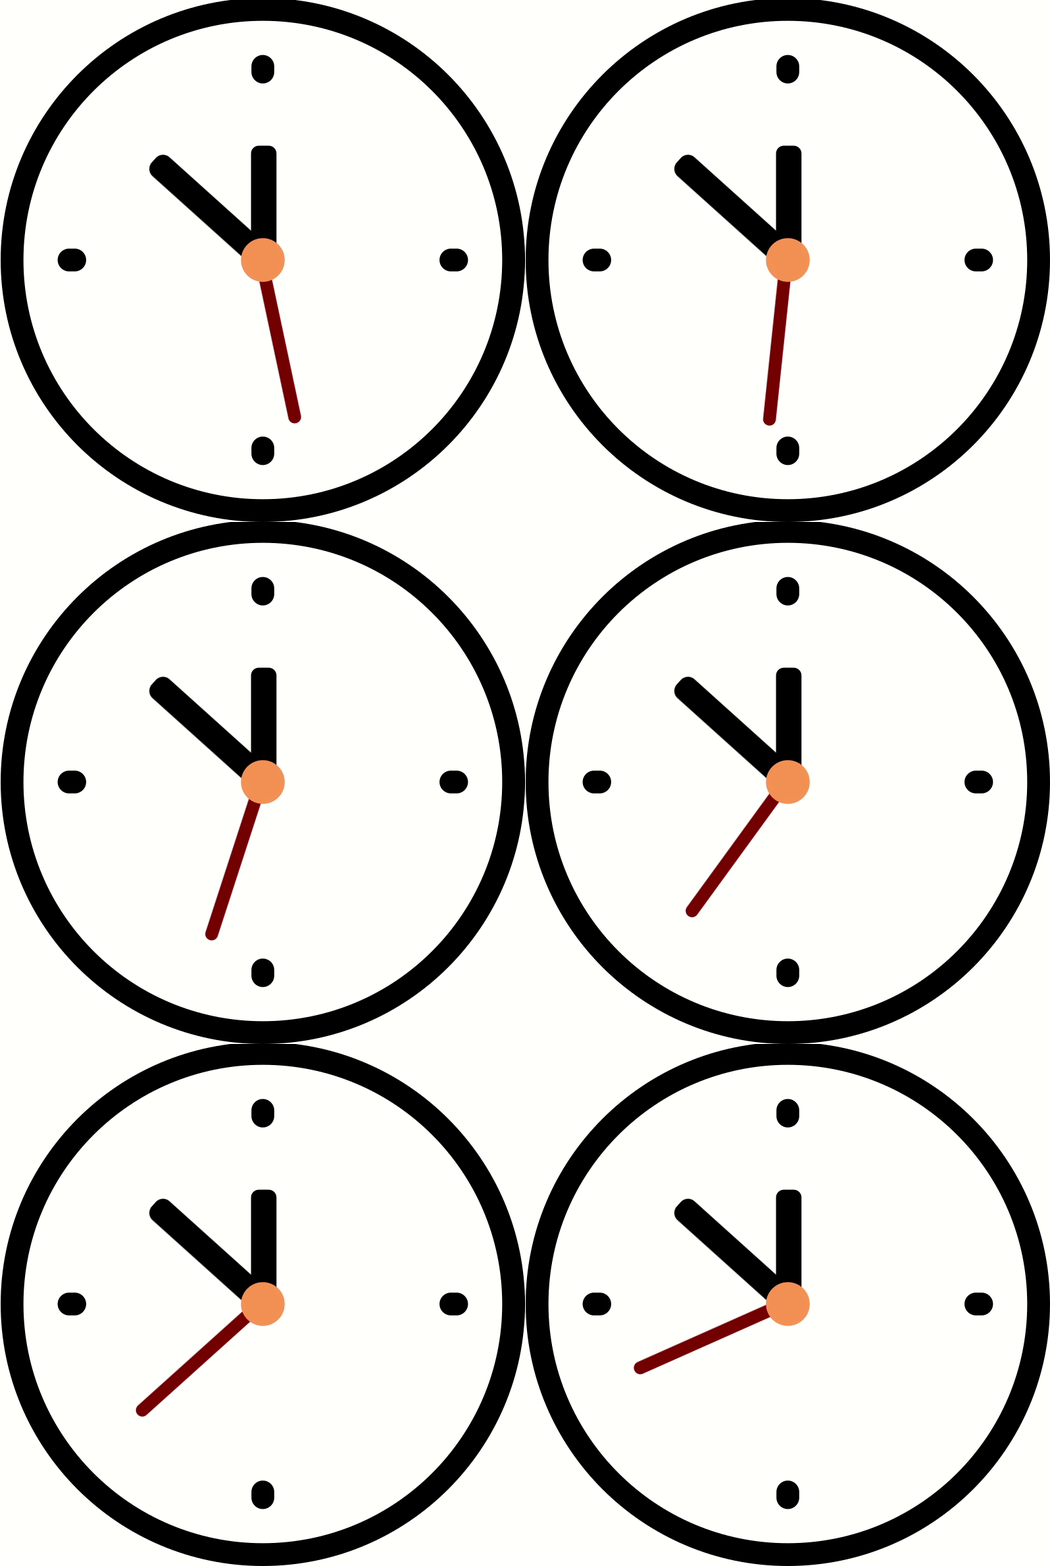
Source Code: https://github.com/mikebarkmin/processing-library-scratch/tree/master/examples/Clock
Shows the sensing time methods
- blocks which are not listed above are currently missing
- sprites can not speak or think
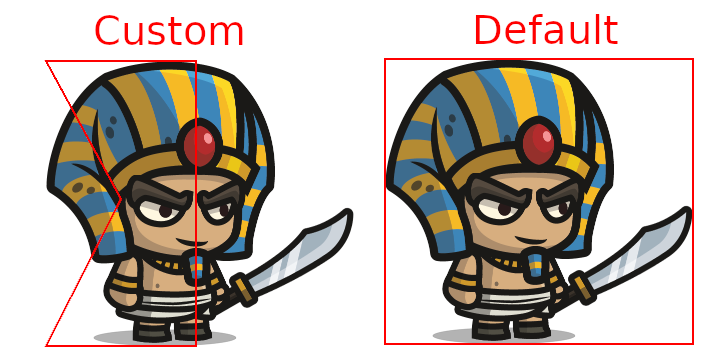
The default hitbox is defined by the image you have used, but you have the
ability to define a custom hitbox. Therefore call the method setHitbox on the
sprite you would like to modify. The setHitbox method gets two arguments
int[] xPoints and int[] yPoints these correspond to the outline out the new
hitbox. The path will be close automatically.
Example: We set the hitbox of an 615px x 570px image.
int[] xHitbox = {0, 300, 300, 0, 150};
int[] yHitbox = {0, 0,   570, 570, 275};
this.setHitbox(xHitbox, yHitbox);
Add contributed Libraries by selecting the menu item Sketch → Import Library... → Add Library... This will open the Contribution Manager, where you can browse for Scratch, or any other Library you want to install.
Not all available Libraries have been converted to show up in this menu. If a Library isn't there, it will need to be installed manually by following the instructions below.
Contributed Libraries may be downloaded separately and manually placed within the libraries folder of your Processing sketchbook. To find (and change) the Processing sketchbook location on your computer, open the Preferences window from the Processing application (PDE) and look for the "Sketchbook location" item at the top.
By default the following locations are used for your sketchbook folder:
- For Mac users, the sketchbook folder is located inside
~/Documents/Processing - For Windows users, the sketchbook folder is located inside
My Documents/Processing
Download Scratch from https://github.com/mikebarkmin/processing-library-scratch/releases/latest
Unzip and copy the contributed Library's folder into the libraries folder in the Processing sketchbook. You will need to create this libraries folder if it does not exist.
The folder structure for Library Scratch should be as follows:
Processing
  libraries
    Scratch
      examples
      library
        Scratch.jar
      reference
      src
Some folders like examples or src might be missing. After Library Scratch has been successfully installed, restart the Processing application.
If you're having trouble, have a look at the Processing Wiki for more information, or contact the author Mike Barkmin.


