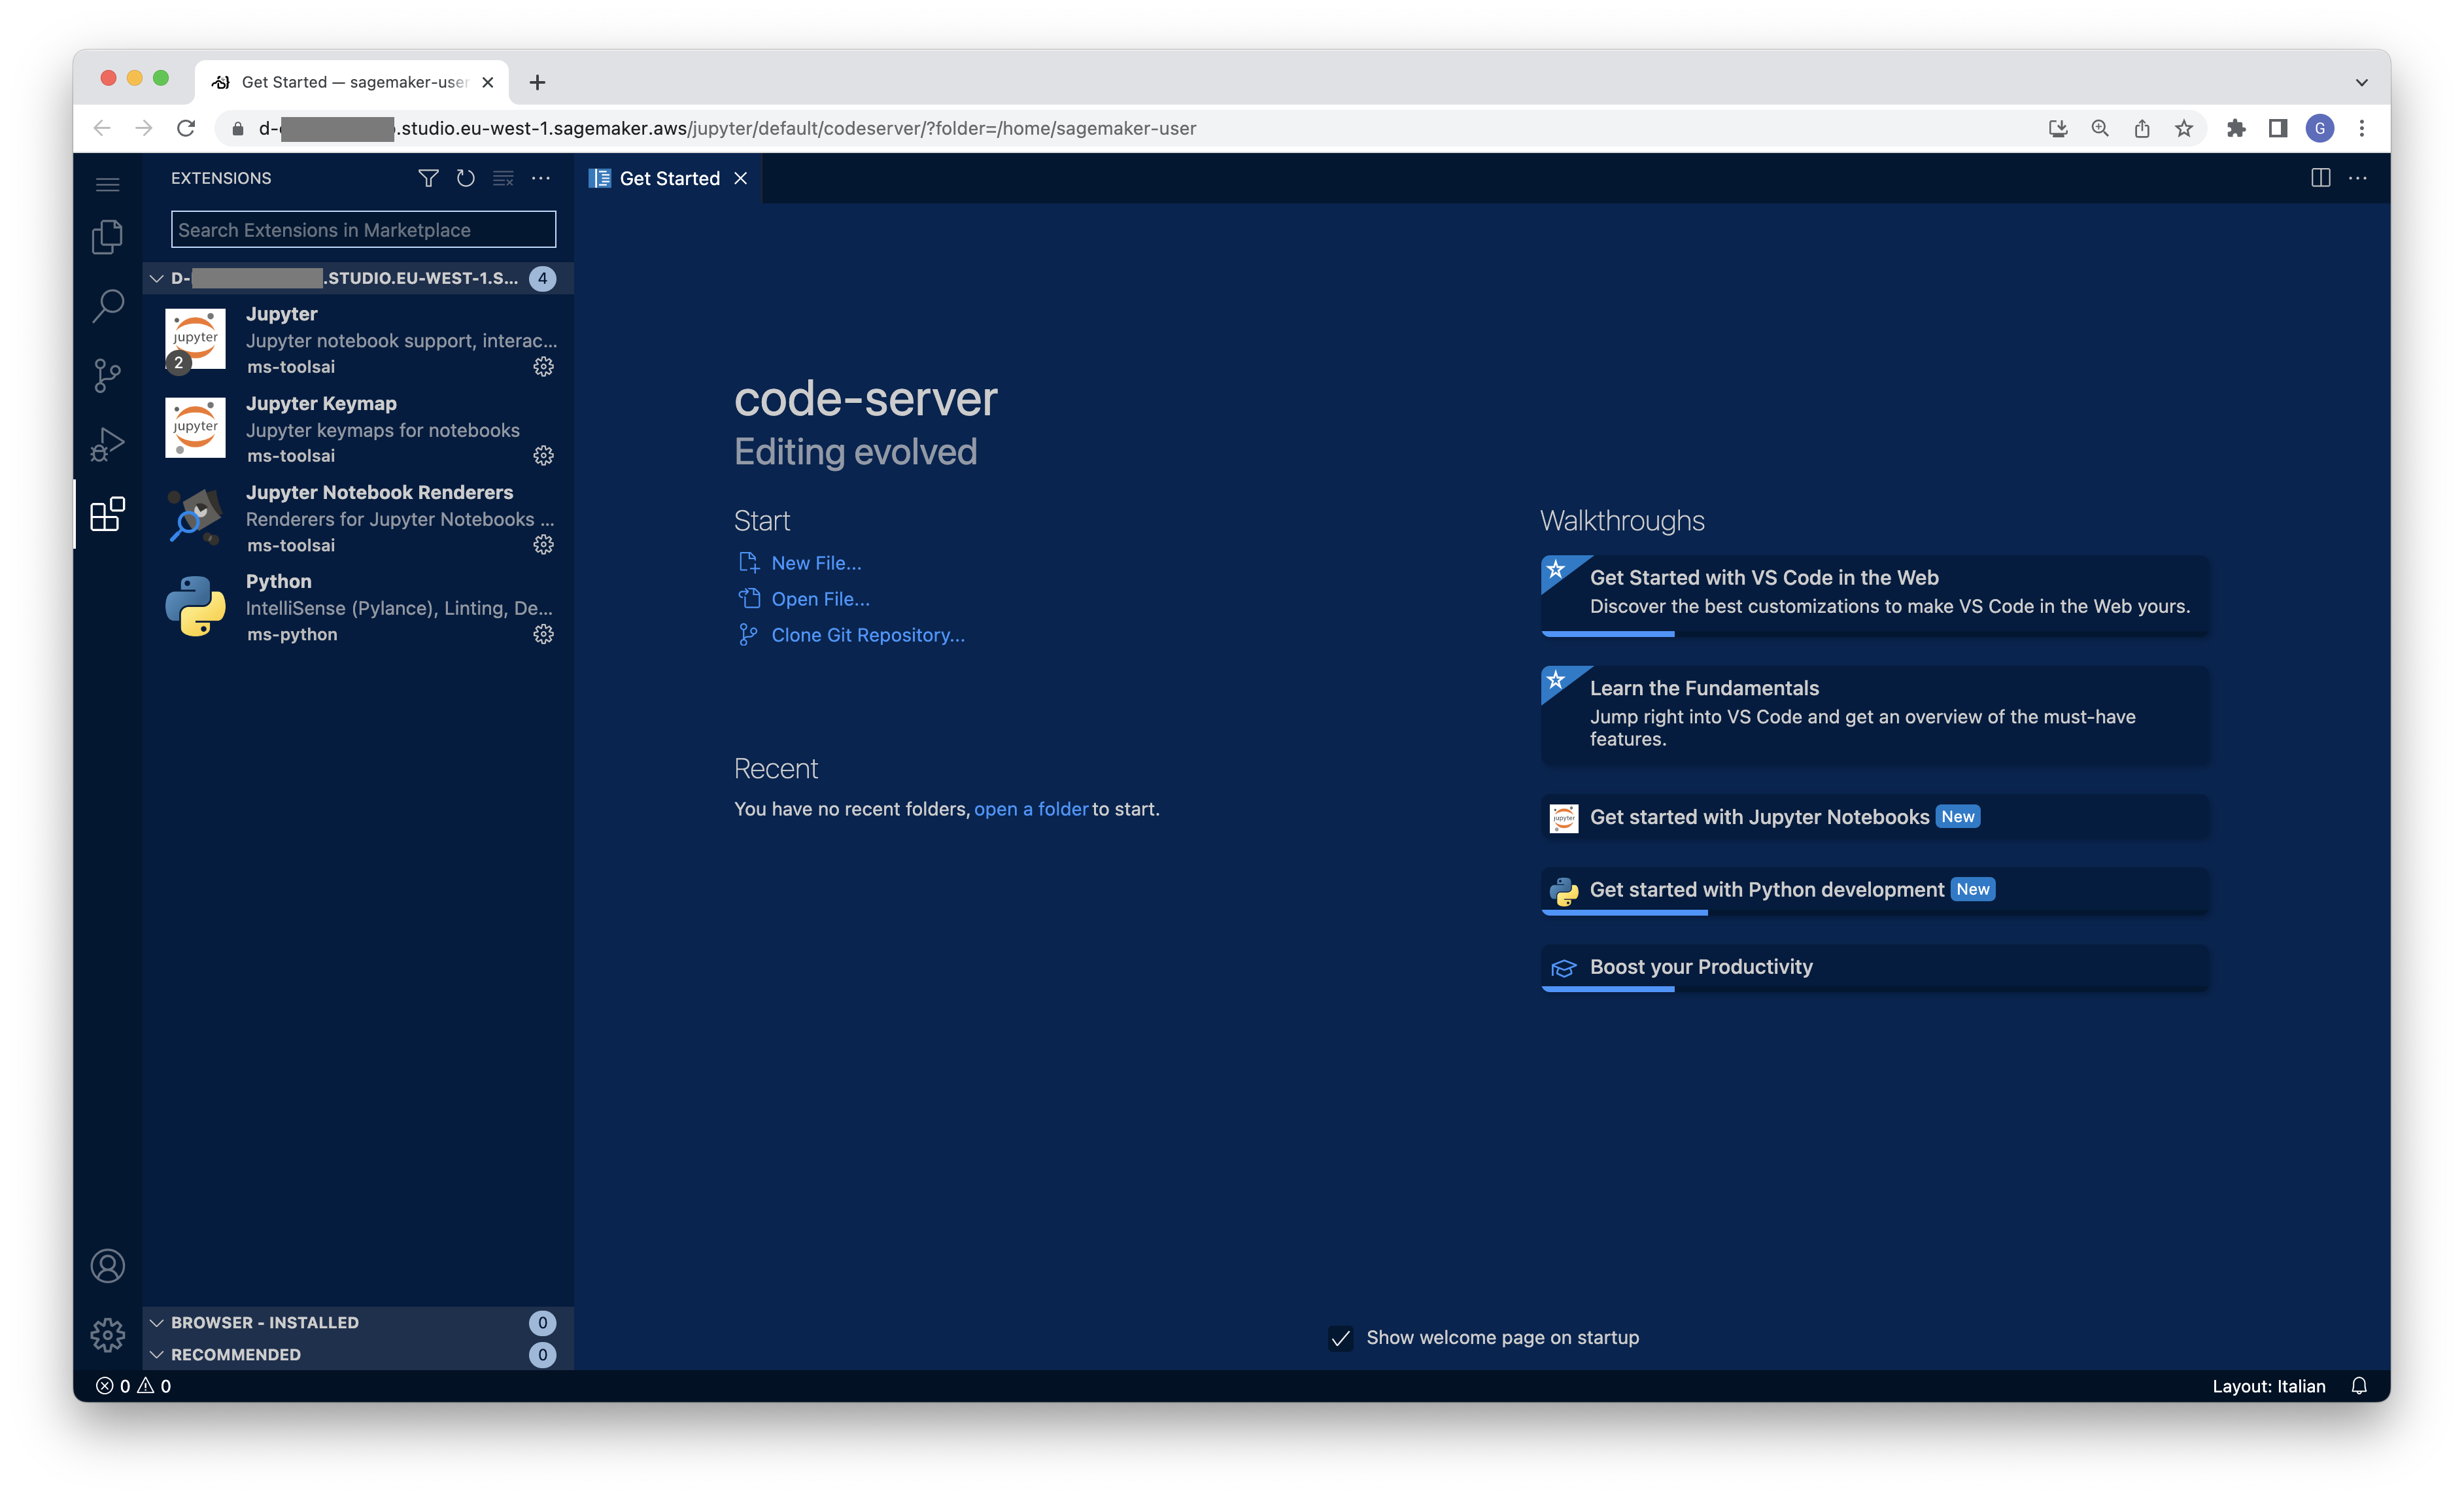
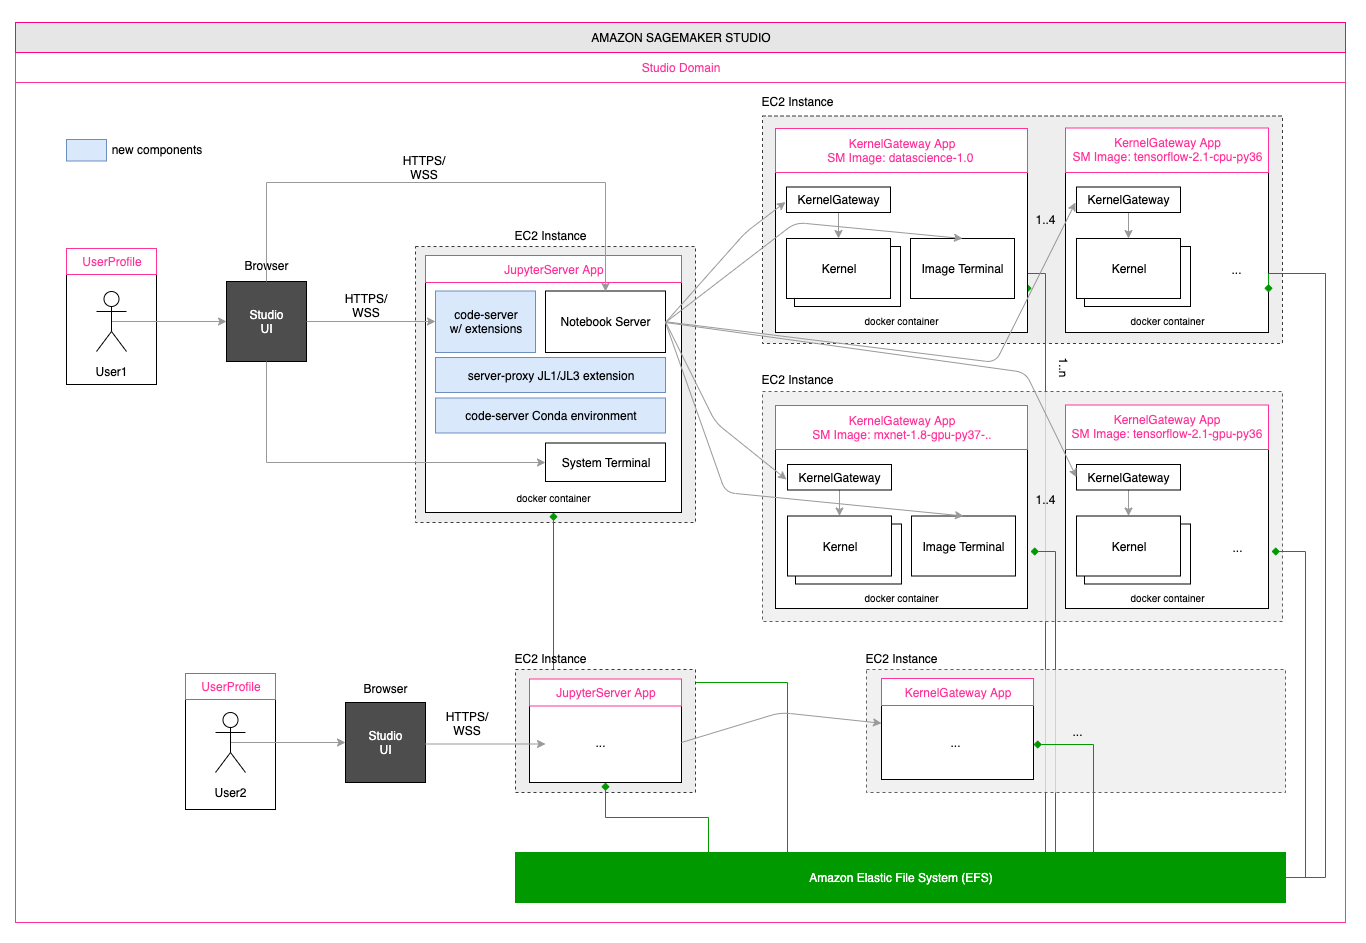
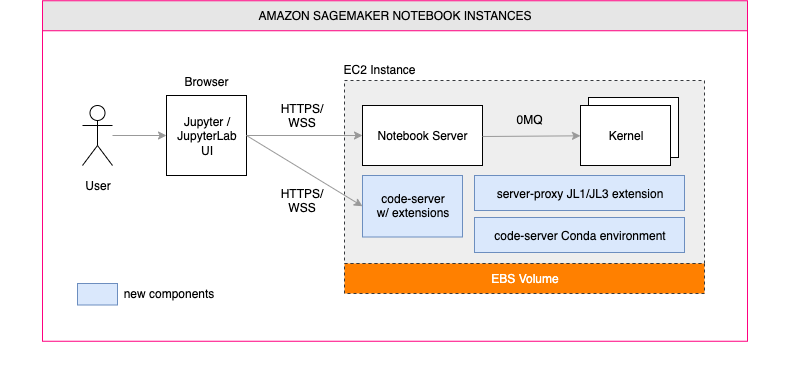
A solution to install and run code-server on Amazon SageMaker, and access it from the browser to develop and test your ML models.
This solution works for both Amazon SageMaker Studio and Amazon SageMaker Notebook Instances configured to run with both JupyterLab 3 (recommended) and JupyterLab 1 (with limitations). For additional information on compatibility, please check the compatiblity matrix.
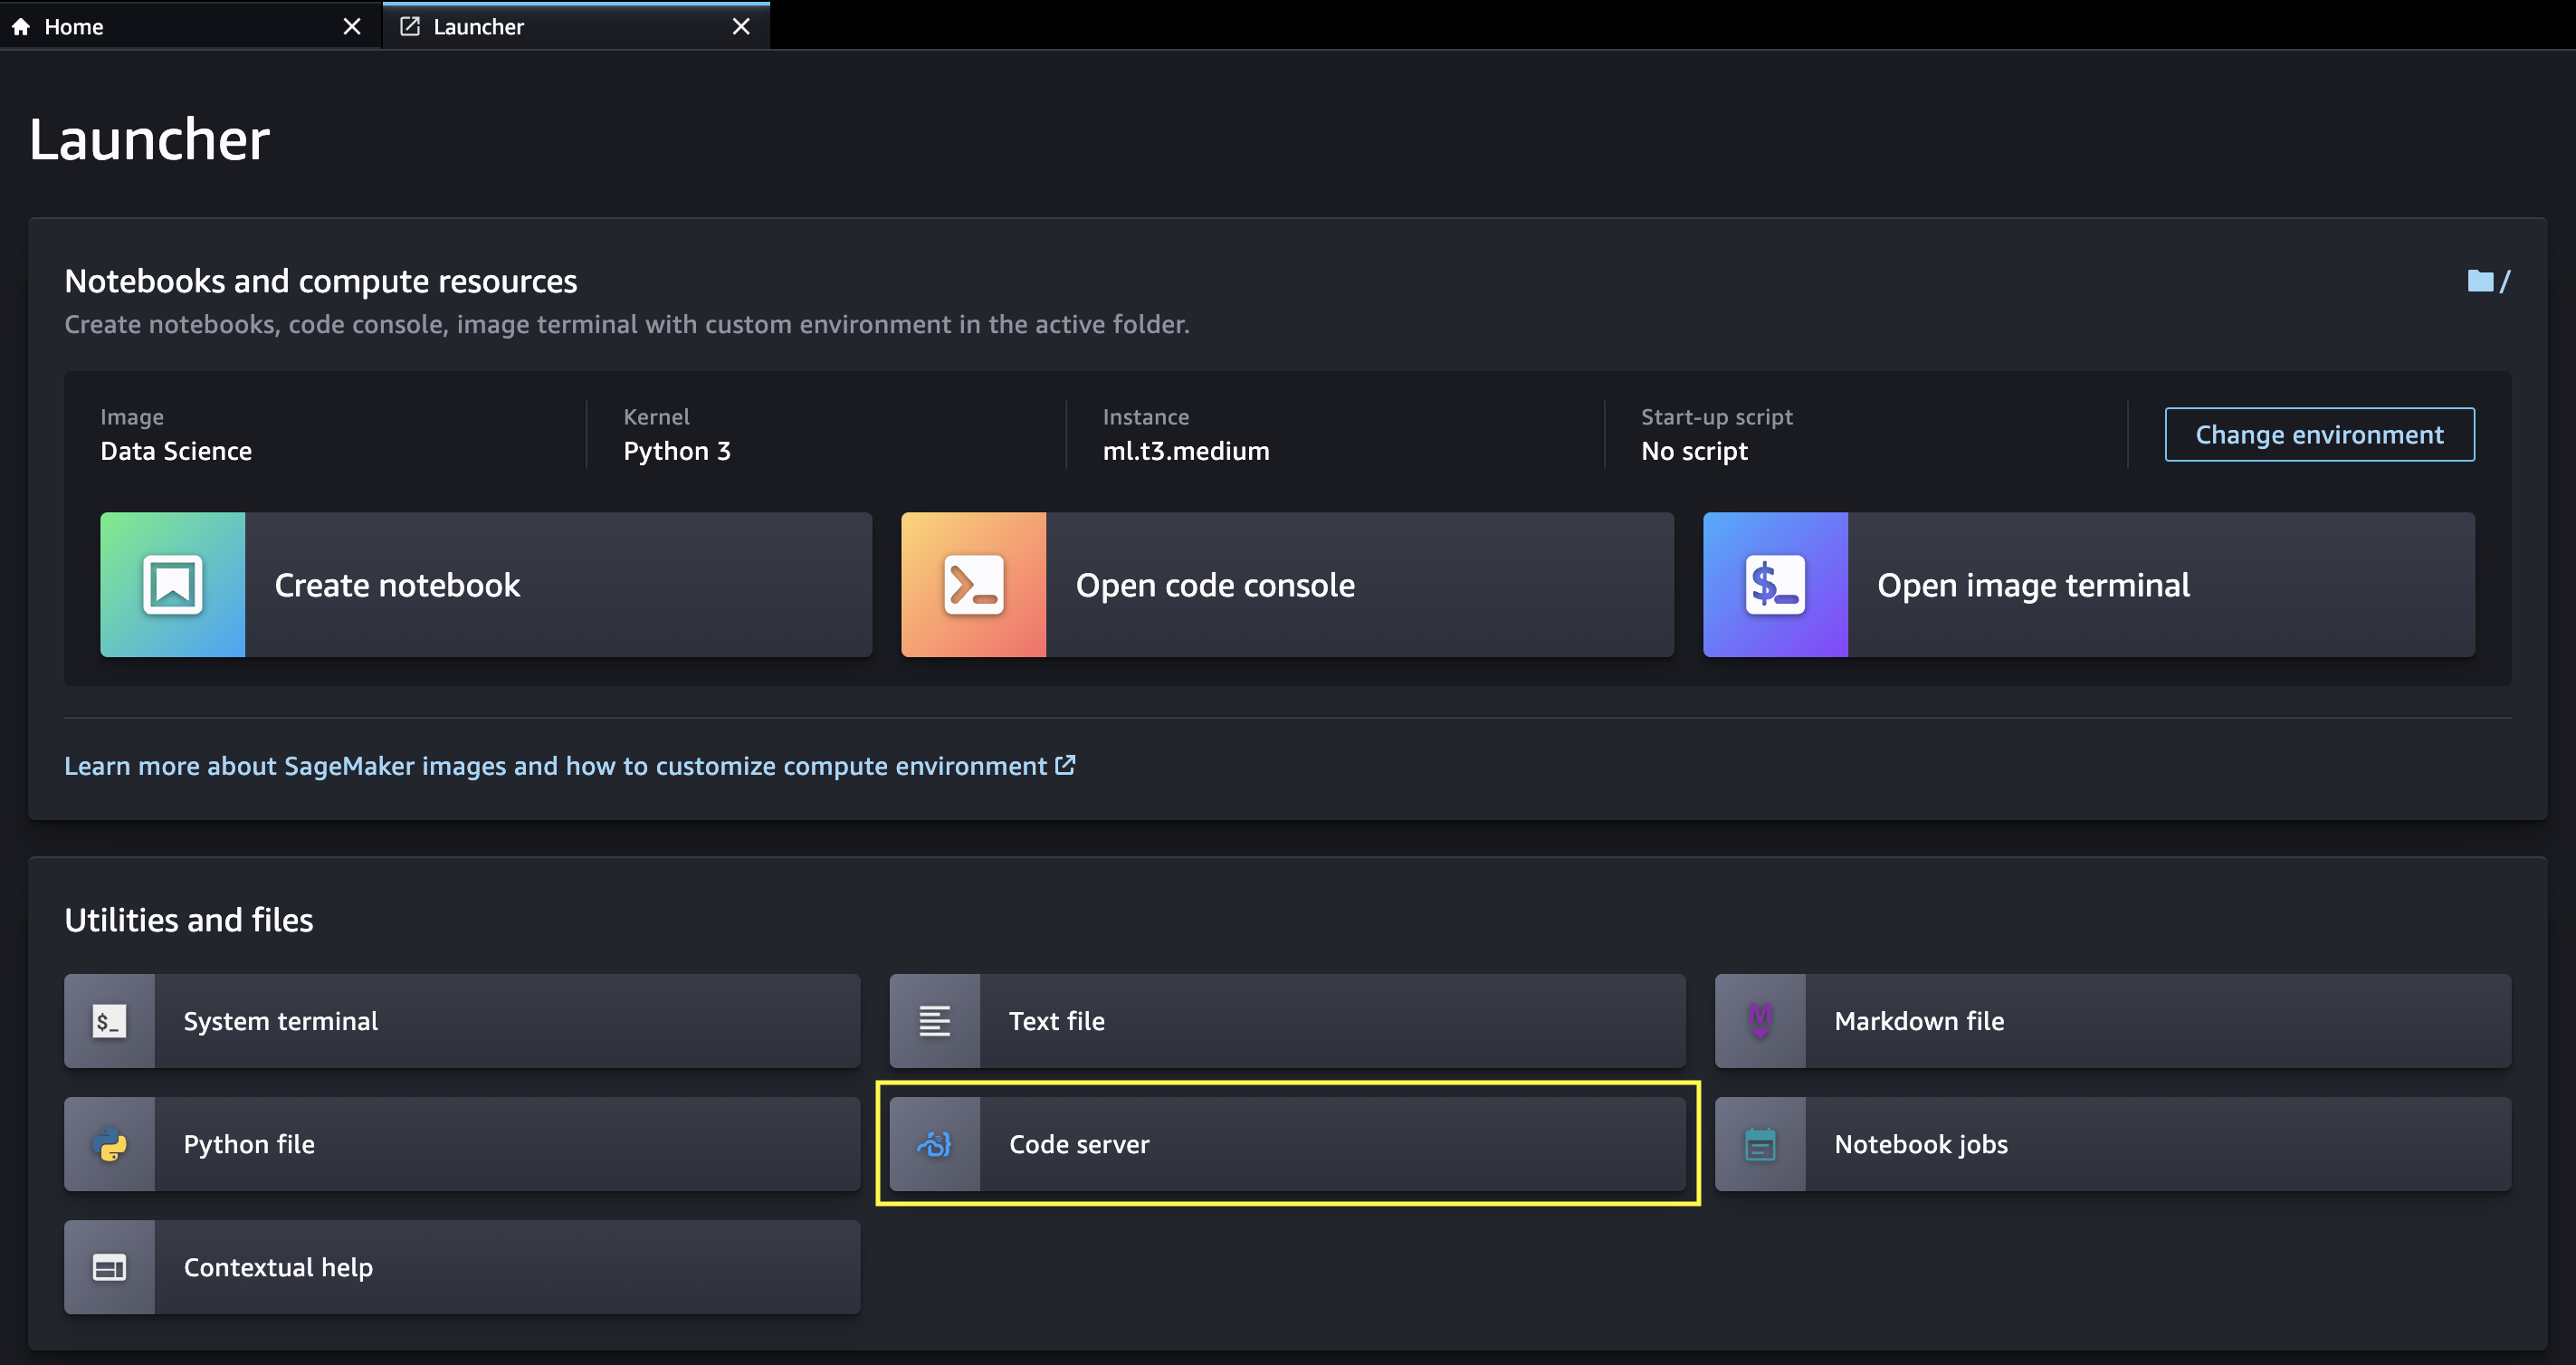
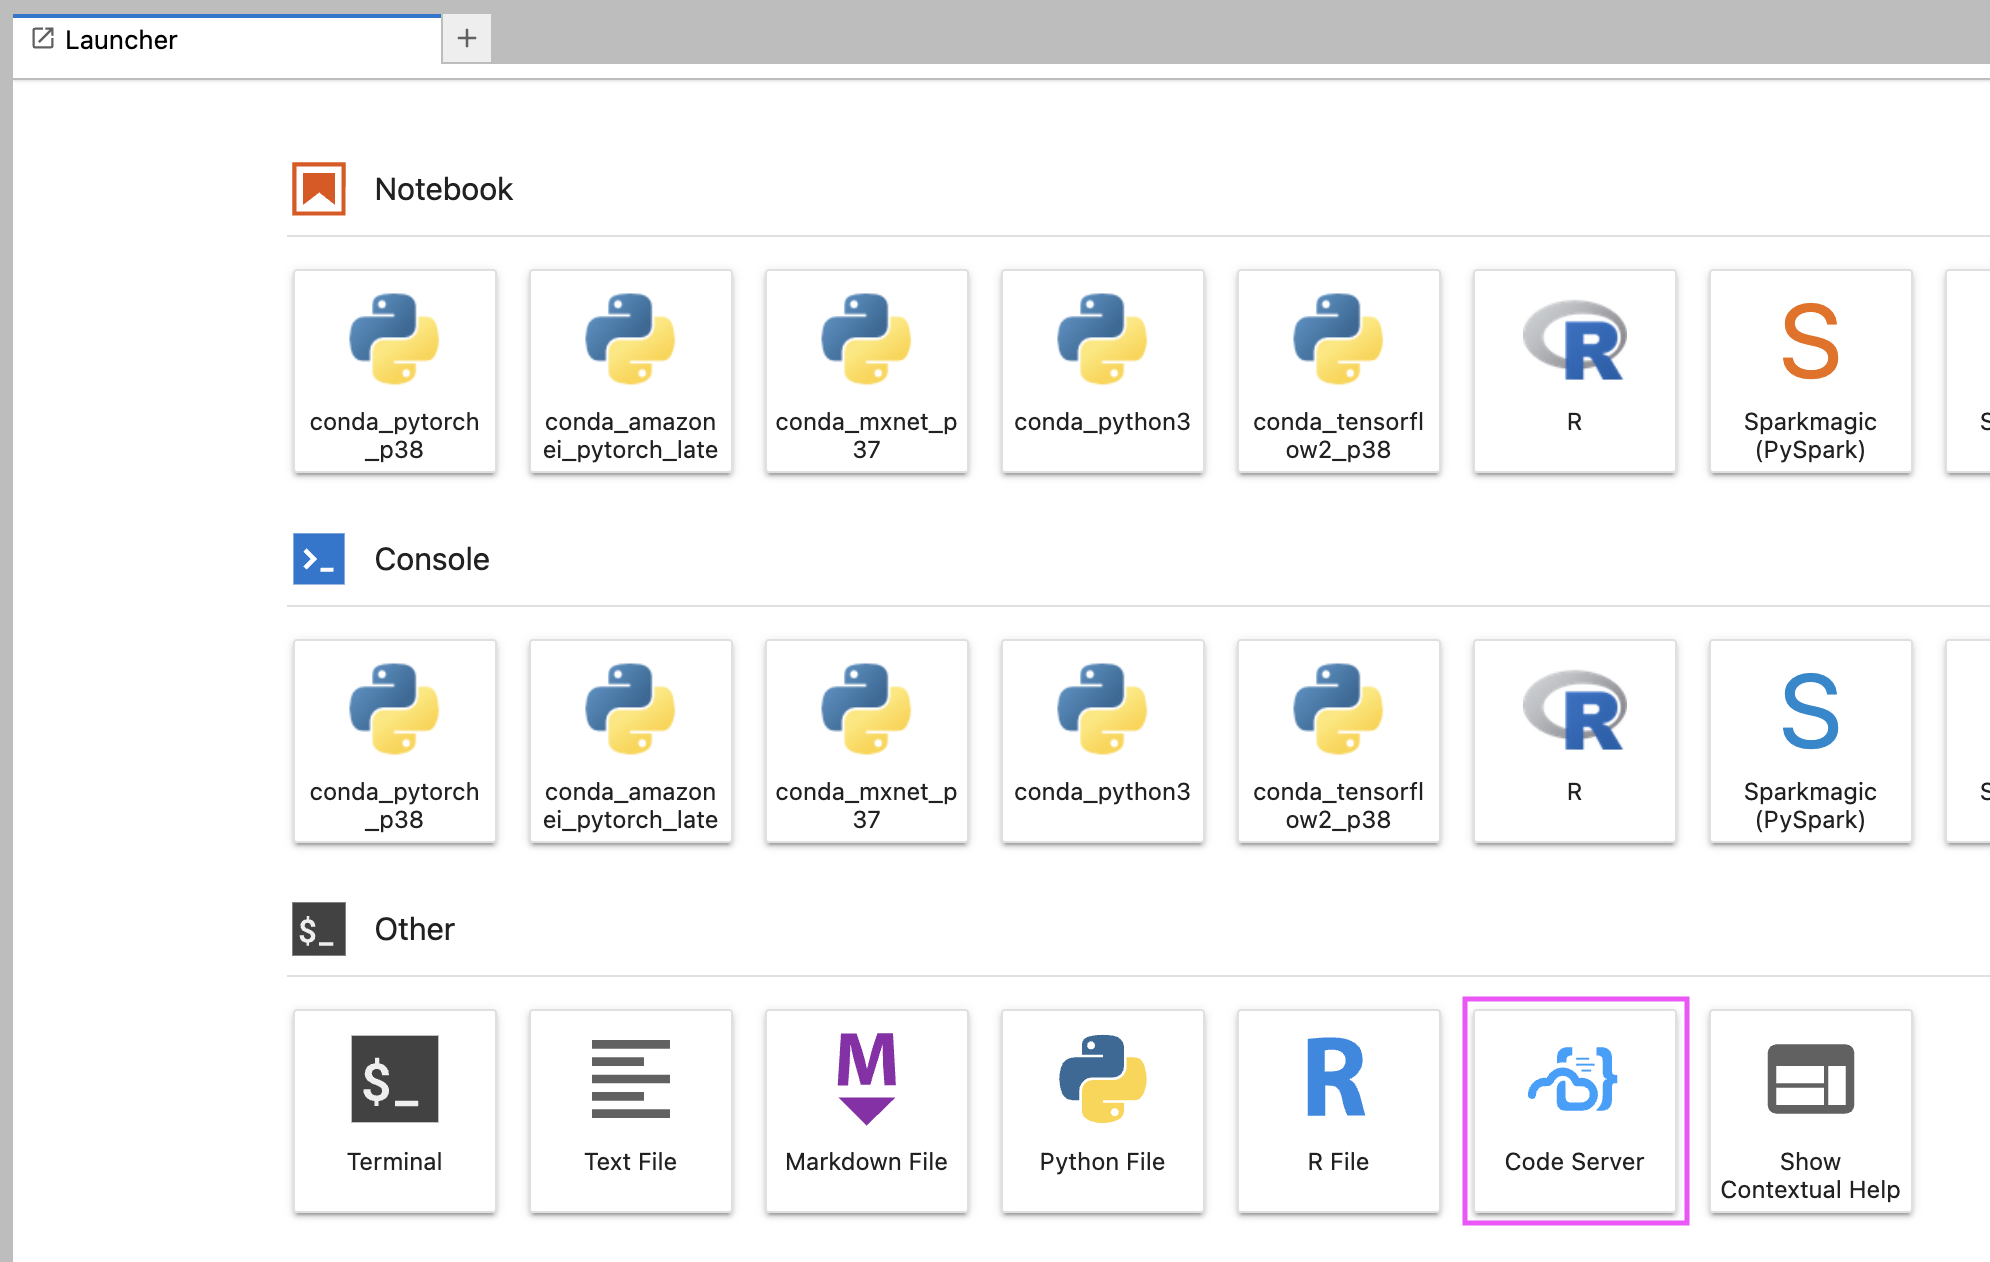
- Access code-server from the Amazon SageMaker Studio launcher
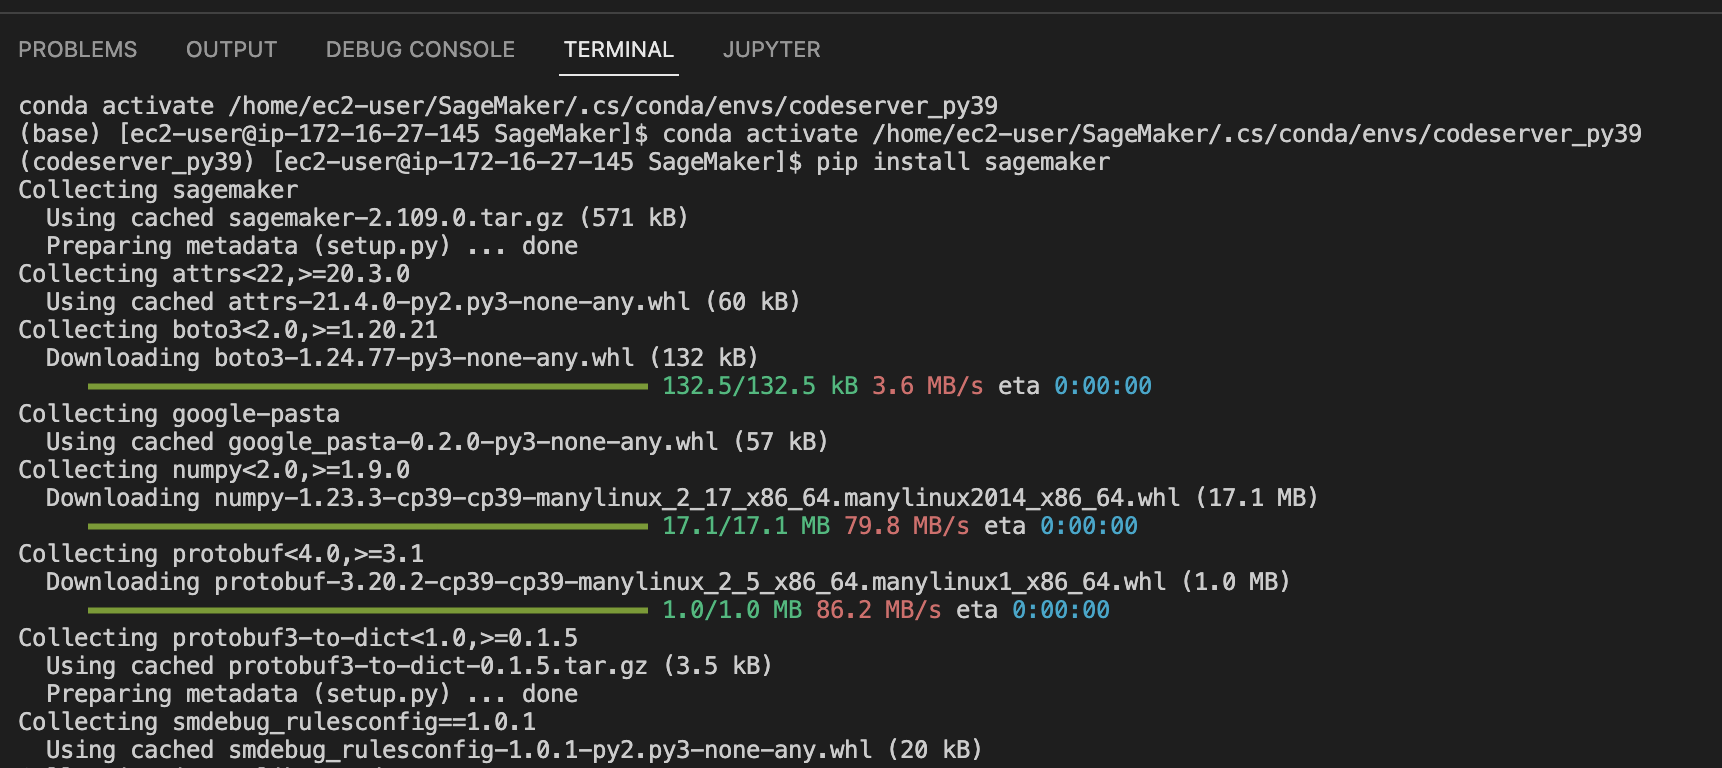
- Automatically create a dedicated Conda environment
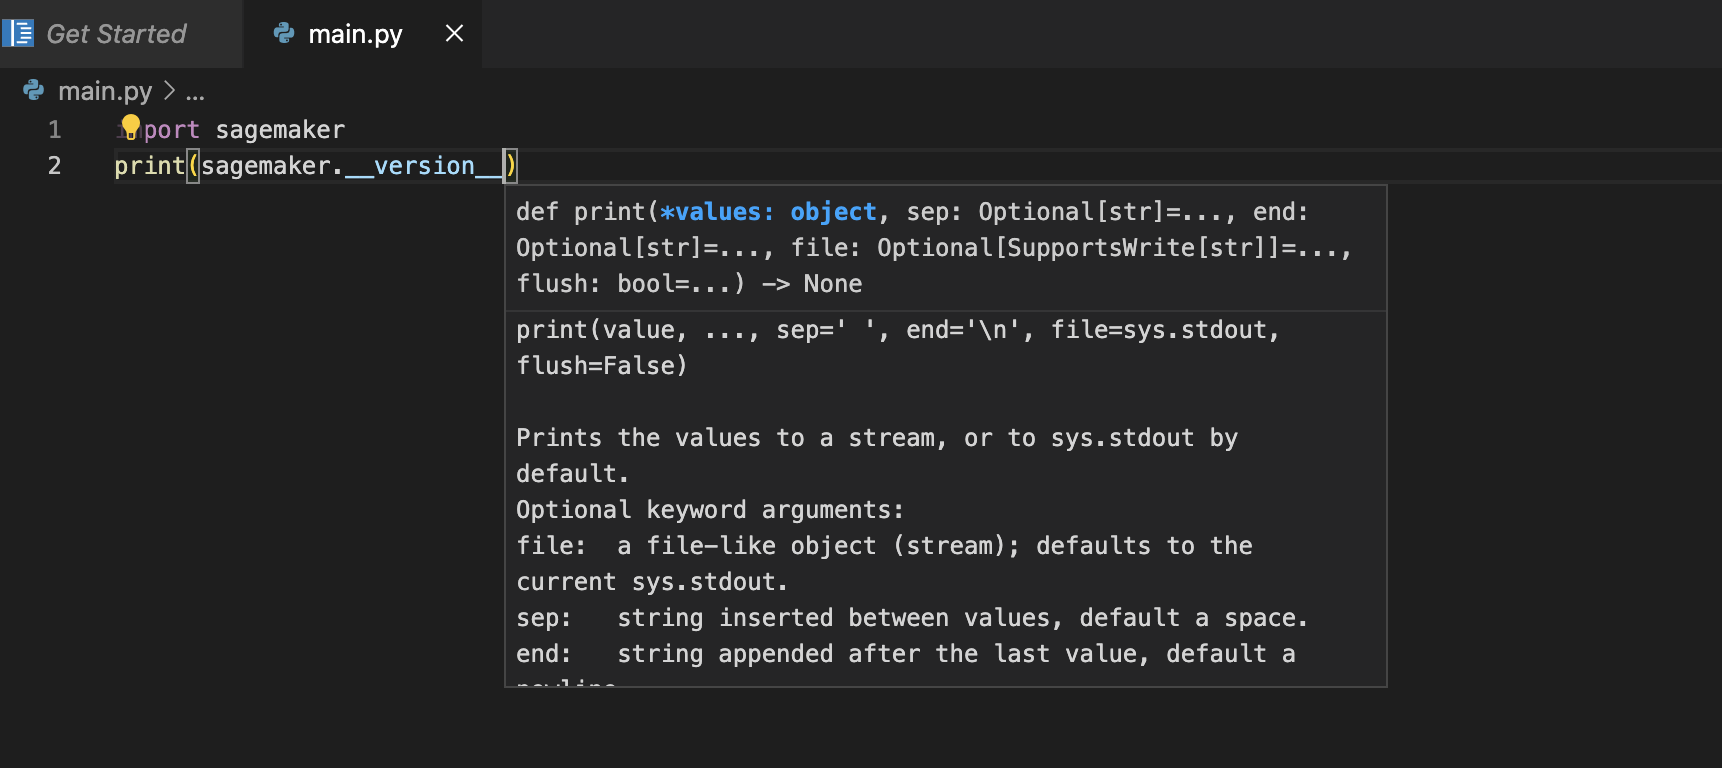
- Automatically install MS Python extension
- Use a custom extension gallery
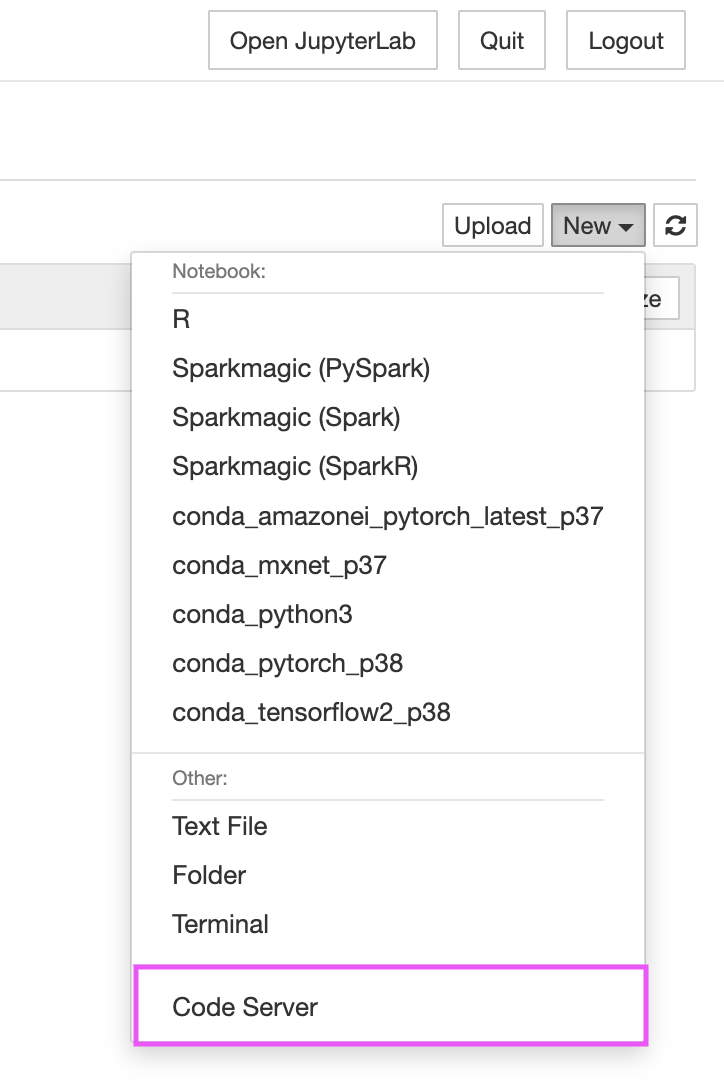
- Access code-server from both the JupyterLab launcher and the Jupyter notebook File menu
- Automatically create a dedicated Conda environment
- Run with diverse instance types (CPU/GPU)
- Automatically install MS Python extension
- Automatically install Docker extension
- Use a custom extension gallery
- Persistent installation (no need to re-install when Notebook Instances are stopped and re-started)
 |
|
 |
 |
 |
 |
There are two ways to get started and install the solution in Amazon SageMaker:
- [Recommended] Using lifecycle configuration scripts that will install code-server automatically when SageMaker Studio or Notebook Instances are spin-up.
- Install code-server manually from the Jupyter system terminal
In both cases we are going to leverage on the following install scripts:
- SageMaker Studio: install-codeserver
- SageMaker Notebook Instances: install-codeserver and setup-codeserver (install procedure is split in two sequential steps to better support lifecycle configurations - see next sections).
The install procedure is based on the latest stable release of the solution as of today.
When using Amazon SageMaker Studio, code-server must be installed on the instance that runs the JupyterServer application. For further information on the Studio architecture, please refer to this blog post. By using Studio lifecycle configurations, we can make sure code-server is installed automatically when the JupyterServer application is spin-up, and enable this behavior by default either for all users in the Studio domain or for a specific Studio user profile.
Example: install code-server automatically for all users in the Studio domain
From a terminal appropriately configured with AWS CLI, run the following commands:
curl -LO https://github.com/aws-samples/amazon-sagemaker-codeserver/releases/download/v0.2.0/amazon-sagemaker-codeserver-0.2.0.tar.gz
tar -xvzf amazon-sagemaker-codeserver-0.2.0.tar.gz

cd amazon-sagemaker-codeserver/install-scripts/studio

LCC_CONTENT=`openssl base64 -A -in install-codeserver.sh`

aws sagemaker create-studio-lifecycle-config \
    --studio-lifecycle-config-name install-codeserver-on-jupyterserver \
    --studio-lifecycle-config-content $LCC_CONTENT \
    --studio-lifecycle-config-app-type JupyterServer \
    --query 'StudioLifecycleConfigArn'

aws sagemaker update-domain \
    --region <your_region> \
    --domain-id <your_domain_id> \
    --default-user-settings \
    '{
    "JupyterServerAppSettings": {
    "DefaultResourceSpec": {
    "LifecycleConfigArn": "arn:aws:sagemaker:<your_region>:<your_account_id>:studio-lifecycle-config/install-codeserver-on-jupyterserver",
    "InstanceType": "system"
    },
    "LifecycleConfigArns": [
    "arn:aws:sagemaker:<your_region>:<your_account_id>:studio-lifecycle-config/install-codeserver-on-jupyterserver"
    ]
    }}'
Make sure to replace <your_domain_id>, <your_region> and <your_account_id> in the previous commands with the Studio domain ID, the AWS region and AWS Account ID you are using respectively.
Amazon SageMaker Notebook Instances support lifecycle configuration scripts that run when the instance is created and when the instance is started (re-run also at restart after the instance is stopped). As a consequence, we can make sure to install code-server once when the instance is created, and setup it on start. For more information on lifecycle configurations please check the SageMaker Notebook Instances lifecycle configurations documentation.
Example: Create a notebook instance and install code-server automatically
From a terminal appropriately configured with AWS CLI, run the following commands:
curl -LO https://github.com/aws-samples/amazon-sagemaker-codeserver/releases/download/v0.2.0/amazon-sagemaker-codeserver-0.2.0.tar.gz
tar -xvzf amazon-sagemaker-codeserver-0.2.0.tar.gz

cd amazon-sagemaker-codeserver/install-scripts/notebook-instances

aws sagemaker create-notebook-instance-lifecycle-config \
    --notebook-instance-lifecycle-config-name install-codeserver \
    --on-start Content=$((cat setup-codeserver.sh || echo "")| base64) \
    --on-create Content=$((cat install-codeserver.sh || echo "")| base64)

aws sagemaker create-notebook-instance \
    --notebook-instance-name <your_notebook_instance_name> \
    --instance-type <your_instance_type> \
    --role-arn <your_role_arn> \
    --lifecycle-config-name install-codeserver
Make sure to replace <your_notebook_instance_name>, <your_instance_type> and <your_role_arn> in the previous commands with the appropriate values.
-
Open the Amazon SageMaker Studio system terminal
-
From the terminal, run the following commands:
curl -LO https://github.com/aws-samples/amazon-sagemaker-codeserver/releases/download/v0.2.0/amazon-sagemaker-codeserver-0.2.0.tar.gz tar -xvzf amazon-sagemaker-codeserver-0.2.0.tar.gz cd amazon-sagemaker-codeserver/install-scripts/studio chmod +x install-codeserver.sh ./install-codeserver.sh # Note: when installing on JL1, please prepend the nohup command to the install command above and run as follows: # nohup ./install-codeserver.sh -
After the execution of the commands completes, reload the browser window and the code-server launcher button will appear in Studio as shown in the screenshots above.
-
Access JupyterLab and open a terminal
-
From the terminal run the following commands:
curl -LO https://github.com/aws-samples/amazon-sagemaker-codeserver/releases/download/v0.2.0/amazon-sagemaker-codeserver-0.2.0.tar.gz tar -xvzf amazon-sagemaker-codeserver-0.2.0.tar.gz cd amazon-sagemaker-codeserver/install-scripts/notebook-instances chmod +x install-codeserver.sh chmod +x setup-codeserver.sh sudo ./install-codeserver.sh sudo ./setup-codeserver.sh -
After the execution of the commands completes, reload the browser window and the code-server launcher button will appear as shown in the screenshots above.
Note: code-server and extensions installations are persistent on the notebook instance. However, if you stop or restart the instance, you need to run the following command to reconfigure code-server
sudo ./setup-codeserver.sh
The install scripts define the following variables that can be modified to customize the install procedure.
- CODE_SERVER_VERSION - The version of code-server to install. The solution is tested with version 4.16.1. For a list of the available releases, please check https://github.com/coder/code-server/releases
- CODE_SERVER_INSTALL_LOC - The install location for code-server. For notebook instance setup, please make sure to choose a path on the attached EBS volume (under /home/ec2-user/SageMaker/).
- XDG_DATA_HOME - The directory where user-specific code-server data is stored.
- XDG_CONFIG_HOME - The directory where user-specific code-server config is stored.
- INSTALL_PYTHON_EXTENSION - Set to 1 if the ms-python.python extension must be installed; 0 otherwise.
- CREATE_NEW_CONDA_ENV - Set to 1 if a new Conda environment must be created, 0 otherwise. This environment is supposed to be used when developing with code-server, to avoid conflicting with existing Conda environments in Studio or Notebook Instances.
- CONDA_ENV_LOCATION - The location where the Conda environment will be created. Applies only when CREATE_NEW_CONDA_ENV is set to 1.
- CONDA_ENV_PYTHON_VERSION - The version of Python to install in the new Conda environment. Applies only when CREATE_NEW_CONDA_ENV is set to 1.
- INSTALL_DOCKER_EXTENSION - Set to 1 if the ms-azuretools.vscode-docker extension must be installed; 0 otherwise. Applies only to Notebook Instances.
- USE_CUSTOM_EXTENSION_GALLERY - Set to 1 if using a custom extension gallery for code-server, 0 otherwise. A custom extension gallery must adhere to the Extension Gallery API schema. Additional info: https://coder.com/docs/code-server/latest/FAQ#how-do-i-use-my-own-extensions-marketplace
- EXTENSION_GALLERY_CONFIG - The API configuration for using a custom extension gallery. Applies only when USE_CUSTOM_EXTENSION_GALLERY is set to 1.
- LAUNCHER_ENTRY_TITLE - The label of the button added to the JupyterLab launcher. Defaults to 'Code Server'.
- PROXY_PATH - The path that is appended to the Jupyter URI to access code-server. Defaults to 'codeserver'. Changing this value will cause the code-server icon not being used, and falling-back to a generic icon.
- LAB_3_EXTENSION_DOWNLOAD_URL - The download URL of the JupyterLab 3 extension.
Please read the following section for the known limitations when using JupyterLab 1.
- When using SageMaker Studio, code-server data and configuration are stored in non-persistent volumes. As a consequence, when deleting and re-creating a JupyterServer app for a specific user, the install procedure has to be executed again (either automatically with lifecycle configurations, or manually). Please also note that user-specified code-server settings, user-installed extensions, etc. will be lost and will need to be set/installed again. The same considerations apply to the Conda environment. This behavior can be modified by changing the XDG_DATA_HOME, XDG_CONFIG_HOME or CONDA_ENV_LOCATION to use the persistent Amazon EFS volume (mounted on /home/sagemaker-user/) based on needs.
- When using rootless mode in SageMaker Notebook Instances (https://docs.aws.amazon.com/sagemaker/latest/dg/nbi-root-access.html), you will need to manually shutdown the JupyterServer at the end of the install procedure, by opening the File menu and clicking on Shut Down.
- Starting from release 0.2.0 the JupyterLab 1 extension that shows the button to launch code-server in either Studio or Notebook Instances is not supported anymore. However, JupyterLab 1 users can still install this solution and access code-server by typing the following URLs in the browser (and replacing the in the URLs):
- For SageMaker Notebook Instances: https://<notebook_instance_name>.notebook.<region>.sagemaker.aws/codeserver/
- For SageMaker Studio: https://<domain_id>.studio.<region>.sagemaker.aws/jupyter/default/codeserver/
This project is licensed under the MIT-0 License.
Giuseppe A. Porcelli - Principal, ML Specialist Solutions Architect - Amazon SageMaker
Sofian Hamiti and Prayag Singh for the Hosting VS Code on SageMaker blog post this work is inspired to.
