Mautic
A blueprint for creating a mautic installation using Subutai.
How to use
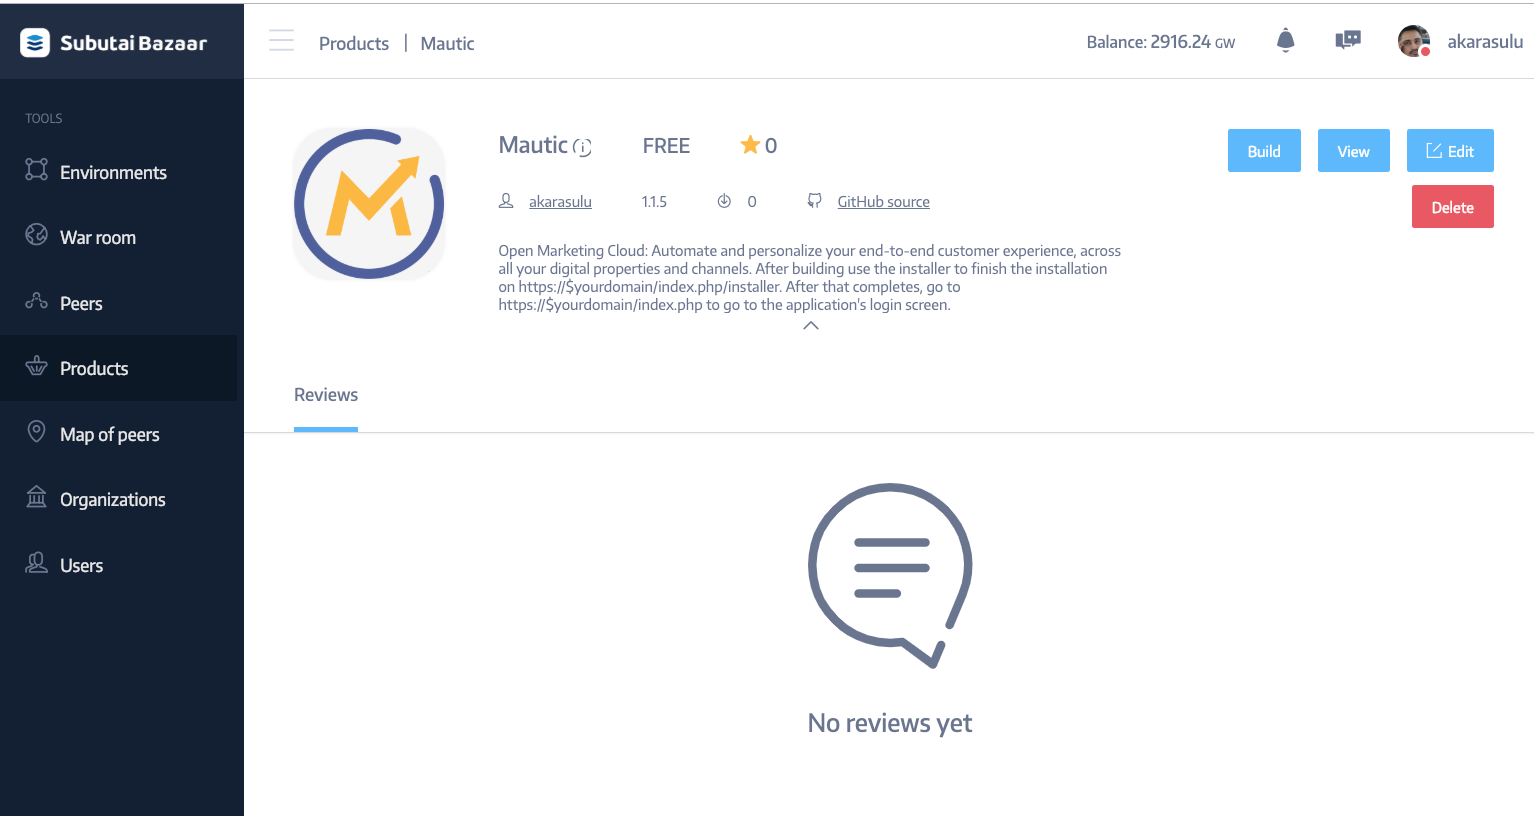
- On the Subutai Bazaar just build the Mautic Blueprint
- The Subutai Blueprint Wizard will ask a few questions needed to install the application properly:
- hostname is the name of the container running mautic, the mariadb is installed in this same container
- password is the password for the database user
- mautic is automatically the name of the database user and db name in mariadb
- the email is optional but nice to have since admin issues will be emailed to this user
- medium is a good size
The rest is not all that important.
- Select the peers to run it on in the blueprint wizard:
- By default HTTPS will be used and the certificate will automatically be gotten from letsencrypt, you can just click next. If you want to take a look just click the upload ssl keys button there to the right. It will show you the certs will be created with letsencrypt.
Watch it build the environment for you. It will take a couple minutes.
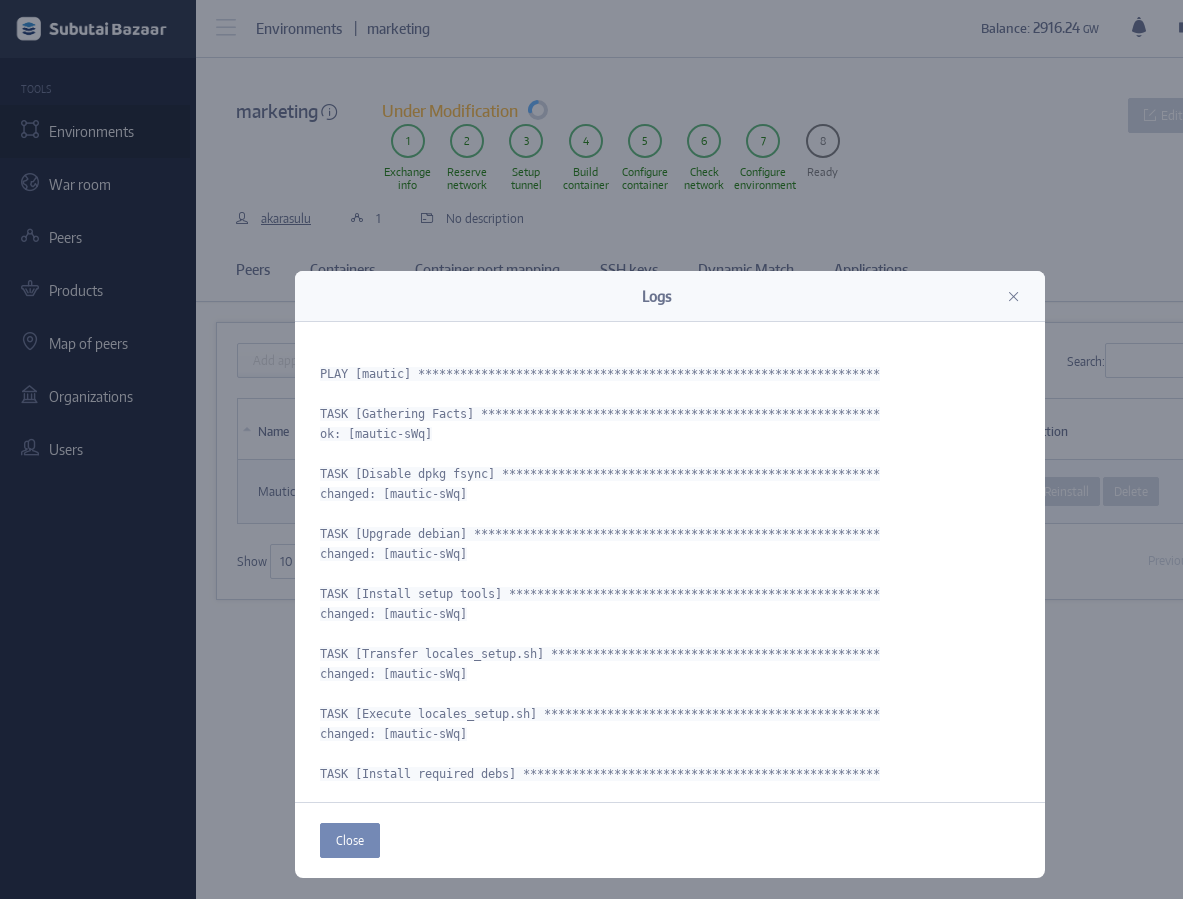
If you're impatient like me you can check the logs by going to the Application tab to select the logs button for the Mautic application. NOTE: you can install Muatic into existing cloud environments next to other applications as well.
Once the environment is built with the application on the container portmappings tab you will see a link to get to the Mautic application fronted by HTTPS with your certificate:
Clicking the links seems to take you to the wrong place:
Just change the link to use HTTPS like so. This is only needed once to hit the installer:
- After building successfully go the following URL (pull in your domain though or correct the URL as shown above):
https://$yourdomain/index.php/installer
- On the installer's database page you will be asked for Database configuration questions. Here's the answer to the questions for the installation. Don't worry the database cannot be accessed from the outside:
- db user: mautic
- db name: mautic
- db password: password set on the bp installer wizard
Note this takes some time.
- On the installer's user configuration page you will be asked for the administrator's information. Here's what I answered to the questions for the installation:
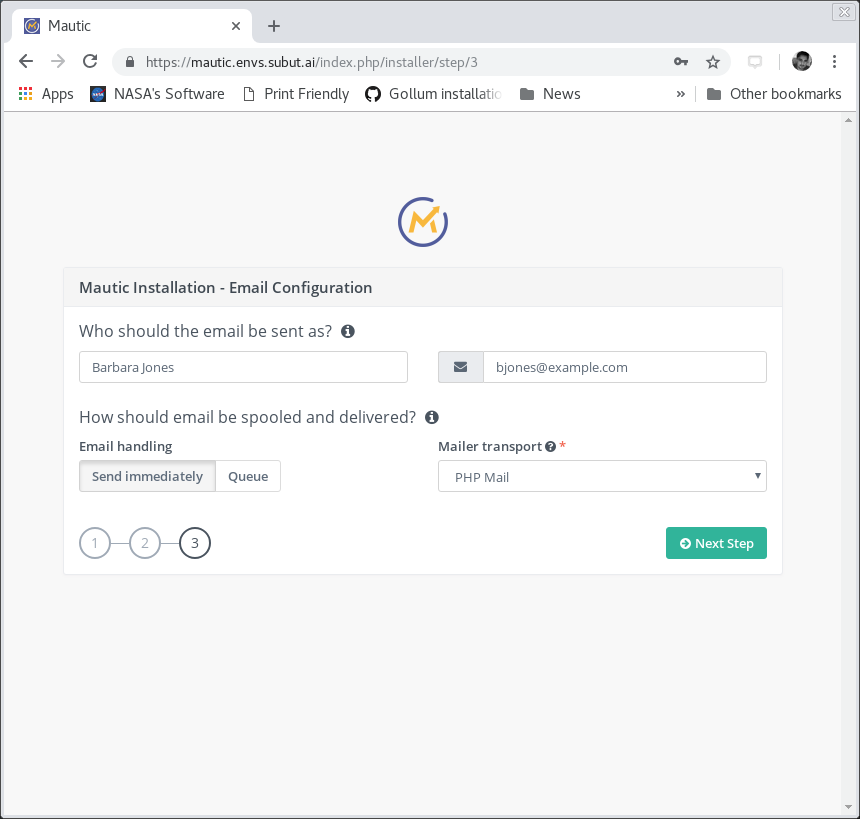
- On the installer's email configuration page you will be asked for some information. Here's what I answered to the questions:
The last most screen is the email server configuration information and you should just use localhost and port 25 with authentication set to none.
Now you should see the login window, you might need to adjust http to https:
Eureka moment
You should see this after entering into the app:
Anything else feel free to ask.


