This a modified version of the fusion2urdf (https://github.com/syuntoku14/fusion2urdf) and fusion2pybullet (https://github.com/yanshil/Fusion2PyBullet) repositories. Many thanks for these authors and their communities building out the tools and showing what was possible.
Why Another?
This project was developed to solve some internal problems with our robot configuration and exporting. Between the stated end of development for the original repo and the priorities of the pybullet version, we felt it was best to make our own version and rewrite most of the fusion-side code. Naturally, we also wanted to understand the fusion API better, so this was a nice project to get started.
This project aims to help export link configurations and mechanical descriptions to XML (e.g. URDF) formats (and ideally, other formats as well in the future), from Fusion 360.
It provides a simple GUI for running the script and choosing a few different settings.
Features
- GUI interface for settings
- Uses the grounded base as root node
- Allows switching between units
- WYSIWYG stl exporting (exports model as you see on the screen) without needing to save design history or copy to a new file
- Preview joint relationship before exporting
- Export only URDF without Mesh (for fast viewing)
- Set Component 1 of joint to mean Parent or Child
- Can export component bodies separately as a visual element of URDF and a combined component as the collision
- Download the repository as .zip by clicking the green Code button above and then Download Zip.
- Unzip to a permanent folder of your choice.
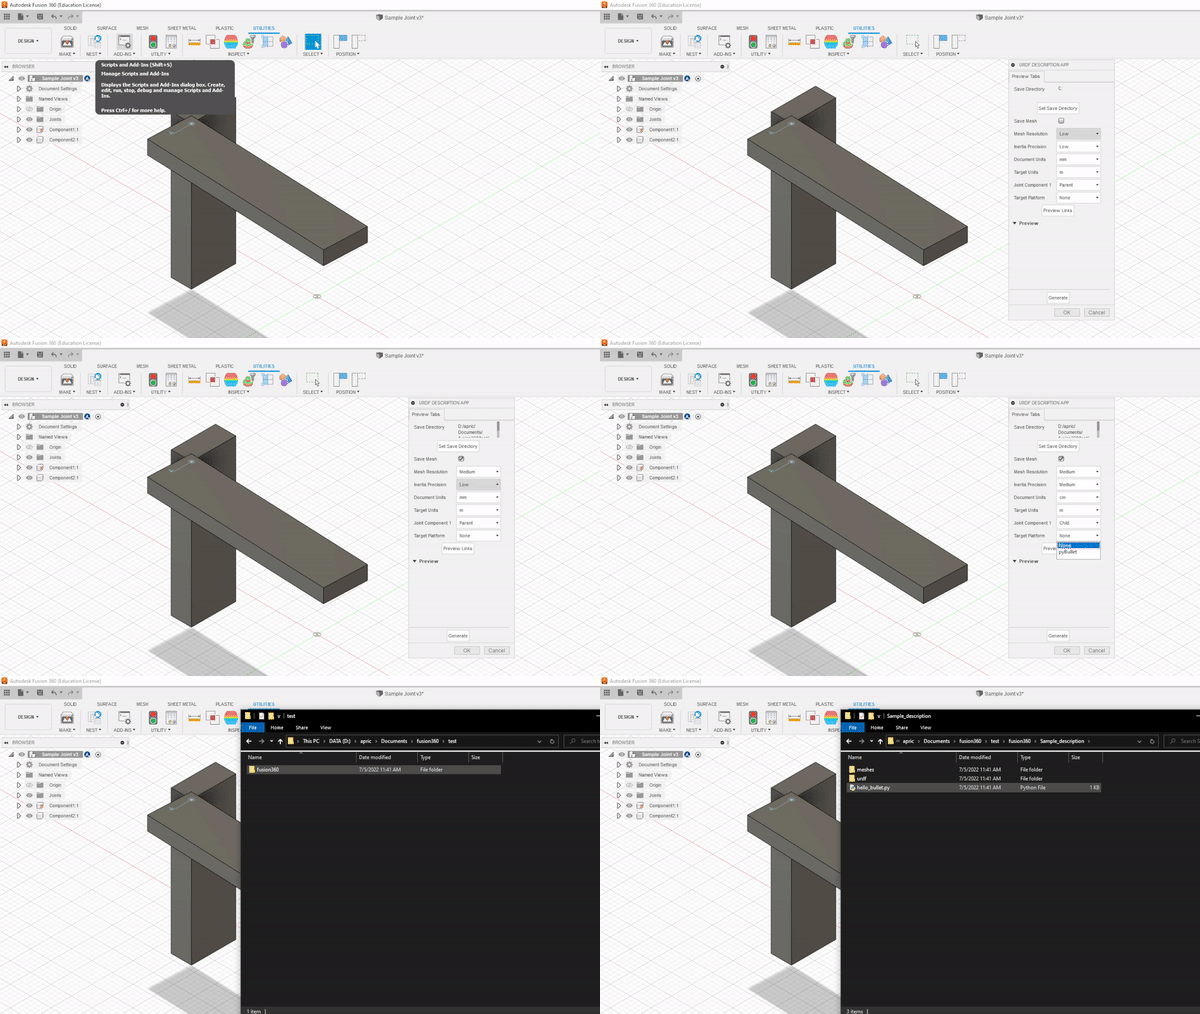
- Navigate to the Utilities tab in Fusion 360 and click on Scripts and Add-Ins.
-
Click on the green + to add the script into Fusion 360.
-
Add the Descriptor folder from the extracted files to the scripts.
- Click on Descriptor under My Scripts then click on Run. The GUI will appear.
Creating a Fusion 360 Model
- Navigate to the Solid tab at the top of the screen and click on Create Sketch.
- Choose a plane to work on by clicking any of the highlighted squares. At the top of your screen, you should now be under the Sketch tab.
- Click on the 2-Point Rectangle and drag on the workspace to create a rectangle with a size of your choosing.
- Click on Finish Sketch. You should now be back under the Solid tab.
- Click on Extrude and drag on the rectangle that you have created until you have a 3D shape of your choosing. Click on on OK.
- Now, you should have a 3D shape categorized under Bodies on the left side.
- Create a second rectangle following the above instructions that is adjacent to the first one. Make sure they are touching in some way.
- You can move a body by right clicking on the body name on the left side and clicking Move/Copy, or by pressing M on the keyboard.
- Right click on Bodies and click on Create Components from Bodies. Both bodies should now be Components.
- Make sure that one of these components are grounded. To do so, right click on the component on the left side and click on Ground.
- A red indicator should appear next to the name of the component that shows it is grounded.
- Now, go to the Surface tab and click on Joint.
- Add the joint to each component, where they are touching. Make sure this joint has motion type Rigid. A Joints category should appear on the left side.
- Navigate to the Utilities tab at the top of the screen and click on Scripts and Add-Ins.
- Click on the green + to add the script into Fusion 360.
- Add the Descriptor folder from the zip file to the scripts.
- Click on Descriptor then click on Run. The GUI will appear.
- Add a save directory for the output and select the desired options.
- Click on Generate. The output can be found where the save directory is.


