/AnimeStylized

This repo will implement a series of anime stylized algorithm. AnimeGAN, White-box Cartoonize.. etc

Primary LanguagePython

Animation Stylization Collection

Environment

conda create -n torch python=3.8
conda activate torch
conda install pytorch==1.6.0 torchvision==0.7.0 cudatoolkit=10.1 -c pytorch
pip install pytorch-lightning==1.0.2 opencv-python matplotlib joblib scikit-image torchsummary webdataset albumentations more_itertools

Algorithm

Setup

  1. If you just want to use it, just skip the following step

  2. download dataset from here and unzip

  3. download pretrain VGG19 from here and unzip, then put it to models/vgg19.npy

Train

  • change configs/animegan_pretrain.yaml dataset  root to your path

  • change configs/animeganv2.yaml dataset  root to your path

  • pre-training generator

make train CODE=scripts/animegan_pretrain.py CFG=configs/animegan_pretrain.yaml
  • training generator (use Ctrl+c can stop)

make train CODE=scripts/animeganv2.py CFG=configs/animeganv2.yaml
  • check progress

make tensorboard LOGDIR=logs/animeganv2/

test

  1. you can download my pretrained model from here.

  2. run test command

make infer CODE=scripts/animeganv2.py \
CKPT=logs/animeganv2/version_0/checkpoints/epoch=17.ckpt \
EXTRA=image_path:asset/animegan_test2.jpg # (1)

make infer CODE=scripts/animeganv2.py \
CKPT=logs/animeganv2/version_0/checkpoints/epoch=17.ckpt \
EXTRA=help # (2)
  1. The EXTRA paramter can pass image path or image directory path

  2. Read help.

Result

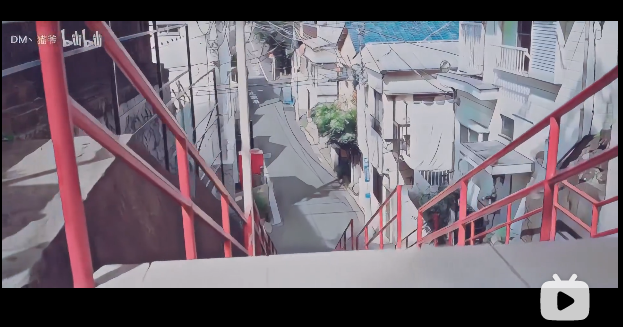
animegantest
animegantestout
animevideo
📝
  1. If you want to change style, you have run scripts/animegan_datamean.py get dataset mean difference, then change configs/animeganv2.yaml dataset  data_mean.

Setup

  1. If you just want to use it, just skip the following step

  2. download dataset from here and unzip

  3. download pretrain VGG19 from here and unzip, then put it to models/vgg19.npy

Train

  • change configs/whitebox_pretrain.yaml dataset  root to your path

  • change configs/whitebox.yaml dataset  root to your path

  • pre-training generator

make train CODE=scripts/whiteboxgan_pretrain.py CFG=configs/whitebox_pretrain.yaml
  • training generator (use Ctrl+c can stop)

make train CODE=scripts/whiteboxgan.py CFG=configs/whitebox.yaml
  • check progress

make tensorboard LOGDIR=logs/whitebox

test

  1. you can download my pretrained model from here. you can use choice whitebox-v2.zip or whitebox.zip

  2. run test command

make infer CODE=scripts/whiteboxgan.py \
CKPT=logs/whitebox/version_0/checkpoints/epoch=4.ckpt \
EXTRA=image_path:asset/whitebox_test.jpg # (1)

make infer CODE=scripts/whiteboxgan.py \
CKPT=logs/whitebox/version_0/checkpoints/epoch=4.ckpt \
EXTRA=image_path:tests/test.flv,device:cuda,batch_size:4 # (2)
# ffmpeg -i xx.mp4 -vcodec libx265 -crf 28 xxx.mp4

make infer CODE=scripts/whiteboxgan.py \
CKPT=logs/whitebox/version_0/checkpoints/epoch=4.ckpt \
EXTRA=help # (3)
  1. The EXTRA paramter can pass image path or image directory path

  2. Using GPU convert video, if GPU ran out of memory, pleas use cpu

  3. Read help.

Result

whiteboxtest
whiteboxtestout
whitebox_video
📝
  1. The model  superpixel_fn has a great influence on the style. The slic,sscolor refer from offical code. defualt use sscolor.

  2. Pytorch version and official version compare results in here

Setup

  1. If you just want to use it, just skip the following step

  2. download dataset from here and unzip

  3. download model_mobilefacenet.pth from here and put into ./models

Train

  • change configs/uagtit.yaml dataset  root to your path

  • training generator (use Ctrl+c can stop)

make train CODE=scripts/uagtit.py CFG=configs/uagtit.yaml
  • check progress

make tensorboard LOGDIR=logs/uagtit

test

  1. you can download my pretrained model from here. (I have not enough GPU and time, so this model effect not so good)

  2. this model requires an input image that only contains the human head. Since I don’t have time to migrate the previous tools to PyTorch, need to rely on the previous library to process images.(you need clone this repo)

python tools/face_crop_and_mask.py \
  --data_path test/model_image \
  --save_path test/model_image_faces \
  --use_face_crop True \
  --use_face_algin False \
  --face_crop_ratio 1.3
  1. run test command

make infer CODE=scripts/uagtit.py \
CKPT=logs/uagtit/version_13/checkpoints/epoch=15.ckpt \
EXTRA=image_path:asset/uagtit_test.png

Result

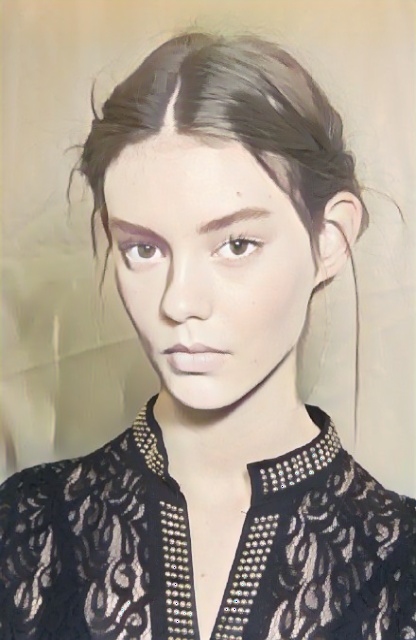
uagtit_test
uagtit_testout
📝
  1. The model  light control the model version, the light version requires GPU memory > 8G,non-light version requires GPU memory > 22G.

  2. Maybe you need training more epoch to get better results.

Repository structure

Path

Description

AnimeStylized

Repository root folder

├  asset

Folder containing readme image assets

├  configs

Folder containing configs defining model/data paramters, training hyperparamters.

├  datamodules

Folder with various dataset objects and transfroms.

├  losses

Folder containing various loss functions for training, Only very general used loss functions are added here.

models

Folder containing all the models and training objects

├  optimizers

Folder with common used optimizers

├  scripts

Folder with running scripts for training and inference

├  utils

Folder with various utility functions

📝
configs
  • Each algorithm has a corresponding config file.

  • Config file uses the YAML format

datamodules
  • The dataset.py,dsfunction.py,dstransform.py contains common data module object’s basic component

  • Basically, each algorithm has a corresponding xxxds.py

models
  • Basically, each algorithm has a corresponding xxxnet.py

  • Now, only have the gan architecture model, in future maybe add more.

scripts
  • Each algorithm has a corresponding xxx.py, implement the main training step and inference here

  • Each algorithm must add run_common(xxxModule, xxxDataModule) in main function, then you can use general trainer to training or testing

Participation and Contribution

  1. Add custom LightningDataModule object as xxxds.py in datamodules dir.

  2. Add custom Module object model architecture as xxxnet.py in networks dir.

  3. Add custom LightningDataModule training script as xxx.py in scripts dir

  4. Add config file in configs dir, the paramters follow your custom LightningModule and LightningDataModule

  5. trianing your algorithm