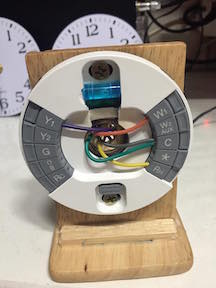
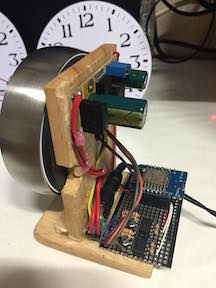
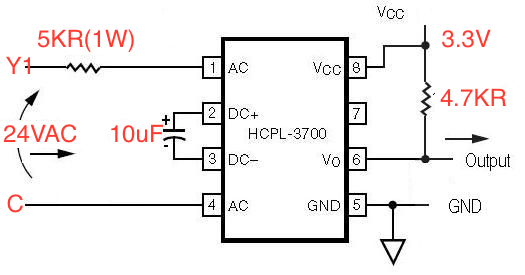
The 2nd and 3rd generation Nest Learning Thermostats can control the following types of HVAC systems:
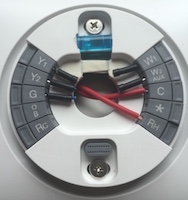
Heating: one, two and three stages (W1, W2, W3)
Cooling: one and two stages (Y1, Y2)
Heat pump: with auxiliary and emergency heat (O/B, AUX, E)
Fan (G)
Power (C, Rh, Rc)
Humidifier or dehumidifier (HUM, DEHUM)
The Nest Thermostat's connector can accept only one of these wires: W3, E, HUM or DEHUM.
The Nest Learning Thermostat is designed to work even if your home doesn’t have a common “C” wire, but installing a new C wire may be required in rare cases.
#include "/usr/local/src/ap_setting.h"
#include "/usr/local/src/nest_setting.h"
#include "/usr/local/src/slack_setting.h"
#define WIFI_SSID "xxxxxxx"
#define WIFI_PASSWORD "xxxxxxxx"
#define NEST_API_TOKEN "c.xxxxxxxx"
#define NEST_DEVICE_ID "xxxxxx_xxxxxxx-xxxxxx"
#define SLACK_IN_WEBHOOK "xxxx/xxxx/xxxxx"
