A browser extension to generate these for you, based on the ticket you're working on.
At bitcrowd we love conventions. One of them is how we name branches and commits. This makes it easy to relate a particular branch or commit to a certain ticket.
Branches follow the format type/id-title by default, where:
typeis usually one of:feature(default)bugchore- …
idis the identifier of the ticket in your ticketing systemtitleis a lowercase, dasherized version of the ticket title
Commits contain [#id] title by default.
Additionally, Tickety-Tick generates commands to set up a branch with the proper name and to prepare the commit message for your source code management tool. Out of the box, it is set up to work with Git.
If you need your commit messages, branch names or commands to look different, you can configure Tickety-Tick to use a custom format.
Tickety-Tick helps you create branches and commits for a few ticket systems.
Currently, we support:
Your ticket system is missing? Go ahead and implement an adapter for it! We are always happy about contributions and here to support you 👋.
Tickety-Tick is available for every major browser:
- Chrome/Chromium
- Firefox
- Opera
- Safari - experimental 🧪
Manually install the extension if you want to use an older version or a beta version.
Click here for instructions
Download and unpack a chrome.zip file from the releases. Then navigate to the chrome://extensions page, enable "Developer mode", press "Load unpacked extension" and point to the unpacked folder.
Get a tickety_tick-<version>.xpi file from the releases or sign a build yourself as per our maintainer guide. Then go to about:addons, click on the small cog icon, select Install Add-on From File… and choose your .xpi file.
Download and unpack a chrome.zip file from the releases. Then navigate to the opera://extensions page, enable "Developer mode", press "Load unpacked extension" and point to the unpacked folder.
| Shortcut | Description |
|---|---|
| Ctrl + t | Open the extension's popup dialog |
In order to build the extension from source, run:
yarn install
yarn checks
yarn build
To build an un-optimized version for development or debugging, use:
yarn build --mode=developmentTo only build for a specific browser, use:
yarn build:chrome
yarn build:firefoxNavigate to the chrome://extensions page, enable "Developer mode" and press "Load unpacked extension". Point it to the dist/chrome directory. Done.
If you just want to try out and debug the extension, go to about:debugging#addons. Then press "Load Temporary Add-On" and select the built manifest.json from the dist/firefox extension directory.
If you want to install the extension permanently, you need to enable unsigned add-ons. Then go to about:addons, click on the small cog icon, select Install Add-on From File… and choose dist/firefox.
Navigate to the opera://extensions page, enable "Developer mode" and press "Load unpacked extension". Point it to the dist/chrome directory. Done.
For development use yarn watch:[browser]. This will watch the files and rebuild the extension whenever source files change.
To test-drive a development version, you can use:
yarn open:chrome
yarn open:firefox
You can run both watch:[browser] and open:[browser] scripts in parallel to automatically rebuild and reload the extension as you make changes.
Use the Firefox developer tools to debug the extension.
To execute the automated source code checks, run:
yarn checksOr, to run checks individually:
yarn stylelint
yarn lint
yarn test
Hint: You can append --watch and other options supported by Jest to the test command, e.g.:
yarn test --watchThe lint commands accept options supported by ESLint and stylelint, e.g.:
yarn lint --fix
yarn stylelint --fixIn order to generate code coverage reports locally, just run:
yarn test --coverageTo view an HTML version of the report:
open coverage/lcov-report/index.htmlChrome Web Store and Firefox Add-ons require you to submit extensions as a single zip archive. To build and zip the extension for a release, run:
yarn bundle:chrome
yarn bundle:firefox- Tick the version with
yarn version(creates a Git tag) - Push the tag with
git push --tags - Build releases for Chrome and Firefox (see above)
- Draft a new release on GitHub
- Add package bundles to your new release
- Publish release in Chrome and Mozilla stores
As mentioned earlier, in addition to branch names and commit messages, Tickety-Tick generates commands to set up a branch with the proper name and to prepare the commit message.
By default, the code generated for copying will look like this:
git checkout -b BRANCH-NAME && git commit --allow-empty -m COMMIT-MESSAGEThese default generated commands make a few assumptions:
-
You're using Git (obviously).
The branch names and commit messages Tickety-Tick generates may work with other version control systems, but the commands generated for copying specifically include Git.
-
You squash commits from feature branches (or you're okay with empty commits).
When you work with feature branches and you squash them before merging, Git (and GitHub) allow you to combine the messages of the feature-branch commits. The empty commit provides a simple mechanism for storing the commit message title generated by Tickety-Tick when setting up the branch.
This approach works nicely with our Git workflow, for which the above assumptions are true. Yours may be different though, in which case you might want to configure Tickety-Tick differently.
If you have different conventions regarding commit messages, branch names or you're just using a different source code management tool, Tickety-Tick allows you to customize the output format for all of these.
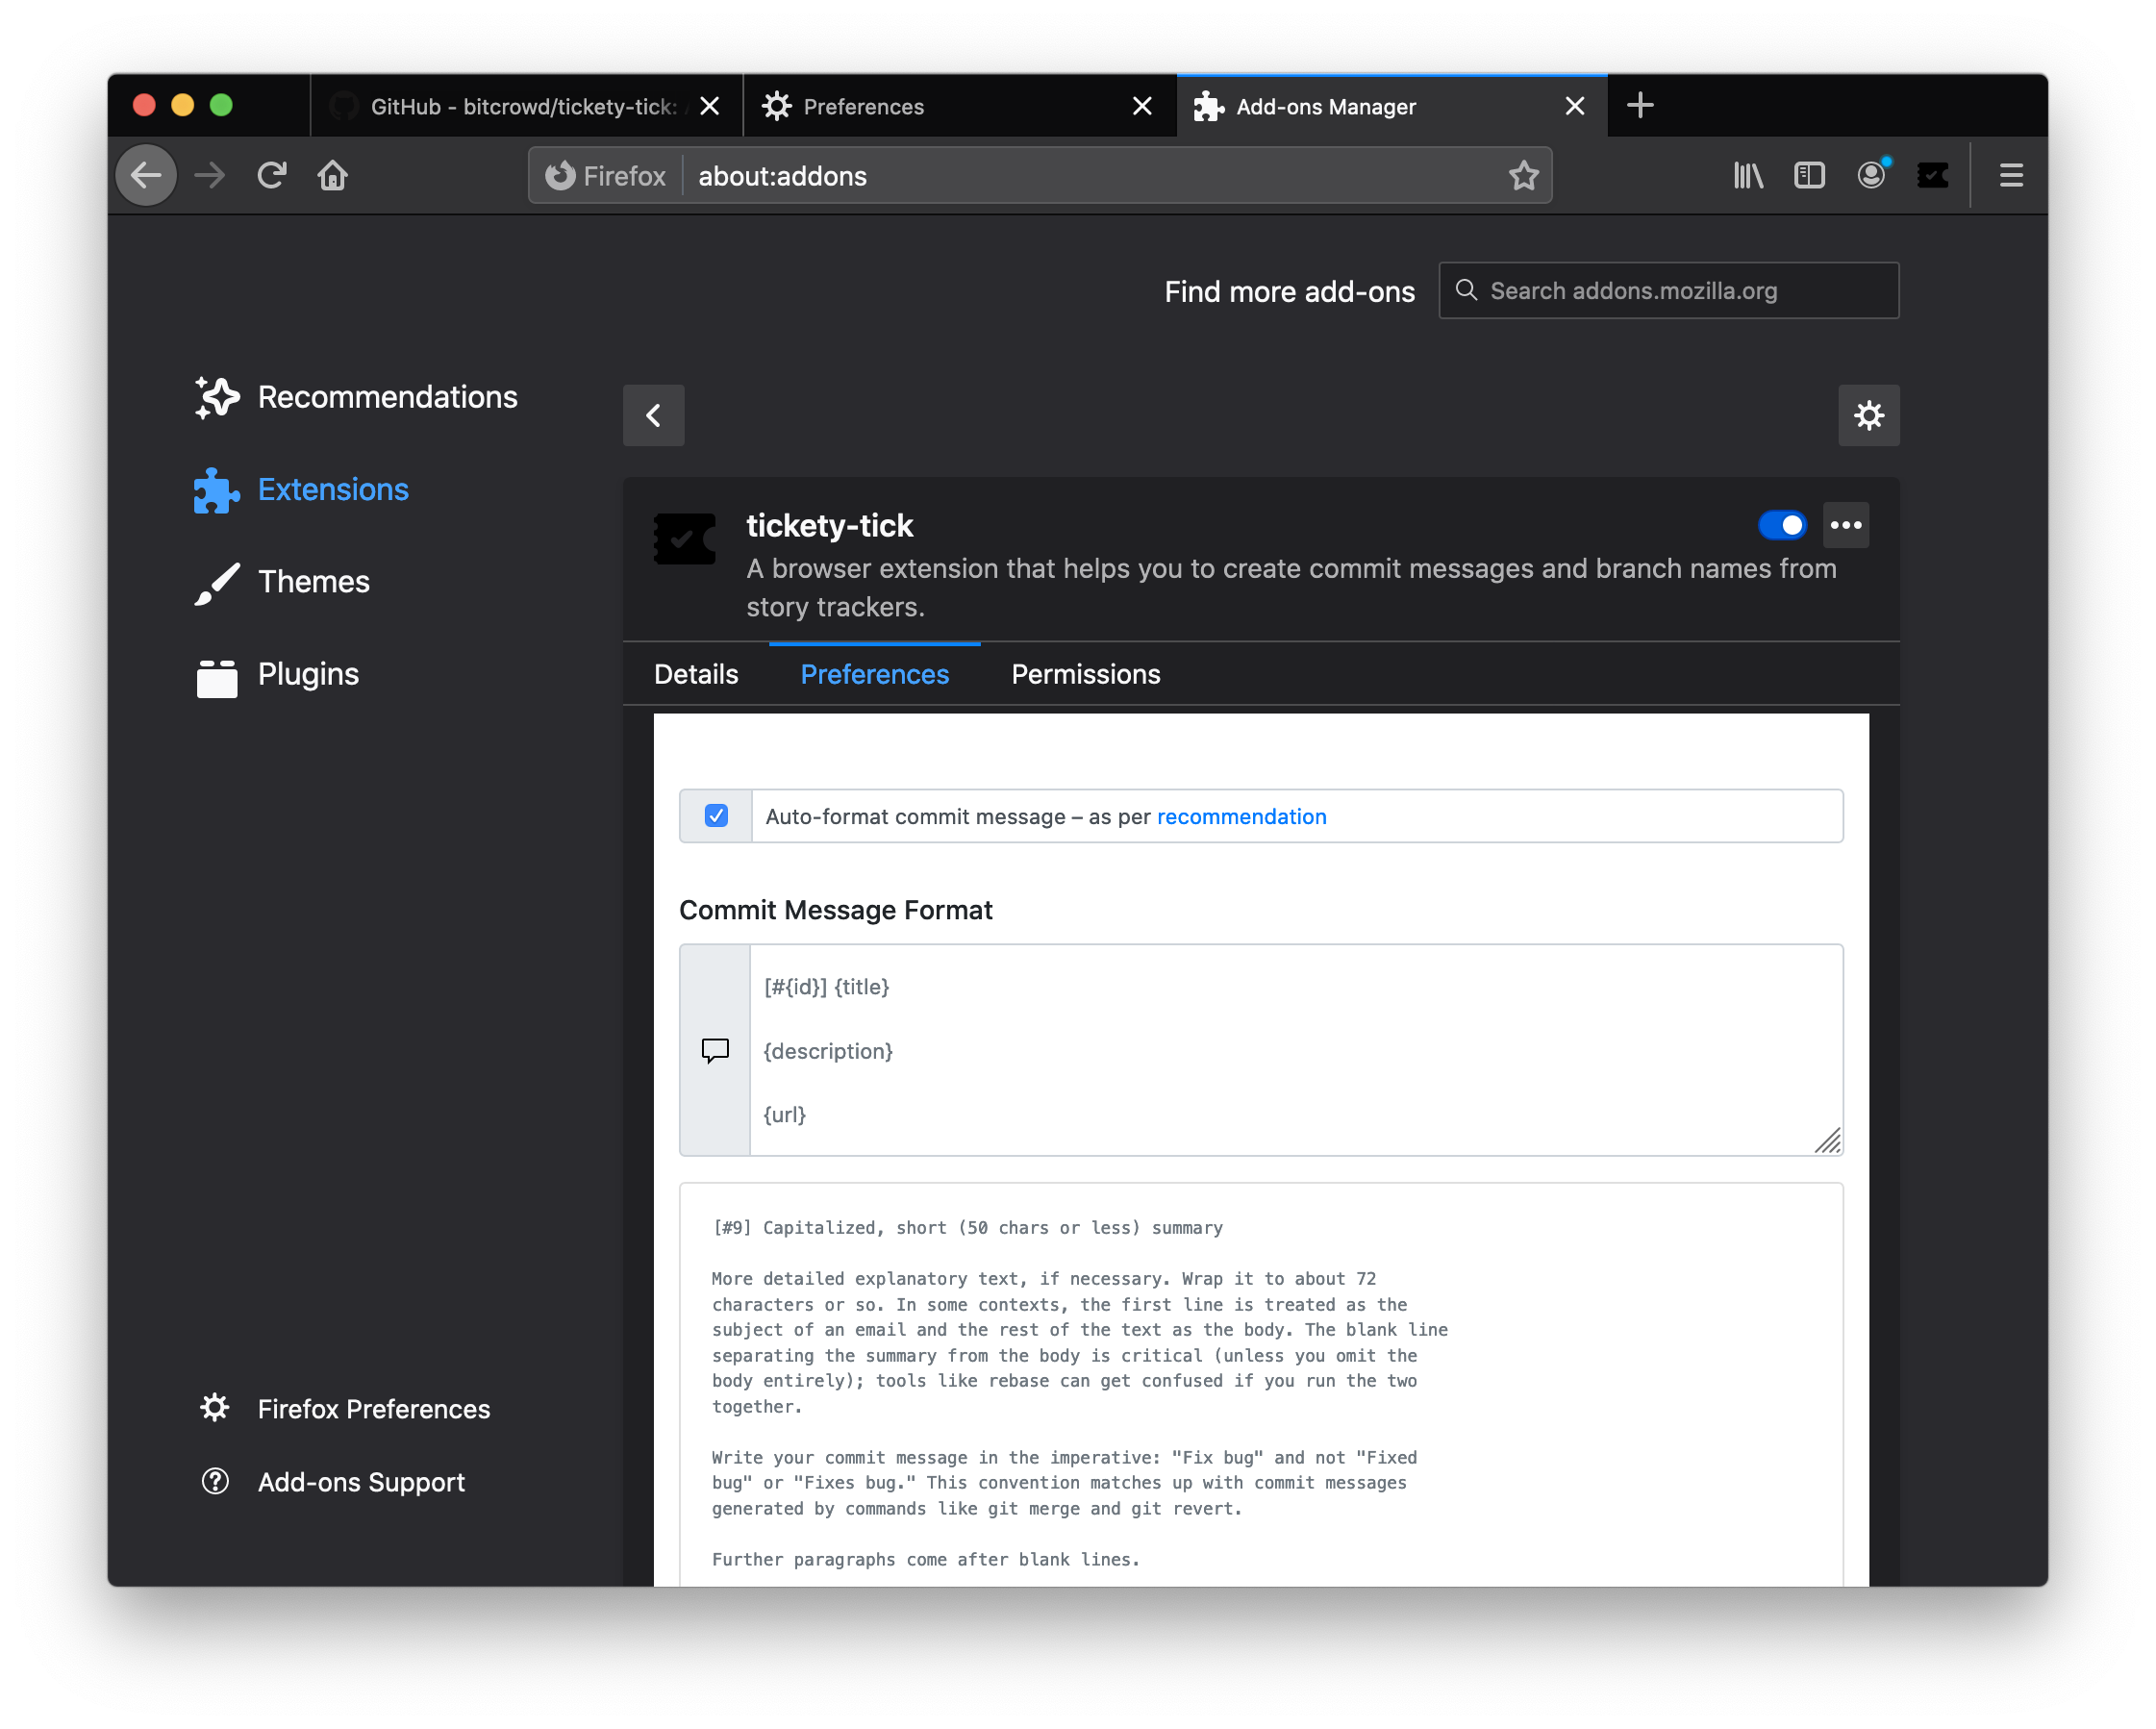
You can access the preferences page via the "Settings" link in the Tickety-Tick popup.
Tickety-Tick supports formatting generated commit messages according to these recommendations by Tim Pope. If you do not want this, you can disable this feature in the extension preferences (see above).

