Capstone project for Udacity's "Cloud DevOps Engineer" Nanodegree Program.
- Working in AWS
- Using Jenkins to implement Continuous Integration and Continuous Deployment
- Building pipelines
- Working with Ansible and CloudFormation to deploy clusters
- Building Kubernetes clusters
- Building Docker containers in pipelines
- Git & GitHub
- AWS & AWS-CLI
- Python3
- Flask framework.
- pip3
- Pylint
- Docker & Docker-Hub Registery
- Jenkins
- Kubernetes CLI (kubectl)
- EKS
- CloudFormation
- BASH
- LucidChart
- Simple flask application.
-
Docker Containerization (Local manual check):
Run docker flask-app container:
$./run_docker.sh
-
Push docker image to docker-hub (Local manual check):
$./upload_docker.sh
- Create security-group for jenkins:

- Create jenkins EC2:

-
Connect to jenkins ec2:
ssh -i udacity-capstone.pem ubuntu@ec2-18-220-188-146.us-east-2.compute.amazonaws.com -
Setup Jenkins Server:
-
Install java:
$ sudo apt update && sudo apt install default-jdk; -
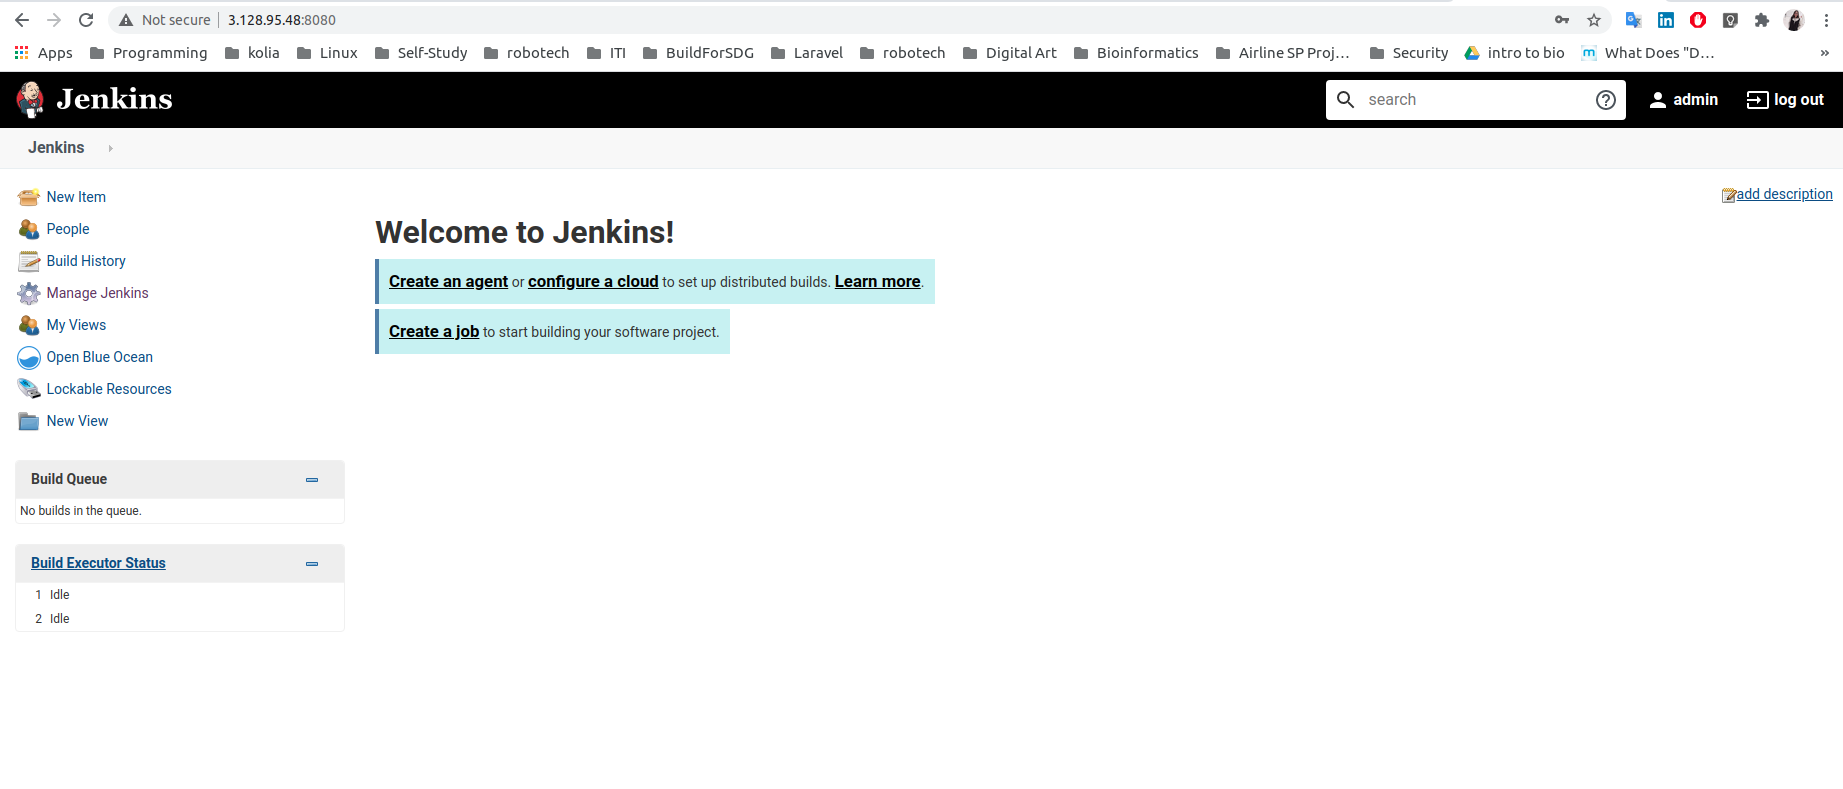
Install Jenkins.
-
Install pip3 and venv:
$ sudo apt install python3-pip$ sudo apt-get install python3-venv -
Install "Blue-Ocean-Aggregator" Plug-In.
-
-
Docker With Jenkins:
-
Install docker on jenkins server.
-
Add jenkins to docker group:
$ sudo usermod -aG docker jenkins -
Install "Docker" jenkin's plug-in.
-
Add Docker-Hub credentials to jenkins.
-
Use docker plug-in to build, upload, and delete docker images.
-


-
AWS With Jenkins:
- Install "Pipeline-AWS" Plug-In.
- Add AWS-User credentials to jenkins.
-
Kubernetes With Jenkins:
- Install kubectl.
Create kubernetes "Production" Cluster on AWS using EKS: (From my local machine)
-
Useful resource here .
-
Install AWS CLI.
-
Install eksctl.
-
Install kubectl.
-
Create Amazon EKS cluster:
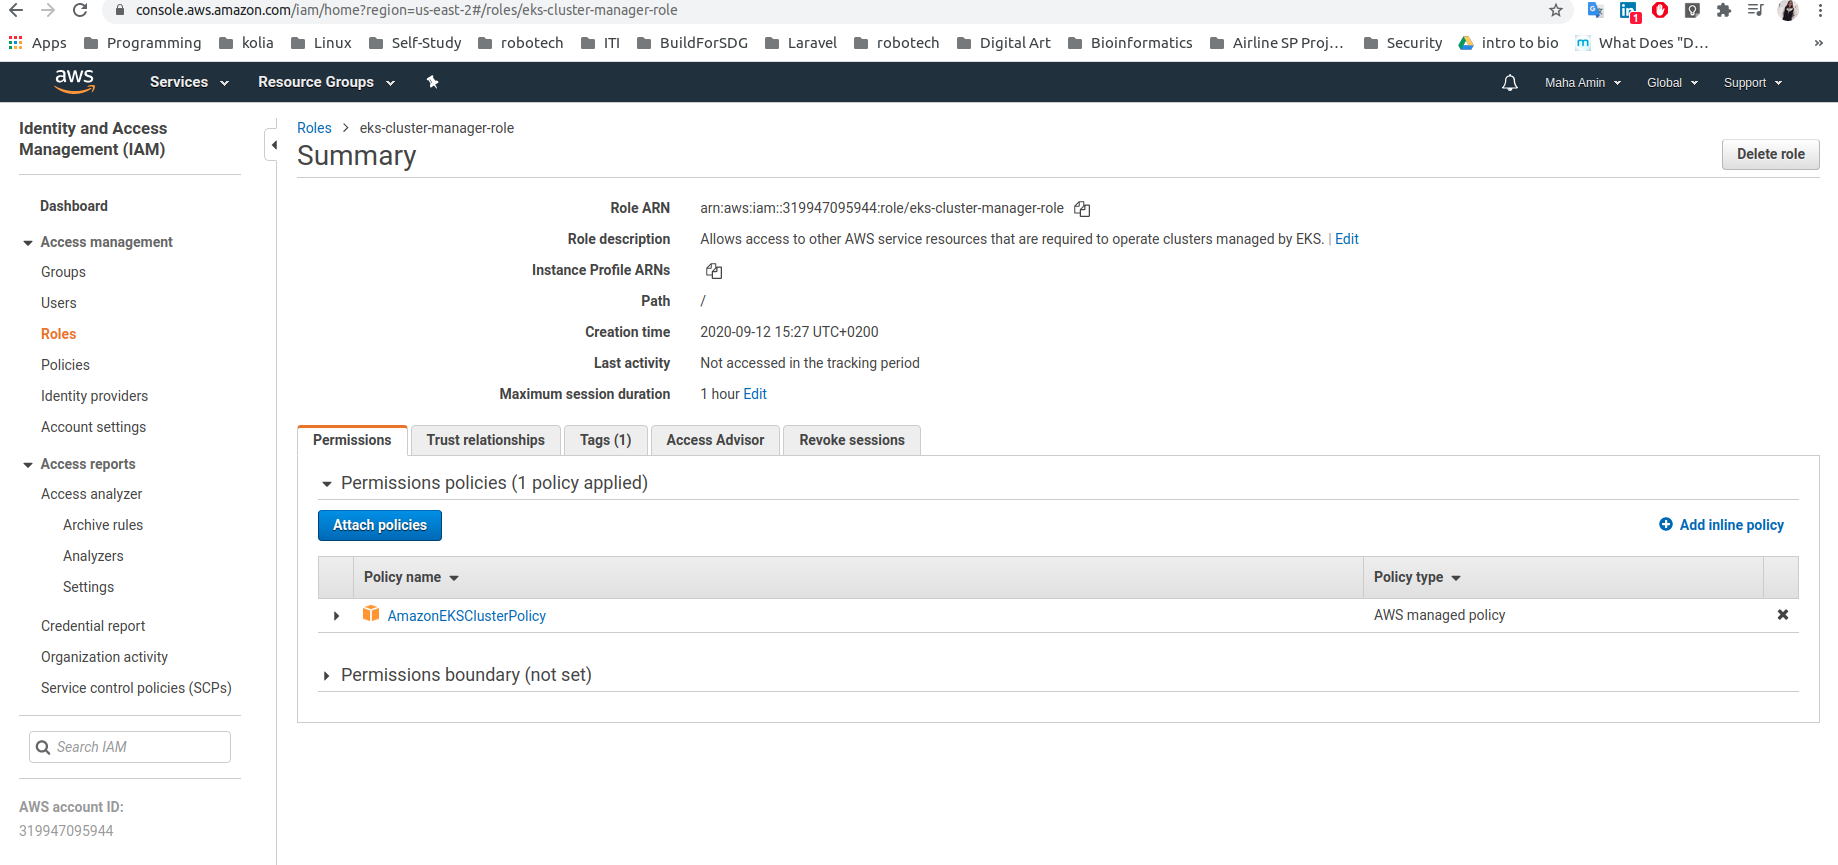
- Create an AWS IAM service role:
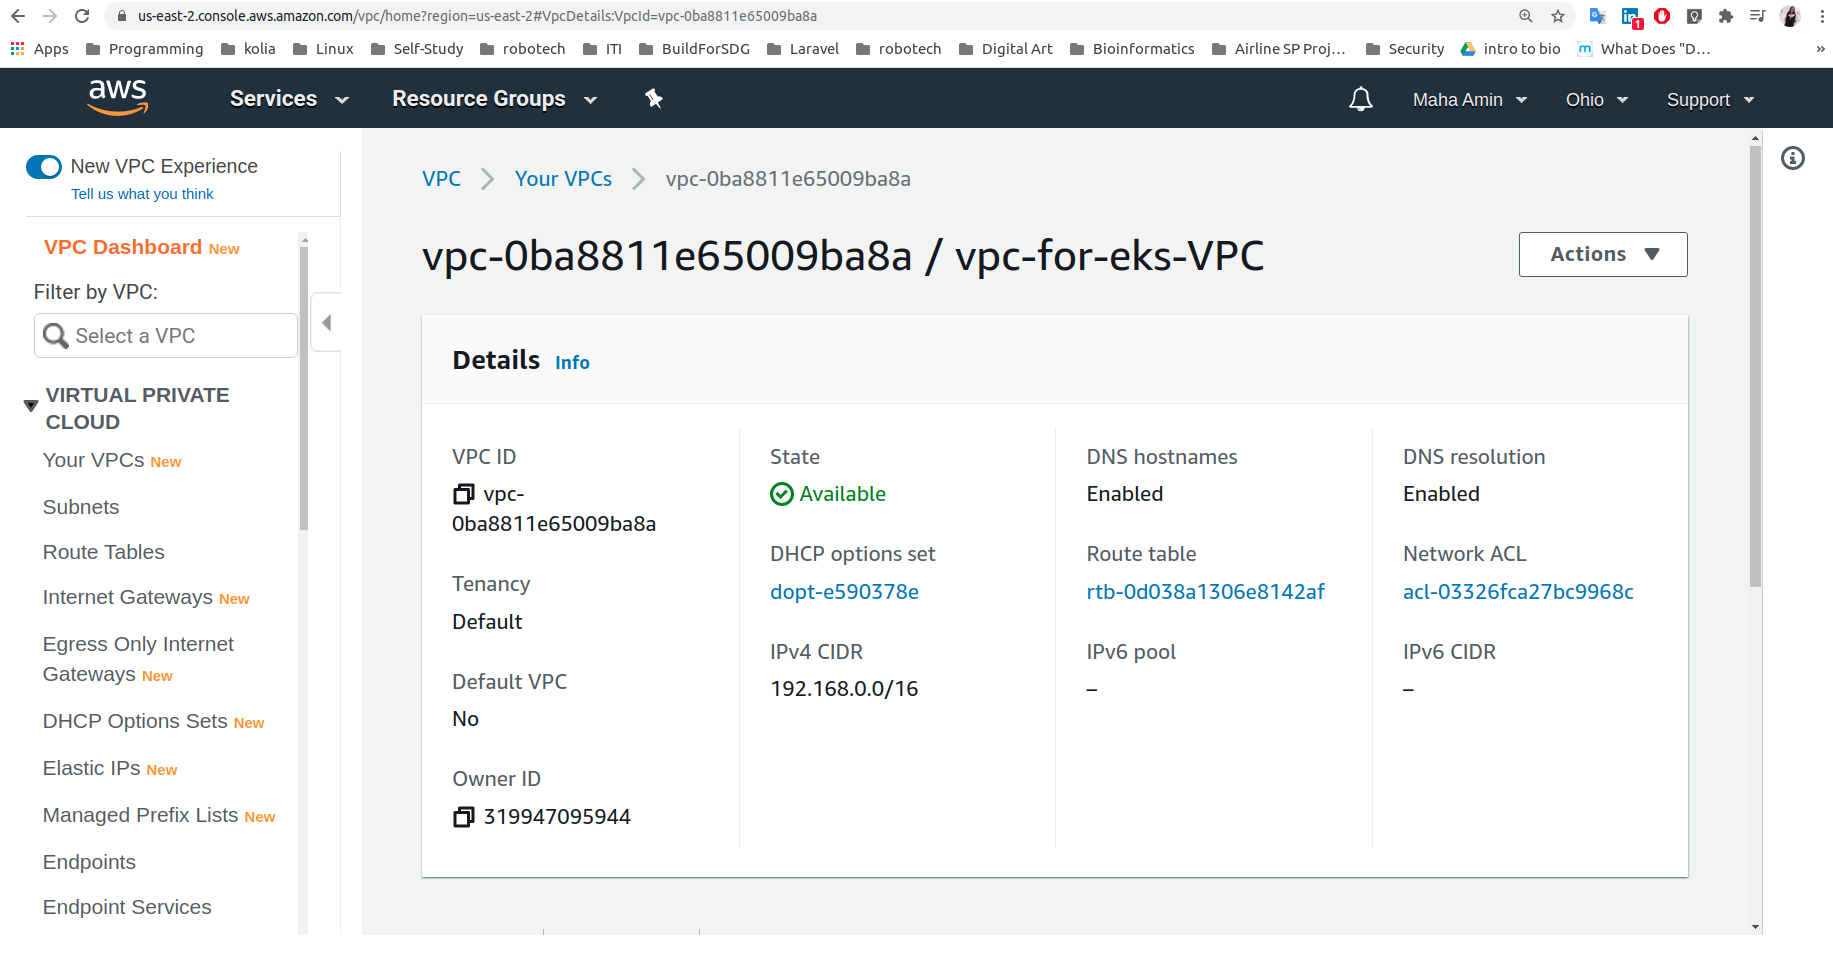
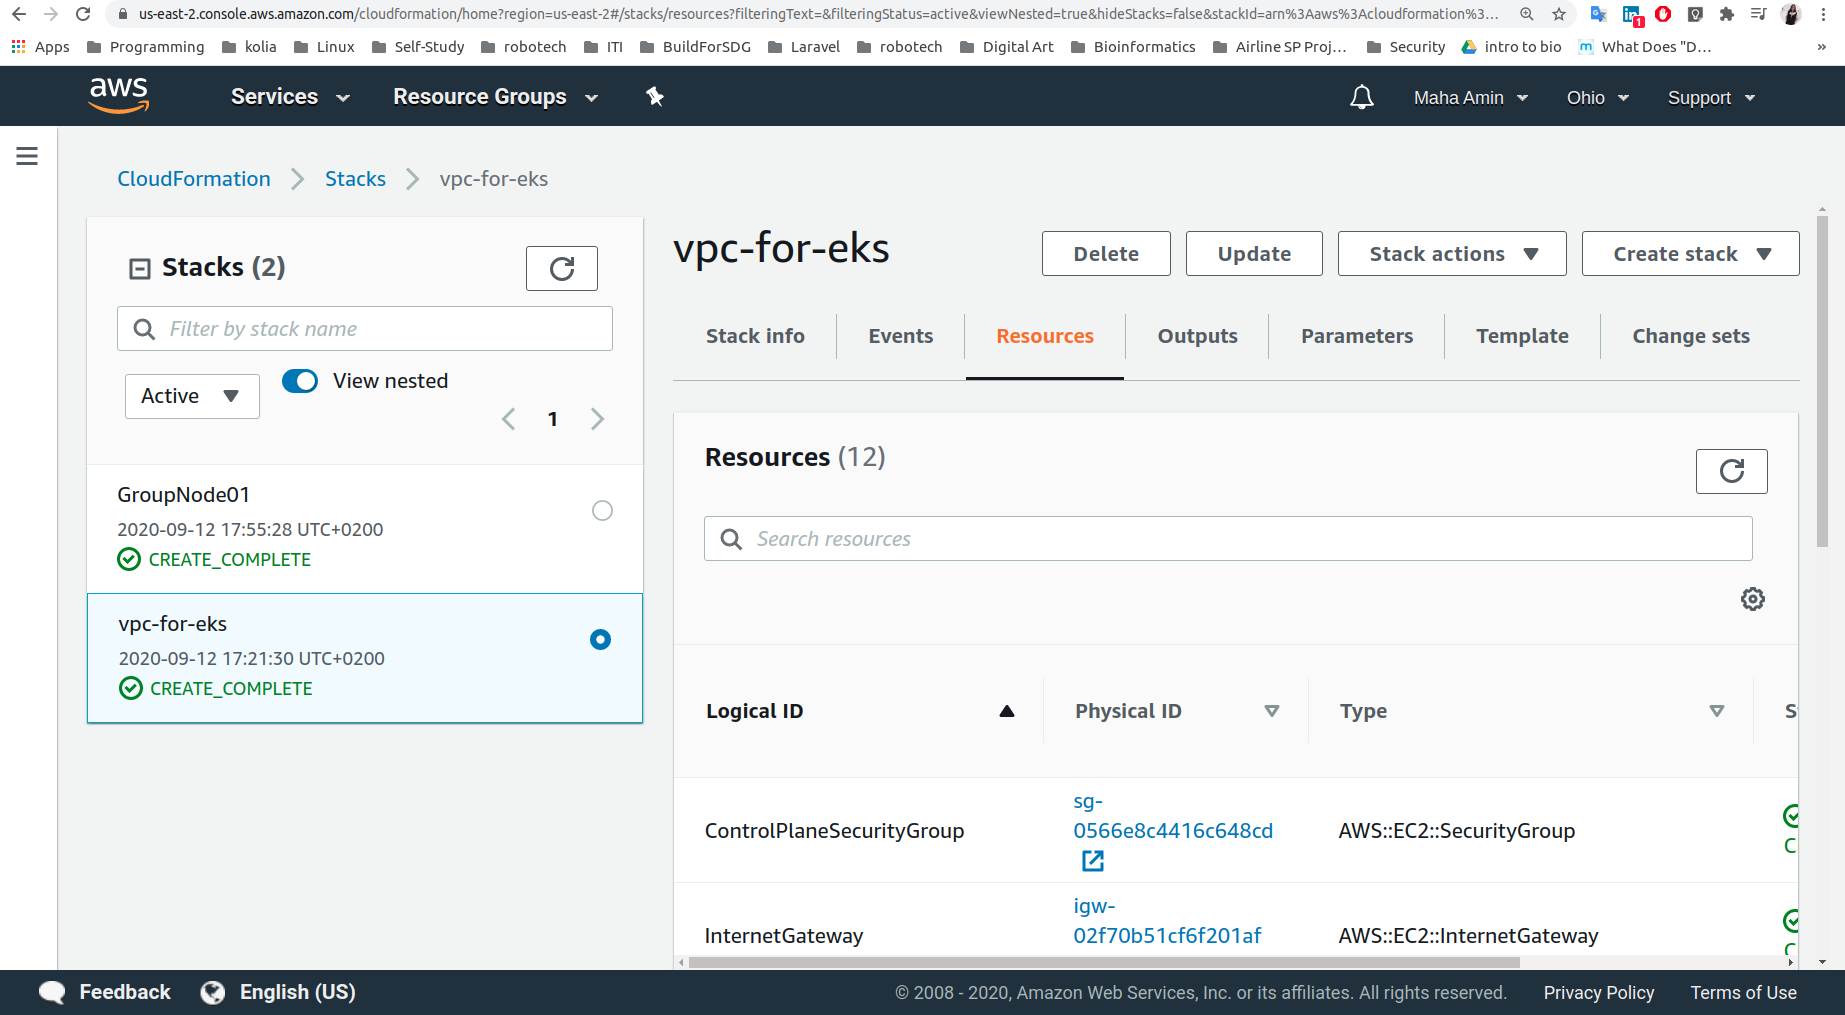
- Create Network (VPC,Subnets,SecurityGroups,InternetGateway,RouteTables) to deploy the cluster using CloudFormation/amazon-eks-vpc-sample.yaml
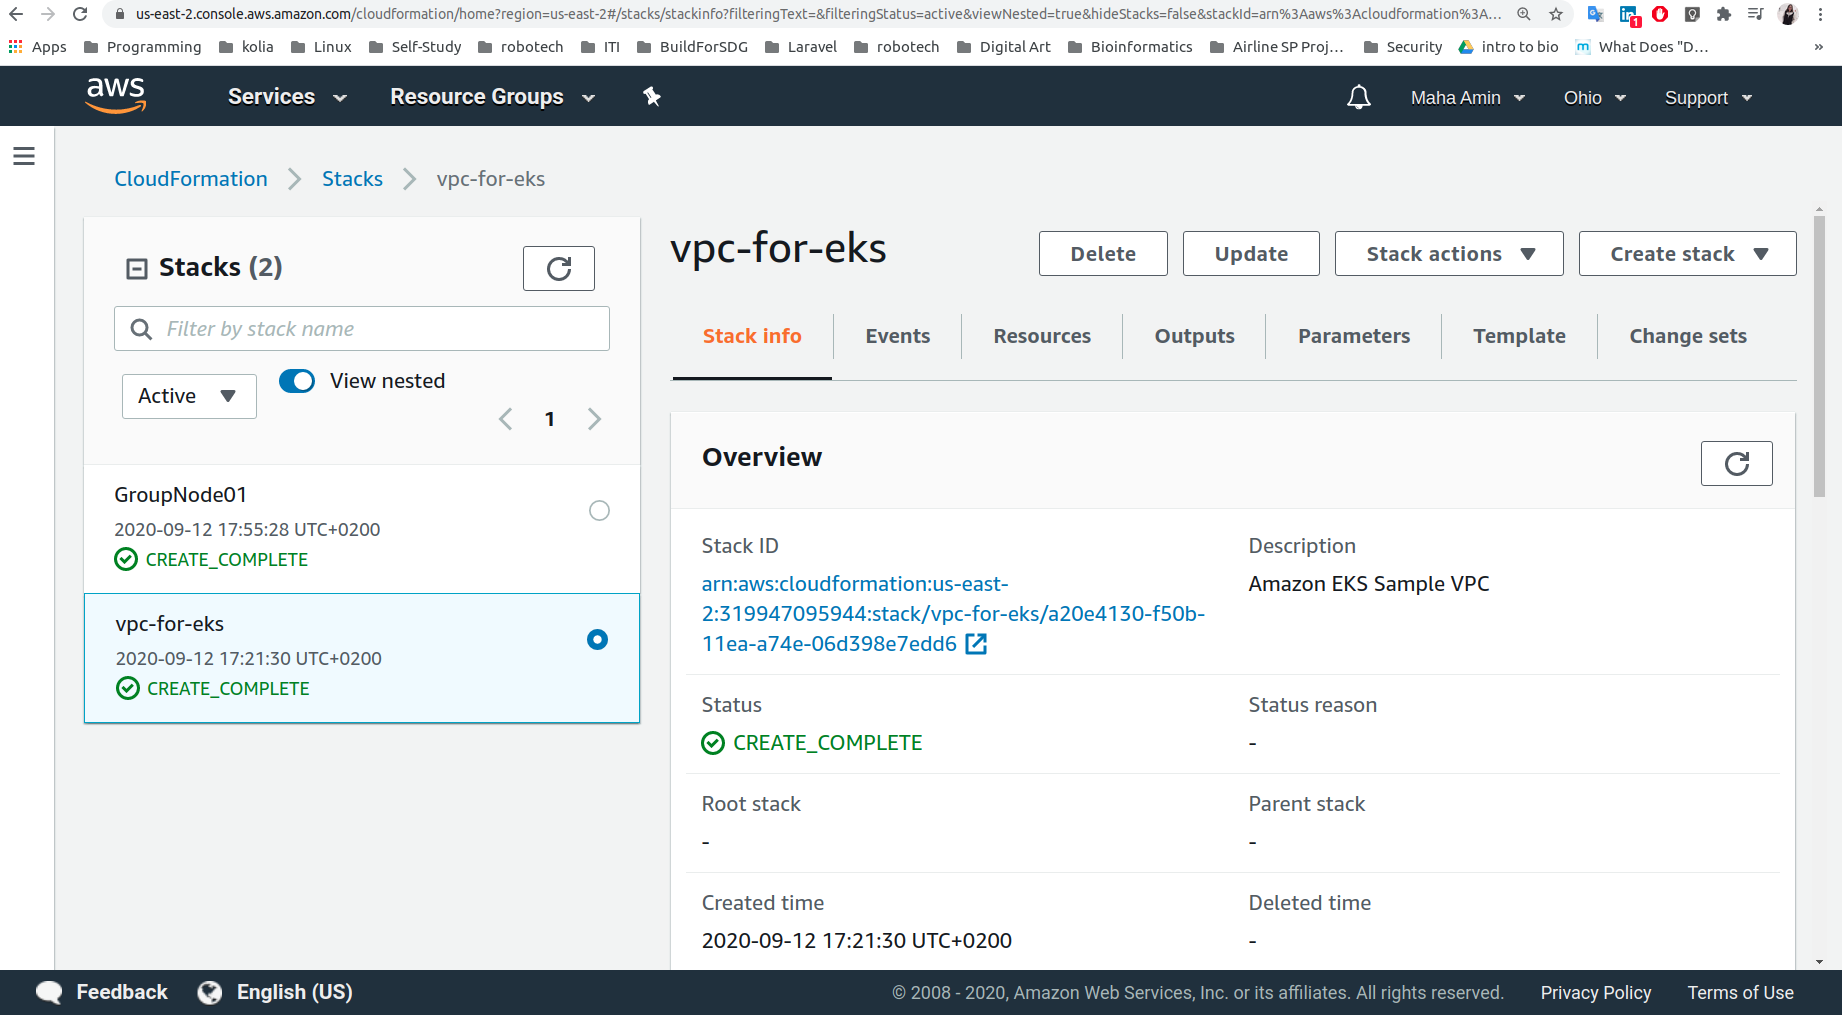
- Create AWS EKS Cluster:

- Configure kubectl for Amazon EKS:
$ aws eks --region us-east-2 update-kubeconfig --name productionkubectl config current-context
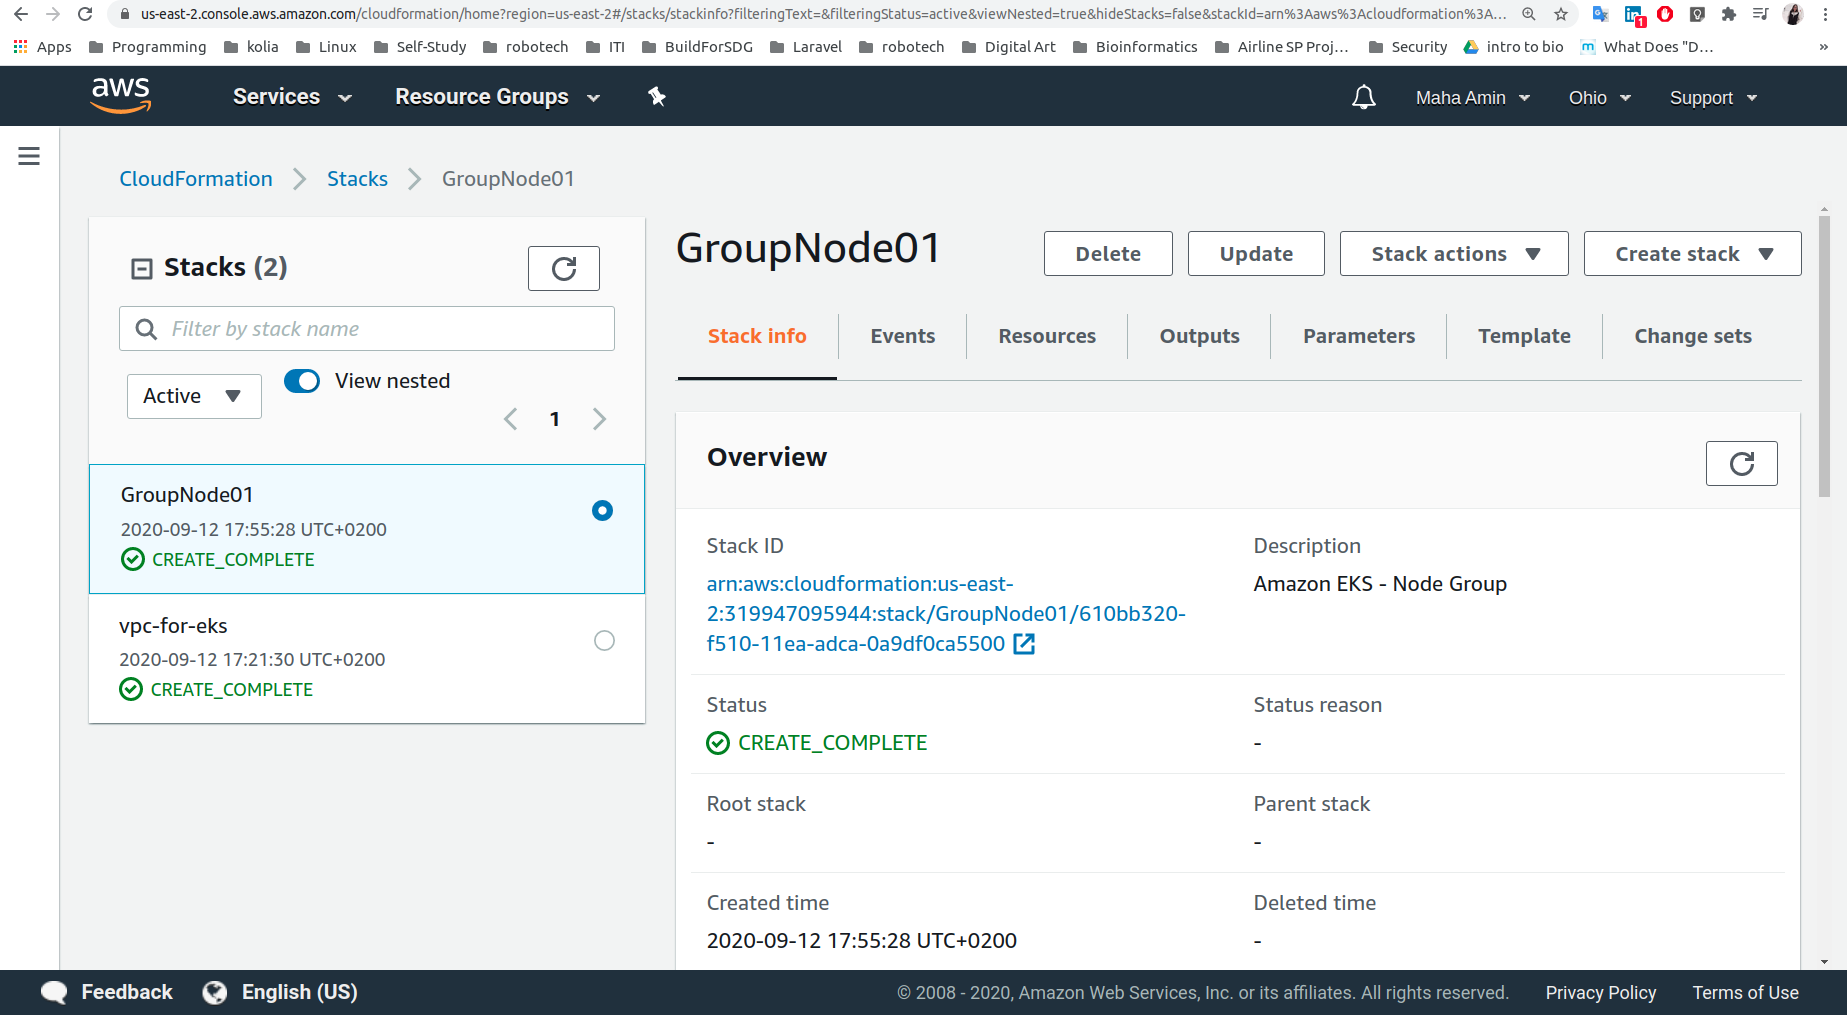
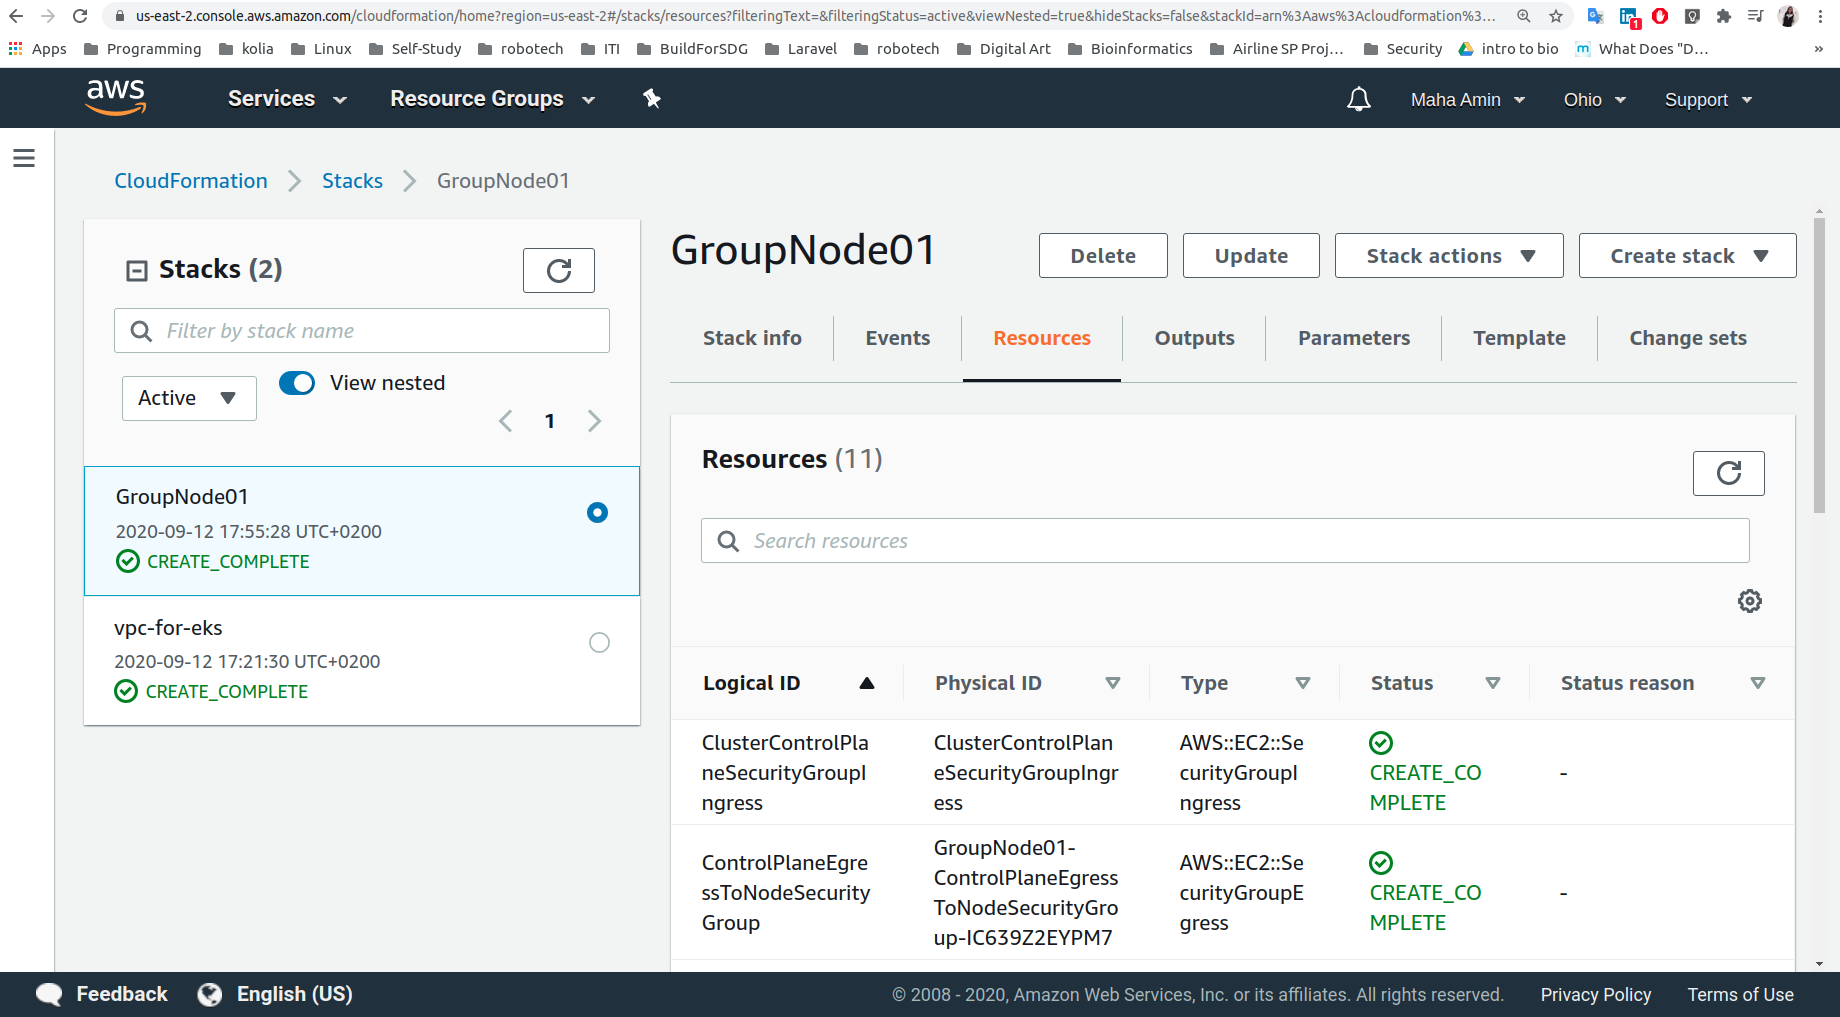
- Create worker nodes to join kubernetes cluster using CloudFormation/amazon-eks-nodegroup.yaml:
- Enable the worker nodes to join cluster using k8s/aws-auth-cm.yaml:
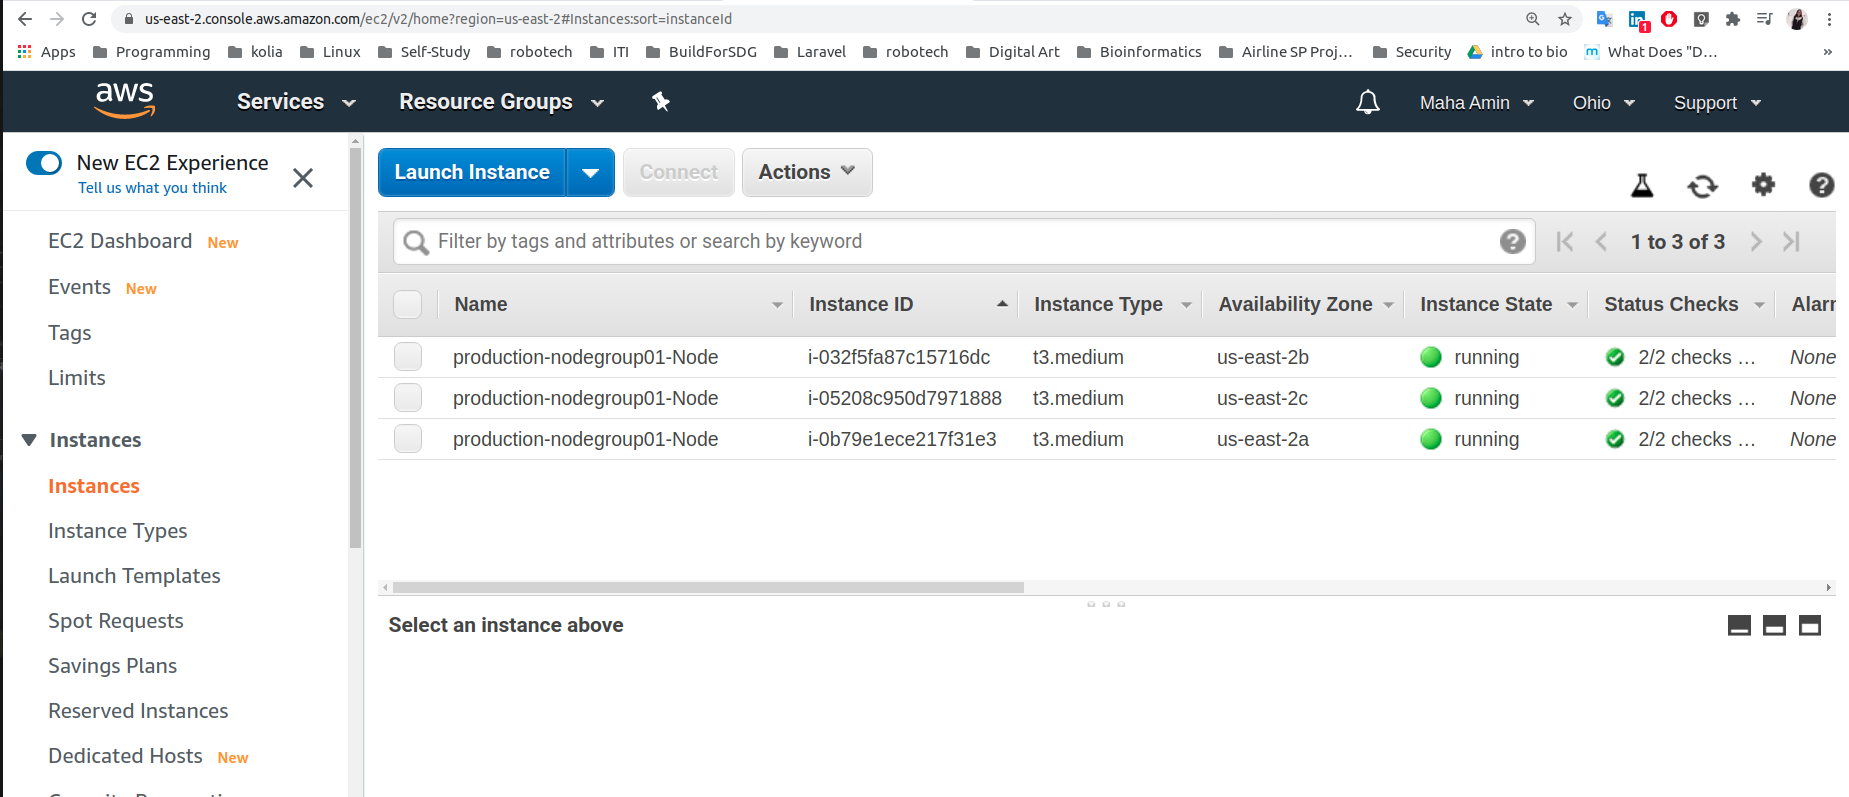
kubectl apply -f ~/.kube/aws-auth-cm.yamlcheck nodes :
kubectl get nodes
- Test deploying flask-app on the production cluster outside pipeline:
kubectl apply -f k8s/blue-deployment.yamlkubectl apply -f k8s/service.yamlkubectl get all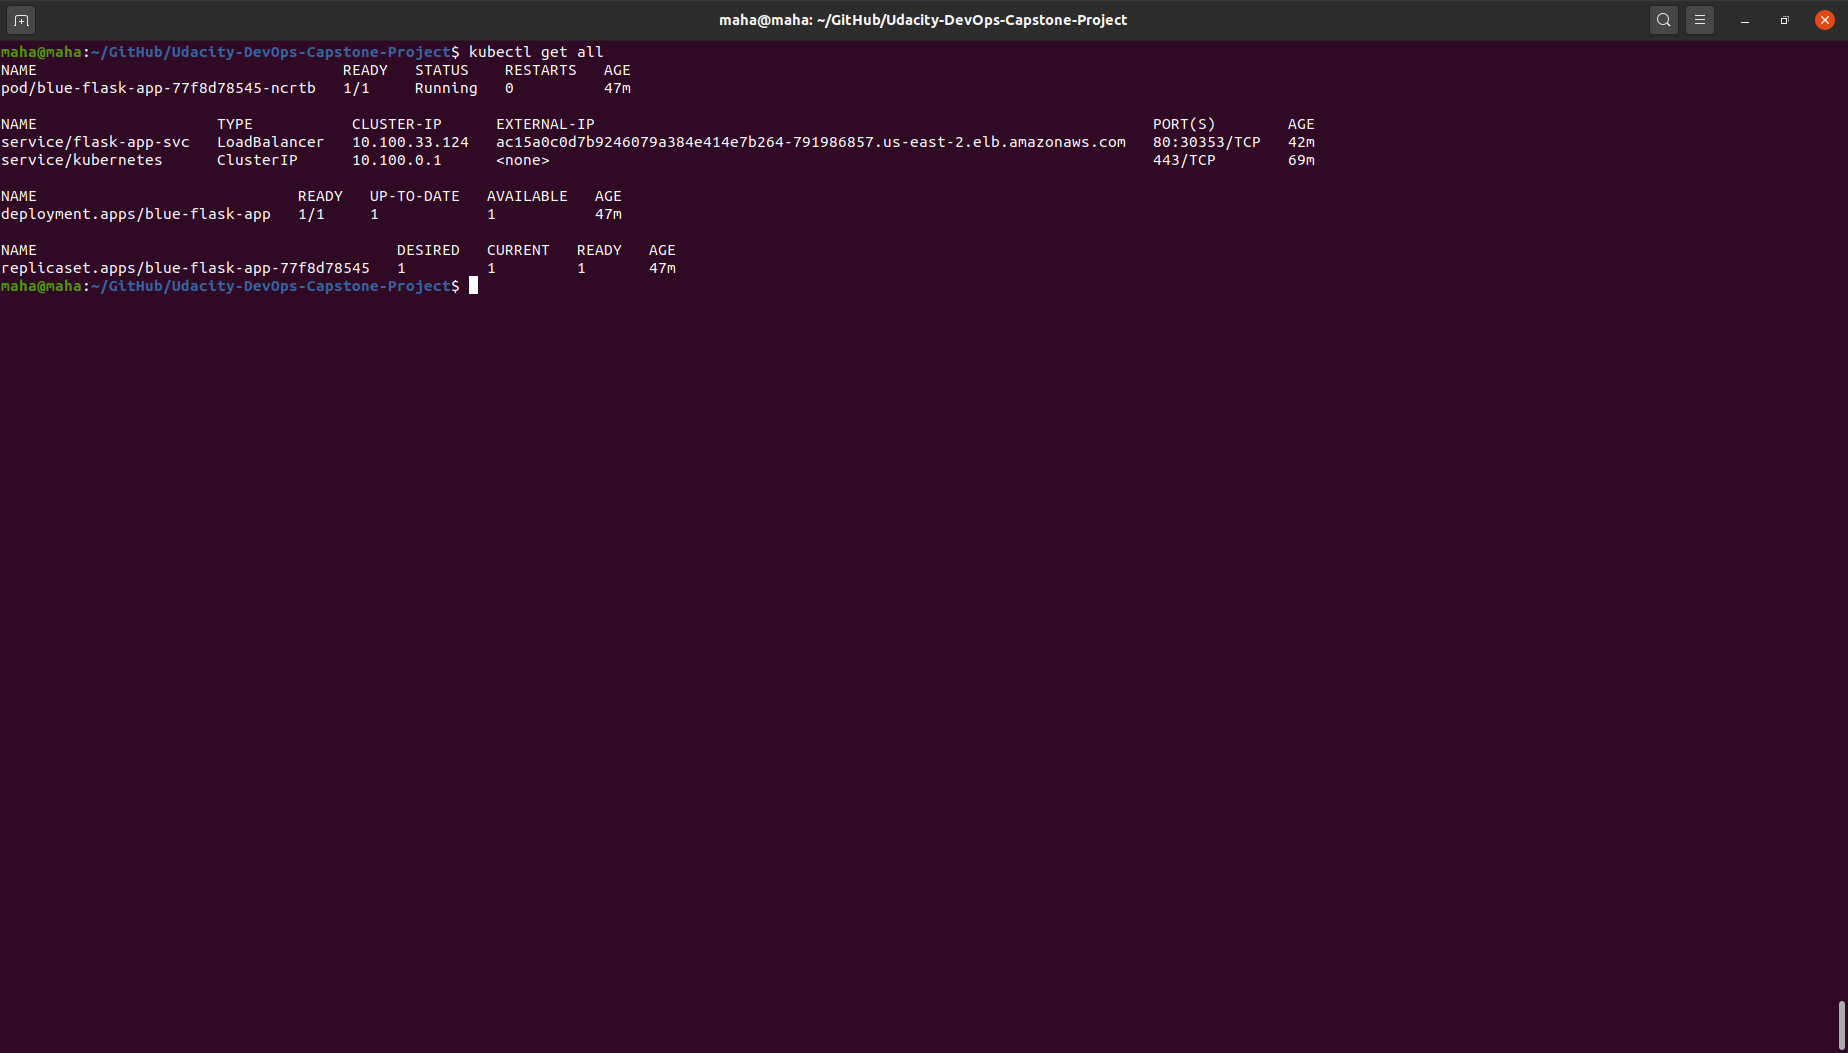
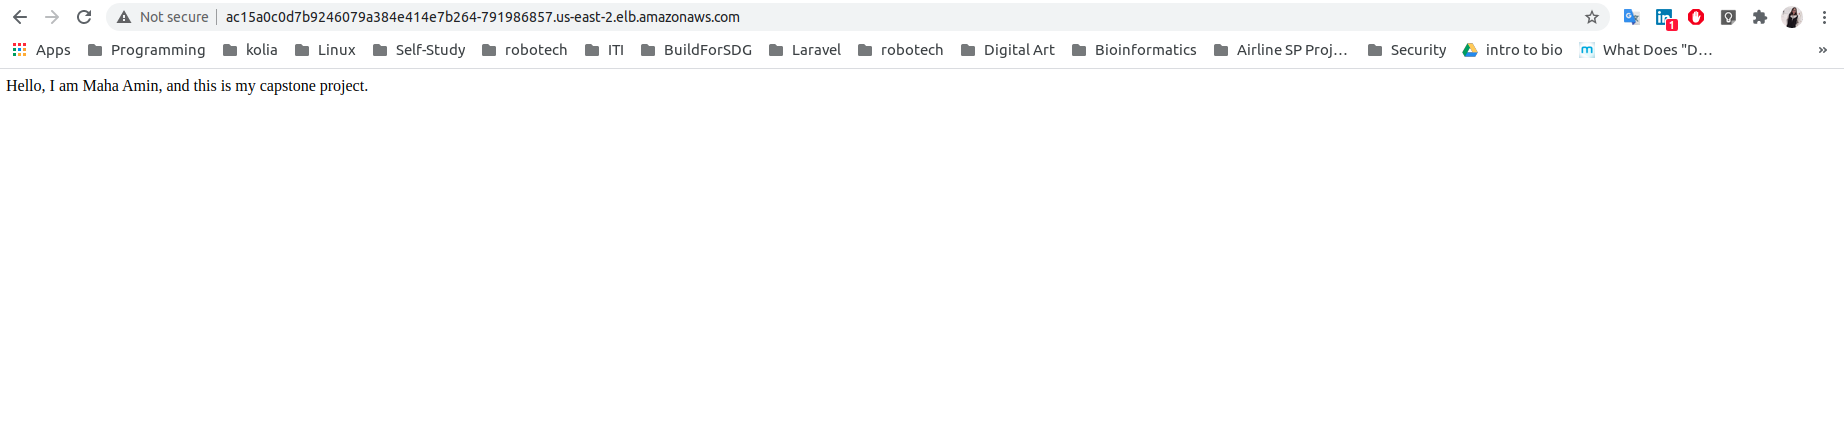
Access the app from browser:


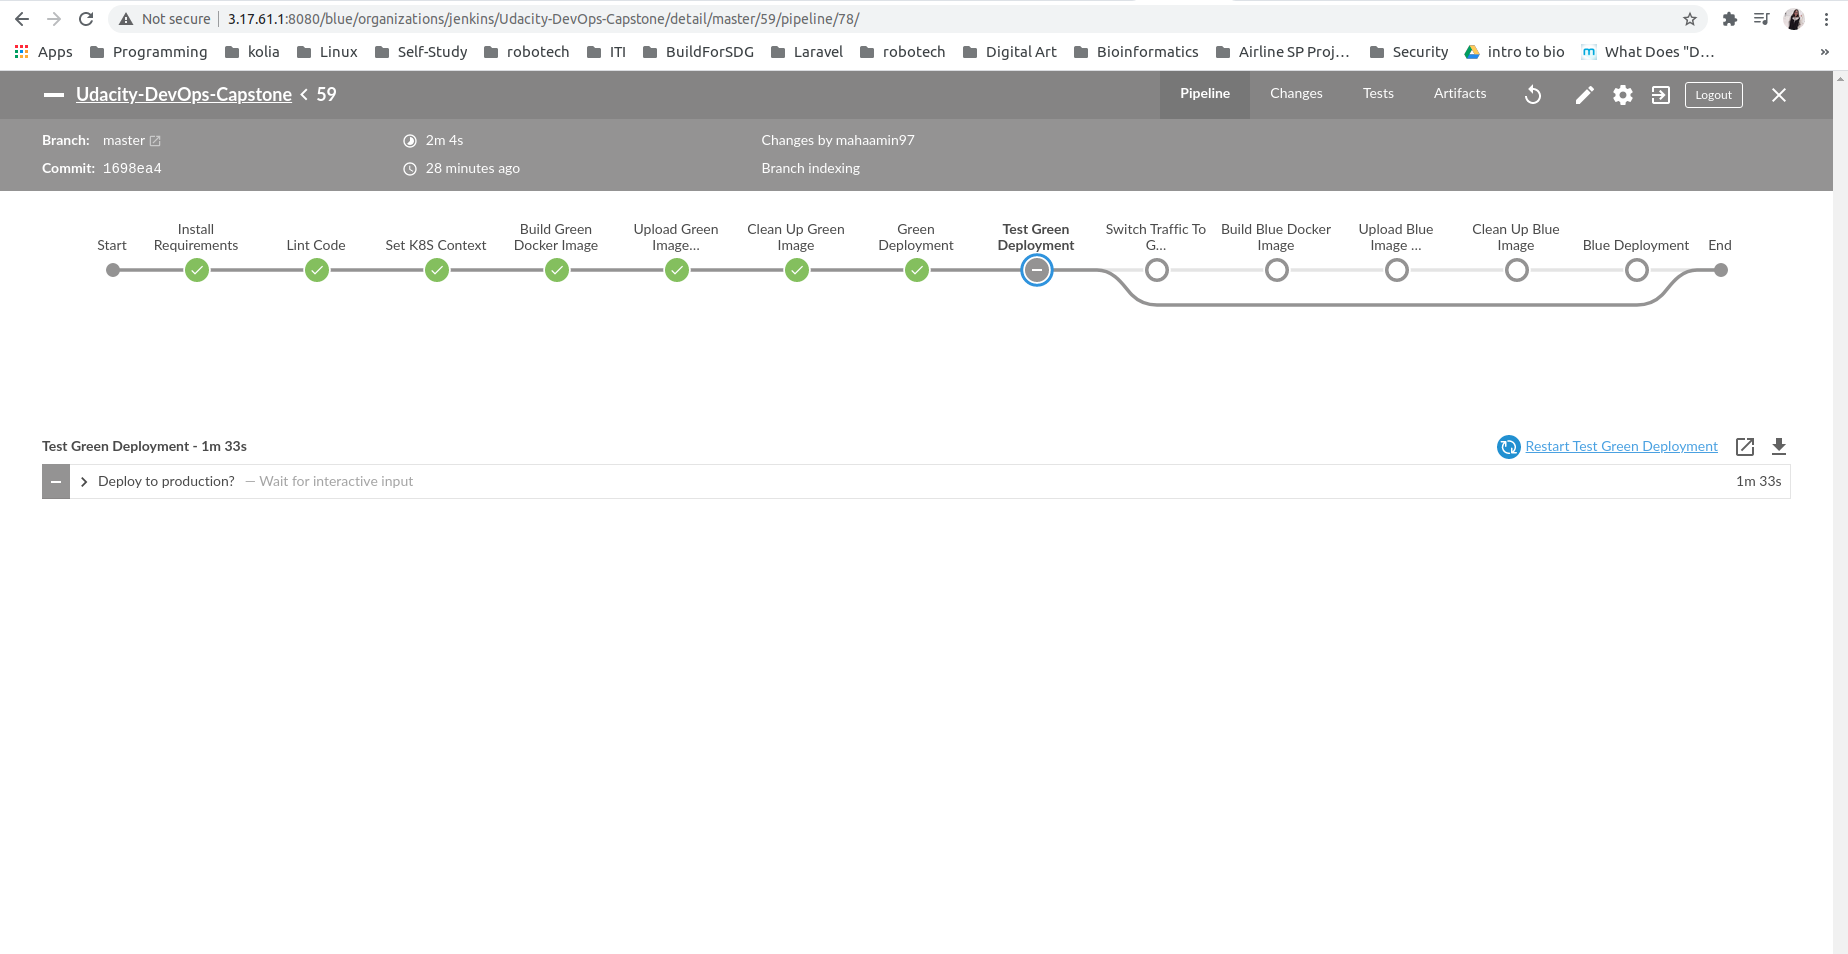
Overview:

Steps:
-
Install needed packages from requirements.txt.
-
Linting Code:


-
Set K8S Context: To enable jenkins to run kubectl commands with "aws-user" credentials stored in jenkins server.
-
Build Green Docker Image.
-
Push green image (mahaamin97/pre-production-flask-app) to docker-hub registery:
- Link to pre-production-flask-app Image

-
Clean Up green image: delete pre-production-flask-app Image from jenkins server after uploading it to docker-hub, to save jenkin's server disk space.
-
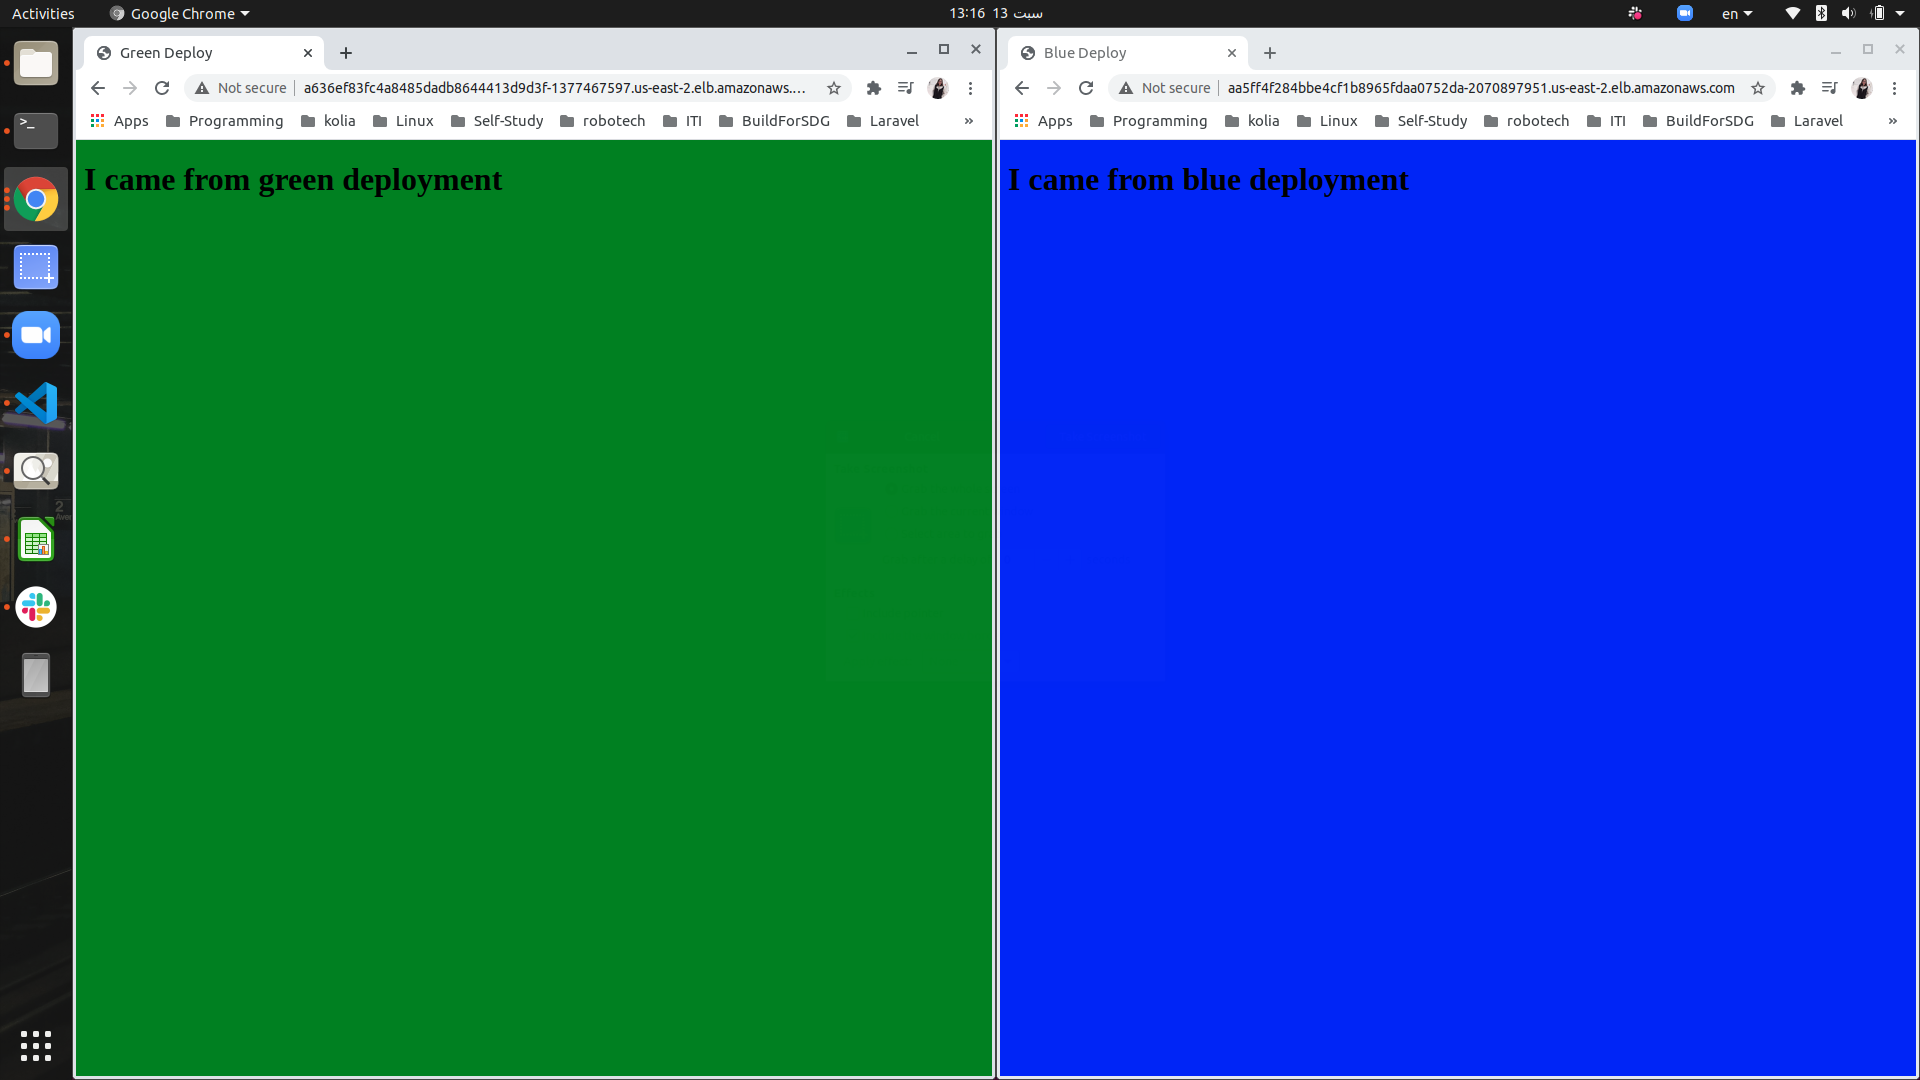
Blue/Green Deployment Demonstration:
-
Blue --> production deployment (flask-app)
-
Green --> pre-production deployment (pre-production-flask-app)
-
flask-app-svc --> main service endpoint.
-
test-svc --> service on green deployment only for testing purposes.
-
If green deployment succeeded :
-
switch traffic to green deployment
-
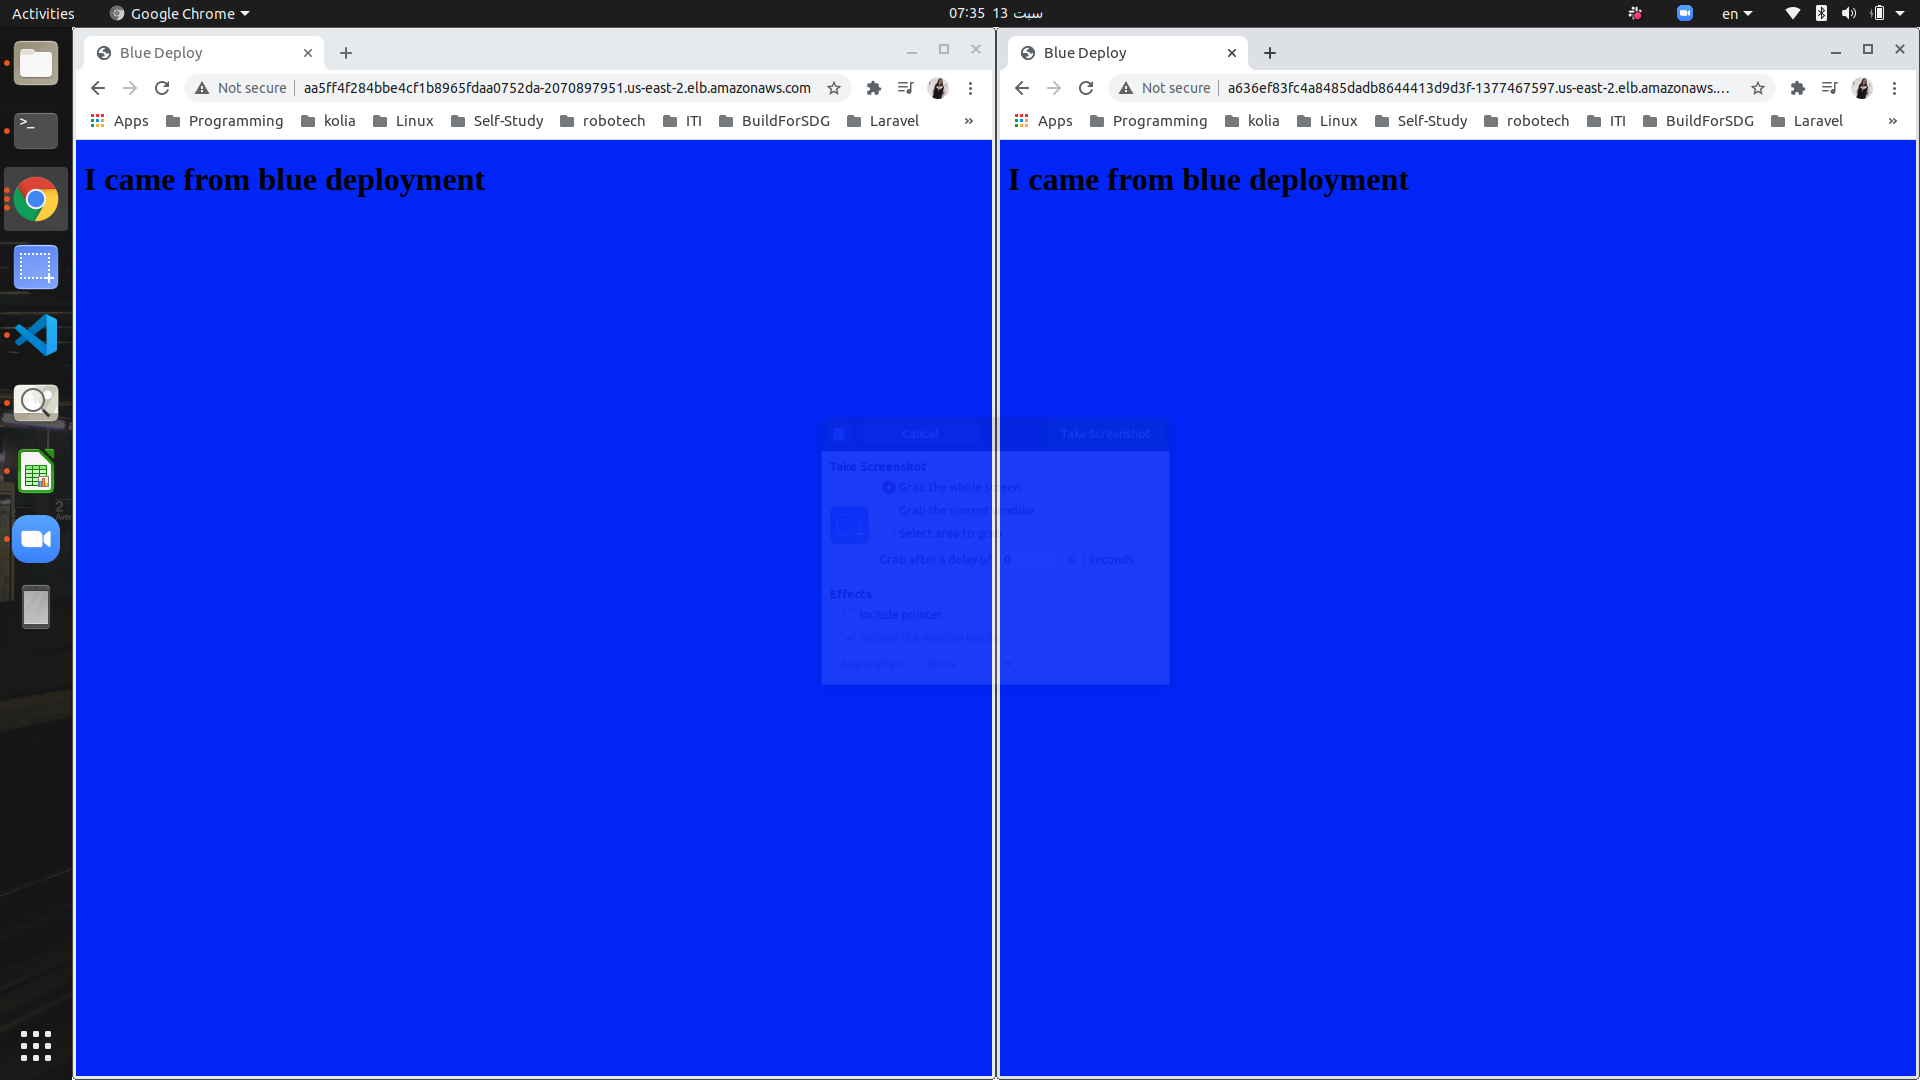
changes are deployed to blue deployment (pipeline ends having two identical environments)
-
switch back service to blue deployment
-
-
Green deployment succeeded:
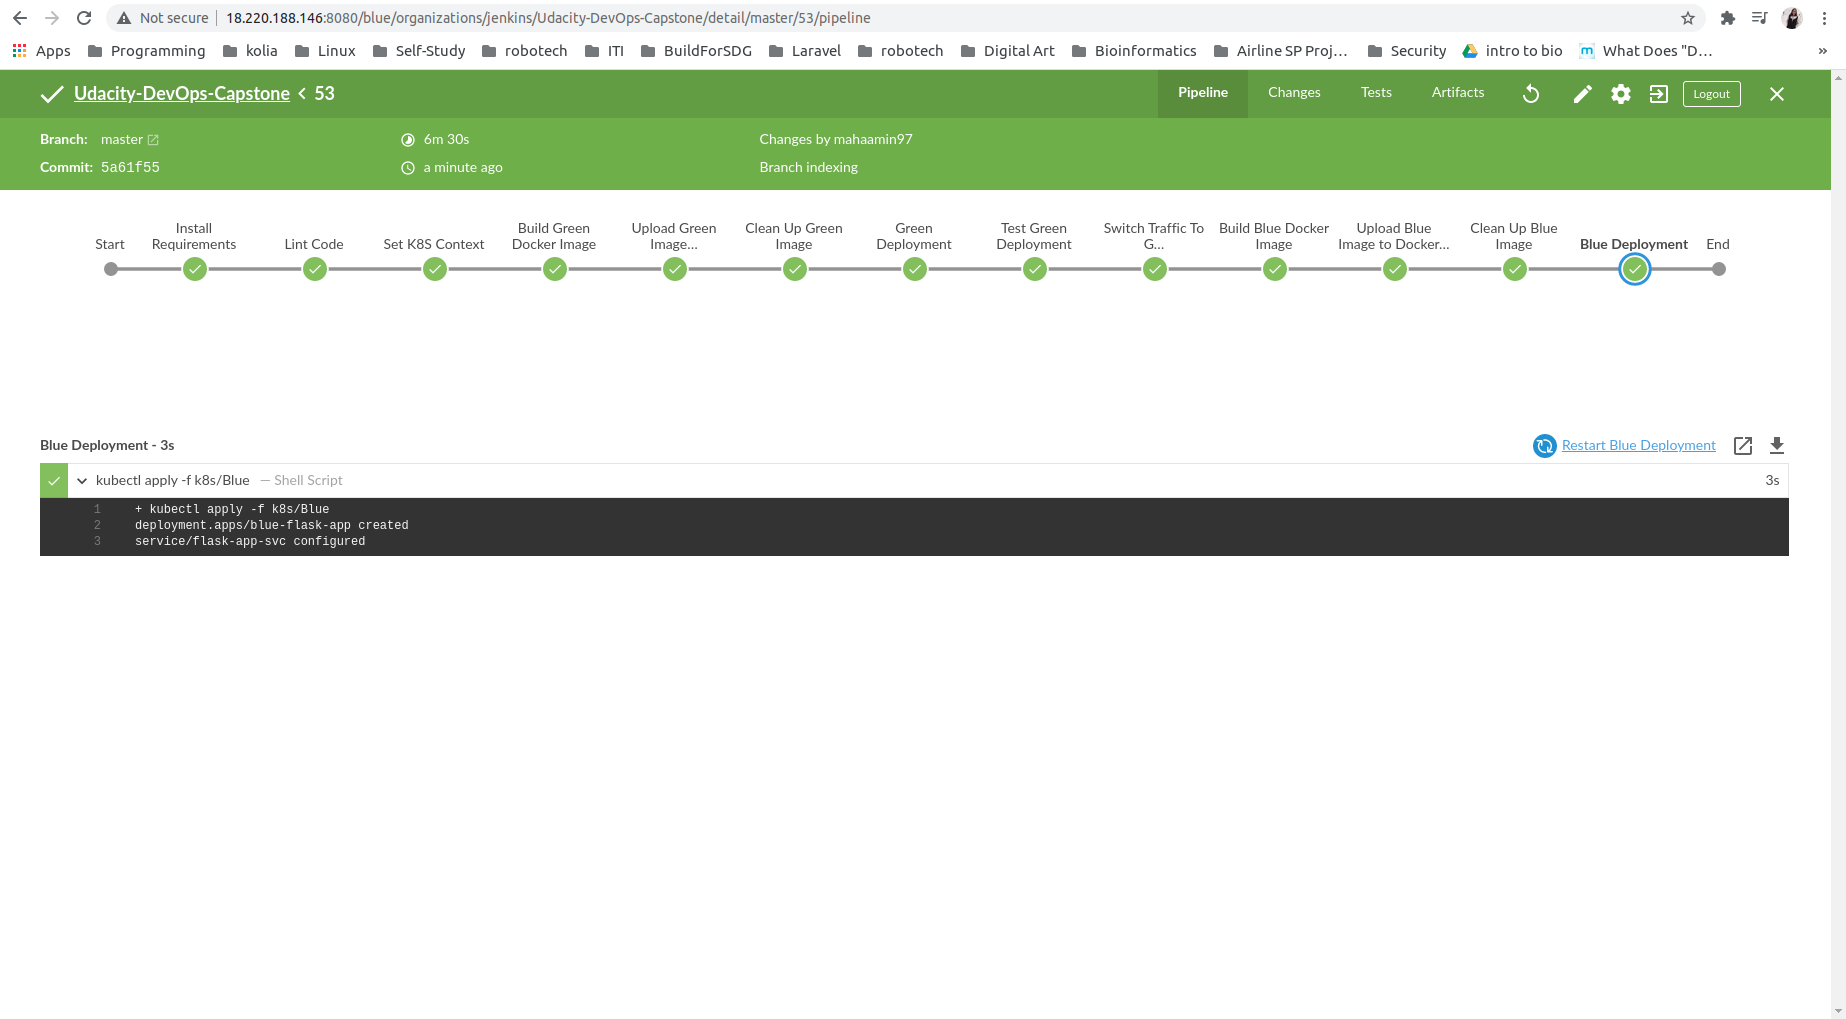
Green and Blue environments are the same (until new commit happens)
- Else if Green deployment failed, the main service (flask-app-svc) still points to blue deployment, while green deployment changed and can be accessed via test-svc:
-
-
Test Green Deployment:


-
Blue Docker Image:
- Link to flask-app Image on docker-hub.
- Final Jenkins Dashboard:

- AWS Billing:
