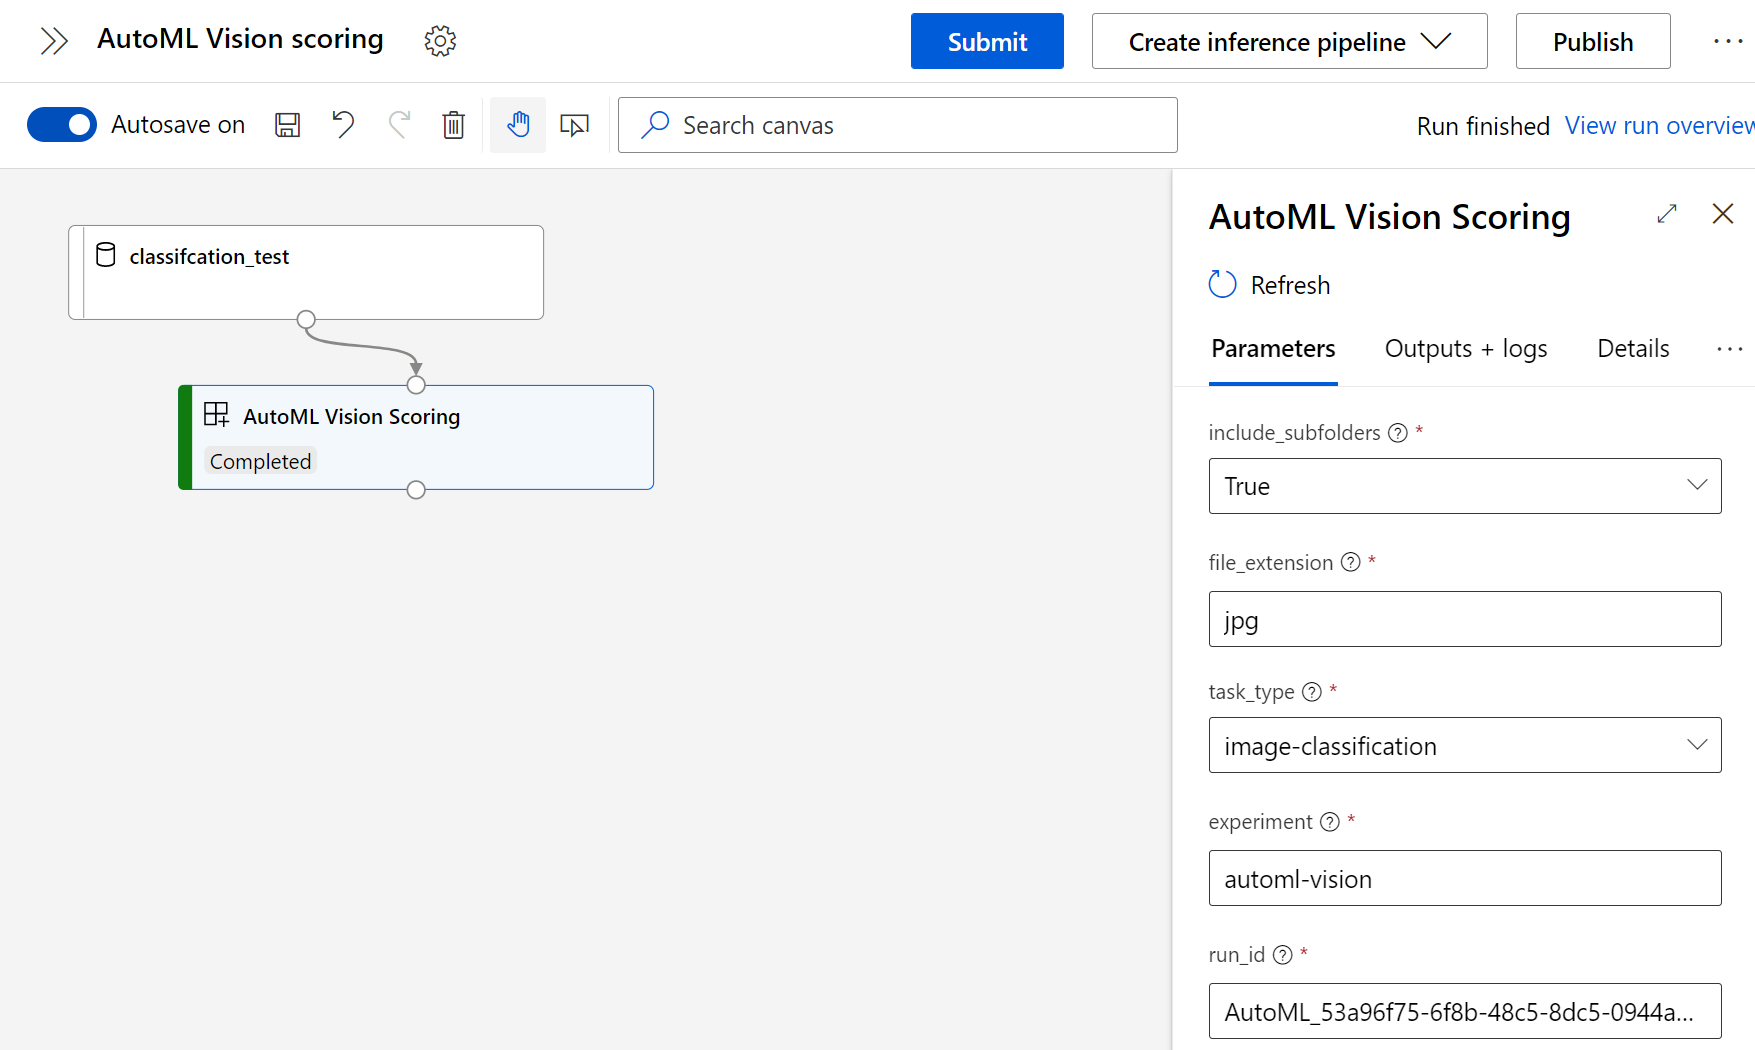
A set of custom components for using AutoML and AutoML Vision in Designer for Batch Scoring. It supports the following AutoML models:
- Classification
- Regression
- Forecasting
For AutoML Vision, it supports:
- Image Classification (using AutoML Vision)
- Object Detection (using AutoML Vision)
- Import via the
Modulescapability in Azure Machine Learning Studio, point it to:- AutoML -
https://github.com/csiebler/aml-automl-custom-component/blob/main/automl_scoring.spec.yaml - AutoML Vision -
https://github.com/csiebler/aml-automl-custom-component/blob/main/automl_vision_scoring.spec.yaml
- AutoML -
- Then use in Azure Machine Learning Designer
- Specify our AutoML experiment name, e.g.,
automl-creditand point it to therun_idof the model you want to use, e.g.AutoML_13528b38-bfe2-449e-9b43-967de35ecb3f_0
First, install the conda env needed to run the code locally:
$ conda env create -f conda.yaml
$ conda activate automl
Next, you can run the code against an existing AutoML run:
$ python automl_scoring.py --input_data ./tests/classification/input-sample --predictions_data ./output --experiment automl-credit --run_id AutoML_13528b38-bfe2-449e-9b43-967de35ecb3f_0
You can use the following code to create your input sample from e.g., a csv file via:
import os
import pandas as pd
from azureml.studio.core.io.data_frame_directory import load_data_frame_from_directory, save_data_frame_to_directory

df = pd.read_csv('data.csv')
os.makedirs("input-sample", exist_ok=True)
save_data_frame_to_directory("./input-sample", df)
Alternatively, you can run the acceptance tests. However, you will first need to update the experiments and run_ids in tests/*.py:
$ pytest
- Only connect input data with the same columns as used during AutoML training
- Scoring is currently not scaled to multiple nodes
- AutoML Vision scoring currently does not yet support GPU

