See also: the wiki https://github.com/cspotcode/bomb-rush-cyberfunk-modding/wiki/
See also: mod development template and guide: https://github.com/cspotcode/bomb-rush-cyberfunk-mod-template
Instructions for loading a map in Unity's editor and skating around. This research may be useful for other modders working on tools for custom map authors.
Download and install Unity version from here: https://unity.com/releases/editor/whats-new/2021.3.27
You do not need to include any addons, such as Android or Linux export.
Download AssetRipper from here: https://assetripper.github.io/AssetRipper/articles/Downloads.html
Install Beyond Compare from here: https://www.scootersoftware.com/download
Launch AssetRipper.
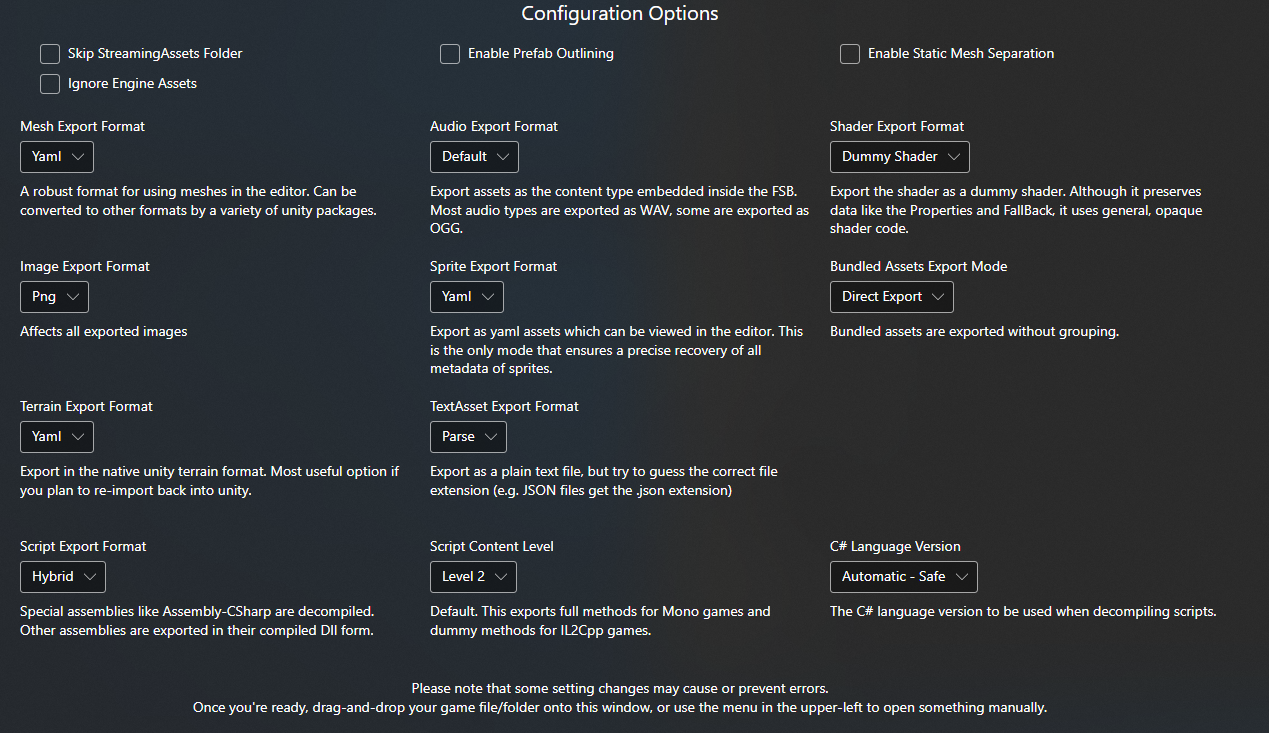
Use default settings. Here's an image of them for reference:
File -> Open Folder
Choose root directory of your Steam installation of BRC.
Export -> Export all files
Optional: create a .zip backup of all the ripped files. That way, if you break something, you can restart from the zip instead of running AssetRipper again.
Now we open our newly-ripped game assets in Unity.
Open Unity Hub
Open -> Add Project from disk
Find where you extracted from AssetRipper, open the Bomb Rush Cyberfunk/ExportedProject subdirectory.
Unity will take a long time to import assets the first time. It will also show error popups! This is normal.
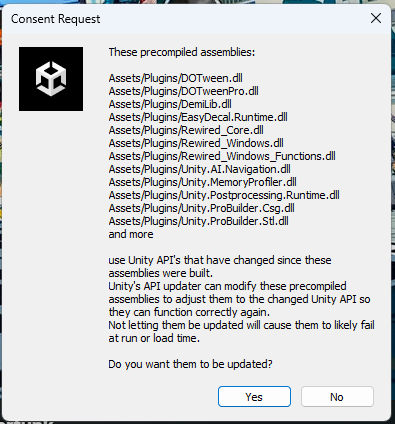
When you get the "Consent Request" about modifying precompiled assemblies to match new Unity APIs, choose "Yes"
When you get a prompt to enter safe mode due to compilation errors, choose "Enter Safe Mode."
Install missing packages to resolve the errors.
Window -> Package Manager
At top, click "Packages" and toggle it to "Packages: Unity Registry"
Search for and install "Unity UI" and "Timeline."
If you'll be editing code, also install "Visual Studio Editor" and "Visual Studio Code Editor." If you use Visual Studio Code, you must install both of them!
Edit -> Preferences, External Tools, choose "Visual Studio Code"
Install VSCode
In VSCode, install "Unity" extension, which allows attaching a debugger. This one: https://marketplace.visualstudio.com/items?itemName=VisualStudioToolsForUnity.vstuc
Delete these two shaders, they mess up the appearance of Unity's UI:
Assets/Shader/Hidden_UIElements_EditorUIE.shader
Assets/Shader/Hidden_UIElements_EditorUIE_0.shader
Patch file is patch.patch
Apply those code changes to the Scripts subdirectory.
TODO explain this better, tools can apply the patch automatically.
We need to load one additional MonoBehaviour to complete the bootstrapping process.
Make a new Scene SkateInEditor with a single empty gameobject with the SkateInEditor script attached.
We could alternatively add this GameObject to the core or Bootstrap scenes, but I like to avoid modifying them
Search for and open all these scenes in the editor:
coreBootstrapSkateInEditor(we created this one above)hideout
Going into and out of play mode is slow. Any way we can optimize?
Does not load a save file from disk. Good because it doesn't corrupt your saves, bad if you want things to be unlocked. Some of our code unlocks things, can we add more code to unlock everything automatically?

