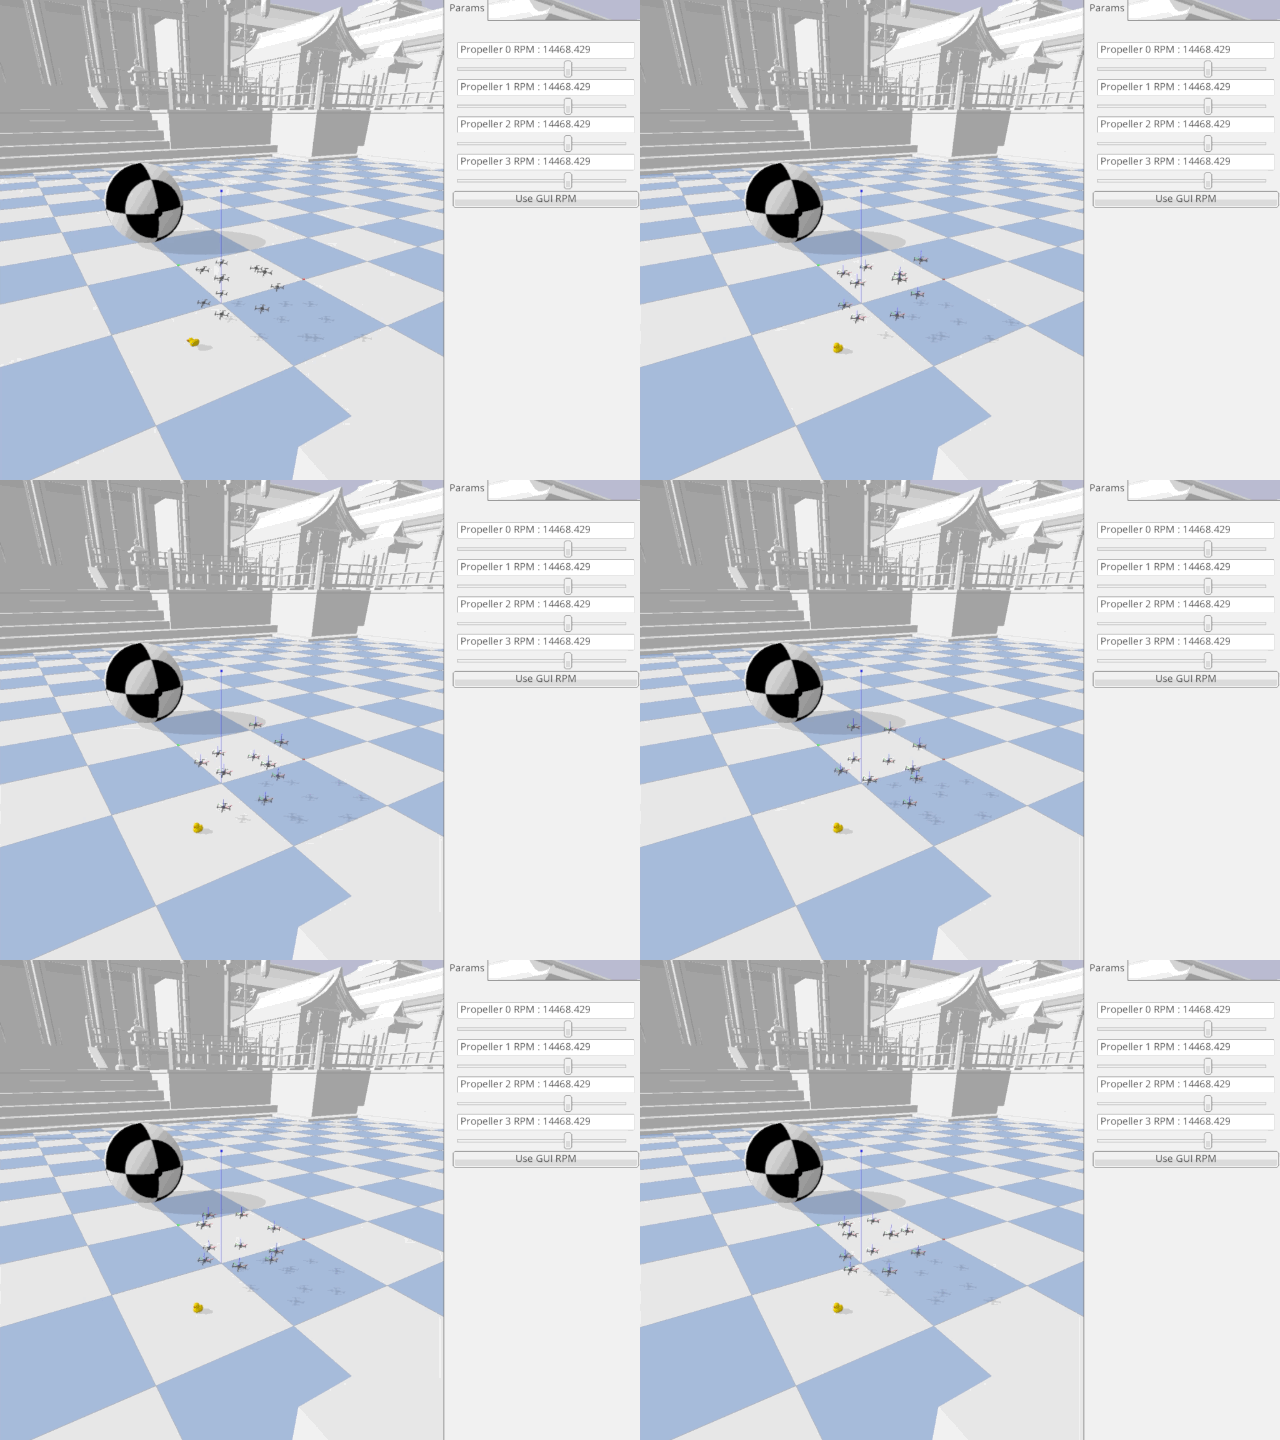
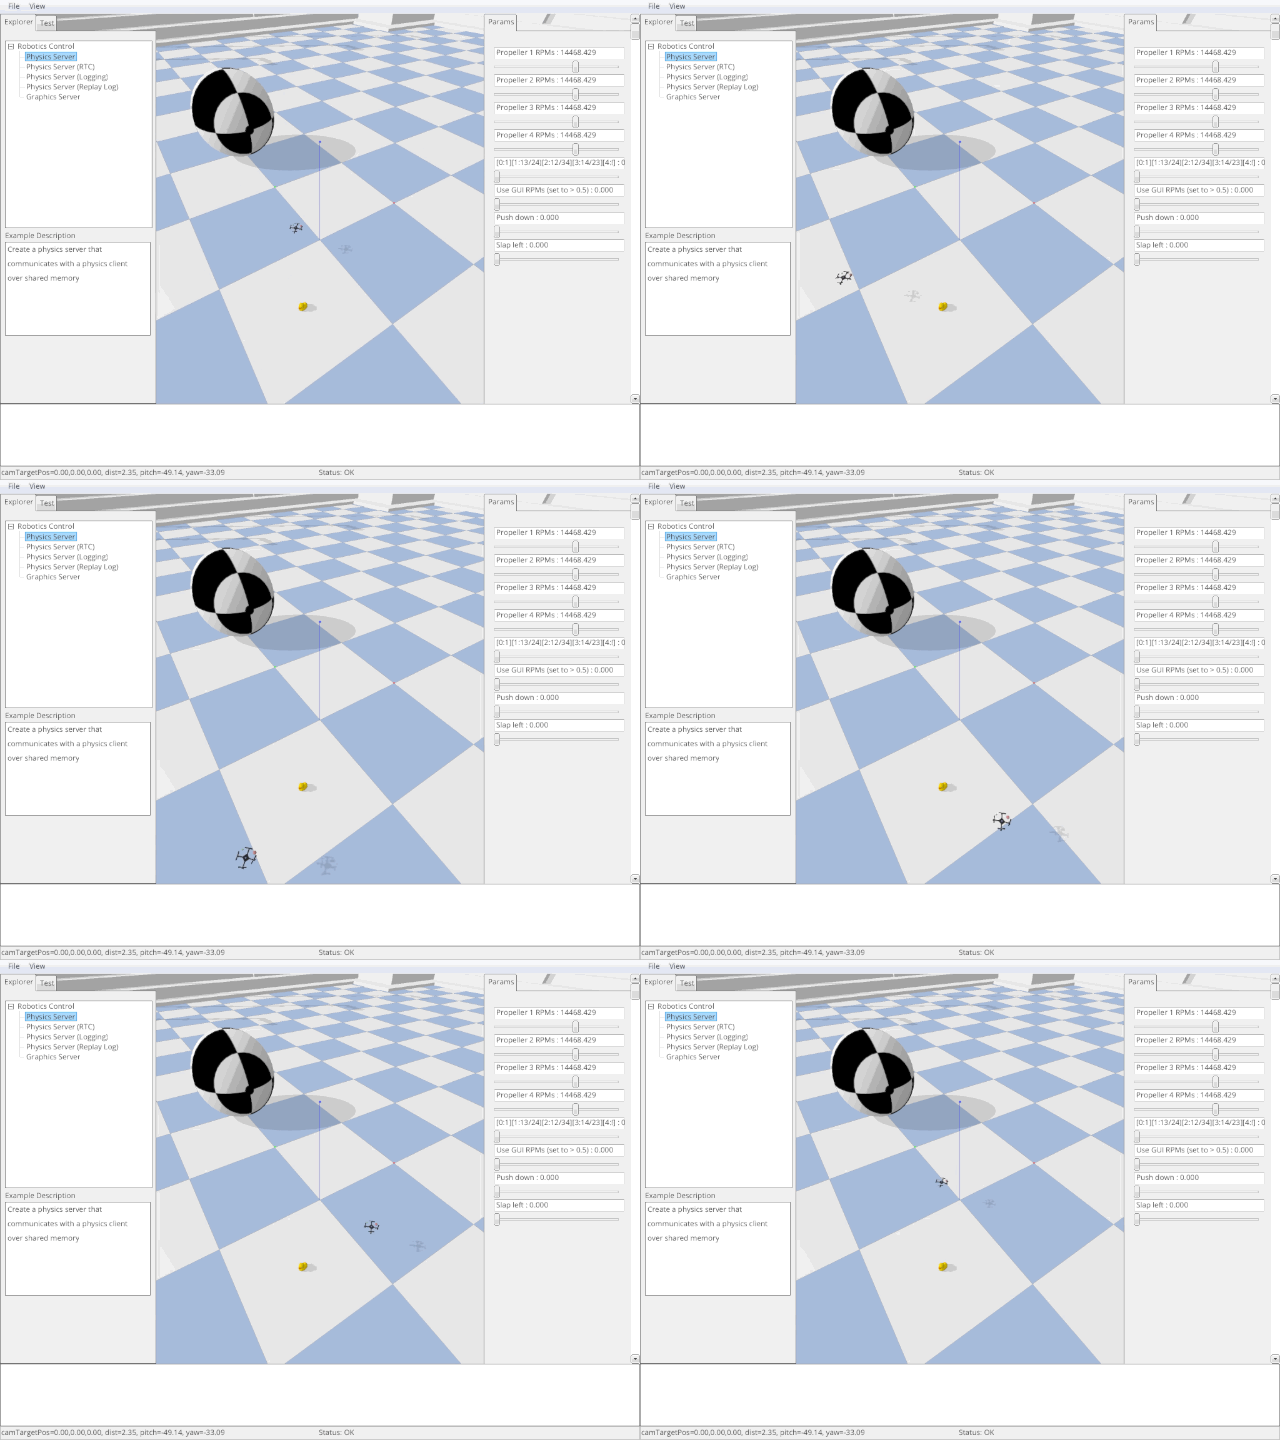
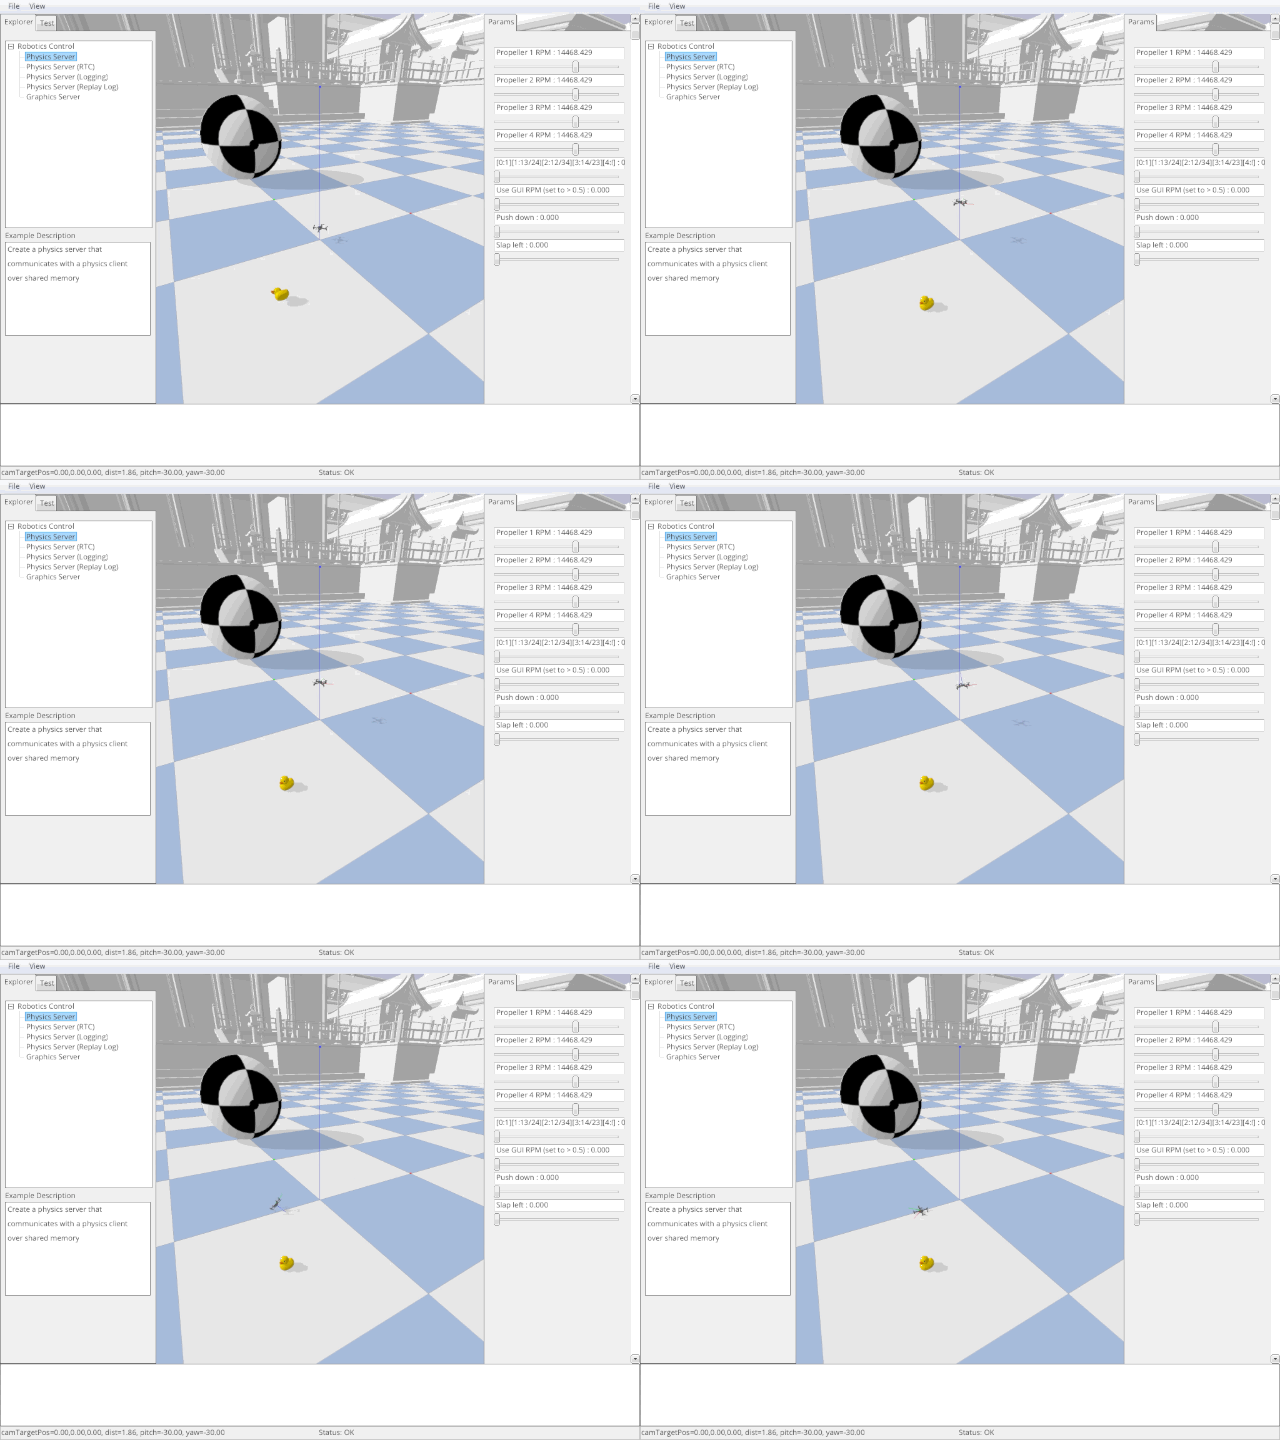
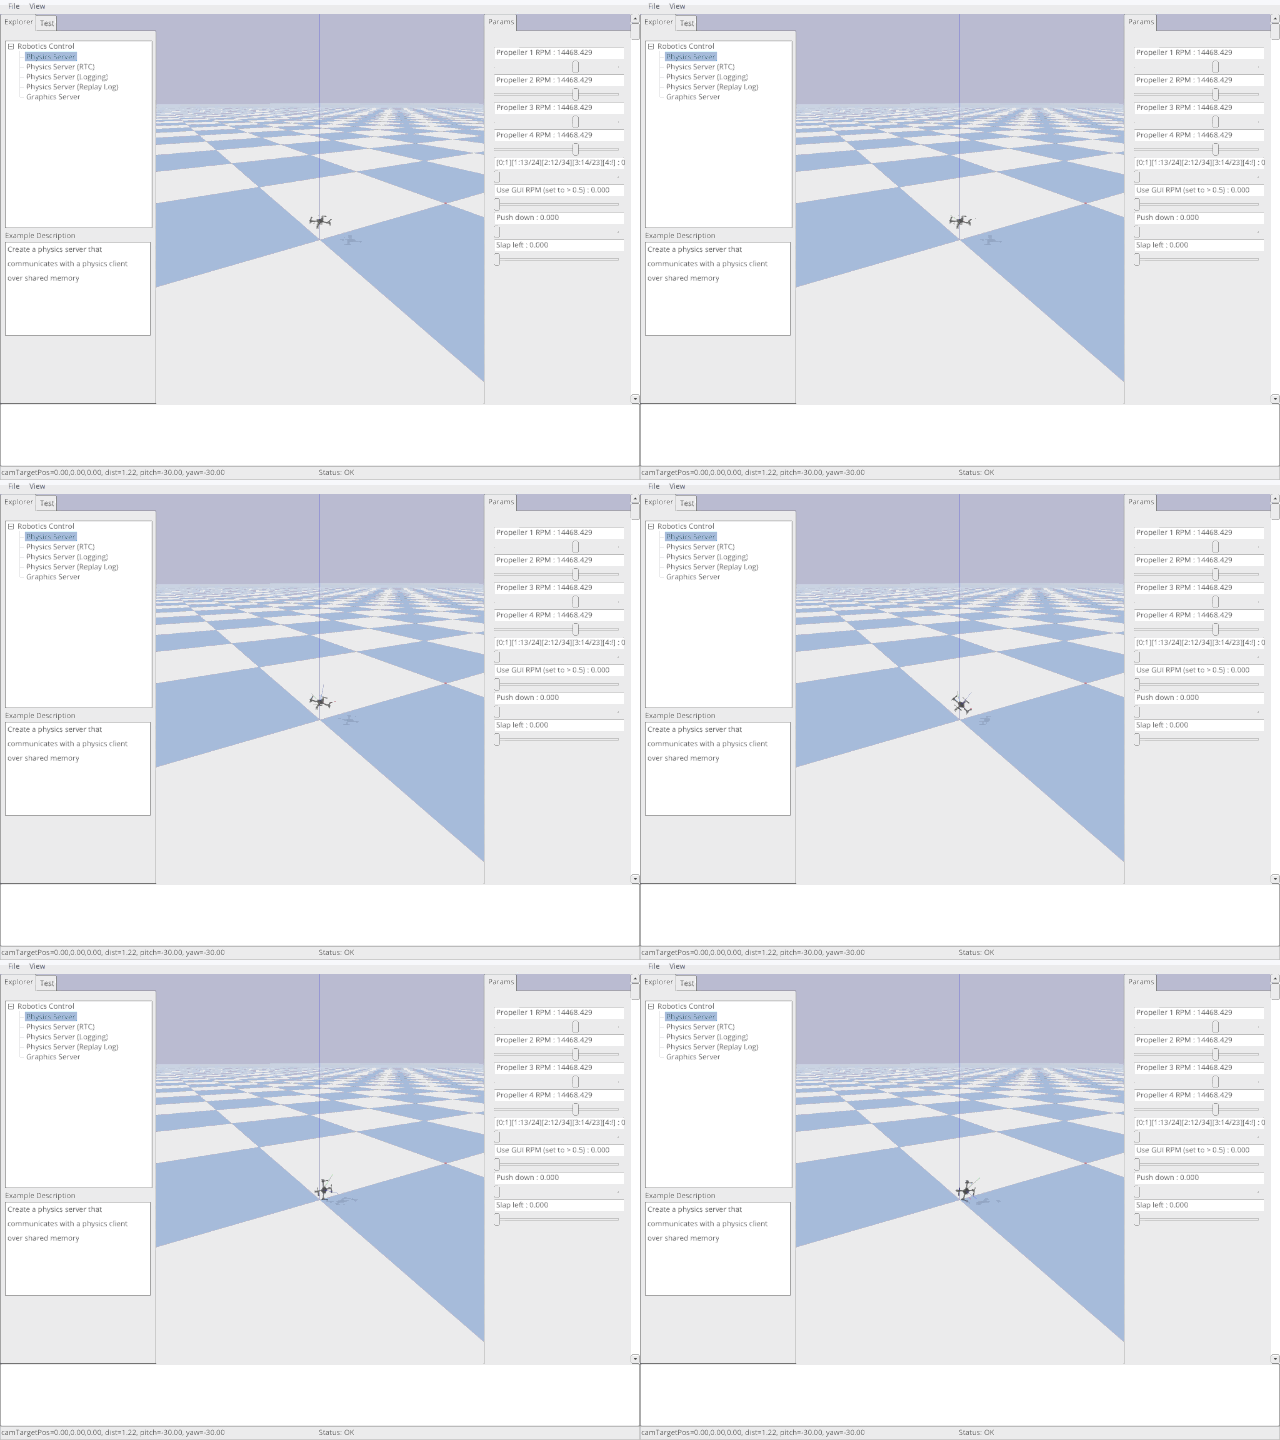
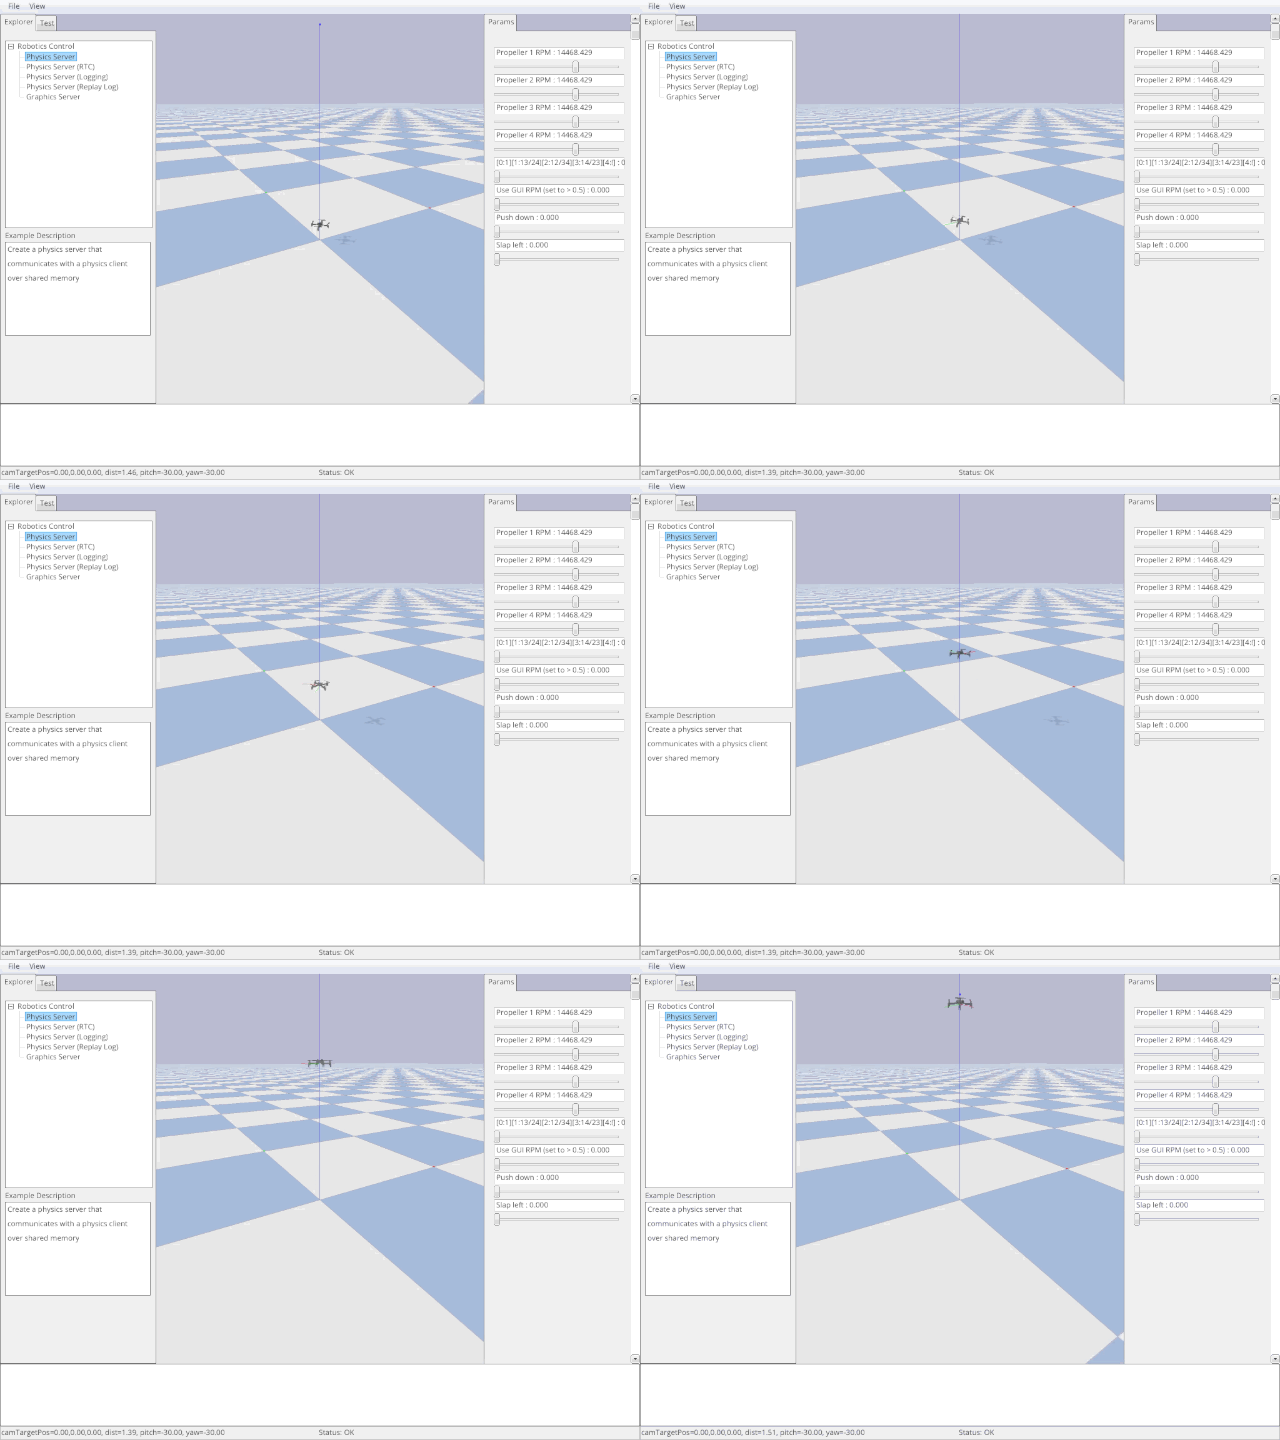
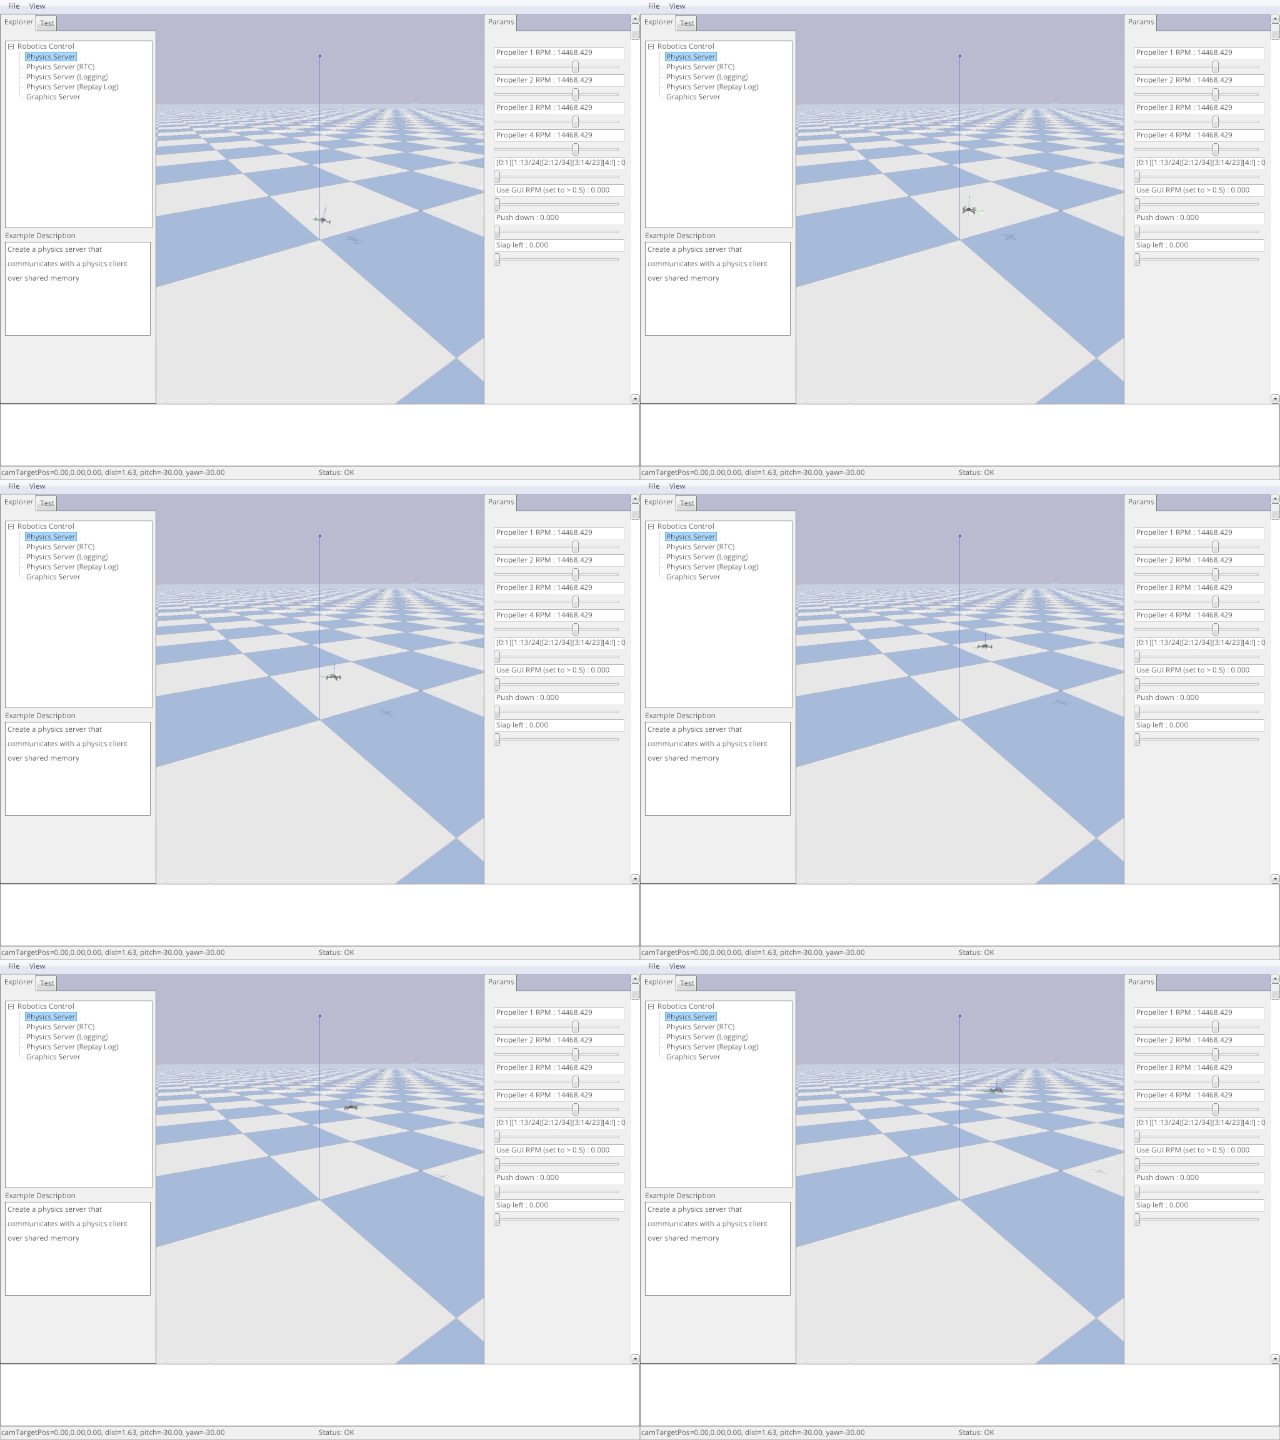
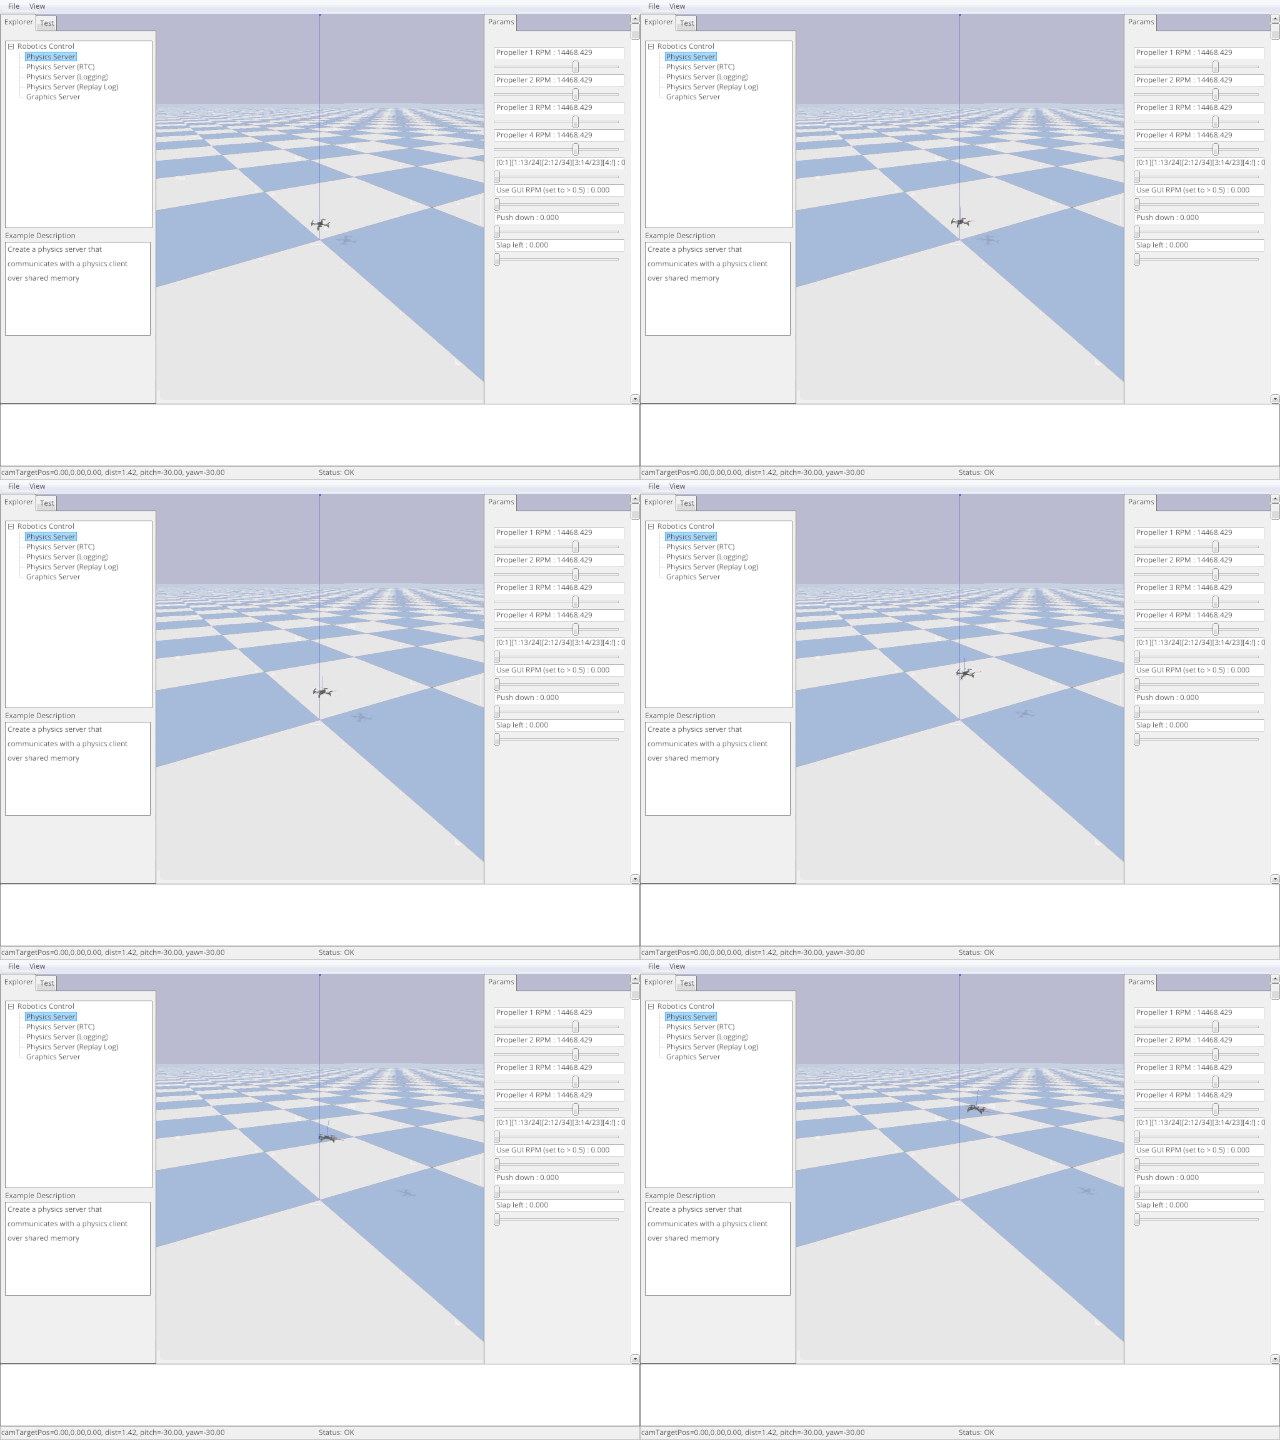
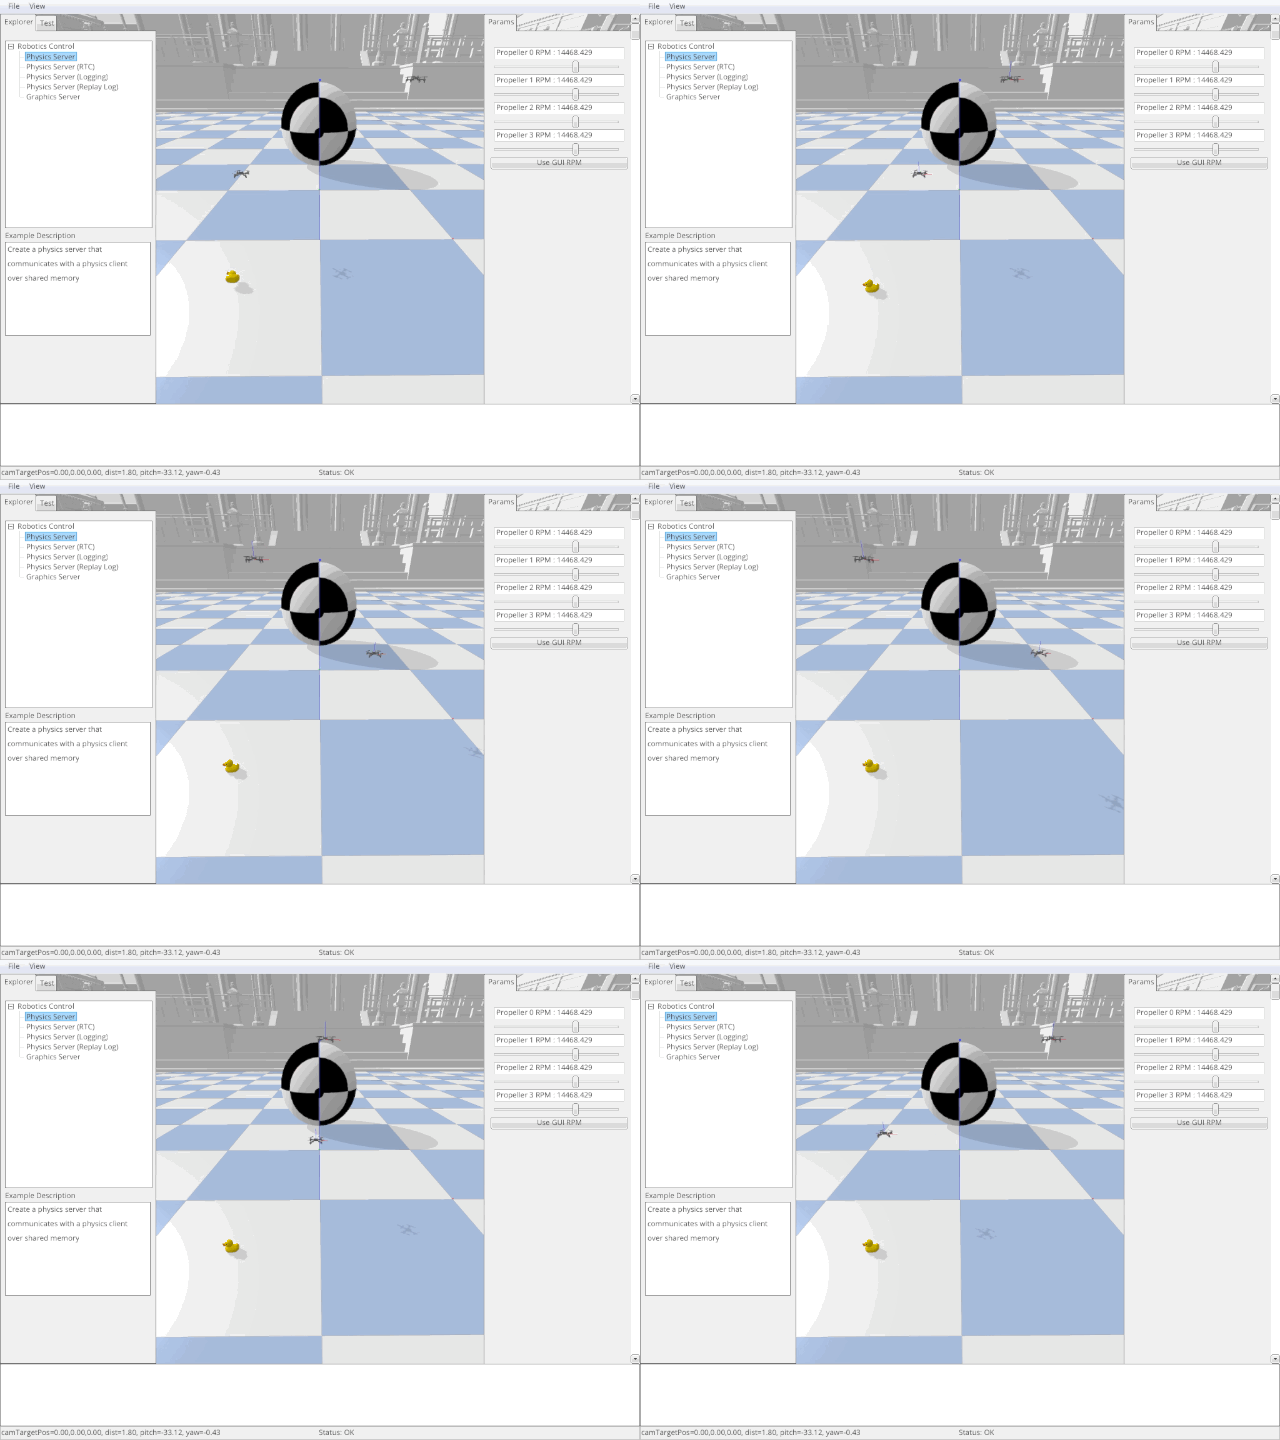
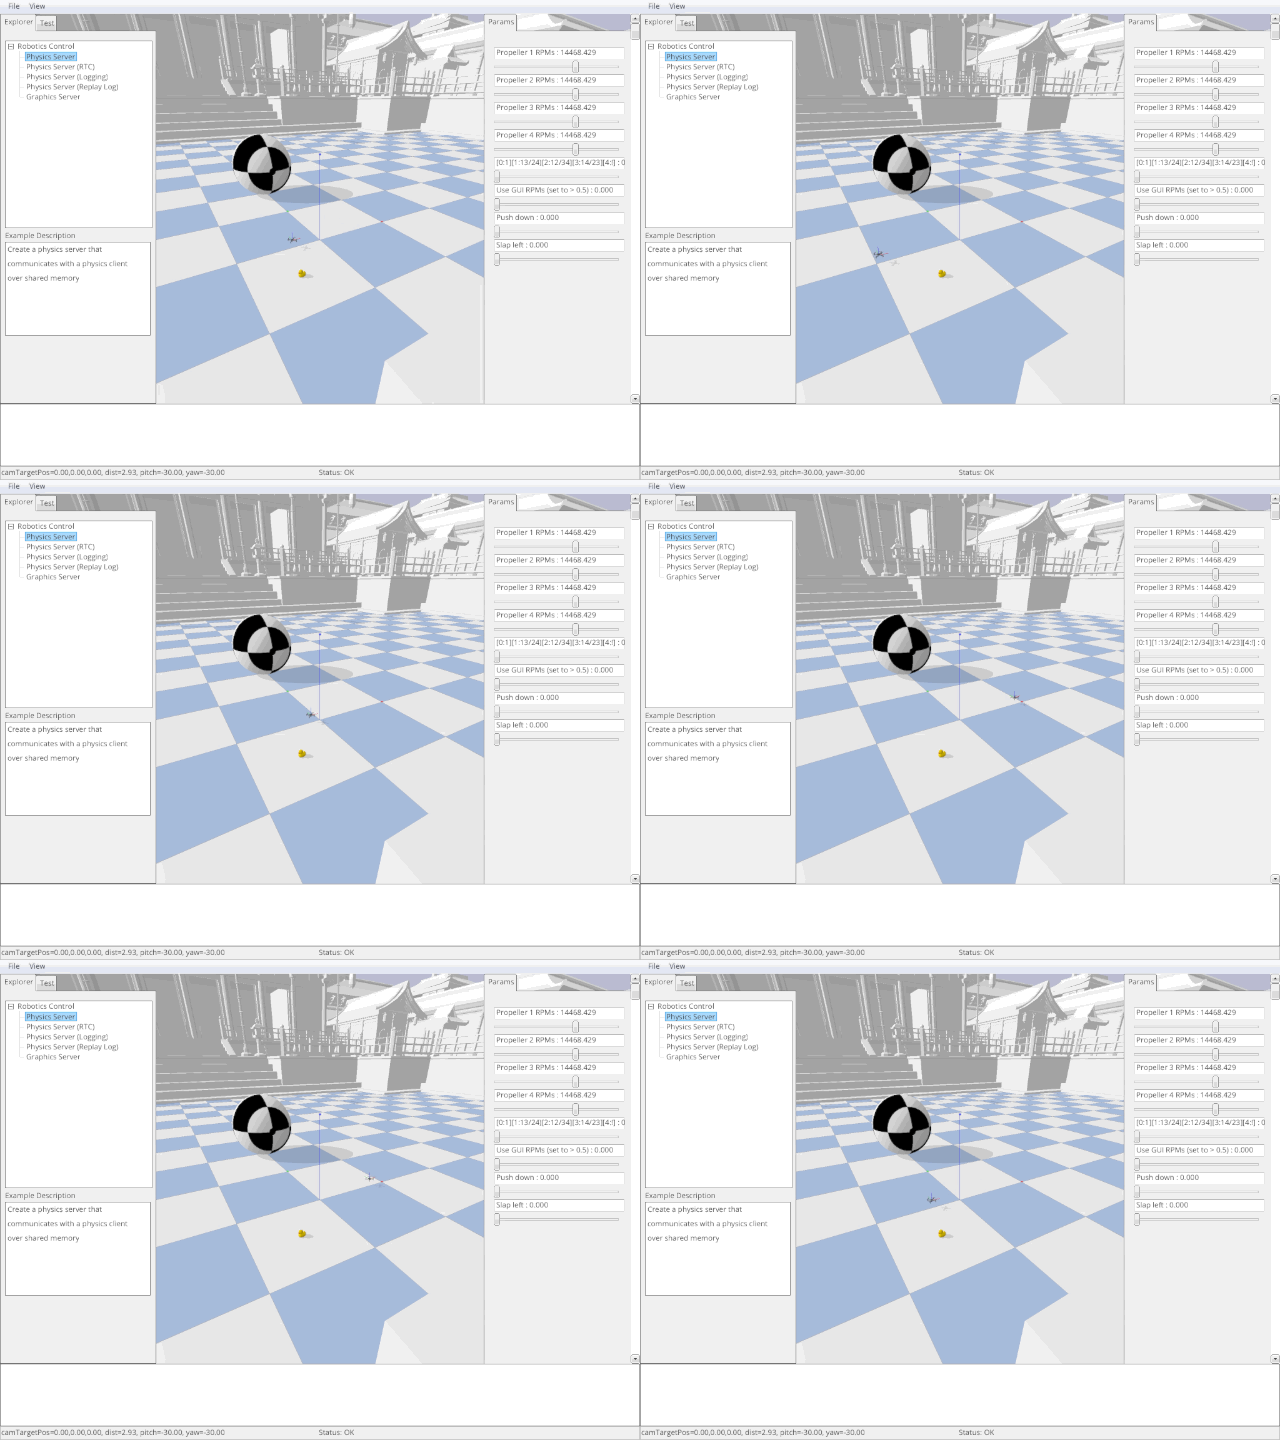
This repository's master branch is actively developed, please git pull frequently and feel free to open new issues for any undesired, unexpected, or (presumably) incorrect behavior. Thanks 🙏
Simple OpenAI Gym environment based on PyBullet for multi-agent reinforcement learning with quadrotors
-
The default
DroneModel.CF2Xdynamics are based on Bitcraze's Crazyflie 2.x nano-quadrotor -
Everything after a
$is entered on a terminal, everything after>>>is passed to a Python interpreter -
To better understand how the PyBullet back-end works, refer to its Quickstart Guide
-
Suggestions and corrections are very welcome in the form of issues and pull requests, respectively
A lot of recent RL research for continuous actions has focused on policy gradient algorithms and actor-critic architectures. A quadrotor is (i) an easy-to-understand mobile robot platform whose (ii) control can be framed as a continuous states and actions problem but, beyond 1-dimension, (iii) it adds the complexity that many candidate policies lead to unrecoverable states, violating the assumption of the existence of a stationary state distribution on the entailed Markov chain.
gym-pybullet-drones |
AirSim | Flightmare | |
|---|---|---|---|
| Physics | PyBullet | FastPhysicsEngine/PhysX | Ad hoc/Gazebo |
| Rendering | PyBullet | Unreal Engine 4 | Unity |
| Language | Python | C++/C# | C++/Python |
| RGB/Depth/Segm. views | Yes | Yes | Yes |
| Multi-agent control | Yes | Yes | Yes |
| ROS interface | ROS2/Python | ROS/C++ | ROS/C++ |
| Hardware-In-The-Loop | No | Yes | No |
| Fully steppable physics | Yes | No | Yes |
| Aerodynamic effects | Drag, downwash, ground | Drag | Drag |
OpenAI Gym interface |
Yes | Yes | Yes |
RLlib MultiAgentEnv interface |
Yes | No | No |
Simulation speed-up with respect to the wall-clock when using
- 240Hz (in simulation clock) PyBullet physics for EACH drone
- AND 48Hz (in simulation clock) PID control of EACH drone
- AND nearby obstacles AND a mildly complex background (see GIFs)
- AND 24FPS (in sim. clock), 64x48 pixel capture of 6 channels (RGBA, depth, segm.) on EACH drone
| Lenovo P52 (i7-8850H/Quadro P2000) | 2020 MacBook Pro (i7-1068NG7) | |
|---|---|---|
| Rendering | OpenGL | CPU-based TinyRenderer |
| Single drone, no vision | 15.5x | 16.8x |
| Single drone with vision | 10.8x | 1.3x |
| Multi-drone (10), no vision | 2.1x | 2.3x |
| Multi-drone (5) with vision | 2.5x | 0.2x |
| 80 drones in 4 env, no vision | 0.8x | 0.95x |
Note: use
gui=Falseandaggregate_phy_steps=int(SIM_HZ/CTRL_HZ)for better performance
While it is easy to—consciously or not—cherry pick statistics, ~5kHz PyBullet physics (CPU-only) is faster than AirSim (1kHz) and more accurate than Flightmare's 35kHz simple single quadcopter dynamics
Exploiting parallel computation—i.e., multiple (80) drones in multiple (4) environments (see script
parallelism.sh)—achieves PyBullet physics updates at ~20kHz
Multi-agent 6-ch. video capture at ~750kB/s with CPU rendering (
(64*48)*(4+4+2)*24*5*0.2) is comparable to Flightmare's 240 RGB frames/s ((32*32)*3*240)—although in more complex Unity environments—and up to an order of magnitude faster on Ubuntu, with OpenGL rendering
The repo was written using Python 3.7 with conda on macOS 10.15 and tested with Python 3.8 on macOS 12, Ubuntu 20.04
Major dependencies are gym, pybullet,
stable-baselines3, and rllib
Video recording requires to have ffmpeg installed, on macOS
$ brew install ffmpegOn Ubuntu
$ sudo apt install ffmpegmacOS with Apple Silicon (like the M1 Air) can only install grpc with a minimum Python version of 3.9 and these two environment variables set:
$ export GRPC_PYTHON_BUILD_SYSTEM_OPENSSL=1
$ export GRPC_PYTHON_BUILD_SYSTEM_ZLIB=1
The repo is structured as a Gym Environment
and can be installed with pip install --editable
$ conda create -n drones python=3.8 # or 3.9 on Apple Silicon, see the comment on grpc above
$ conda activate drones
$ pip3 install --upgrade pip
$ git clone https://github.com/utiasDSL/gym-pybullet-drones.git
$ cd gym-pybullet-drones/
$ pip3 install -e .
Check these step-by-step instructions written by Dr. Karime Pereida for Windows 10
Try the example scritps:
fly.py,
learn.py,
downwash.py,
compare.py,
ground_effect, and velocity contributed by Spencer Teetaert
There are 2 basic template scripts in gym_pybullet_drones/examples/: fly.py and learn.py
fly.py[try it on Colab] runs an independent flight using PID control implemented in classDSLPIDControl
$ cd gym-pybullet-drones/gym_pybullet_drones/examples/
$ python3 fly.py                             # Try 'python3 fly.py -h' to show the script's customizable parameters
Tip: use the GUI's sliders and button
Use GUI RPMto override the control with interactive inputs
learn.py[try it on Colab] is an RL example to take-off usingstable-baselines3's A2C orrllib's PPO
$ cd gym-pybullet-drones/gym_pybullet_drones/examples/
$ python3 learn.py                           # Try 'python3 learn.py -h' to show the script's customizable parameters
Other scripts in folder gym_pybullet_drones/examples/ are
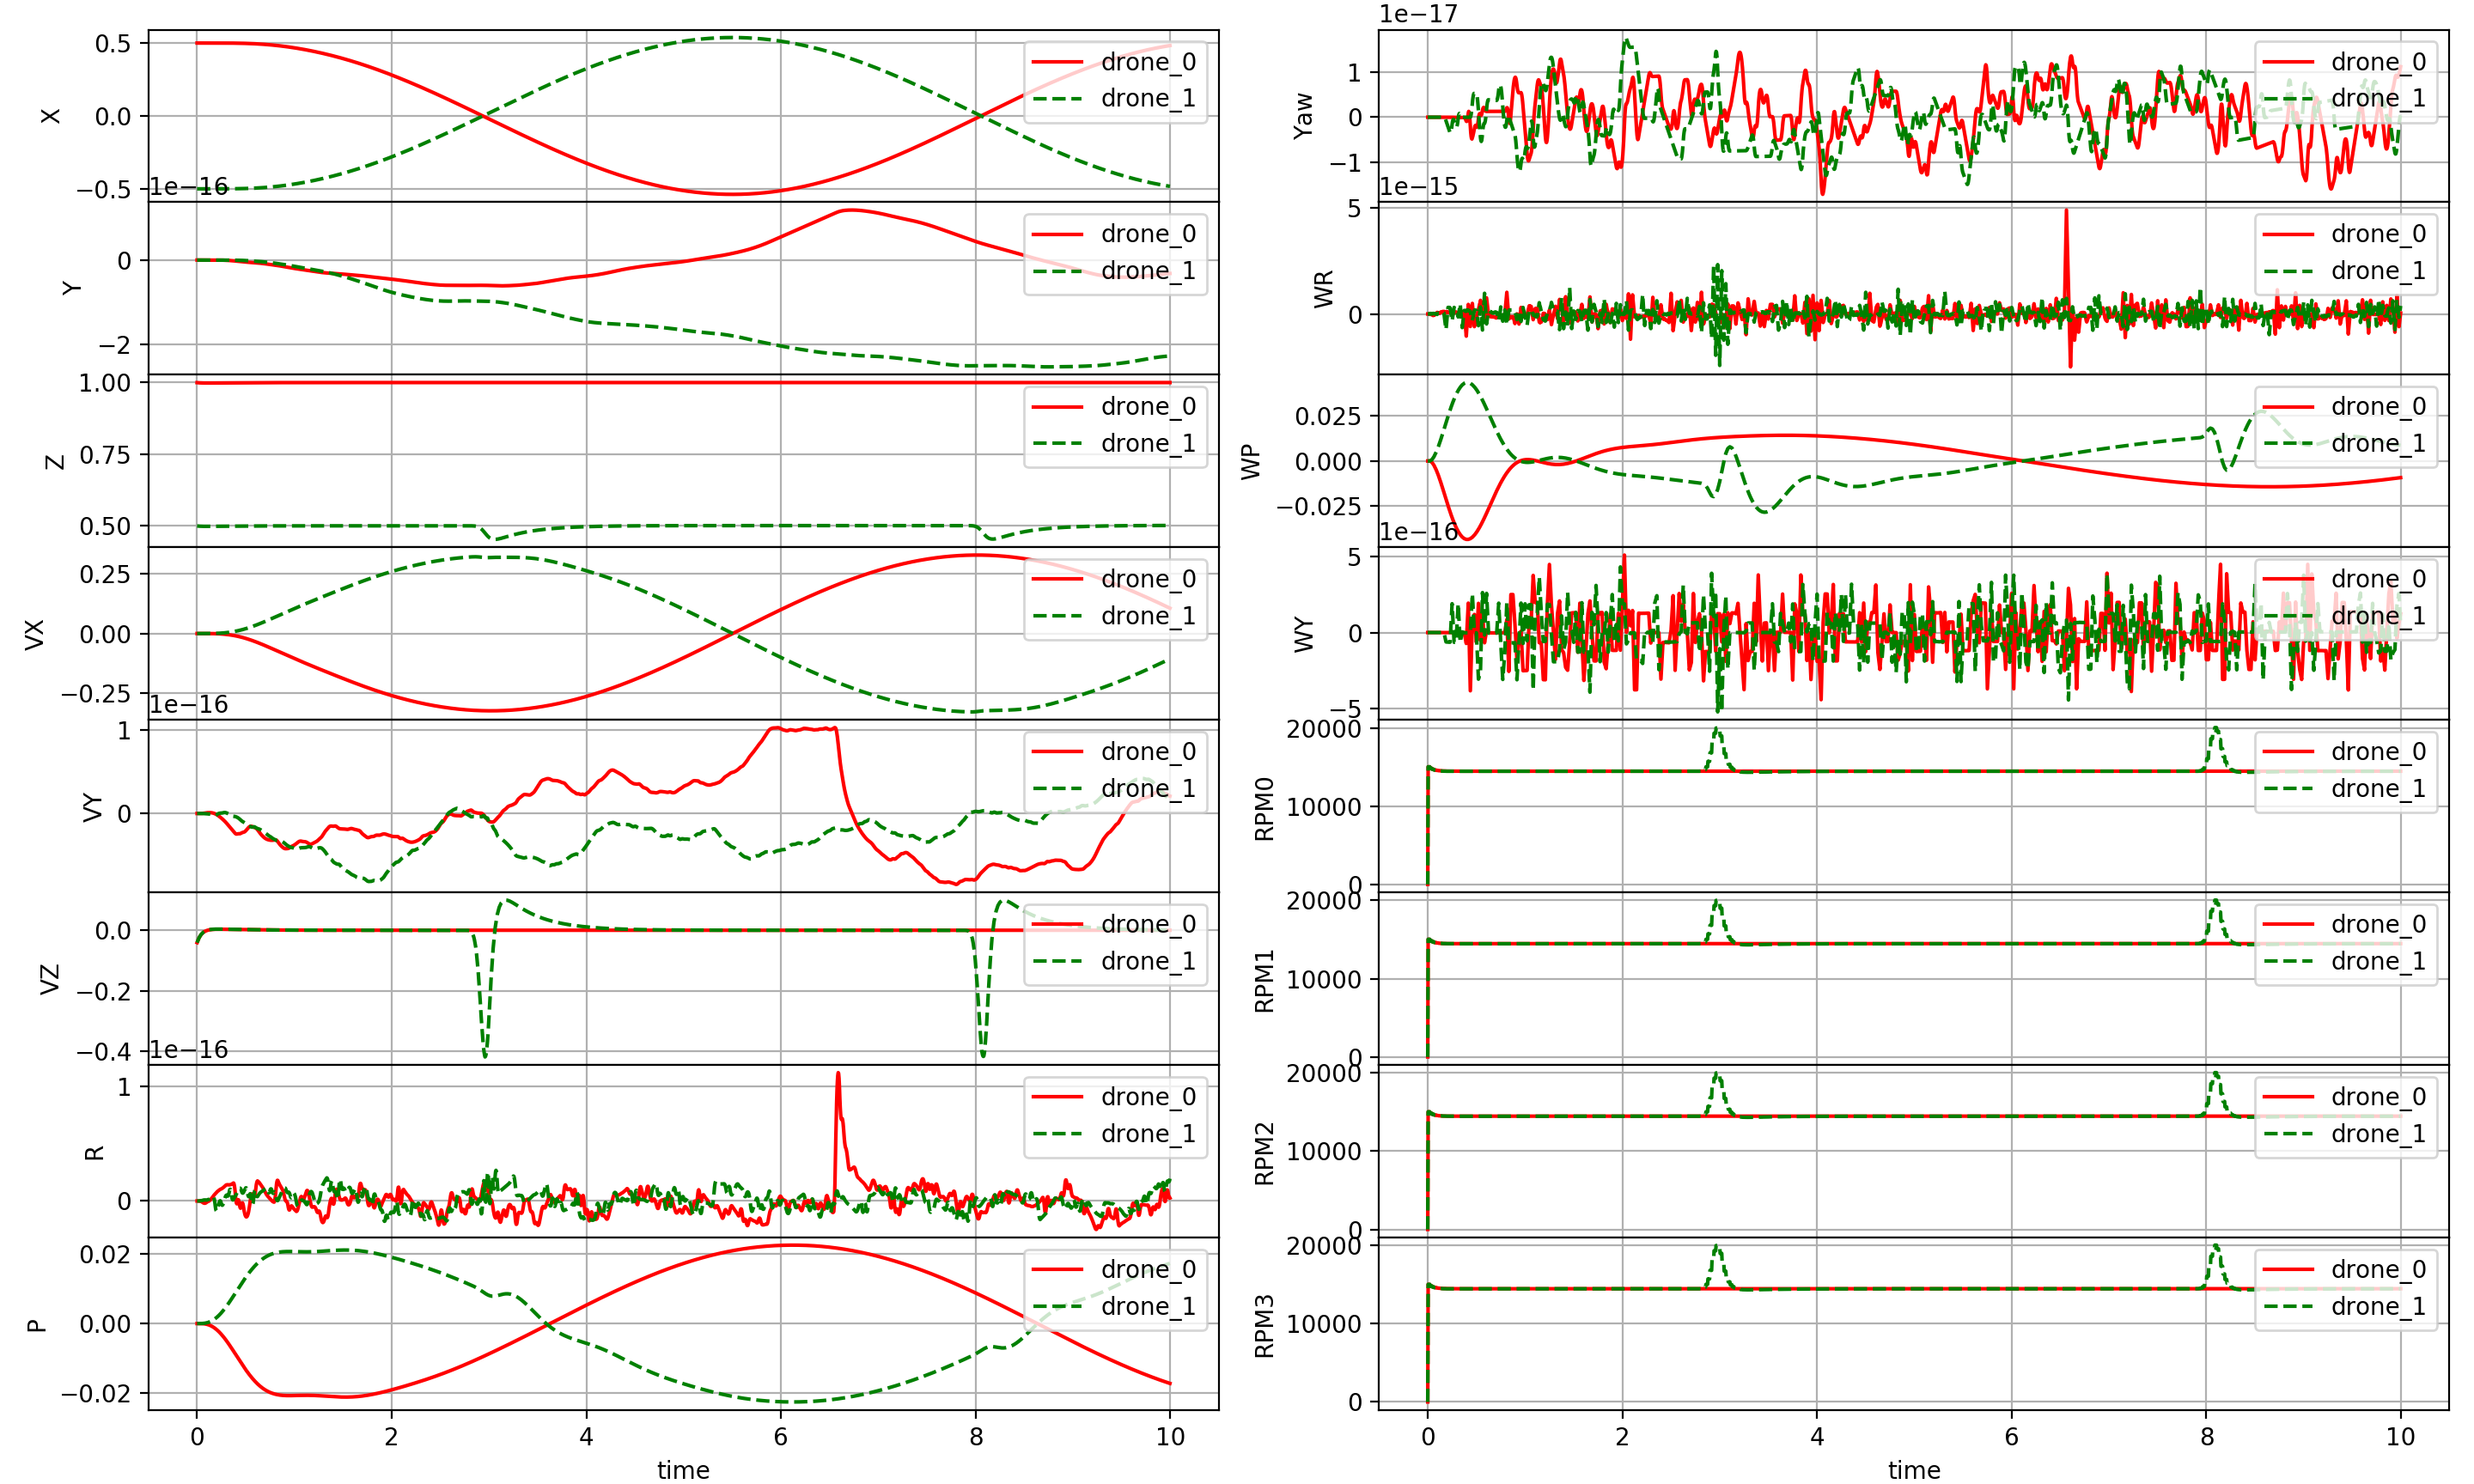
downwash.py[try it on Colab] is a flight script with only 2 drones, to test the downwash model
$ cd gym-pybullet-drones/gym_pybullet_drones/examples/
$ python3 downwash.py                        # Try 'python3 downwash.py -h' to show the script's customizable parameters
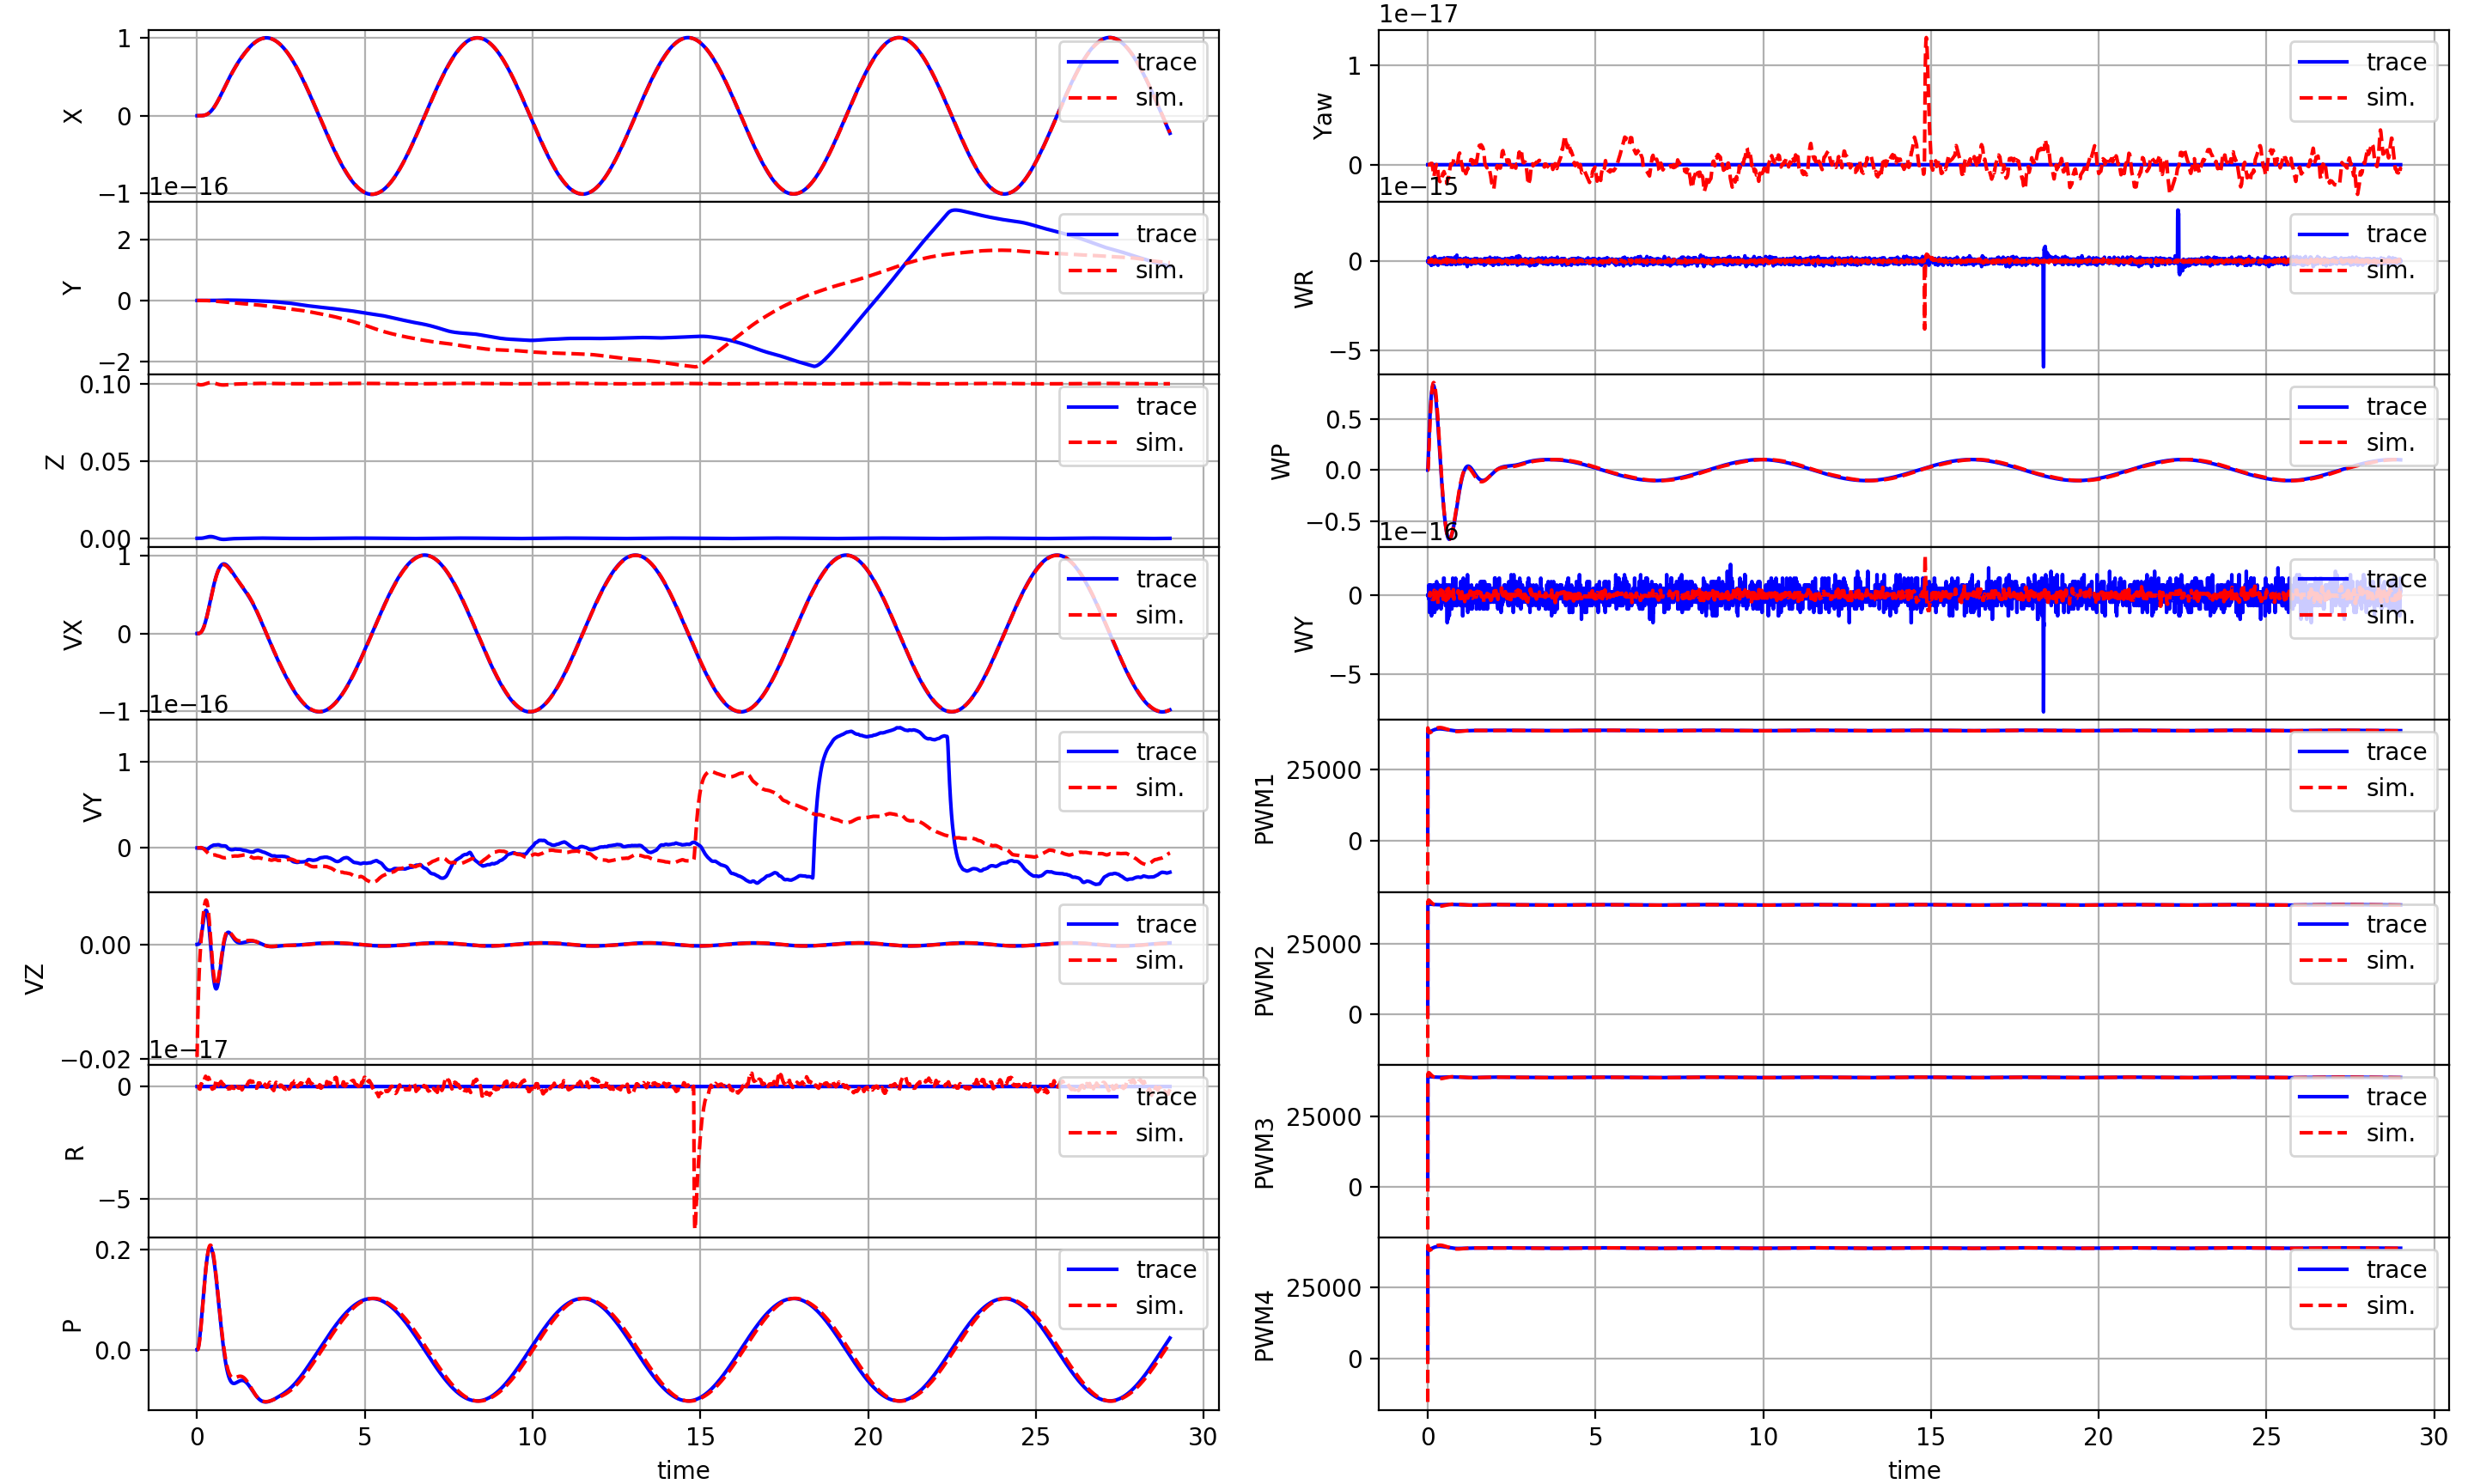
compare.py[try it on Colab] which replays and compare to a trace saved inexample_trace.pkl
$ cd gym-pybullet-drones/gym_pybullet_drones/examples/
$ python3 compare.py                         # Try 'python3 compare.py -h' to show the script's customizable parameters
Folder experiments/learning contains scripts with template learning pipelines
For single agent RL problems, using stable-baselines3, run the training script as
$ cd gym-pybullet-drones/experiments/learning/
$ python3 singleagent.py --env <env> --algo <alg> --obs <ObservationType> --act <ActionType> --cpu <cpu_num>
Run the replay script to visualize the best trained agent(s) as
$ python3 test_singleagent.py --exp ./results/save-<env>-<algo>-<obs>-<act>-<time-date>
For multi-agent RL problems, using rllib run the train script as
$ cd gym-pybullet-drones/experiments/learning/
$ python3 multiagent.py --num_drones <num_drones> --env <env> --obs <ObservationType> --act <ActionType> --algo <alg> --num_workers <num_workers>
Run the replay script to visualize the best trained agent(s) as
$ python3 test_multiagent.py --exp ./results/save-<env>-<num_drones>-<algo>-<obs>-<act>-<date>
A flight arena for one (ore more) quadrotor can be created as a subclass of BaseAviary()
>>> env = BaseAviary(
>>>       drone_model=DroneModel.CF2X,      # See DroneModel Enum class for other quadcopter models
>>>       num_drones=1,                     # Number of drones
>>>       neighbourhood_radius=np.inf,      # Distance at which drones are considered neighbors, only used for multiple drones
>>>       initial_xyzs=None,                # Initial XYZ positions of the drones
>>>       initial_rpys=None,                # Initial roll, pitch, and yaw of the drones in radians
>>>       physics: Physics=Physics.PYB,     # Choice of (PyBullet) physics implementation
>>>       freq=240,                         # Stepping frequency of the simulation
>>>       aggregate_phy_steps=1,            # Number of physics updates within each call to BaseAviary.step()
>>>       gui=True,                         # Whether to display PyBullet's GUI, only use this for debbuging
>>>       record=False,                     # Whether to save a .mp4 video (if gui=True) or .png frames (if gui=False) in gym-pybullet-drones/files/, see script /files/videos/ffmpeg_png2mp4.sh for encoding
>>>       obstacles=False,                  # Whether to add obstacles to the environment
>>>       user_debug_gui=True)              # Whether to use addUserDebugLine and addUserDebugParameter calls (it can slow down the GUI)
And instantiated with gym.make()—see learn.py for an example
>>> env = gym.make('rl-takeoff-aviary-v0') # See learn.py
Then, the environment can be stepped with
>>> obs = env.reset()
>>> for _ in range(10*240):
>>>     obs, reward, done, info = env.step(env.action_space.sample())
>>>     env.render()
>>>     if done: obs = env.reset()
>>> env.close()
A new RL problem can be created as a subclass of BaseAviary (i.e. class NewAviary(BaseAviary): ...) and implementing the following 7 abstract methods
>>> #### 1
>>> def _actionSpace(self):
>>>     # e.g. return spaces.Box(low=np.zeros(4), high=np.ones(4), dtype=np.float32)
>>> #### 2
>>> def _observationSpace(self):
>>>     # e.g. return spaces.Box(low=np.zeros(20), high=np.ones(20), dtype=np.float32)
>>> #### 3
>>> def _computeObs(self):
>>>     # e.g. return self._getDroneStateVector(0)
>>> #### 4
>>> def _preprocessAction(self, action):
>>>     # e.g. return np.clip(action, 0, 1)
>>> #### 5
>>> def _computeReward(self):
>>>     # e.g. return -1
>>> #### 6
>>> def _computeDone(self):
>>>     # e.g. return False
>>> #### 7
>>> def _computeInfo(self):
>>>     # e.g. return {"answer": 42}        # Calculated by the Deep Thought supercomputer in 7.5M years
See CtrlAviary, VisionAviary, HoverAviary, and FlockAviary for examples
The action space's definition of an environment must be implemented in each subclass of BaseAviary by function
>>> def _actionSpace(self):
>>>     ...
In CtrlAviary and VisionAviary, it is a Dict() of Box(4,) containing the drones' commanded RPMs
The dictionary's keys are "0", "1", .., "n"—where n is the number of drones
Each subclass of BaseAviary also needs to implement a preprocessing step translating actions into RPMs
>>> def _preprocessAction(self, action):
>>>     ...
CtrlAviary, VisionAviary, HoverAviary, and FlockAviary all simply clip the inputs to MAX_RPM
DynAviary's action input to DynAviary.step() is a Dict() of Box(4,) containing
- The desired thrust along the drone's z-axis
- The desired torque around the drone's x-axis
- The desired torque around the drone's y-axis
- The desired torque around the drone's z-axis
From these, desired RPMs are computed by DynAviary._preprocessAction()
The observation space's definition of an environment must be implemented by every subclass of BaseAviary
>>> def _observationSpace(self):
>>>     ...
In CtrlAviary, it is a Dict() of pairs {"state": Box(20,), "neighbors": MultiBinary(num_drones)}
The dictionary's keys are "0", "1", .., "n"—where n is the number of drones
Each Box(20,) contains the drone's
- X, Y, Z position in
WORLD_FRAME(in meters, 3 values) - Quaternion orientation in
WORLD_FRAME(4 values) - Roll, pitch and yaw angles in
WORLD_FRAME(in radians, 3 values) - The velocity vector in
WORLD_FRAME(in m/s, 3 values) - Angular velocity in
WORLD_FRAME(3 values) - Motors' speeds (in RPMs, 4 values)
Each MultiBinary(num_drones) contains the drone's own row of the multi-robot system adjacency matrix
The observation space of VisionAviary is the same asCtrlAviary but also includes keys rgb, dep, and seg (in each drone's dictionary) for the matrices containing the drone's RGB, depth, and segmentation views
To fill/customize the content of obs, every subclass of BaseAviary needs to implement
>>> def _computeObs(self, action):
>>>     ...
See BaseAviary._exportImage()) and its use in VisionAviary._computeObs() to save frames as PNGs
Objects can be added to an environment using loadURDF (or loadSDF, loadMJCF) in method _addObstacles()
>>> def _addObstacles(self):
>>>     ...
>>>     p.loadURDF("sphere2.urdf", [0,0,0], p.getQuaternionFromEuler([0,0,0]), physicsClientId=self.CLIENT)
Simple drag, ground effect, and downwash models can be included in the simulation initializing BaseAviary() with physics=Physics.PYB_GND_DRAG_DW, these are based on the system identification of Forster (2015) (Eq. 4.2), the analytical model used as a baseline for comparison by Shi et al. (2019) (Eq. 15), and DSL's experimental work
Check the implementations of _drag(), _groundEffect(), and _downwash() in BaseAviary for more detail
Folder control contains the implementations of 2 PID controllers
DSLPIDControl (for DroneModel.CF2X/P) and SimplePIDControl (for DroneModel.HB) can be used as
>>> ctrl = [DSLPIDControl(drone_model=DroneModel.CF2X) for i in range(num_drones)]  # Initialize "num_drones" controllers
>>> ...
>>> for i in range(num_drones):                                                     # Compute control for each drone
>>>     action[str(i)], _, _ = ctrl[i].computeControlFromState(.                    # Write the action in a dictionary
>>>                                    control_timestep=env.TIMESTEP,
>>>                                    state=obs[str(i)]["state"],
>>>                                    target_pos=TARGET_POS)
For high-level coordination—using a velocity input—VelocityAviary integrates PID control within a gym.Env.
Method setPIDCoefficients can be used to change the coefficients of one of the given PID controllers—and, for example, implement learning problems whose goal is parameter tuning (see TuneAviary).
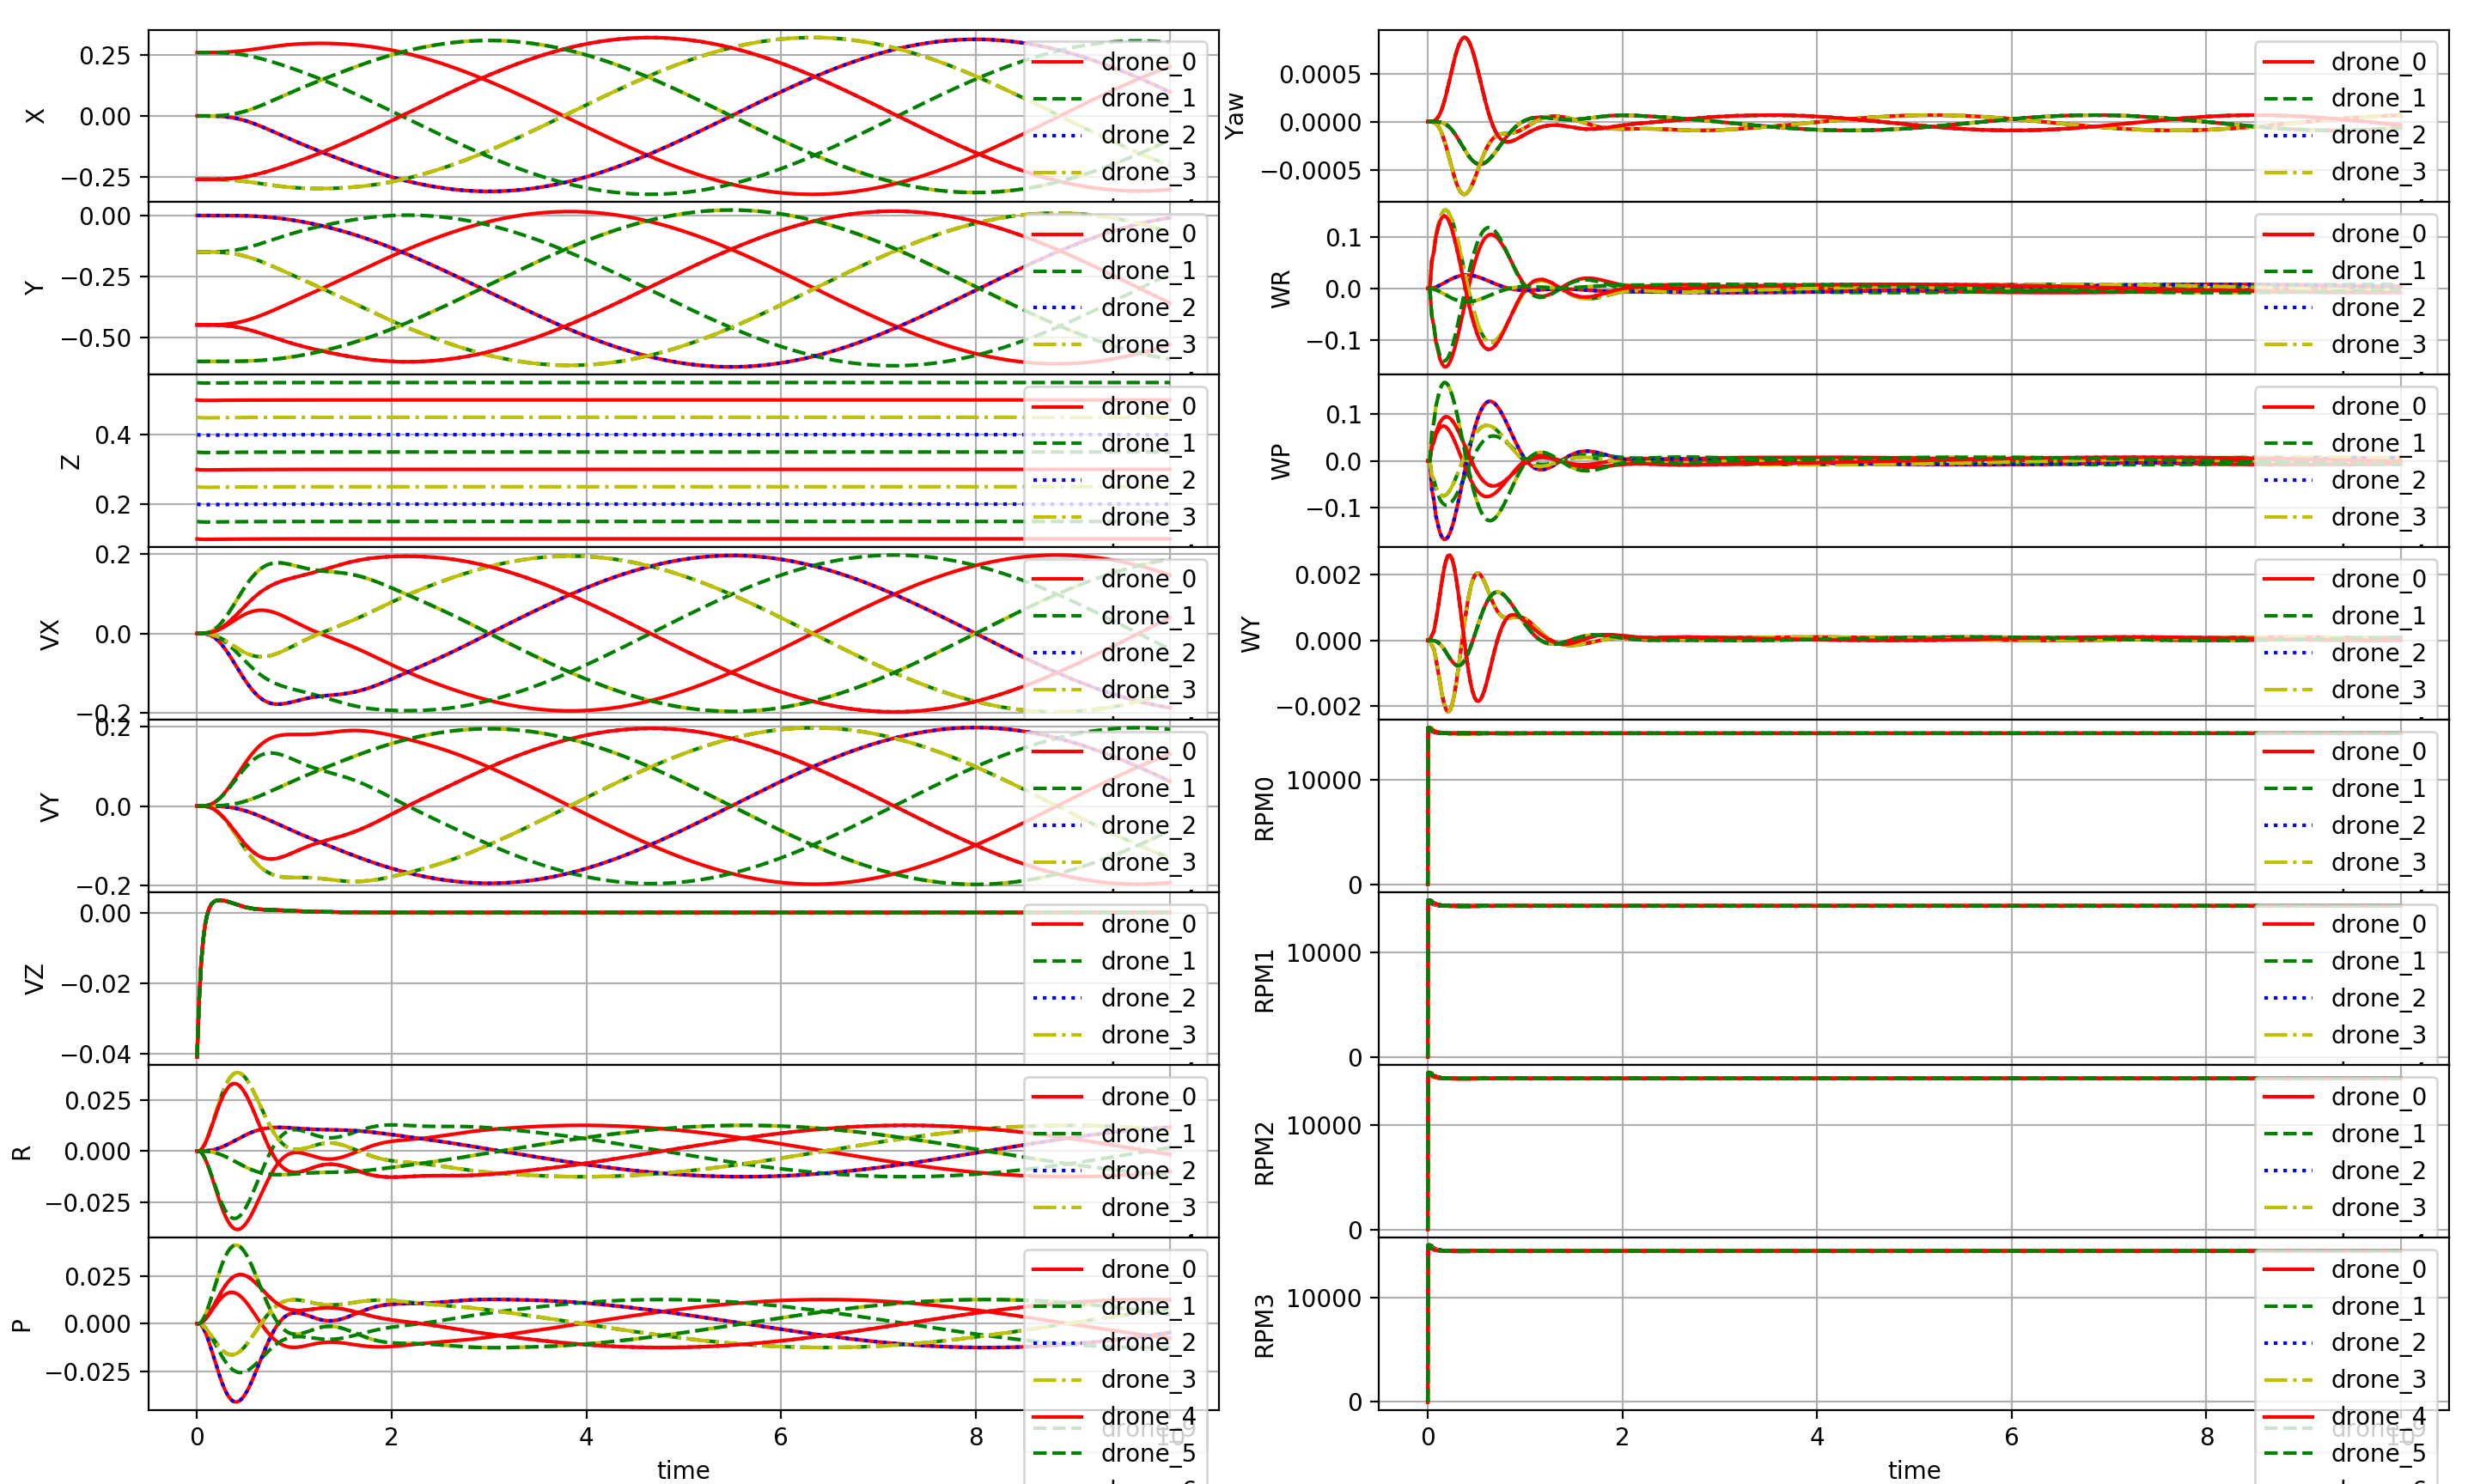
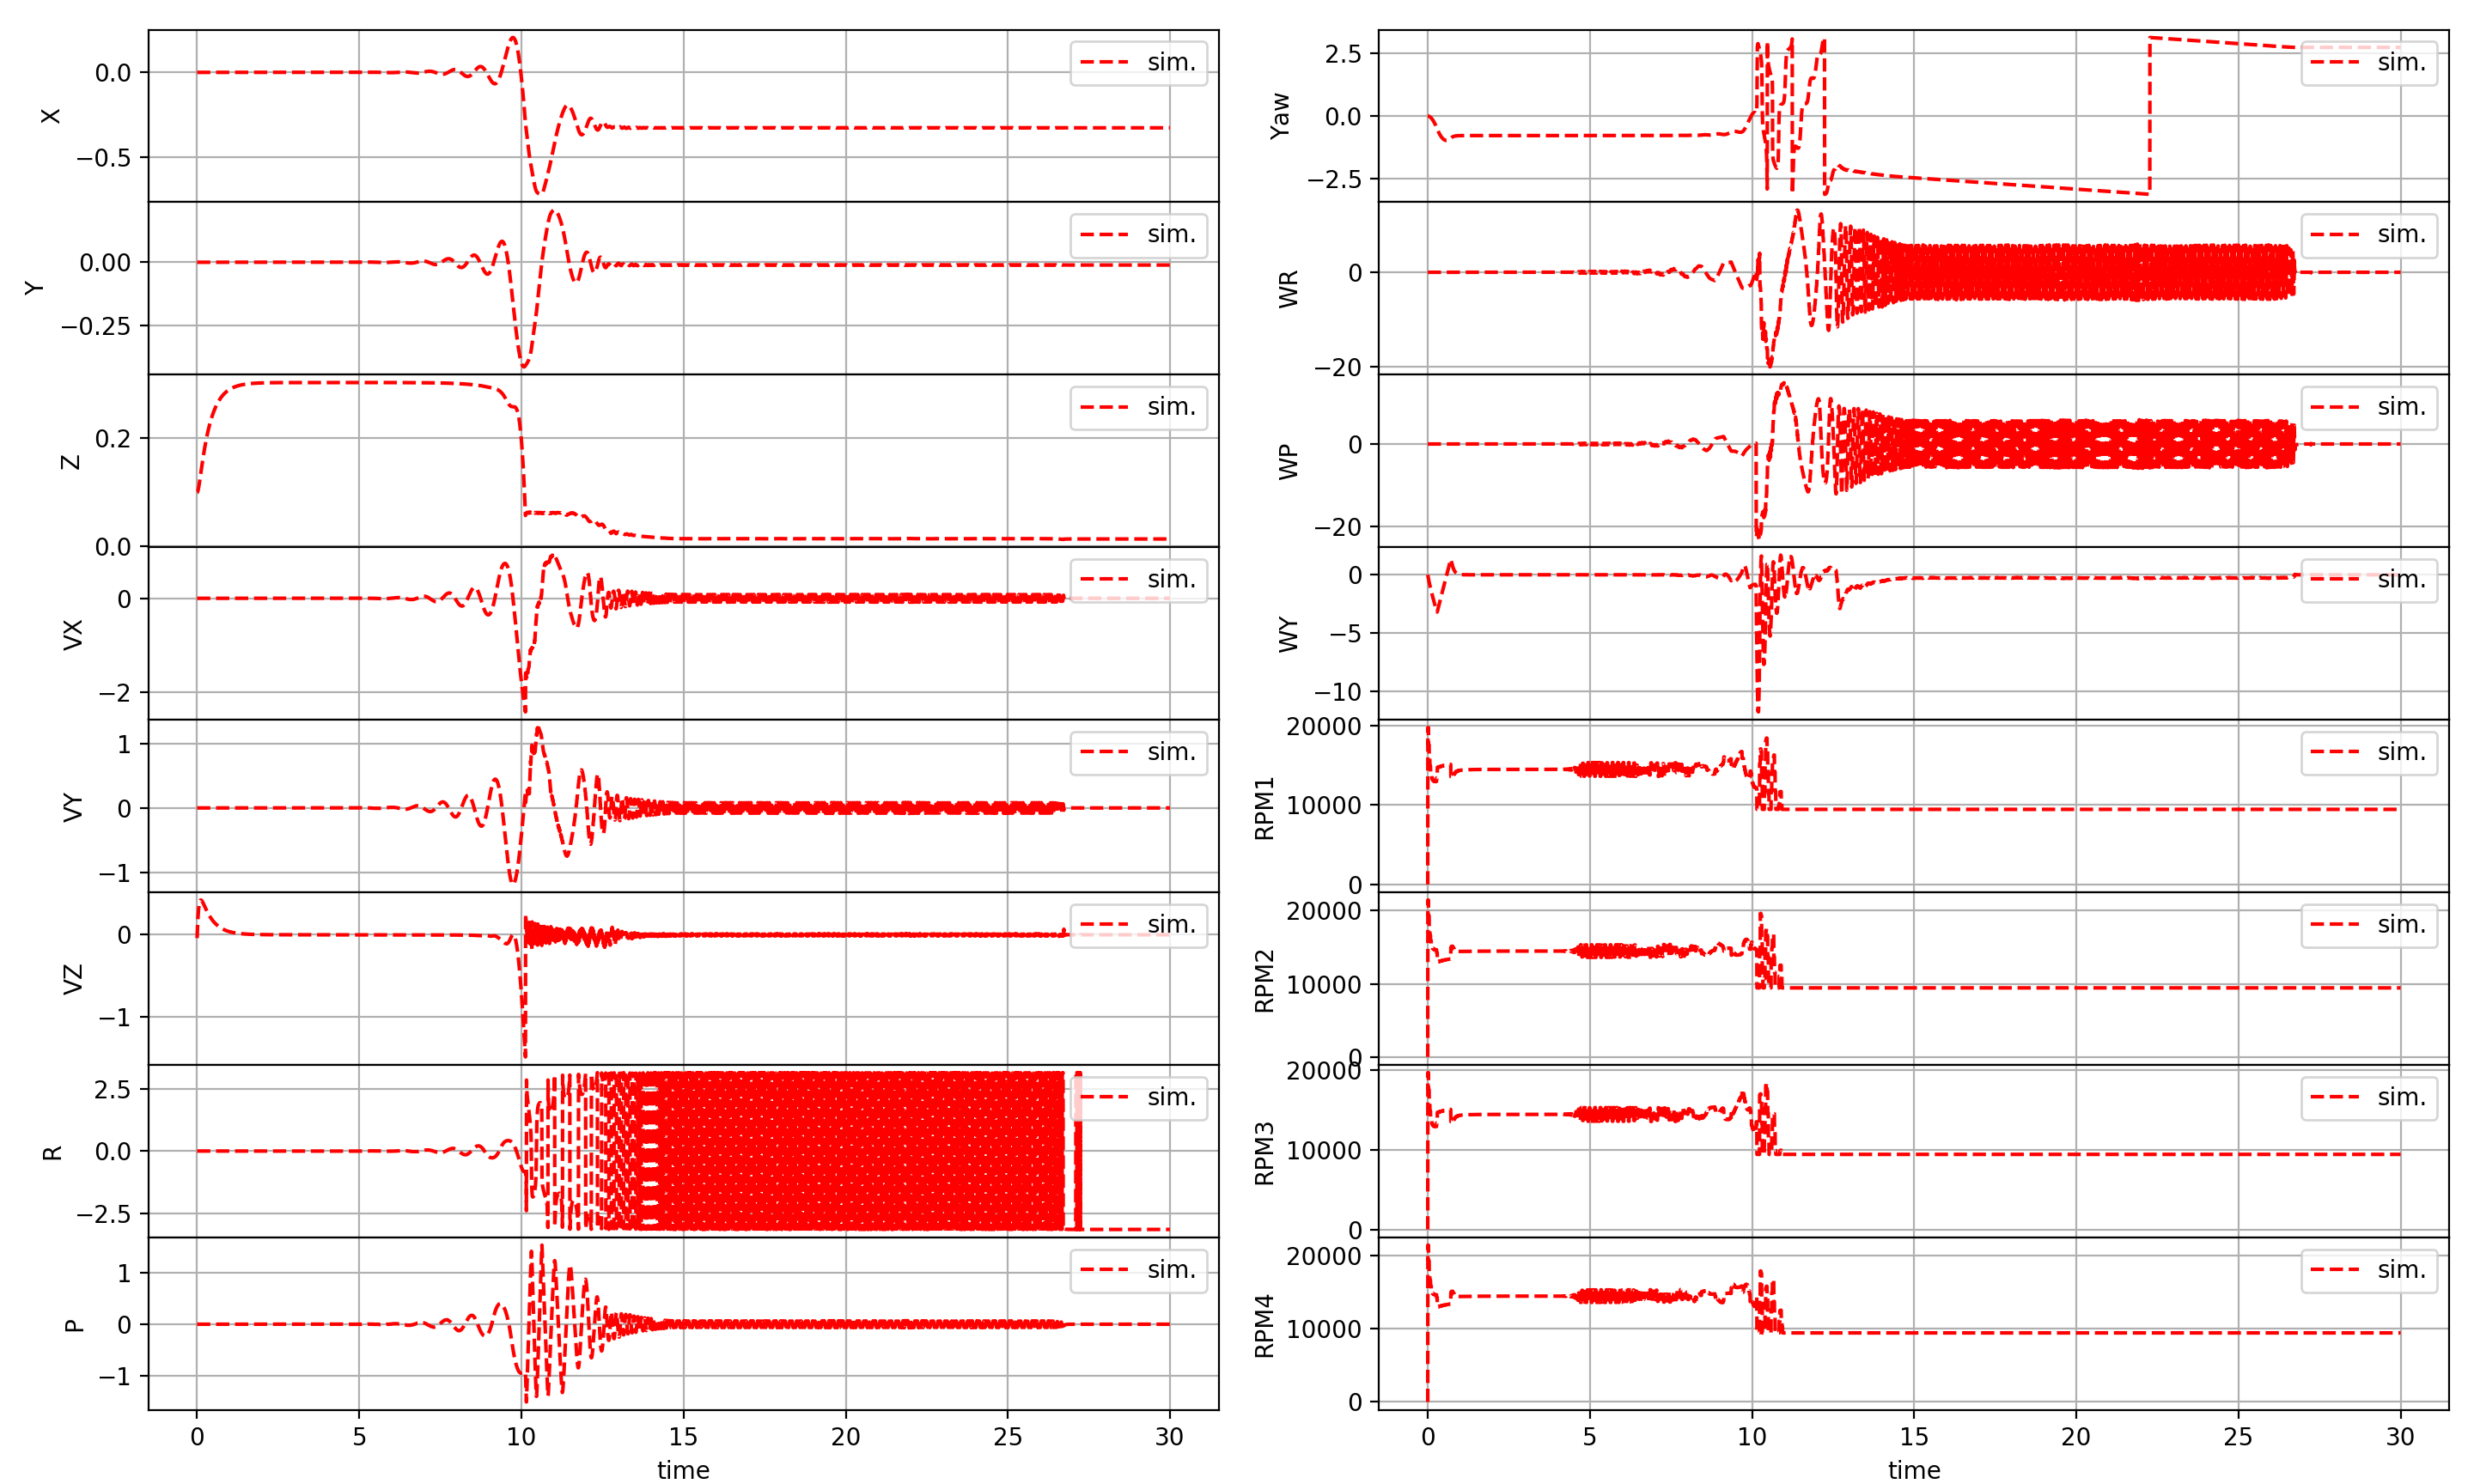
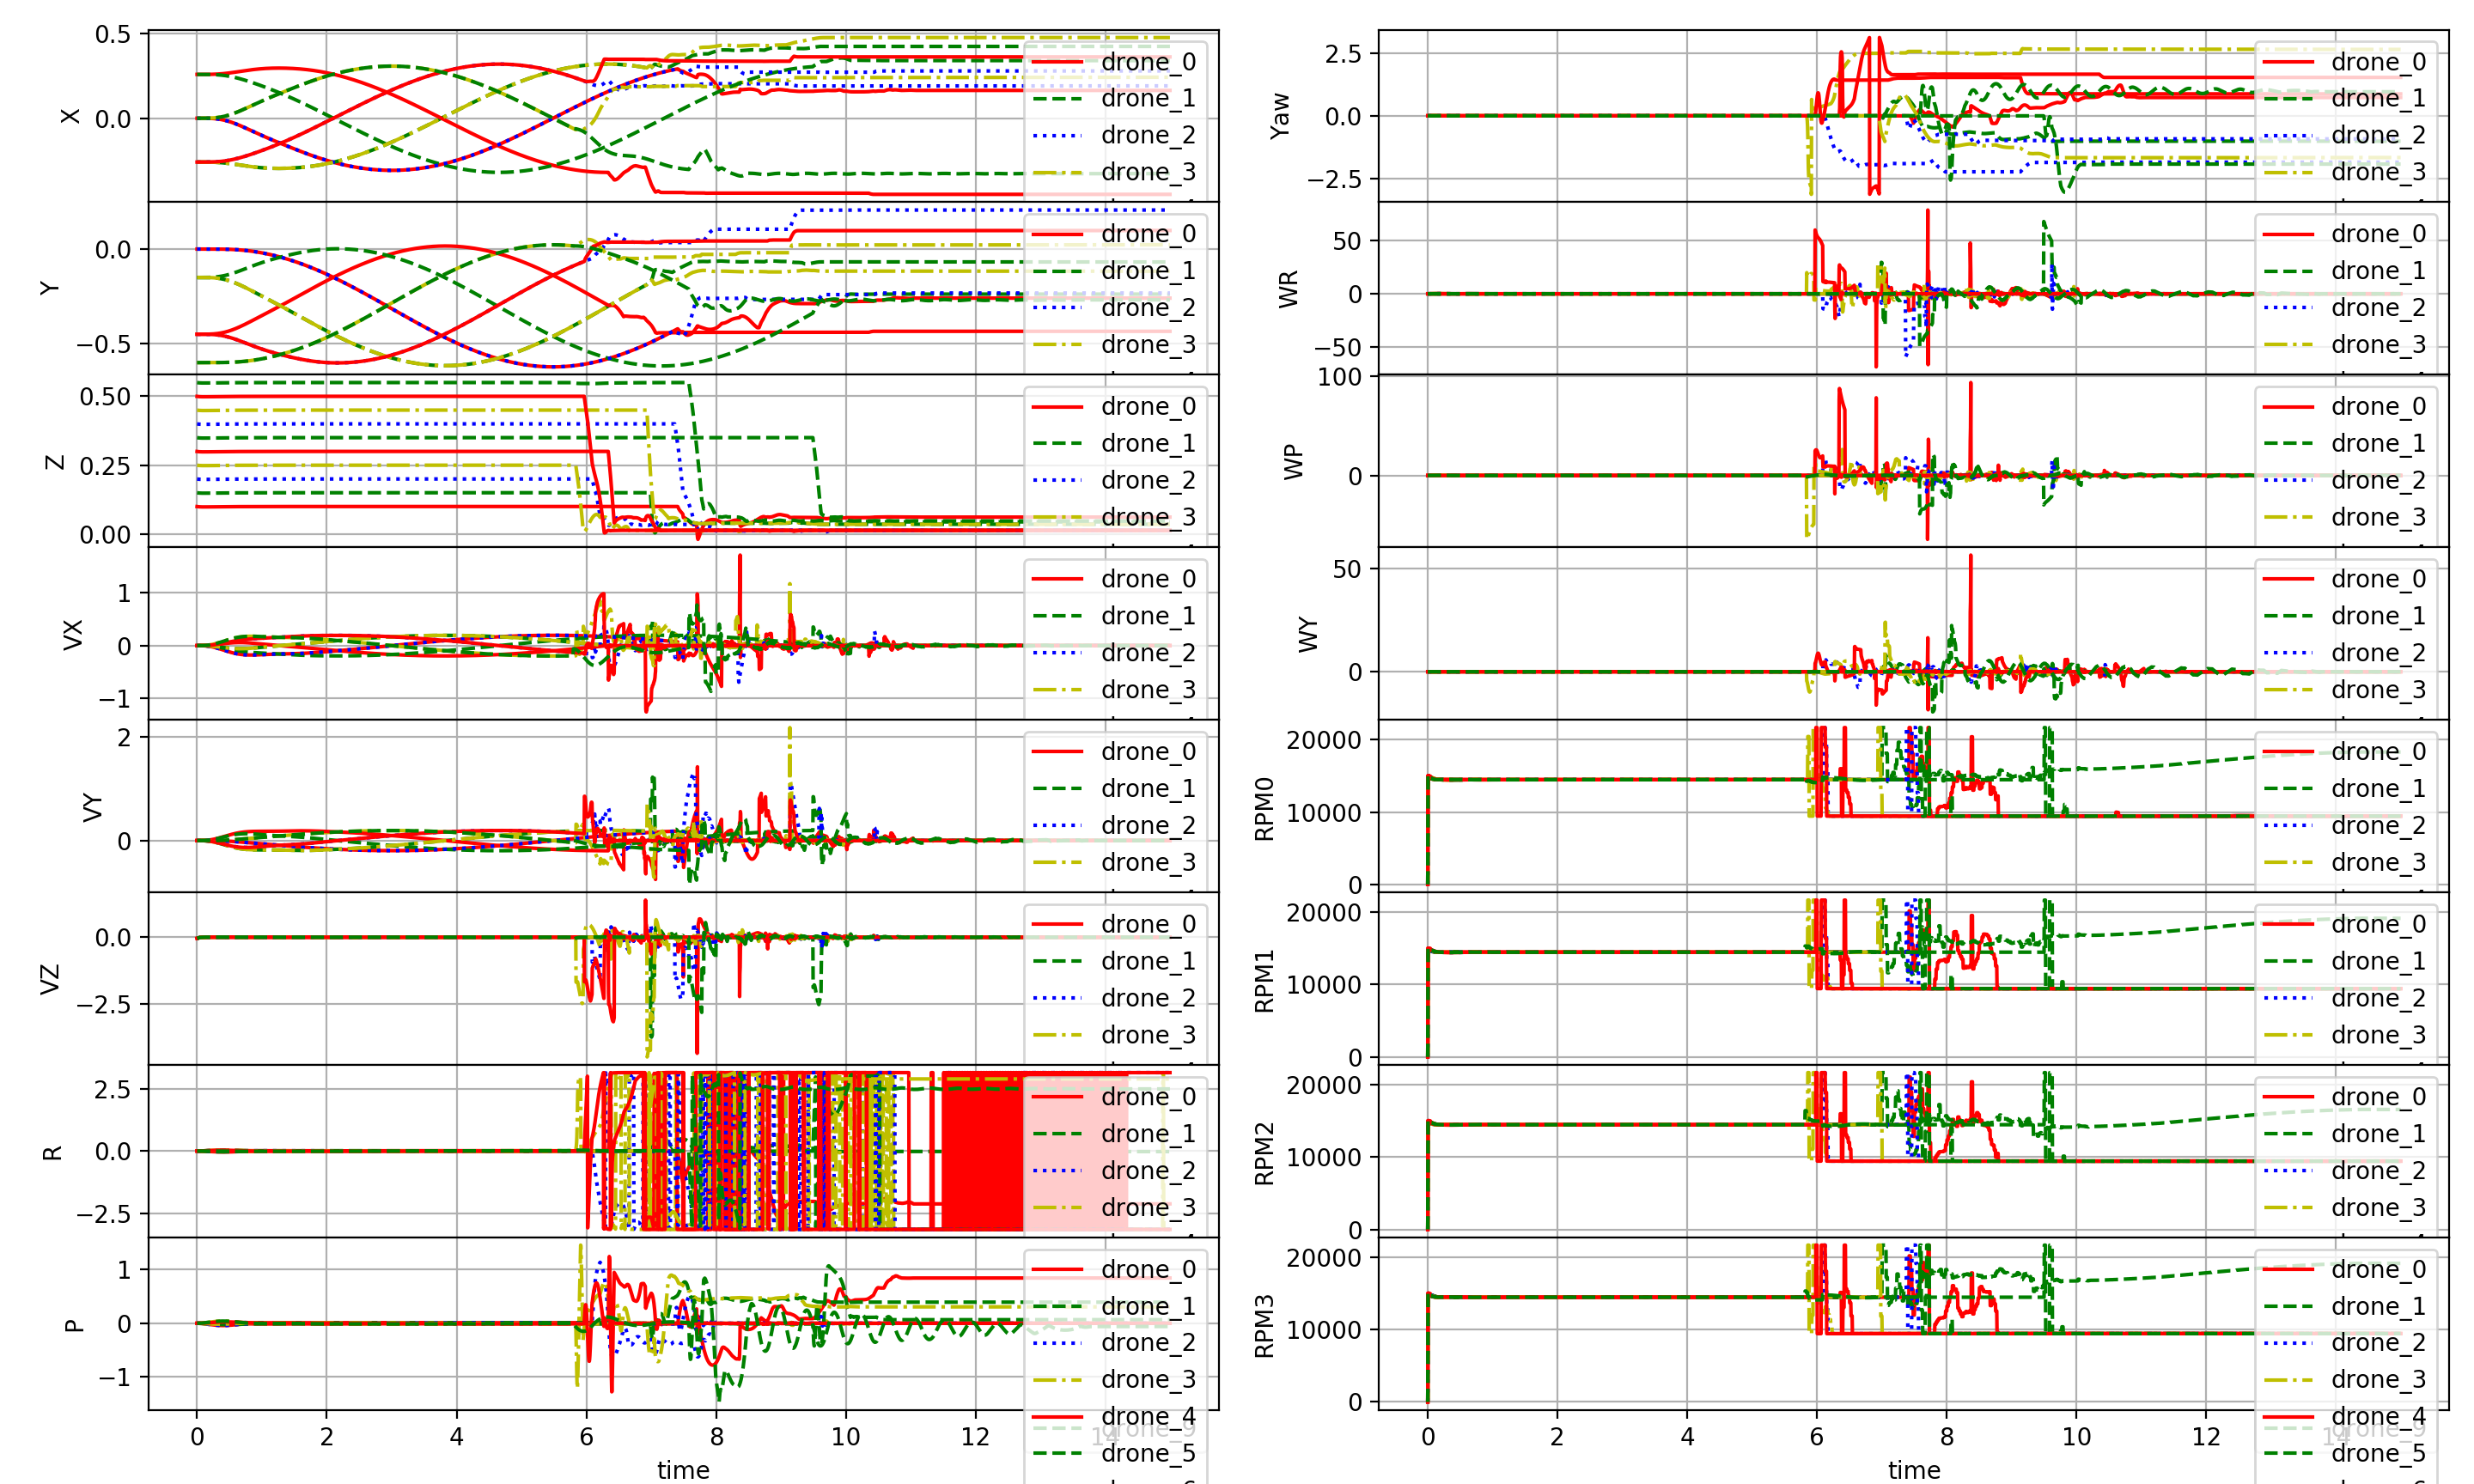
Class Logger contains helper functions to save and plot simulation data, as in this example
>>> logger = Logger(logging_freq_hz=freq, num_drones=num_drones)                    # Initialize the logger
>>> ...
>>> for i in range(NUM_DRONES):             # Log information for each drone
>>>     logger.log(drone=i,
>>>                timestamp=K/env.SIM_FREQ,
>>>                state= obs[str(i)]["state"],
>>>                control=np.hstack([ TARGET_POS, np.zeros(9) ]))
>>> ...
>>> logger.save()                           # Save data to file
>>> logger.plot()                           # Plot data
Workspace ros2 contains two ROS2 Foxy Fitzroy Python nodes
AviaryWrapperis a wrapper node for a single-droneCtrlAviaryenvironmentRandomControlreadsAviaryWrapper'sobstopic and publishes random RPMs on topicaction
With ROS2 installed (on either macOS or Ubuntu, edit ros2_and_pkg_setups.(zsh/bash) accordingly), run
$ cd gym-pybullet-drones/ros2/
$ source ros2_and_pkg_setups.zsh            # On macOS, on Ubuntu use $ source ros2_and_pkg_setups.bash
                                            # Note that the second line in the script will throw an error (until you run calcon) that you can ignore
$ colcon build --packages-select ros2_gym_pybullet_drones
$ source ros2_and_pkg_setups.zsh            # On macOS, on Ubuntu use $ source ros2_and_pkg_setups.bash
$ ros2 run ros2_gym_pybullet_drones aviary_wrapper
In a new terminal terminal, run
$ cd gym-pybullet-drones/ros2/
$ source ros2_and_pkg_setups.zsh            # On macOS, on Ubuntu use $ source ros2_and_pkg_setups.bash
$ ros2 run ros2_gym_pybullet_drones random_control
- Test and update ROS 2 instrucitons for Humble Hawksbill
- Create a list of FAQs from Issues tagged as questions
If you wish, please cite our work (link) as
@INPROCEEDINGS{panerati2021learning,
      title={Learning to Fly---a Gym Environment with PyBullet Physics for Reinforcement Learning of Multi-agent Quadcopter Control},
      author={Jacopo Panerati and Hehui Zheng and SiQi Zhou and James Xu and Amanda Prorok and Angela P. Schoellig},
      booktitle={2021 IEEE/RSJ International Conference on Intelligent Robots and Systems (IROS)},
      year={2021},
      volume={},
      number={},
      pages={},
      doi={}
}
- Nathan Michael, Daniel Mellinger, Quentin Lindsey, Vijay Kumar (2010) The GRASP Multiple Micro UAV Testbed
- Benoit Landry (2014) Planning and Control for Quadrotor Flight through Cluttered Environments
- Julian Forster (2015) System Identification of the Crazyflie 2.0 Nano Quadrocopter
- Carlos Luis and Jeroome Le Ny (2016) Design of a Trajectory Tracking Controller for a Nanoquadcopter
- Shital Shah, Debadeepta Dey, Chris Lovett, and Ashish Kapoor (2017) AirSim: High-Fidelity Visual and Physical Simulation for Autonomous Vehicles
- Eric Liang, Richard Liaw, Philipp Moritz, Robert Nishihara, Roy Fox, Ken Goldberg, Joseph E. Gonzalez, Michael I. Jordan, and Ion Stoica (2018) RLlib: Abstractions for Distributed Reinforcement Learning
- Antonin Raffin, Ashley Hill, Maximilian Ernestus, Adam Gleave, Anssi Kanervisto, and Noah Dormann (2019) Stable Baselines3
- Guanya Shi, Xichen Shi, Michael O’Connell, Rose Yu, Kamyar Azizzadenesheli, Animashree Anandkumar, Yisong Yue, and Soon-Jo Chung (2019) Neural Lander: Stable Drone Landing Control Using Learned Dynamics
- Mikayel Samvelyan, Tabish Rashid, Christian Schroeder de Witt, Gregory Farquhar, Nantas Nardelli, Tim G. J. Rudner, Chia-Man Hung, Philip H. S. Torr, Jakob Foerster, and Shimon Whiteson (2019) The StarCraft Multi-Agent Challenge
- C. Karen Liu and Dan Negrut (2020) The Role of Physics-Based Simulators in Robotics
- Yunlong Song, Selim Naji, Elia Kaufmann, Antonio Loquercio, and Davide Scaramuzza (2020) Flightmare: A Flexible Quadrotor Simulator
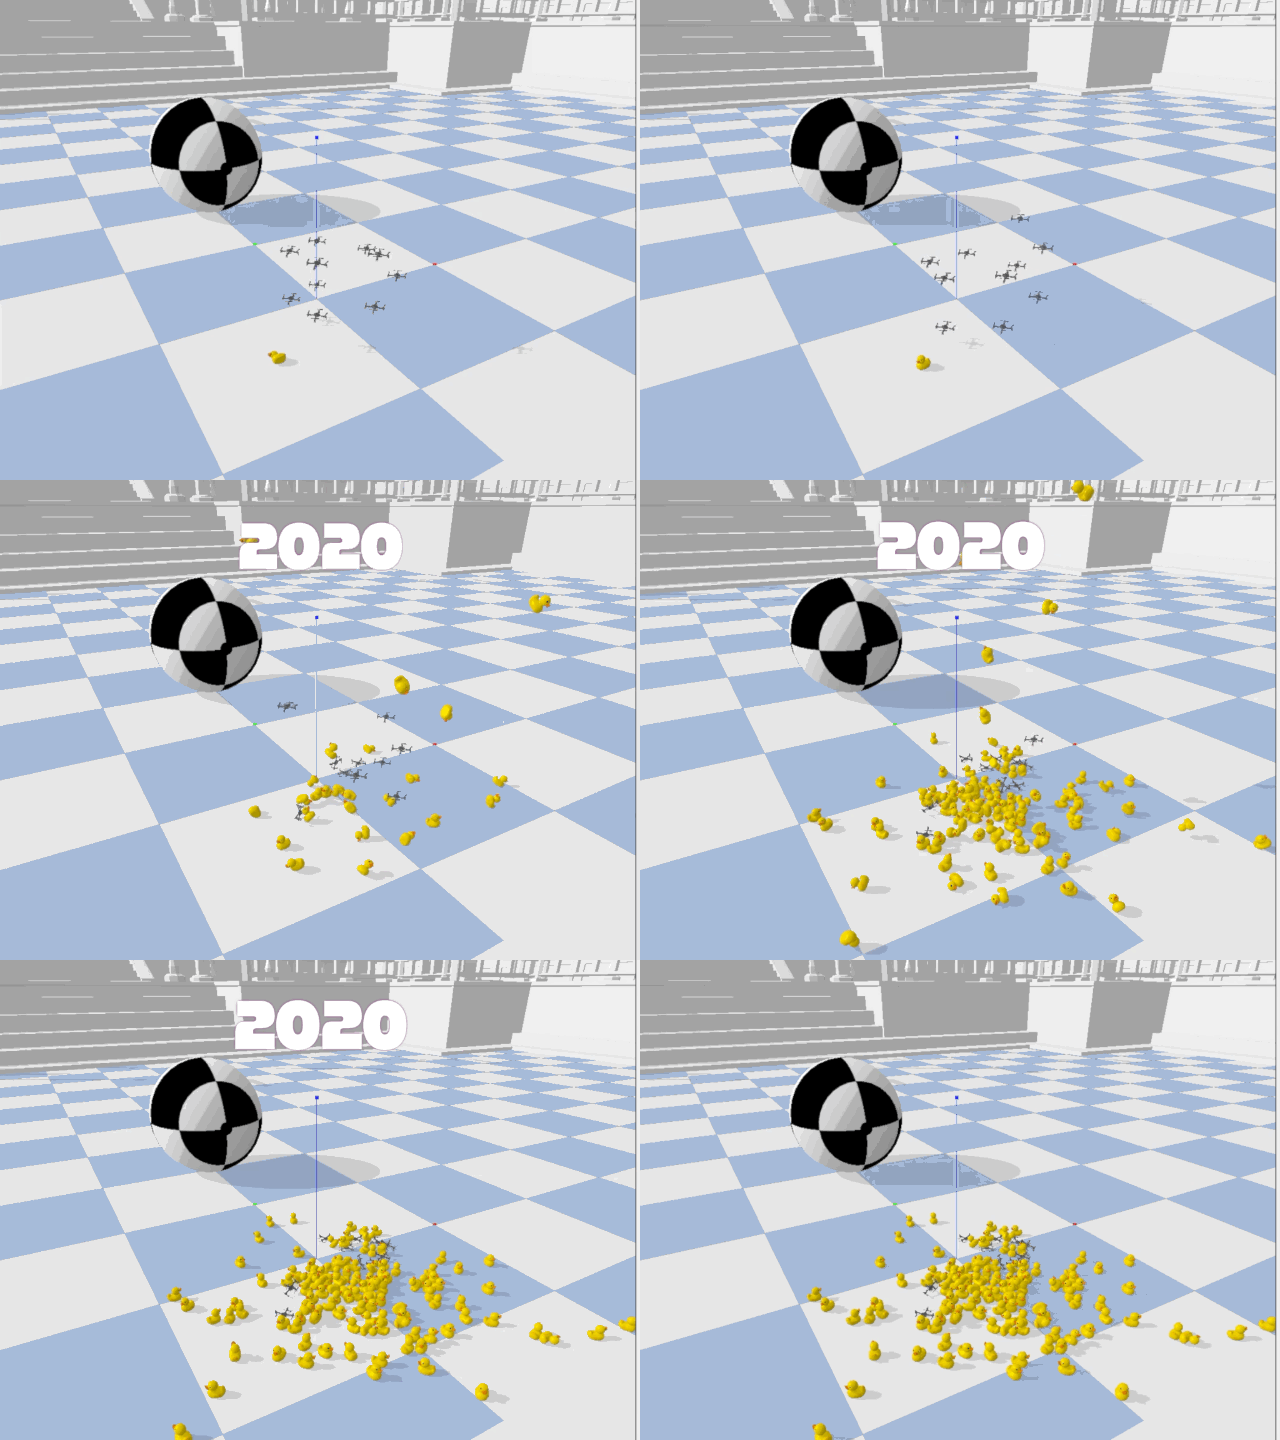
Bonus GIF for scrolling this far
University of Toronto's Dynamic Systems Lab / Vector Institute / University of Cambridge's Prorok Lab / Mitacs
