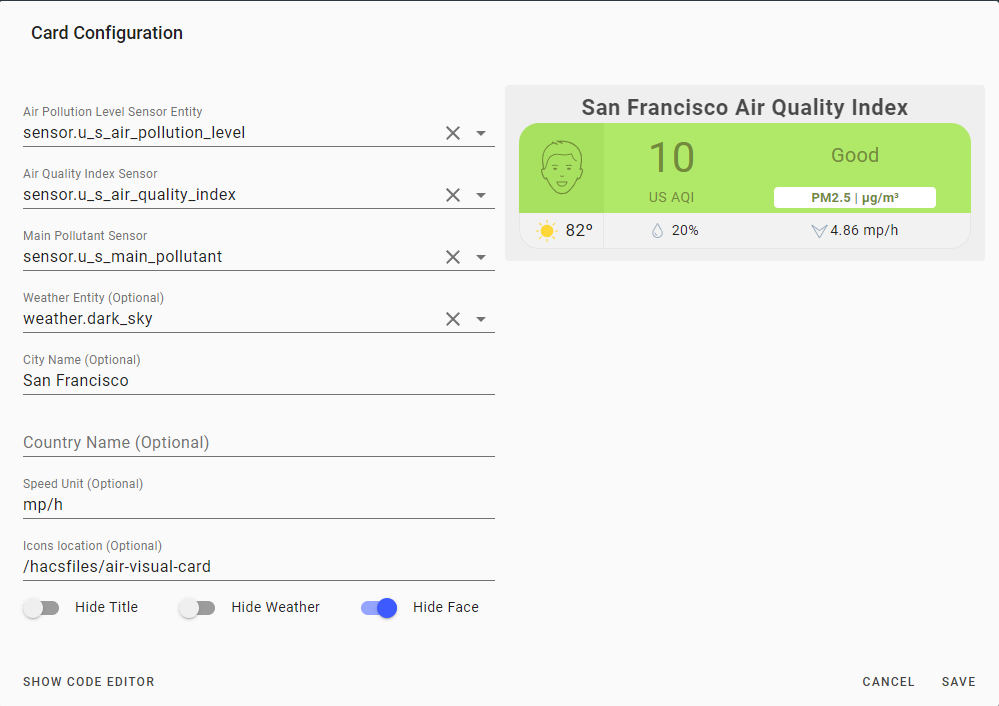
This is a Home Assistant Lovelace card that uses the AirVisual component or World Air Quality Index (WAQI) component to provide air quality index (AQI) data and creates a card like the ones found on AirVisual website. Requires the AirVisual component or World Air Quality Index (WAQI) component. Tested with Yahoo and Darksky Weather component.
- Card colors and icons change depending on AQI level
| Name | Type | Default | Supported options | Description |
|---|---|---|---|---|
type |
string | Required | custom:air-visual-card |
Type of the card |
air_pollution_level |
string | Required | sensor.u_s_air_pollution_level |
Name of the Air Pollution Level sensor. |
air_quality_index |
string | optional | sensor.u_s_air_quality_index |
Name of the Air Quality Index sensor. If sensor does not exist, do not add this config value. |
main_pollutant |
string | optional | sensor.u_s_main_pollutant |
Name of the Main Pollutant sensor. If sensor does not exist, do not add this config value. |
weather |
string | optional | weather.dark_sky |
Name of the weather entity if you wish to display temperature, humidity and wind information on the card. |
country |
string | US |
mdi:air-conditioner |
Name of the country that Airvisual is collecting AQI data from. |
city |
string | optional | San Francisco |
Name of the city that AirVisual is collecting AQI data from. |
unit_of_measurement |
string | optional | AQI |
Unit of measurement |
icons |
string | /hacsfiles/air-visual-card |
/hacsfiles/air-visual-card |
The local directory where the .svg files are located. For example, 'icons: "/hacsfiles/air-visual-card"' is appropriate if this plugin is installed using HACS. If left blank, icons will be loaded from default location. |
hide_title |
boolean | true |
true |
false |
hide_face |
boolean | false |
true |
false |
hide_weather |
boolean | true |
true |
false |
- Open the HACS on your Home Assistant instance.
- Open the Plugins section and click on the Air Visual Card.
- Click on Install, then click on "Add to Lovelace"
- Download the AirVisual Card
- Place the file in your
config/wwwfolder - Include the card code in the Resources section of your
ui-lovelace-card.yamllike below:
resources:
  - url: /local/air-visual-card/air-visual-card.js
type: js-
Optional: If you wish to store the Airvisual icons locally, then download the icons here.
-
Save the icons in a directory in Home Assistant, such as
/local/air-visual-card -
Update the card configuration in
ui-lovelace.yamlto include the following (use directory name in step #7):icons: "/local/air-visual-card"
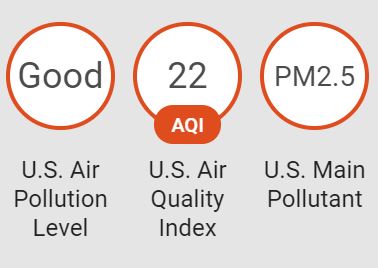
- Install the AirVisual sensor and confirm AQI, APL, and Main Pollutant sensors are created, like below.
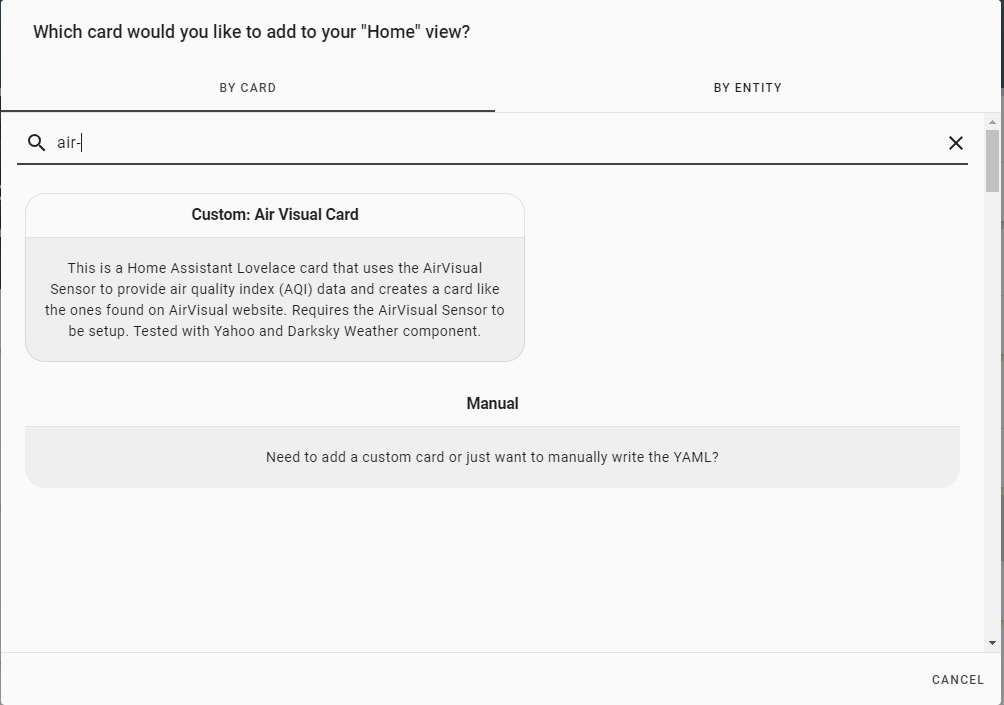
- Add a card in the Lovelace UI.
- Search for
air-visual-cardand click the search result.
- Fill out the card editor.

-
The card doesn't show the temperature properly.
Let me know which weather provider you are using and I'll try to fix the issue. I have only tested with the Yahoo! Weather component. Optionally, if you create a template sensor that reports the temperature as its state, you can use that sensor as for the temp config.
-
This card doesn't work in Fully Kiosk Browser on Amazon Fire tablets. Why?
This card uses a new CSS function, CSS Grid Layout, which was implemented in October 2018, and isn't compatible with browsers using old versions of Android WebView. That's my guess anyways.
-
The card is showing the word 'unavailable' instead of the AQI data!
Most likely your Airvisual key expired (it has a one-year expiration) and needs to be recreated. Delete and recreate a new key on airvisual.com and save the key in your HA config file.
I am studying programming as a hobby and this is my first set of Home Assistant projects. Unfortunately, I know nothing about Javascript and relied on studying other Lovelace custom cards to write this. Suggestions are welcome but no promises if I can fix anything! If you're familiar with CSS, then you can edit the CSS style in the .js file directly.
- All the custom HA cards and components I studied from, including @Arsaboo's Animated Weather card and Mini Media Player
- airvisual.com - For the card design and data
- Home Assistant Air Visual sensor
- Weather Card by @bramkragten - for the visual card editor

