OpenShift Streams Node.js Service Binding Example
A Node.js application that integrates with a Kafka instance hosted on Red Hat OpenShift Streams for Apache Kafka.
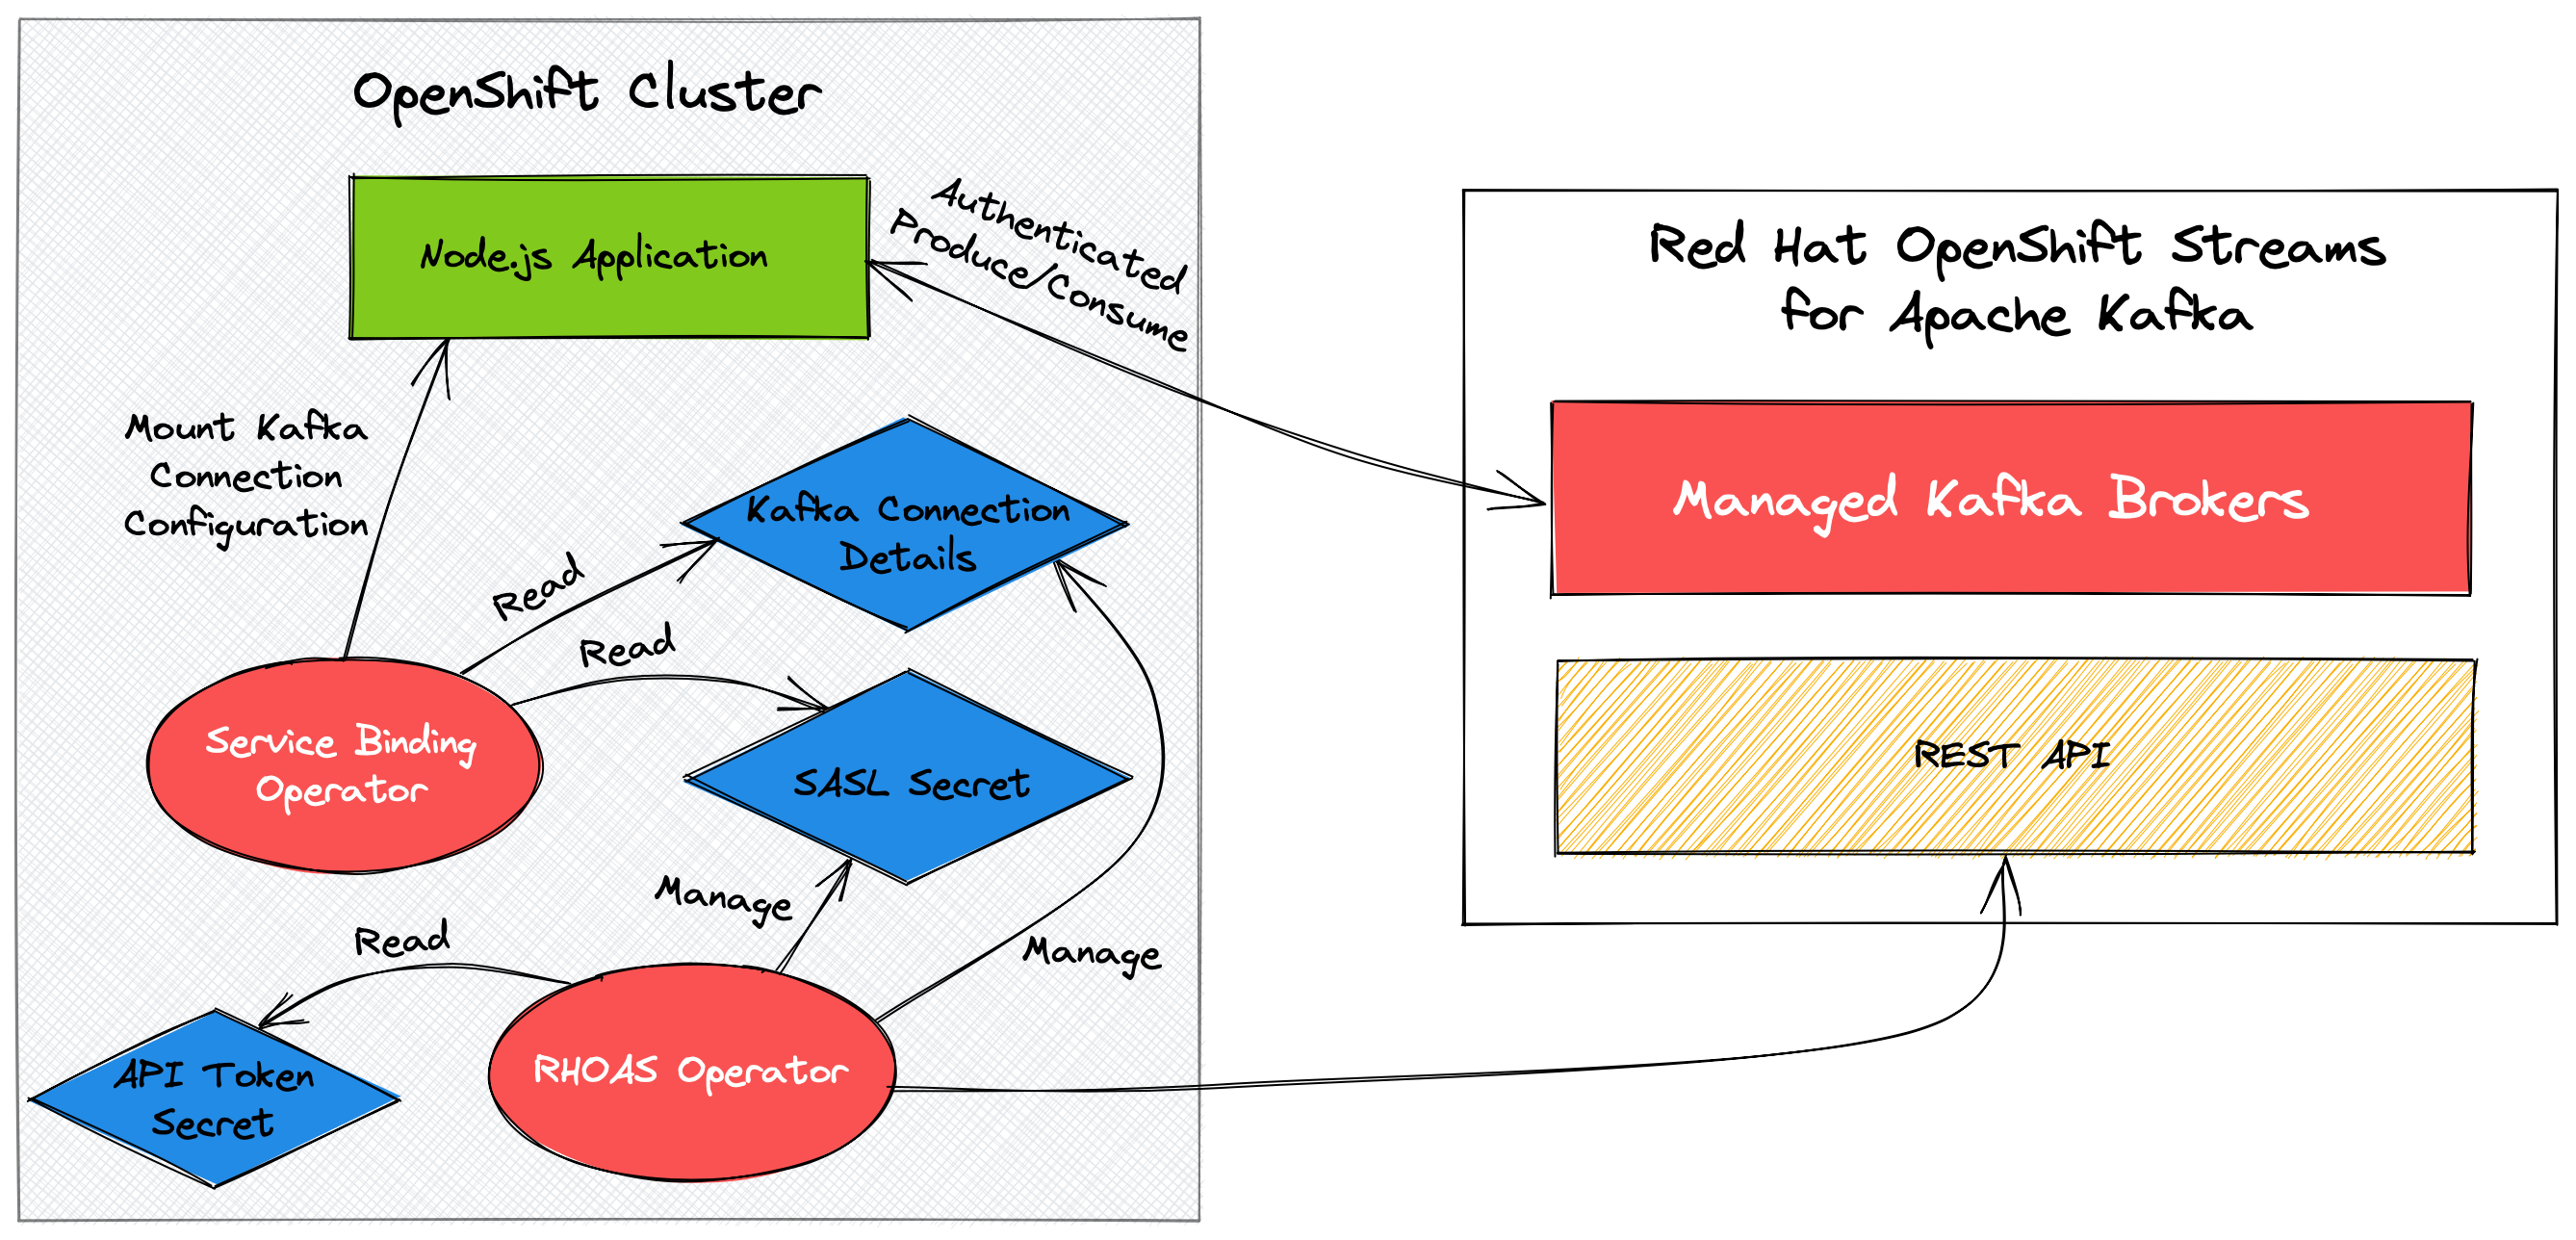
The connection credentials and configuration for the Kafka instance are injected into the application using Service Binding. Specifically, the kube-service-bindings Node.js module is used to read the bindings.
Requirements
CLI Tooling
- Node.js >= v12
- OpenShift CLI v4.x
OpenShift Account & Cluster (free options available)
- Red Hat Cloud Account (Sign-up on the cloud.redhat.com Log-in page)
- OpenShift >= v4.x (use OpenShift Developer Sandbox for free!)
- Red Hat OpenShift Application Services Operator (pre-installed on OpenShift Developer Sandbox)
- Service Binding Operator (pre-installed on OpenShift Developer Sandbox)
- Red Hat OpenShift Application Services CLI
Deployment
Typically, the Service Binding will be managed by the RHOAS Operator in your OpenShift or Kubernetes cluster. However, for local development the bindings are managed using the .bindingroot/ directory.
Take a look at the difference between the start and dev scripts in the
package.json file. Notice how the dev script references the local bindings,
directory but the regular start script doesn't? This is because the RHOAS
Operator manages the SERVICE_BINDING_ROOT when deployed on OpenShift or
Kubernetes.
Create and Prepare a Managed Kafka
You must create a Kafka on Red Hat OpenShift Streams for Apache Kafka prior to using the Node.js application.
Use the RHOAS CLI to create and configure a managed Kafka instance:
# Login using the browser-based flow
rhoas login

# Create a kafka by following the prompts
rhoas kafka create --name my-kafka

# Select a Kafka instance to use for future commands
rhoas kafka use

# Create the topic used by the application
rhoas kafka topic create --name orders --partitions 3
Deploy on OpenShift
Deploy the application on OpenShift.
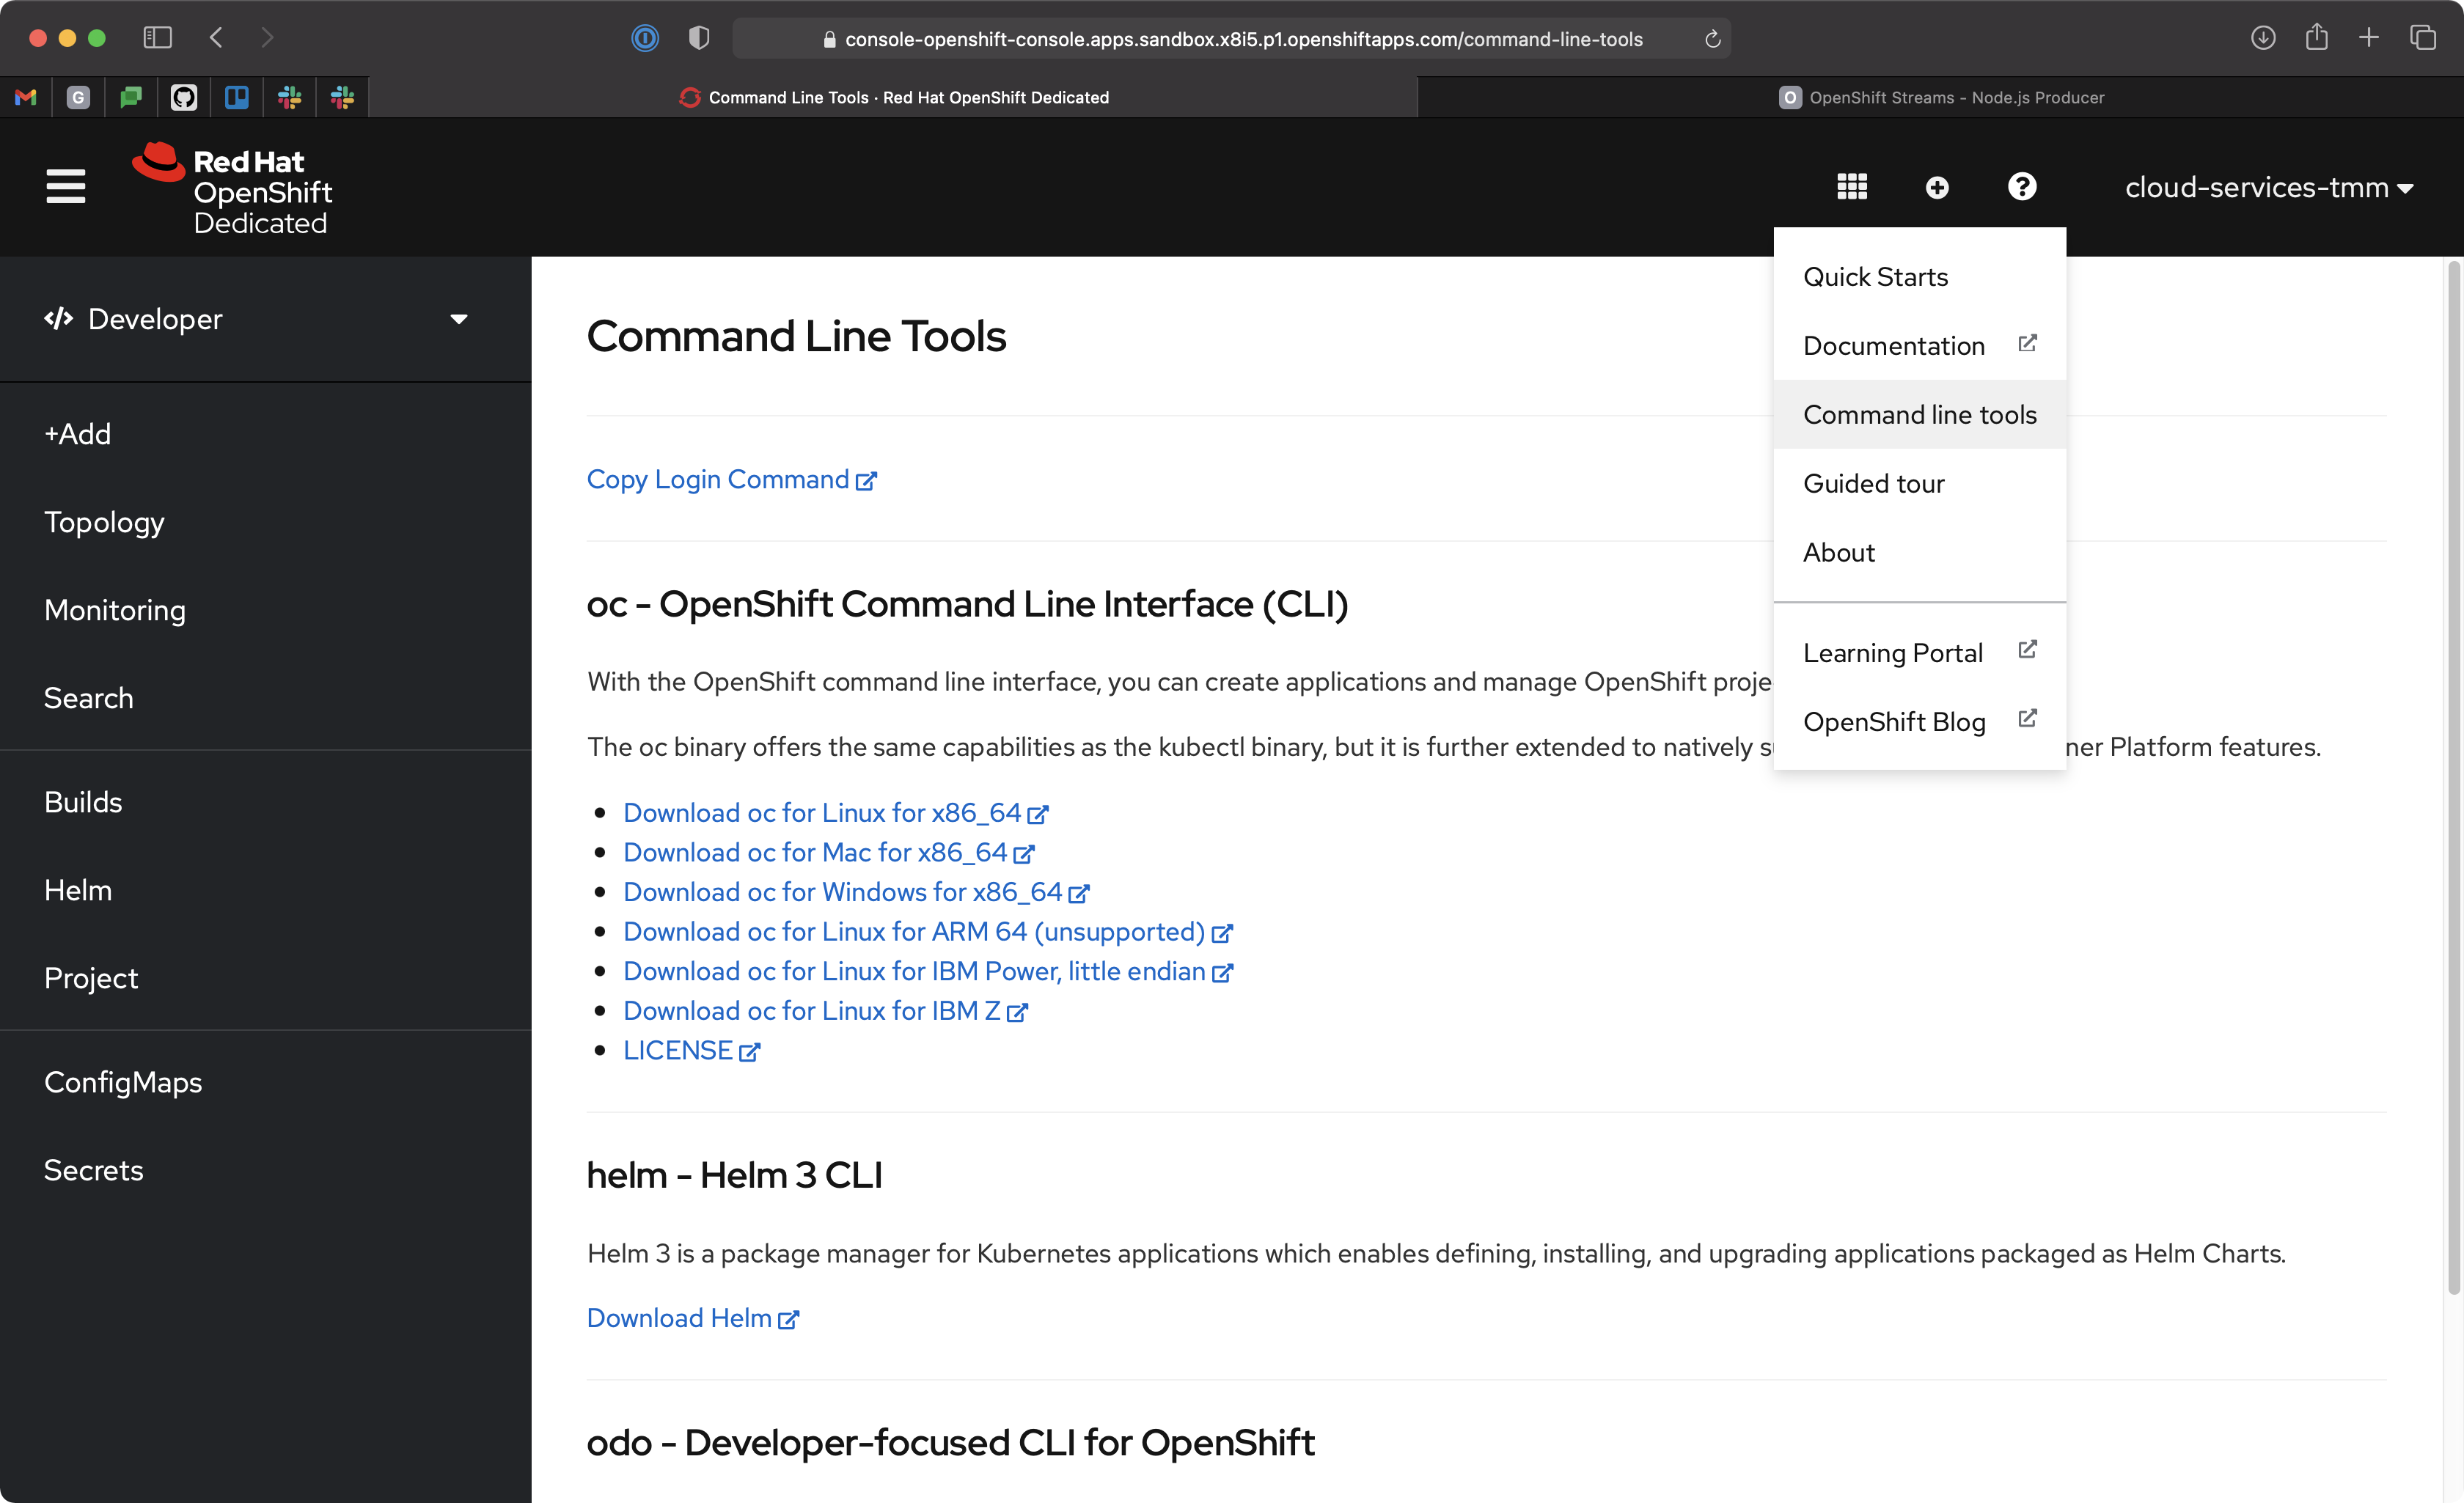
You'll need to login using the OpenShift CLI first. Instructions to login via the CLI are available in the Command line tools help from your cluster UI.
Once you've logged into the cluster using the OpenShift CLI deploy the application:
# Choose the project to deploy into. Use the "oc projects"
# command to list available projects.
oc project $PROJECT_NAME_GOES_HERE

# Deploy the application on OpenShift using Nodeshift CLI
# This will take a minute since it has to build the application
npm install
npx nodeshift --useDeployment --expose
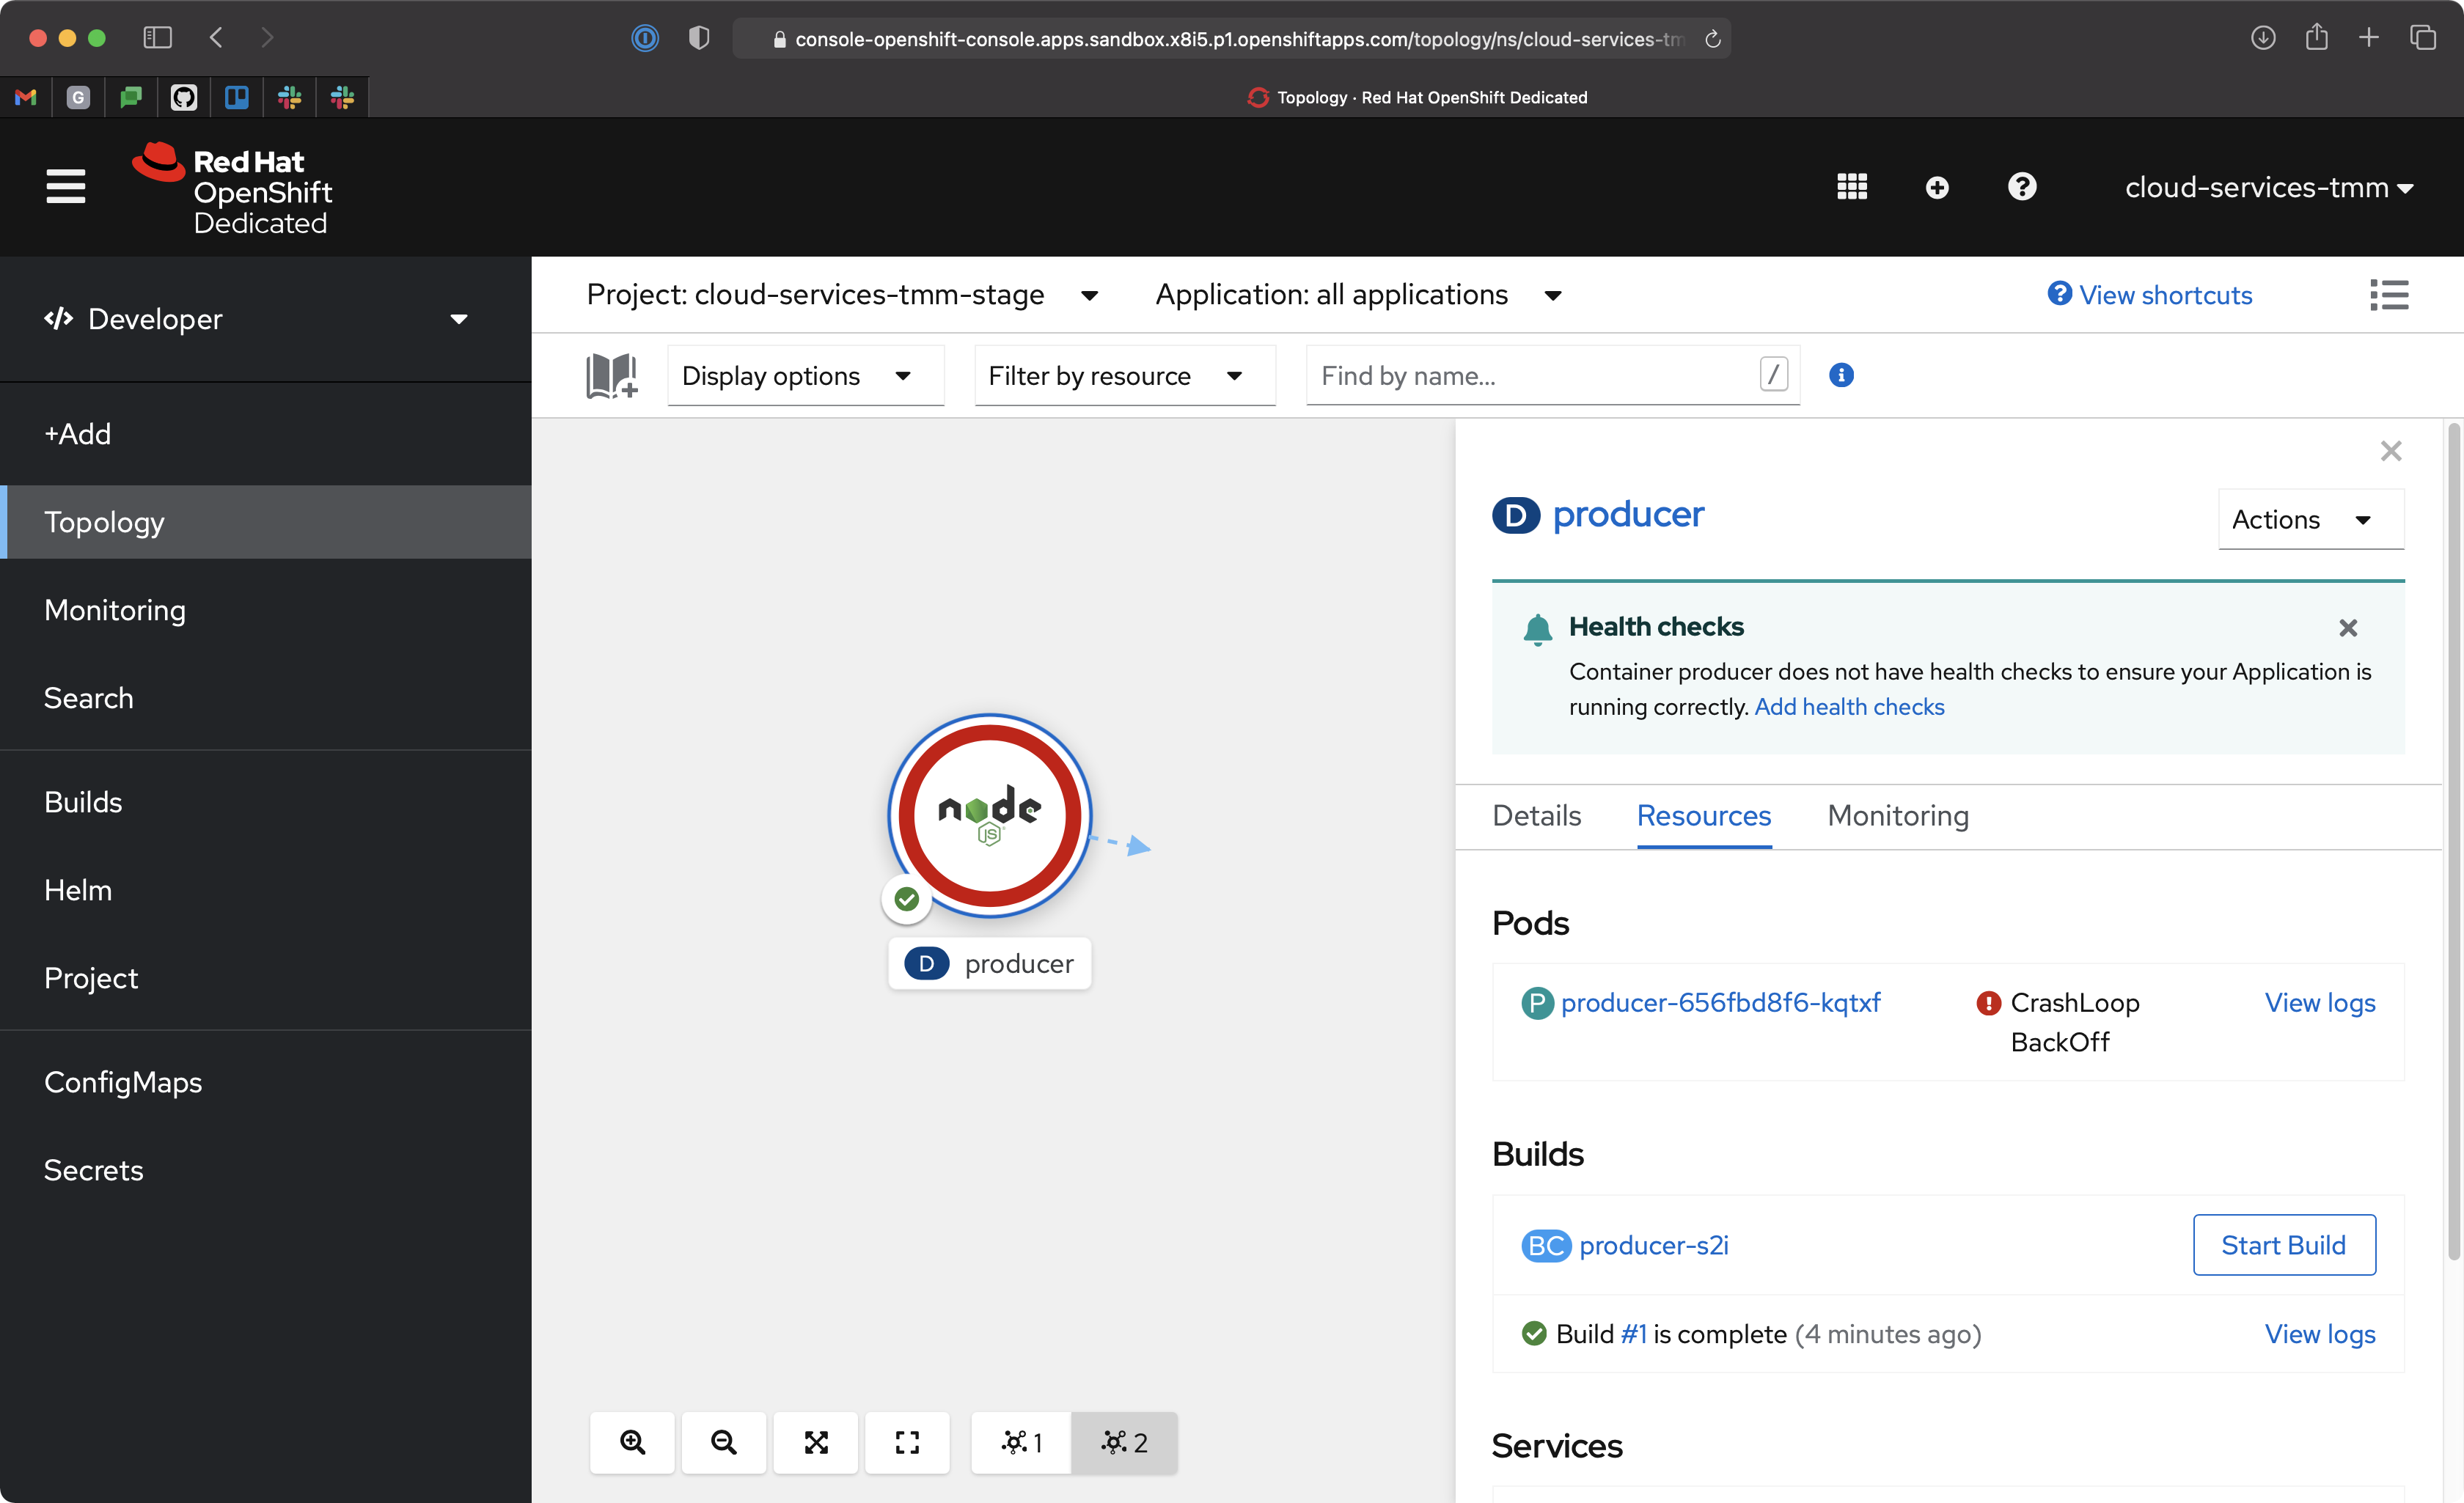
When deployed in production this application expects the bindings to be supplied in the Kubernetes Deployment spec. Without these it will crash loop, as indicated by a red ring.
Bindings can be configured using the RHOAS CLI:
# Login using the browser-based flow
rhoas login

# Select a Kafka instance to use for future commands
rhoas kafka use

# Link your OpenShift/Kubernetes project/namespace to the Kafka
rhoas cluster connect
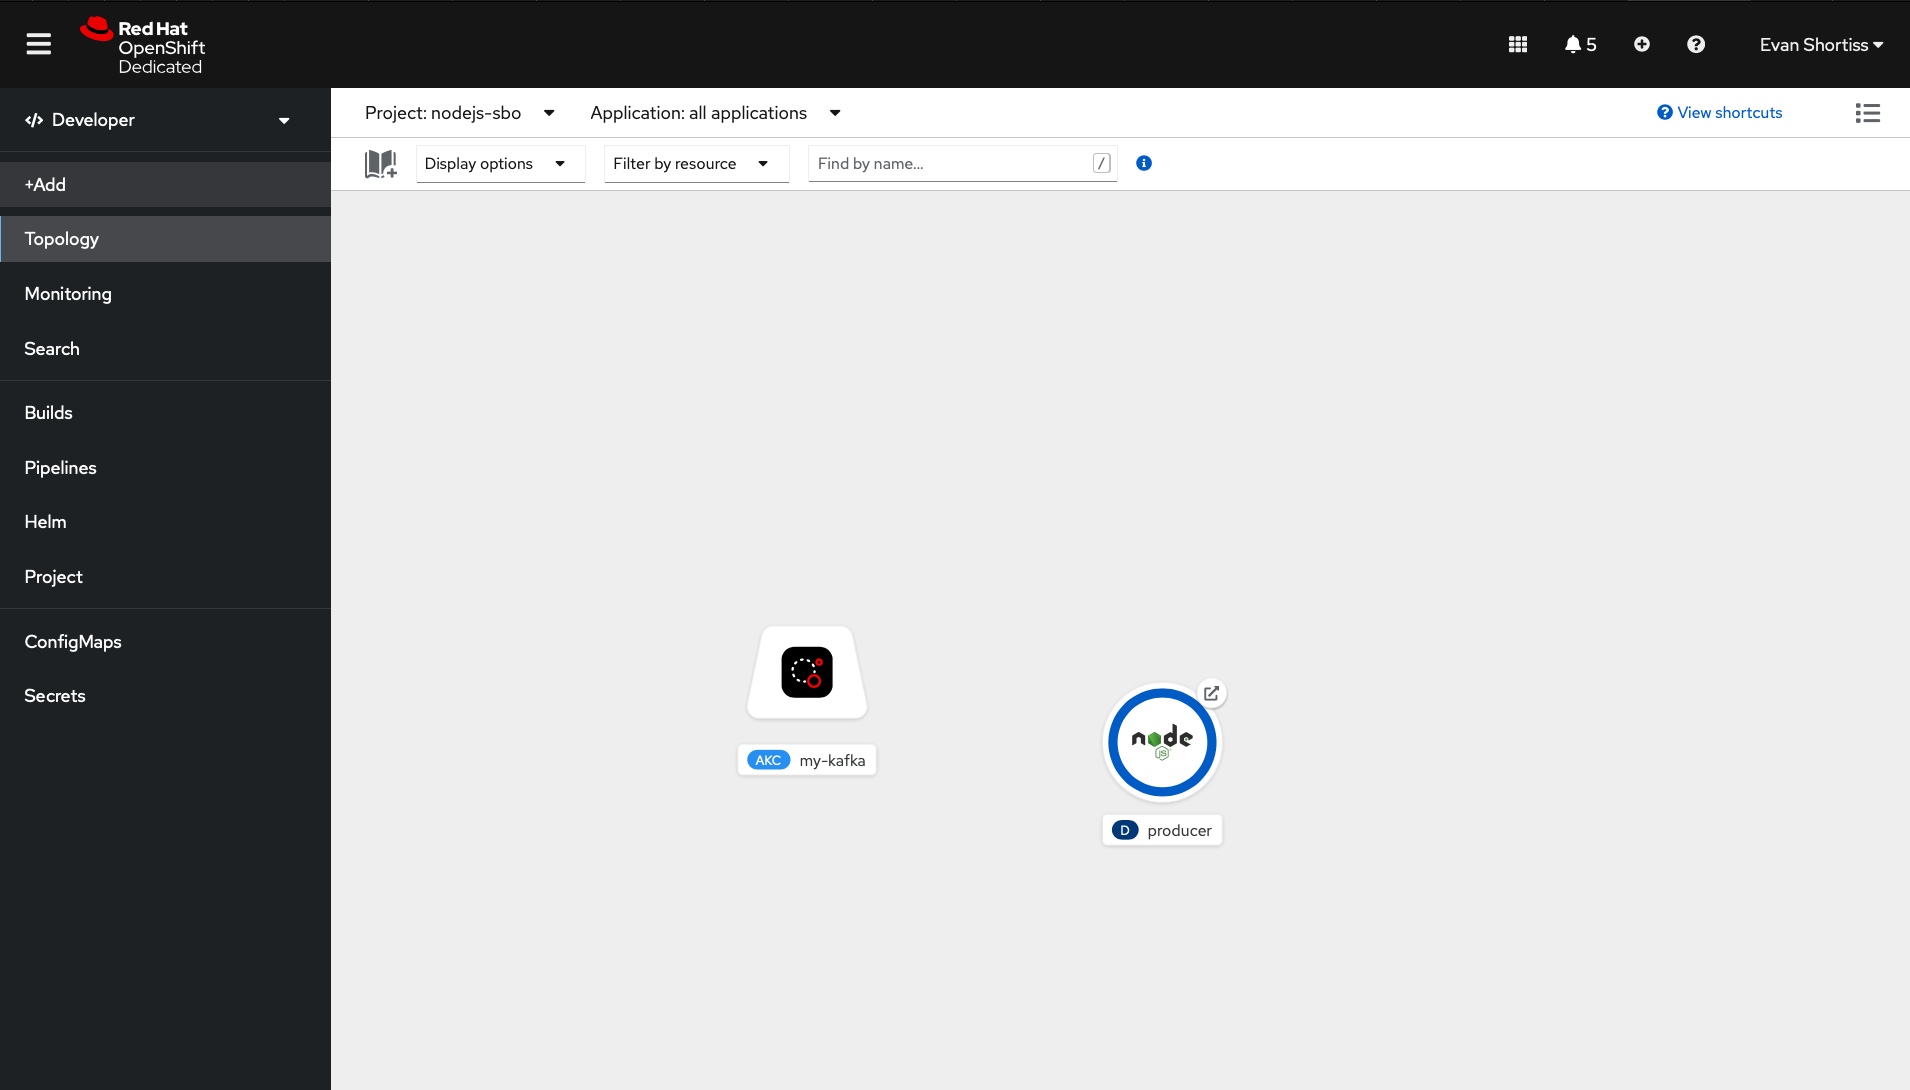
A new Managed Kafka icon will appear in your application Topology View on OpenShift.
You'll need to bind this to your Node.js application, but first you need to
configure RBAC for the Service Account that was created by the
rhoas cluster connect command. Service Accounts have limited access by
default, and therefore cannot read/write from/to Kafka Topics. The Service
Account ID should have been printed by the rhoas cluster connect command,
but you can find it in the OpenShift Streams UI or using the
rhoas service-account list command.
Use the following commands to provide liberal permissions to your Service Account. These loose permissions are not recommended in production.
# Replace with your service account ID!
export SERVICE_ACCOUNT_ID="srvc-acct-replace-me"

rhoas kafka acl grant-access --producer --consumer \
--service-account $SERVICE_ACCOUNT_ID --topic all --group all
Now, create a Service Binding between your Managed Kafka and Node.js producer
application.
rhoas cluster bindThe Node.js application should restart and stay in a health state, surrounded by a blue ring as shown in the Topology View.
Use the following command to get the application URL!
oc get route producer -o jsonpath='{.spec.host}'Now you can submit an order via browser. The order is placed into the orders topic in your Kafka instance.
Develop Locally
The .bindingroot/kafka/ directory already contains some configuration files. Think of the filename as a key, and file contents as a value. The SASL mechanism and protocol are known ahead of time so they're checked into the repository.
A bootstrap server URL, and connection credentials are not checked-in though, since they're unique to you and should be kept secret.
Create the following files in the .bindingroot/kafka/ directory. Each should contain a single line value described below:
- bootstrapServers: Obtain from the OpenShift Streams UI, or via
rhoas kafka describe - user & password: Obtain via the Service Accounts section of the OpenShift Streams UI, or the
rhoas serviceaccounts createcommand.
For example the bootstrapServers file should contain a URL such as
sbo-exampl--example.bf2.kafka.rhcloud.com:443.
The user is a value similar to srvc-acct-a4998163-xxx-yyy-zzz-50149ce63e23
and password has a format similar to 15edf9b3-7027-4038-b150-998f225d3baf.
Once these values are defined, start the the application:
npm run dev
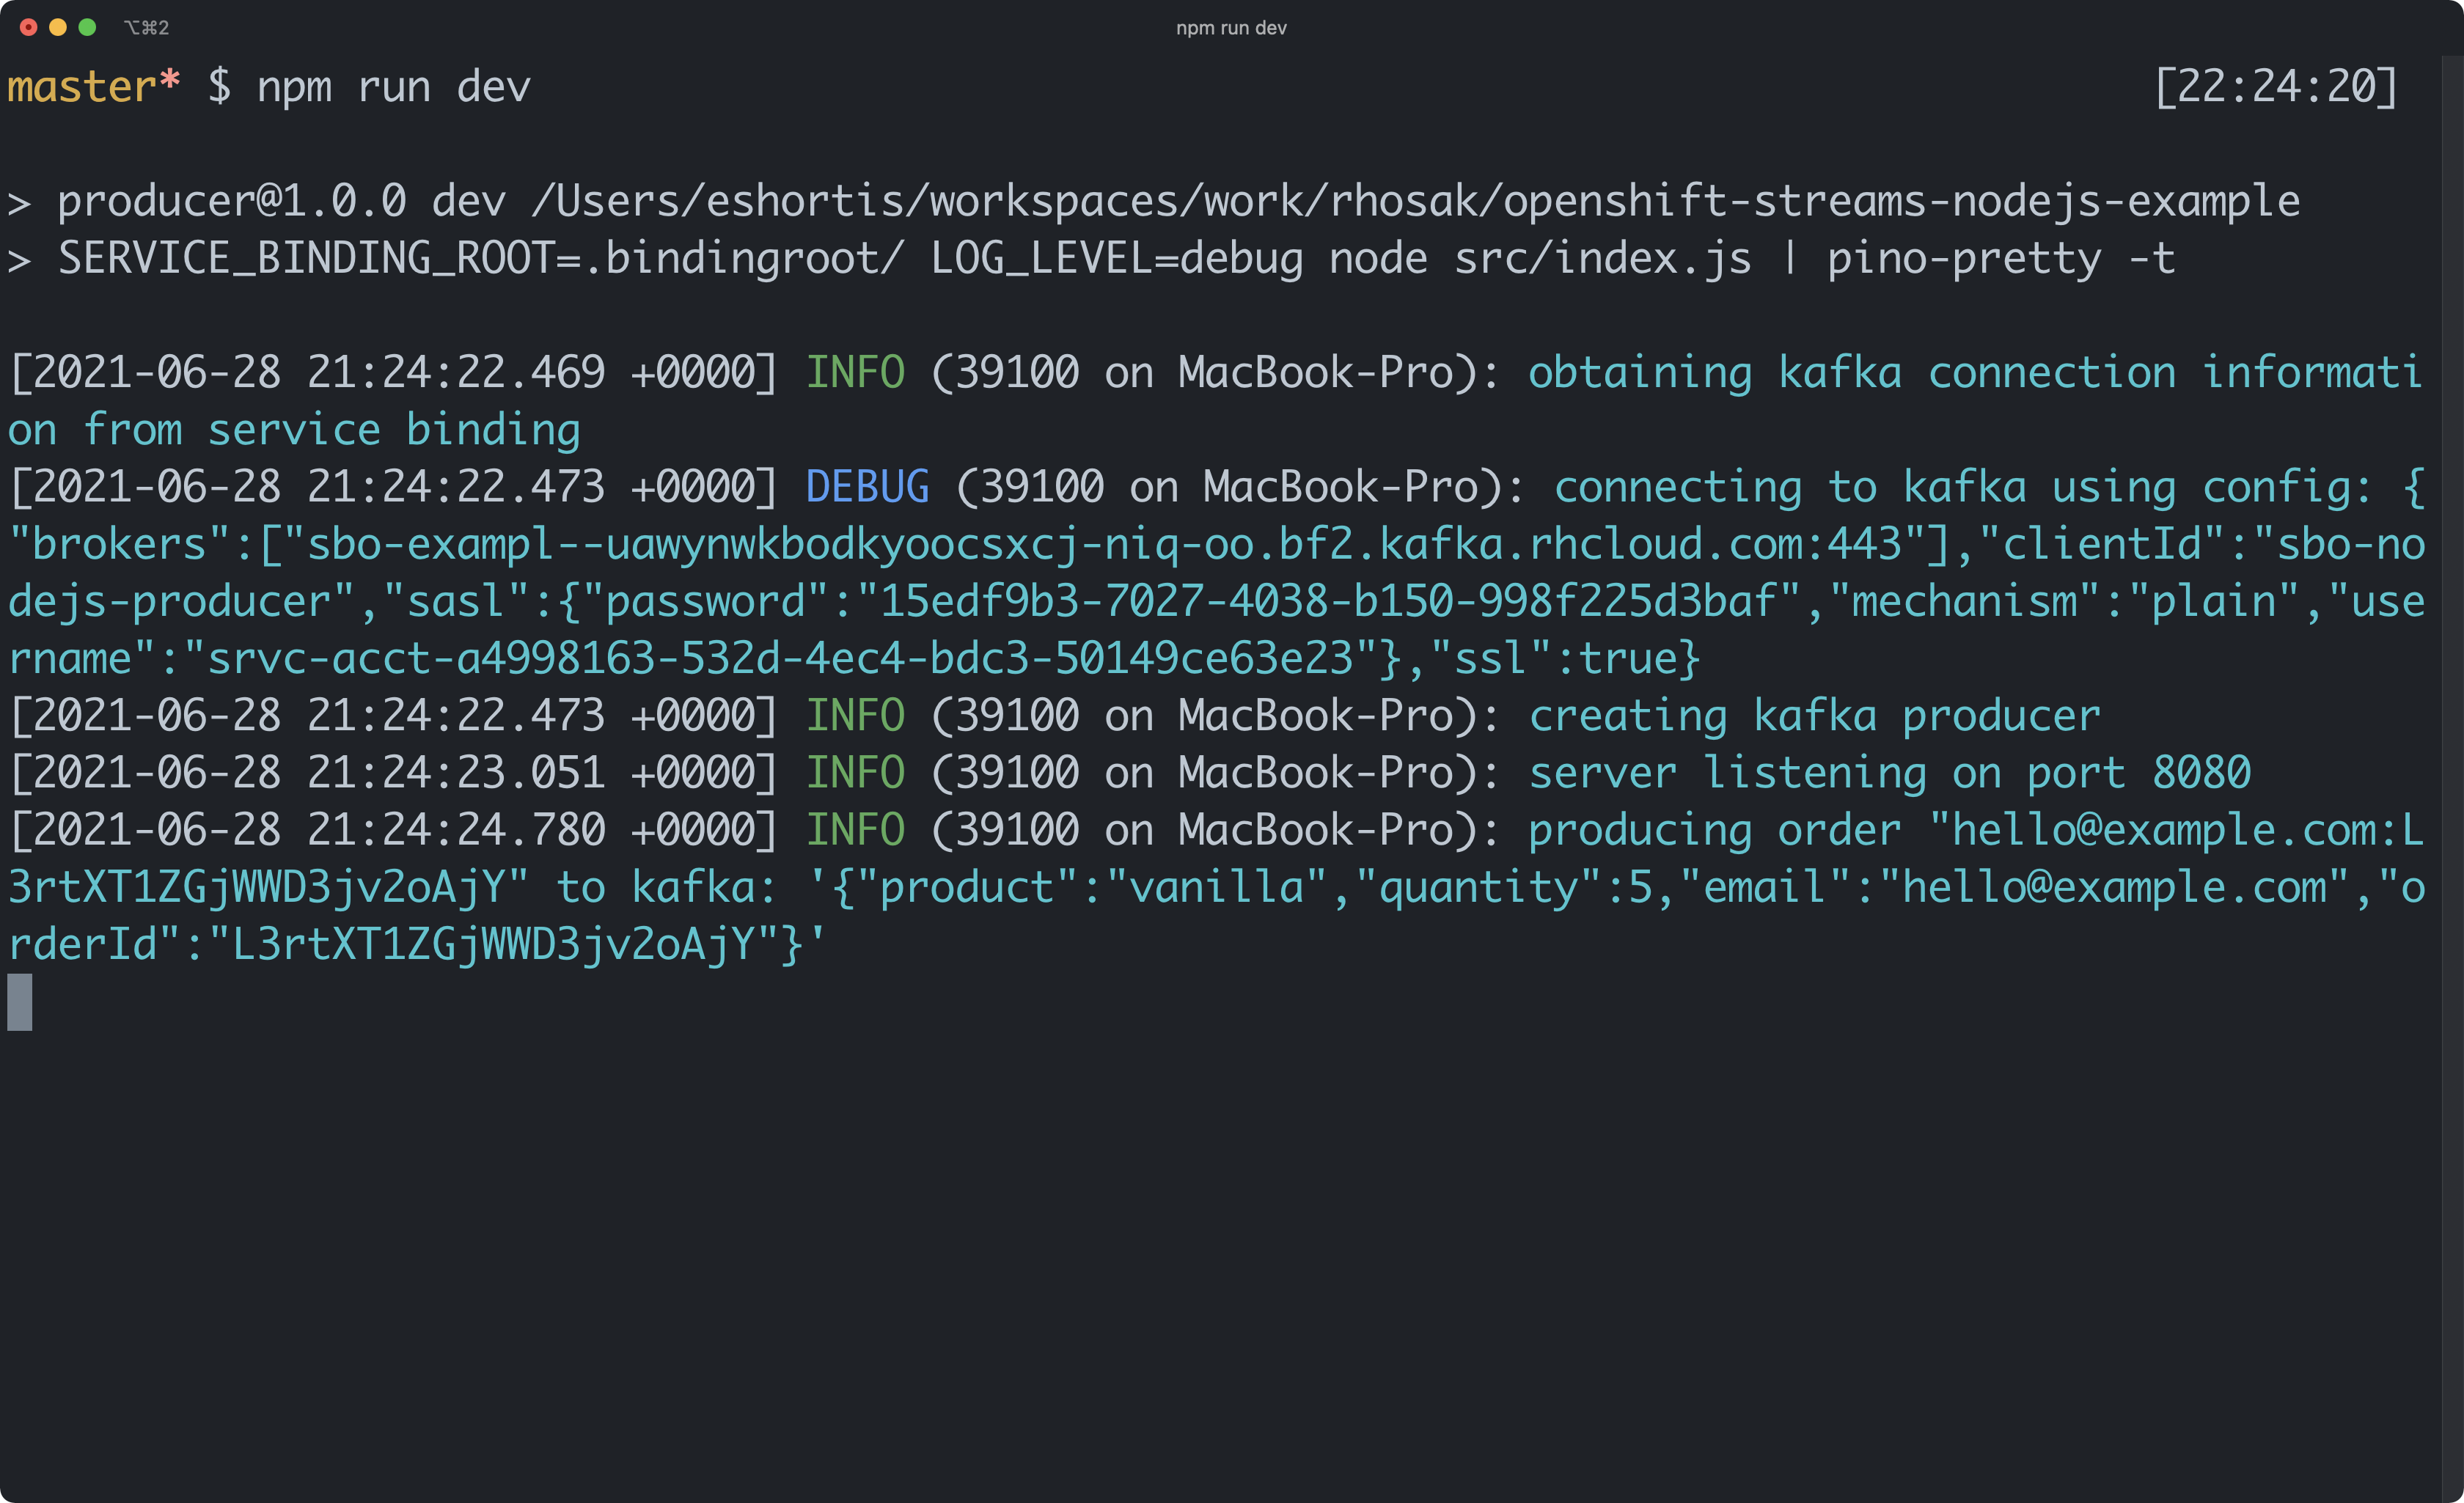
During development the information used to connect to Kafka is printed on startup.
NOTE: These are sensitive credentials. Do not share them. This image is provided as an example of output.
Building an Image
This requires Docker/Podman and Source-to-Image.
# Output image name
export IMAGE_NAME=quay.io/evanshortiss/rhosak-nodejs-sbo-example

# Base image used to create the build
export BUILDER_IMAGE=registry.access.redhat.com/ubi8/nodejs-14

# Don't pass these files/dirs to the build
export EXCLUDES="(^|/)\.git|.bindingroot|node_modules(/|$)"

# Build the local code into a container image
s2i build -c . --exclude $EXCLUDES $BUILDER_IMAGE $IMAGE_NAME