This repository provides an up-to-date example for developing, building, and deploying dynamic plugins for Red Hat Developer Hub (Developer Hub). It demonstrates a complete workflow, from a local Backstage instance to a fully deployed dynamic plugin on an OpenShift cluster using modern tooling.
This guide assumes you have a foundational understanding of Backstage plugin development. For a general introduction to creating plugins, please refer to the official Backstage documentation.
This project is aligned with Red Hat Developer Hub 1.6. When creating a new project from scratch, use the corresponding create-app version to ensure compatibility.
| Developer Hub Version | Backstage Version |
|---|---|
| 1.6 | 1.36.1 |
Ensure the following tools are installed on your system:
- Node.js: ~20.x
- Yarn: ~4.x
- oc: The OpenShift CLI client.
- An active OpenShift cluster with an operator-based installation of Red Hat Developer Hub.
- Access to an OCI-compliant container registry (this guide will use the internal OpenShift registry).
Deploying a dynamic plugin involves a few key stages:
- Develop: Create your frontend and backend plugins within a standard Backstage application.
- Package: Use the
@red-hat-developer-hub/clitool to build and package the plugin either as an OCI artifact for a remote registry or as local files for testing. - Push & Host: The packaged OCI artifact is pushed to a container registry accessible to your Developer Hub instance.
- Configure: Update your Developer Hub instance's configuration via a ConfigMap to instruct it to download and integrate your plugin from the registry.
First, ensure all dependencies are installed and the plugin source code is built.
# Install dependencies and build the project
yarn install
yarn tsc
yarn buildFor the fastest development loop, you can export your plugins to a local directory and test them with different methods.
This initial step is the same for both local testing methods.
Export all plugins to the local deploy directory:
The --export-to flag will package all plugins in the workspace and place their assets in the specified directory. It's recommended to clean the deploy directory before exporting to ensure you don't have any stale artifacts.
# Clean the deployment directory
rm -rf ./dynamic-plugins-root/*

# Export all workspace plugins to the deploy directory
npx -y @red-hat-developer-hub/cli plugin package \
 --export-to ./dynamic-plugins-root
Now you can proceed with either method below.
Point --export-to to rhdh-local's "local-plugins" directory and update its dynamic-plugins.yaml using the suggested configuration created by the "plugin package" command. Refer to the rhdh-local documentation for specific instructions.
You can run the Developer Hub container directly and mount your local plugins. This provides a quick feedback loop without needing rhdh-local or a full OpenShift deployment. This method uses the example app-config.yaml included in the root of this repository.
The supplied script starts the container, mounts the dynamic-plugins-root directory and the repository's app-config.yaml, and overrides the entrypoint to use the custom config.
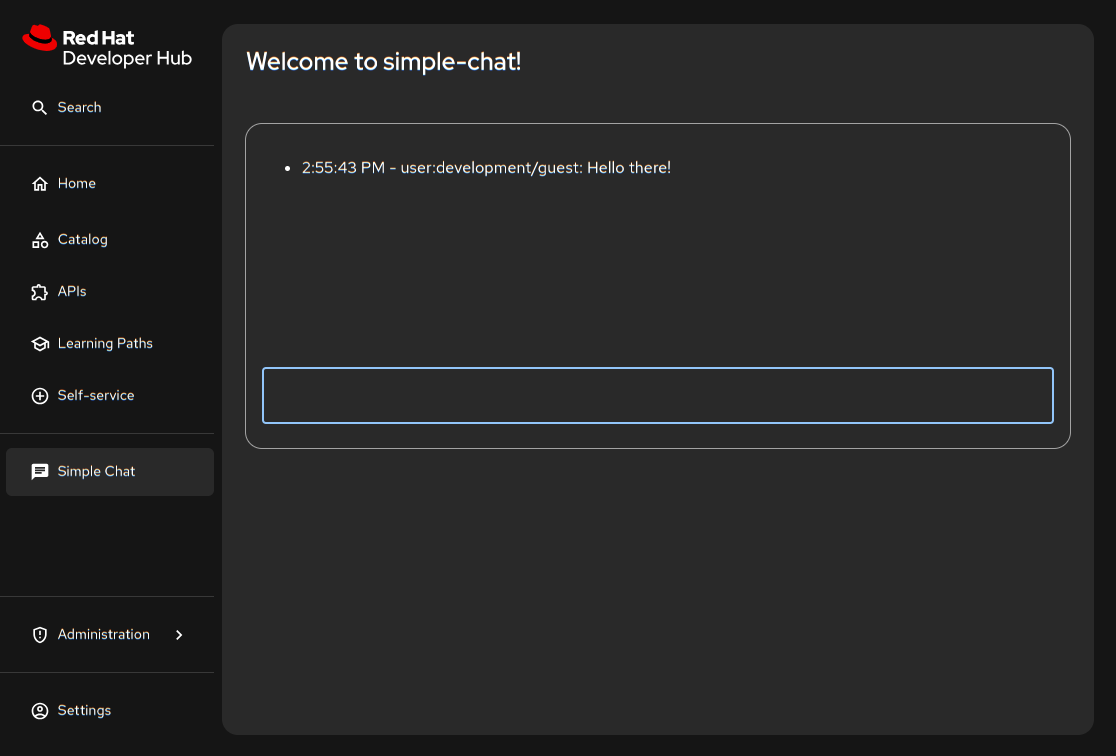
./run-example.shDeveloper Hub will now be running and you can access the simple-chat plugin at http://localhost:7007/simple-chat.
This workflow packages your plugins as OCI artifacts and pushes them to a public quay.io repository. These instructions assume you have:
- A Quay.io account.
- Created a namespace called "rhdh" in your OpenShift cluster.
- Deployed Developer Hub to the "rhdh" namespace using the operator.
Note: This guide uses a public Quay.io repository for simplicity. If you use a private repository, you must create an image pull secret in your OpenShift project and link it to the
backstage-backendservice account.
-
Log in to Quay.io:
Use
podmanordockerto log in to your Quay.io account.podman login quay.io
-
Package all plugins:
Run the package command from the root of your project. This will build the plugins, package them into a container image, and print the YAML configuration needed for Developer Hub.
IMPORTANT: Replace
<your-quay-username>with your Quay.io username.# Set your Quay.io username export QUAY_USERNAME=<your-quay-username> # Package all workspace plugins into a single OCI artifact npx -y @red-hat-developer-hub/cli plugin package \ --tag quay.io/$QUAY_USERNAME/simple-chat:latest
Copy the entire
plugins:YAML block from the command's output. You will paste it into your ConfigMap in the next step. -
Push the OCI artifact:
Push the container image to your Quay.io repository.
podman push quay.io/$QUAY_USERNAME/simple-chat:latestAfter pushing, ensure the repository is marked as "Public" in the Quay.io web interface.
Create a ConfigMap that tells Developer Hub where to find the OCI artifact.
-
Create
dynamic-plugins-rhdh.yaml:Create a file with this name and paste the configuration you copied from the
plugin packagecommand. The CLI output includes the correct package locations, integrity hashes, and frontend configuration.# dynamic-plugins-rhdh.yaml kind: ConfigMap apiVersion: v1 metadata: name: dynamic-plugins-rhdh data: dynamic-plugins.yaml: | includes: - dynamic-plugins.default.yaml plugins: # PASTE THE 'plugins:' YAML BLOCK OUTPUT FROM THE CLI HERE. # The output will look similar to this example.
Once Developer Hub has redeployed, the "Simple Chat" plugin will appear in the sidebar.
The frontend plugin for this example also includes support for the new frontend system. The frontend plugin can be built and loaded into the new frontend system via the frontend-dynamic-feature-loader package.
To build and load the new frontend system plugin, cd to plugins/simple-chat after building the entire project and run the following:
yarn build --role frontend-dynamic-containerCopy the entire plugin directory to the dynamic-plugins-root folder of your Developer Hub installation:
# from plugins/simple-chat
cp -R `pwd` $MY_RHDH_CLONE/dynamic-plugins-root
Run the Developer Hub backend with the start:next script, for example:
yarn workspace backend start:nextAccess the app at "http://localhost:7007" and there should be a "Simple Chat" entry on the main navigation that brings you to the chat UI.
