Manage a dynamic home IP address with an AWS hosted route53 domain
In order to use this tool, you need to set up authentication credentials. Credentials for your AWS account can be found in the IAM Console. You can create or use an existing user or follow the instructions below to setup a new user.
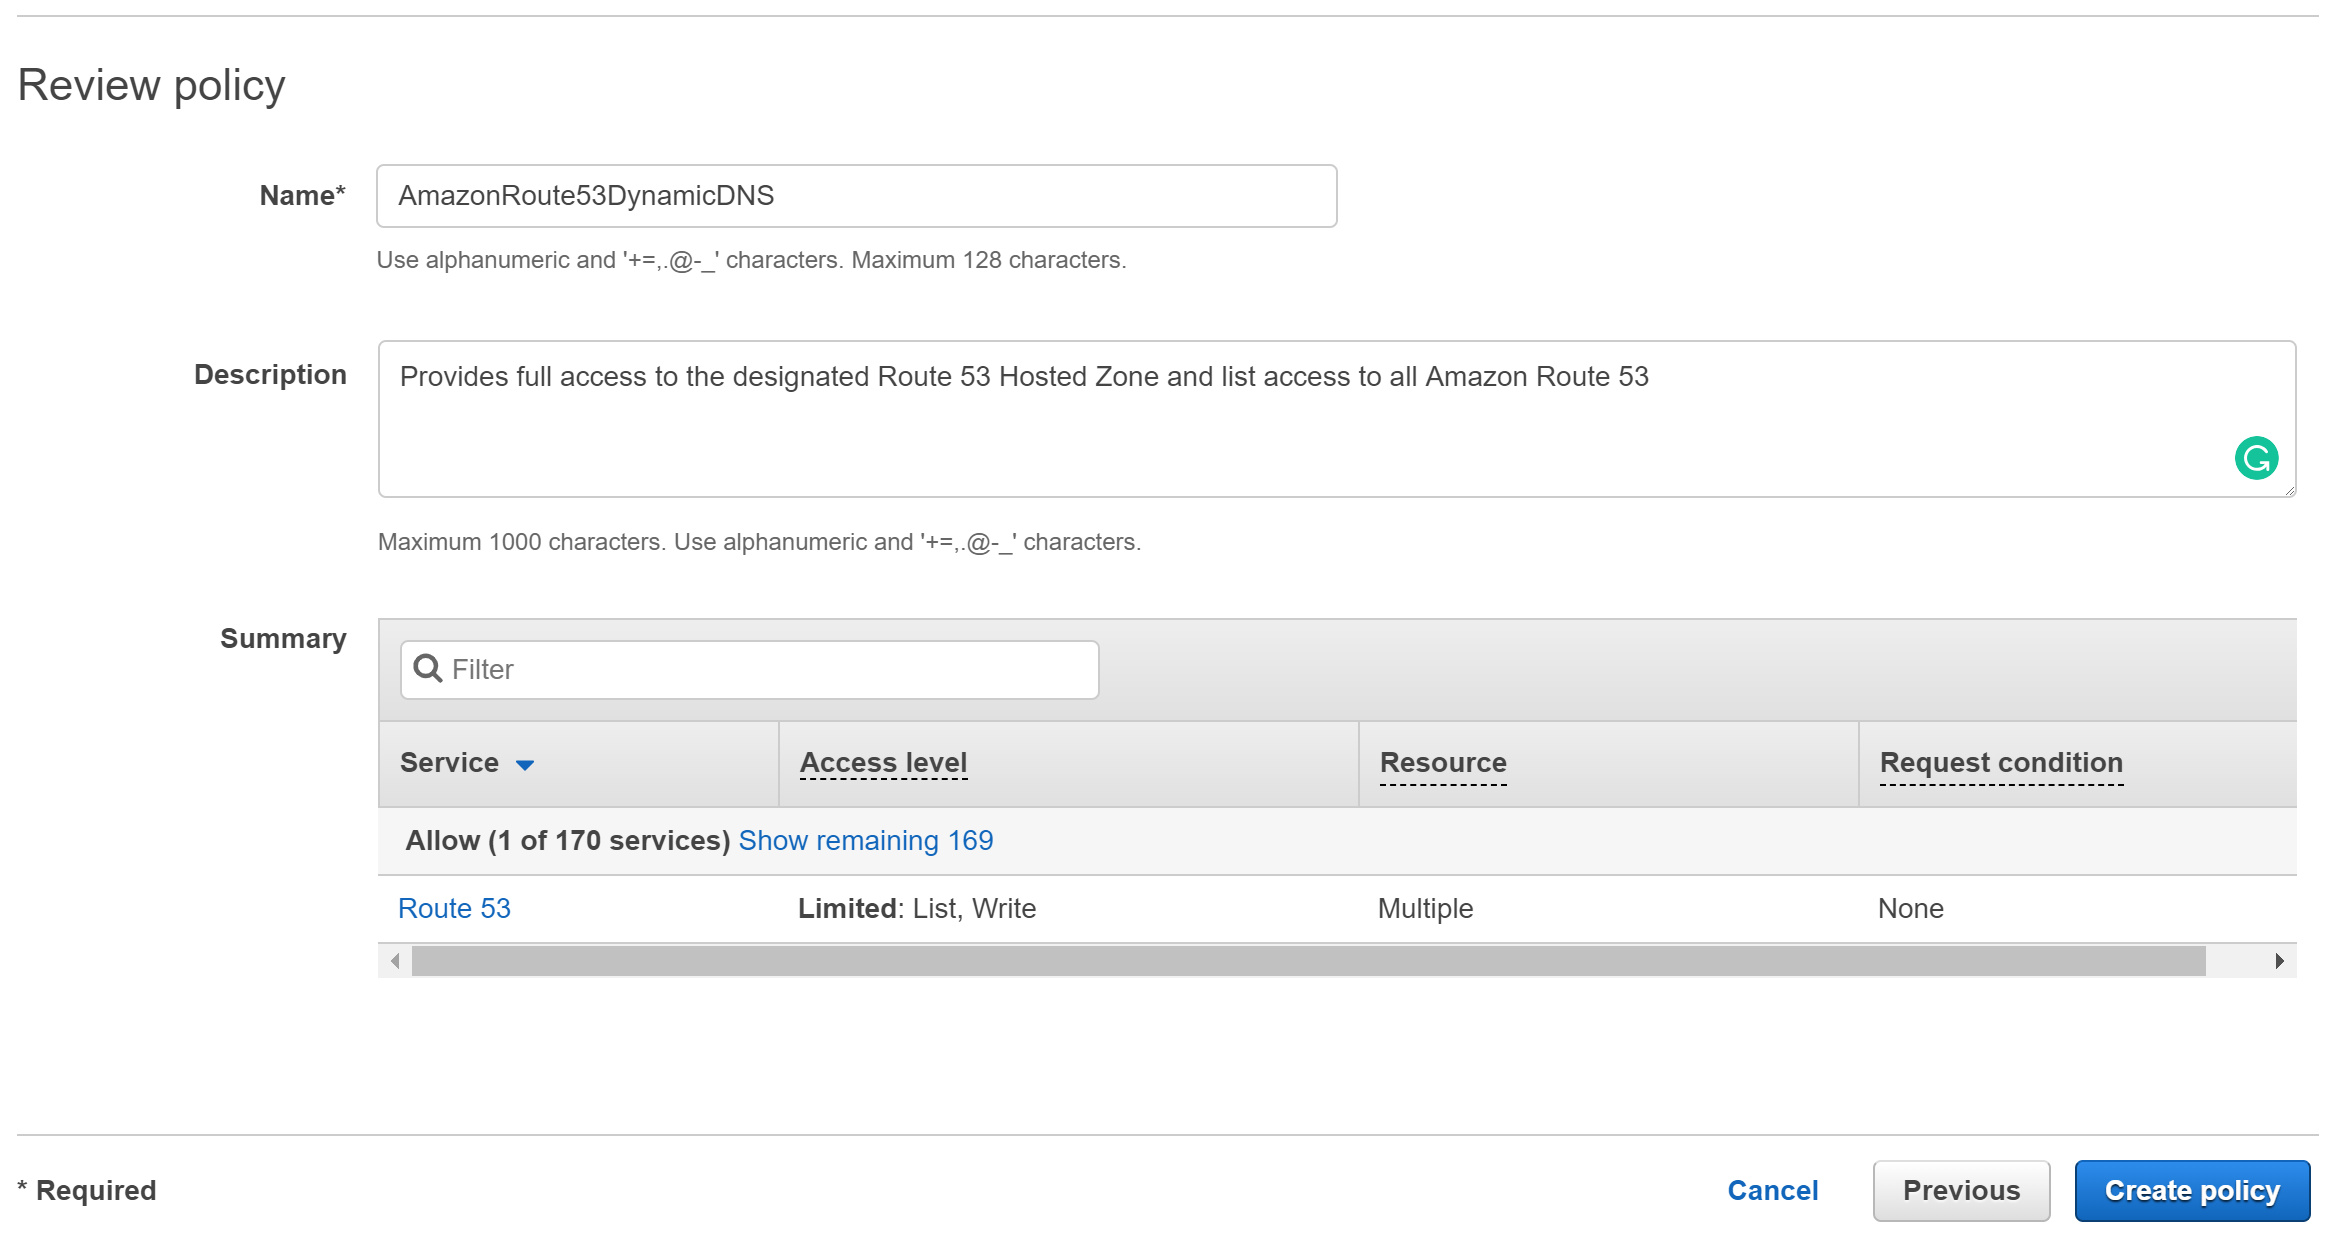
Create a new IAM policy using ddns_iam_policy.json as a base. Remember to replace {YOUR_ZONE_ID_HERE} with the Hosted Zone ID for the route53 domain you want to update.
Give your policy a meaningful name and description, you'll need to refer to it in the next section.

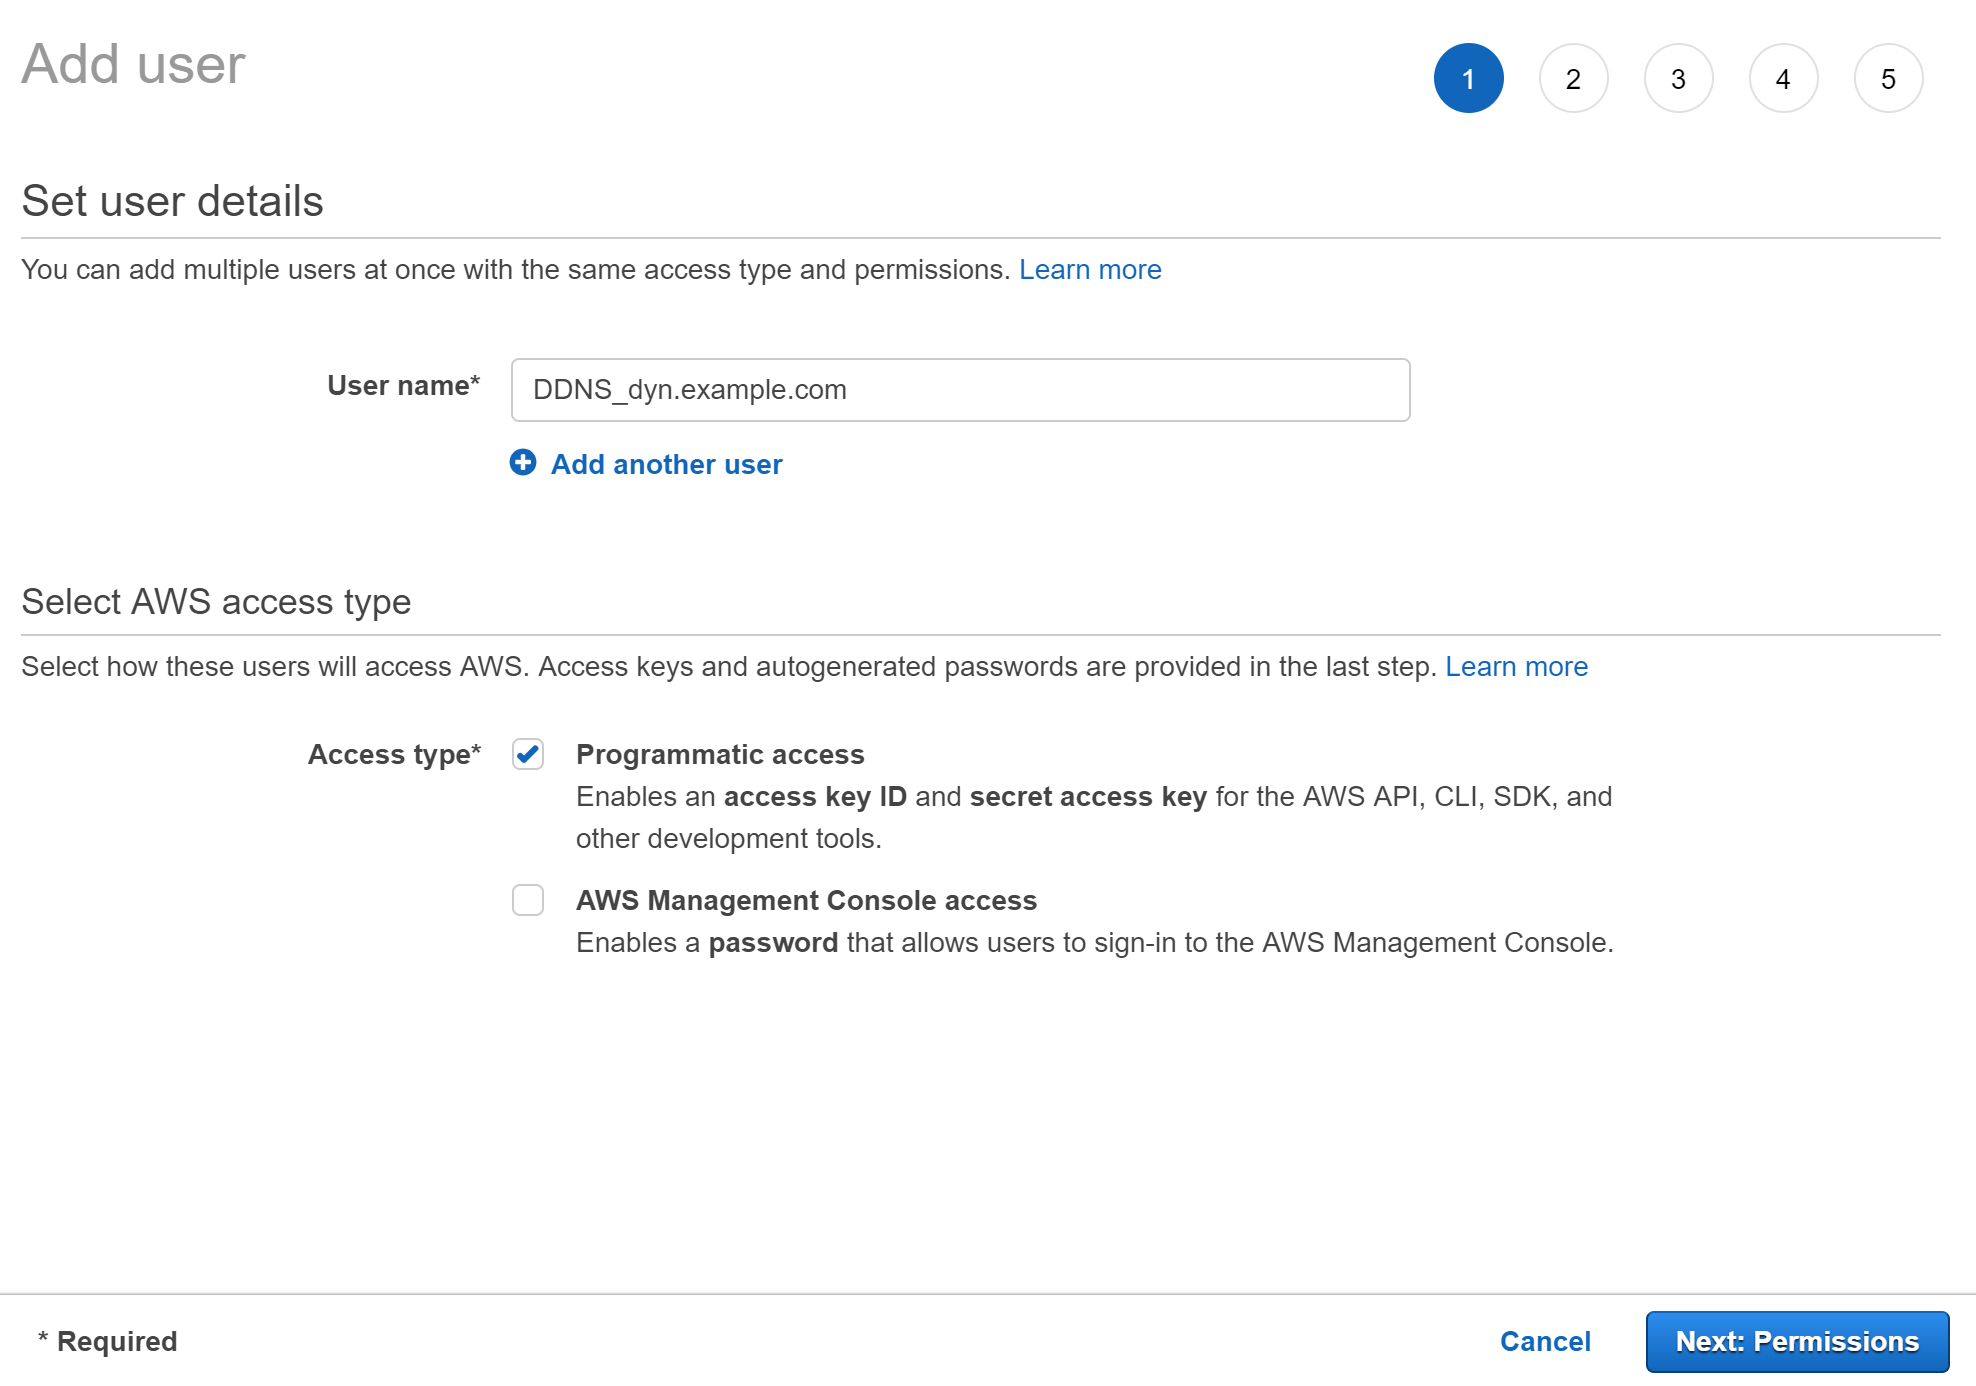
Create a new IAM user, give it a user name, and select Programmatic access for the access type.

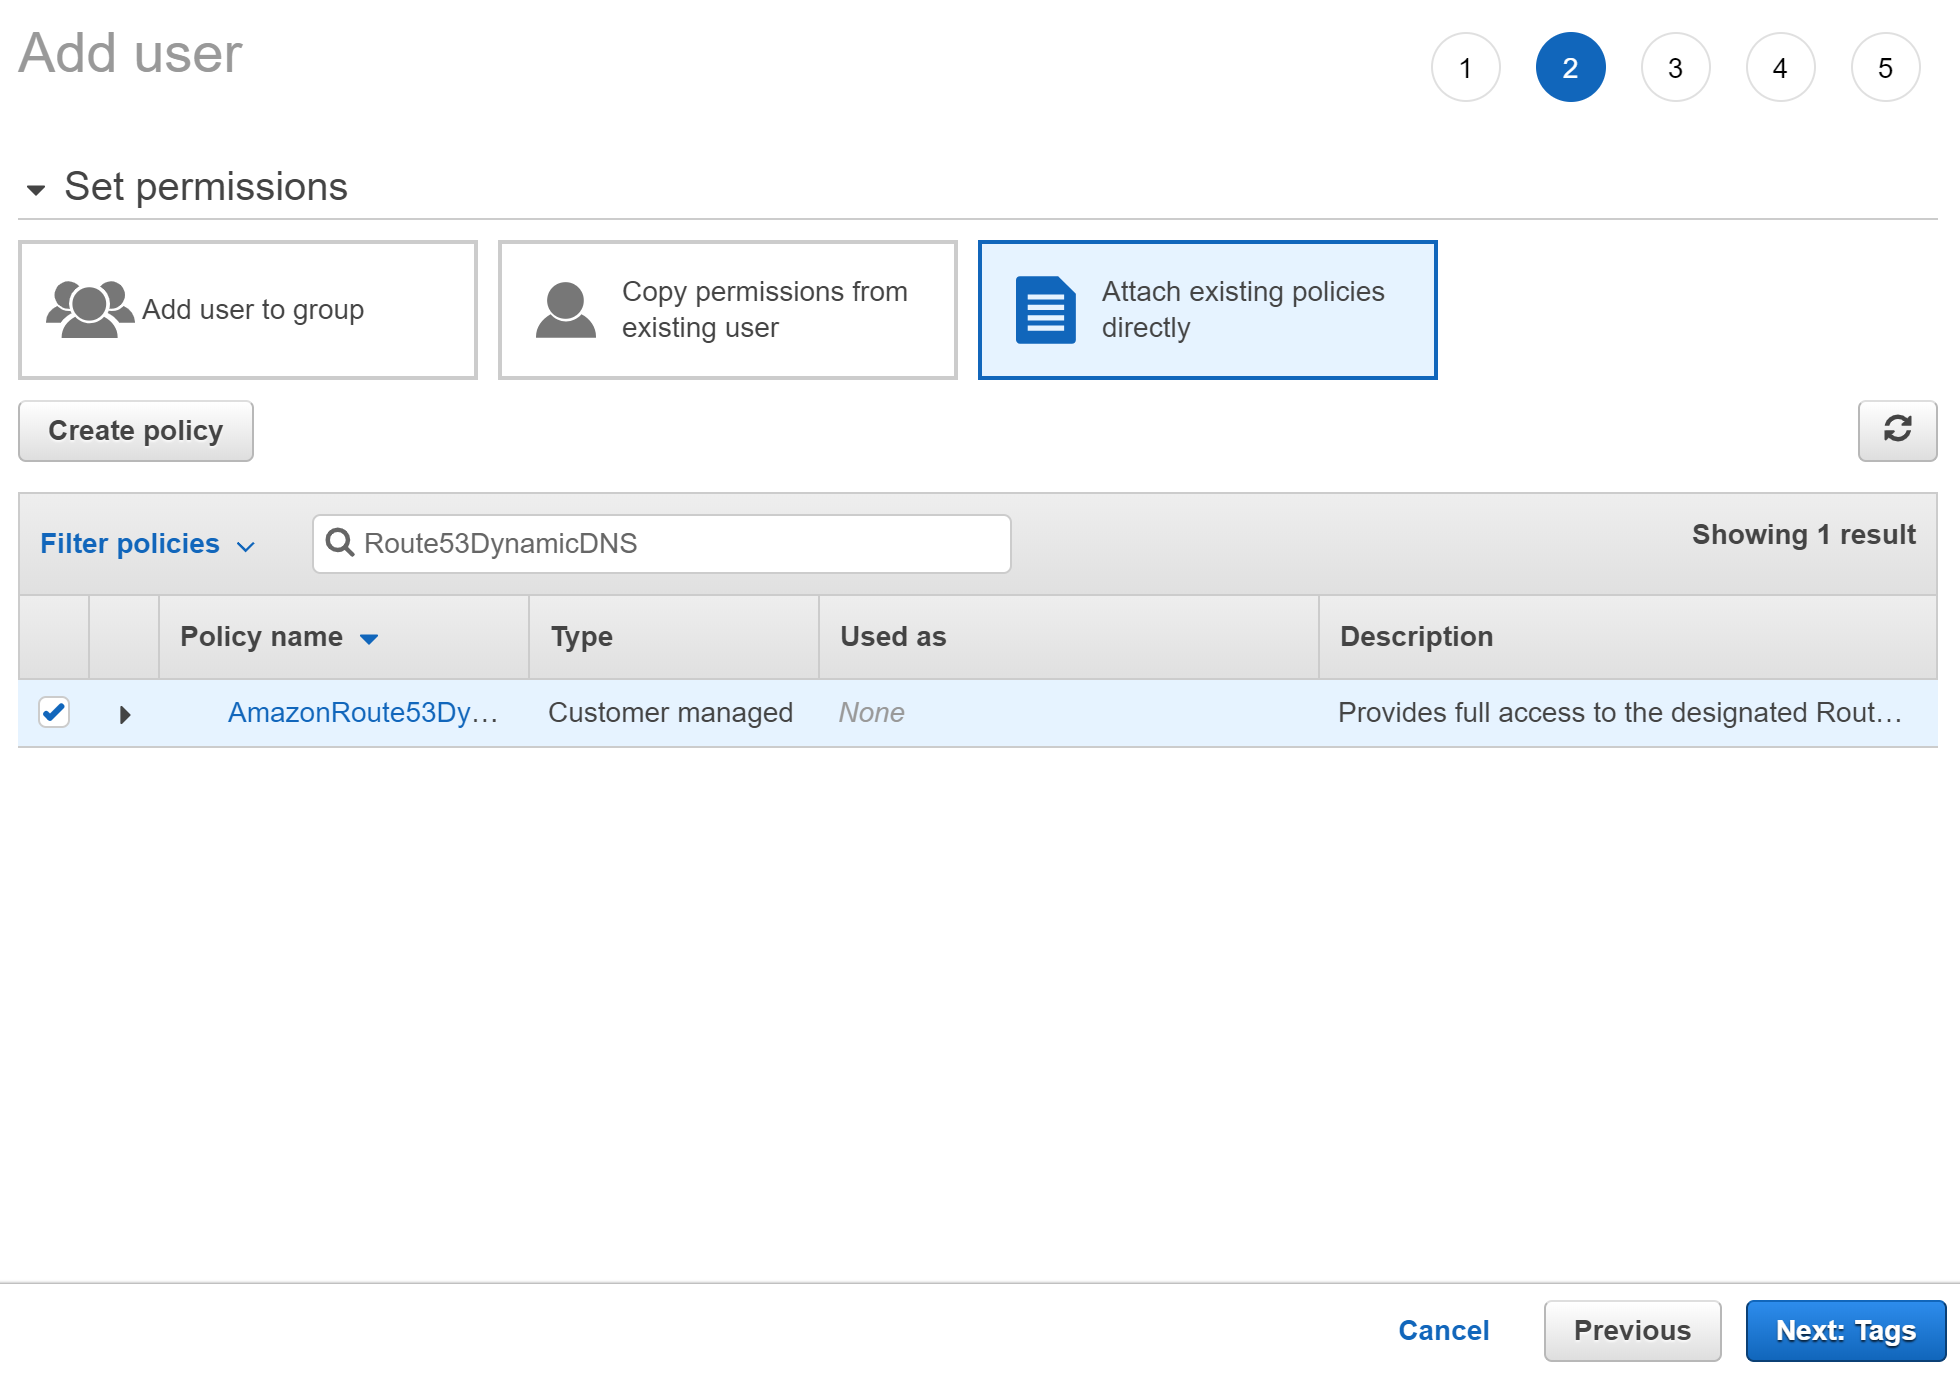
Next, select Attach existing policies directly, find the IAM policy you just created, and click the checkbox to the right of the policy name to attach it to your user.

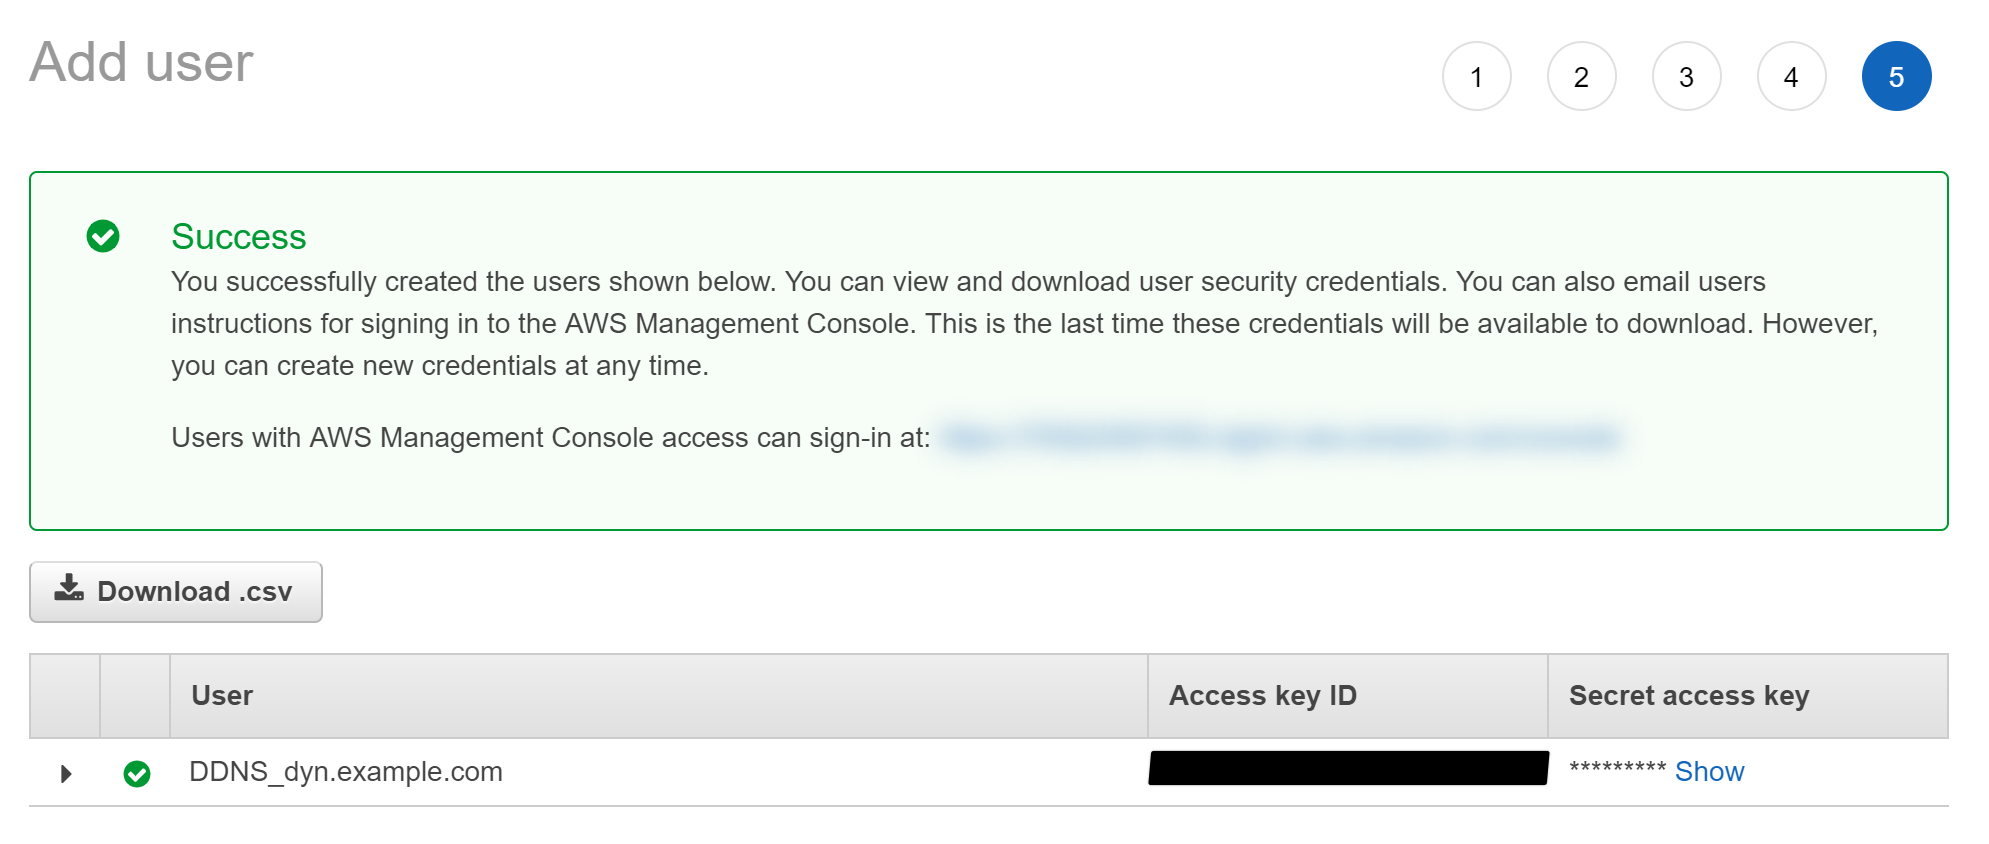
To see your new access key, choose Show. Your credentials will look something like this:
Access key ID: AKIAIOSFODNN7EXAMPLE
Secret access key: wJalrXUtnFEMI/K7MDENG/bPxRfiCYEXAMPLEKEY
To download the key pair, choose Download .csv file. Store the keys in a secure location.

If you have the AWS CLI installed, then you can use it to configure your credentials file:
aws configure --profile ddns
Alternatively, you can create the credential file yourself. By default, its location is at ~/.aws/credentials:
[ddns]
aws_access_key_id = YOUR_ACCESS_KEY
aws_secret_access_key = YOUR_SECRET_KEY
By default, dns_update.py will use the ddns credential profile. You can change this by issuing the --profile PROFILE option.
usage: dns_update.py [-h] [--profile PROFILE] --domain DOMAIN
                     [--record RECORD] [--zone ZONE] [--ttl TTL]

Manage a dynamic home IP address with an AWS hosted route53 domain

optional arguments:
  -h, --help            show this help message and exit
  --profile PROFILE, -p PROFILE
                        AWS credential profile
  --domain DOMAIN, -d DOMAIN
                        Domain to modify
  --record RECORD, -r RECORD
                        Record to modify
  --zone ZONE, -z ZONE  AWS hosted zone id
  --ttl TTL             Record TTL
Feel free to build your own container, or use this public one I made (with the source in this repo).
Then run it with your info in env-vars like so (all 6 are required)
podman run -it \
--env DOMAIN=[home.my-r53-hosted-domain.com] \
--env ZONE=[route53-zone-id]\
--env TTL=300 \
--env AWS_ACCESS_KEY_ID=[my_access_key] \
--env AWS_SECRET_ACCESS_KEY=[my-secret-key] \
--env AWS_DEFAULT_REGION=us-east-1  \
quay.io/glitchcowboy/aws-dyndns:latest