Power Platform and Neptune API Factory
This guide outlines the steps to get started with a simple Power App that connects to an SAP system using Neptunes API Factory. In the end the Power App will be able to look up customers in the SAP system using a Search Help function. The scenario was also shown in a joint webinar with Neptune Software, How Microsoft Power Platform customers can connect to SAP backends
Power Platform comes with several out of the box connectors that allow you to connect to an SAP System.
- The Power Automate Desktop RPA automation is a good starting point to connect via the SAP UI to your SAP system: RPA Playbook for SAP GUI Automation with Power Automate: API flows, UI flows, and Power Automate Desktop
- The SAP ERP Connector allows you to connect to BAPI / RFCs in your SAP system using the on-prem data Gateway and the .NET Connector: General availability of the SAP ERP connector
- The OData Connector (currently in private preview) enables you to connect to OData service exposed by the SAP system
The approach outlined here uses the Neptune API Factory -- an installation that customers need to do in the SAP system -- to expose any BAPI, Function Modules, ALVs, ... via RESTful services. Using an OpenAPI / Swagger specification these REST services can easily be imported / used in the Power Platform using the Custom Connector.
All the steps outlined below can be done using a Trial account both on the Neptune and the Microsoft side.
Sign up to the Netpune Developer Trial
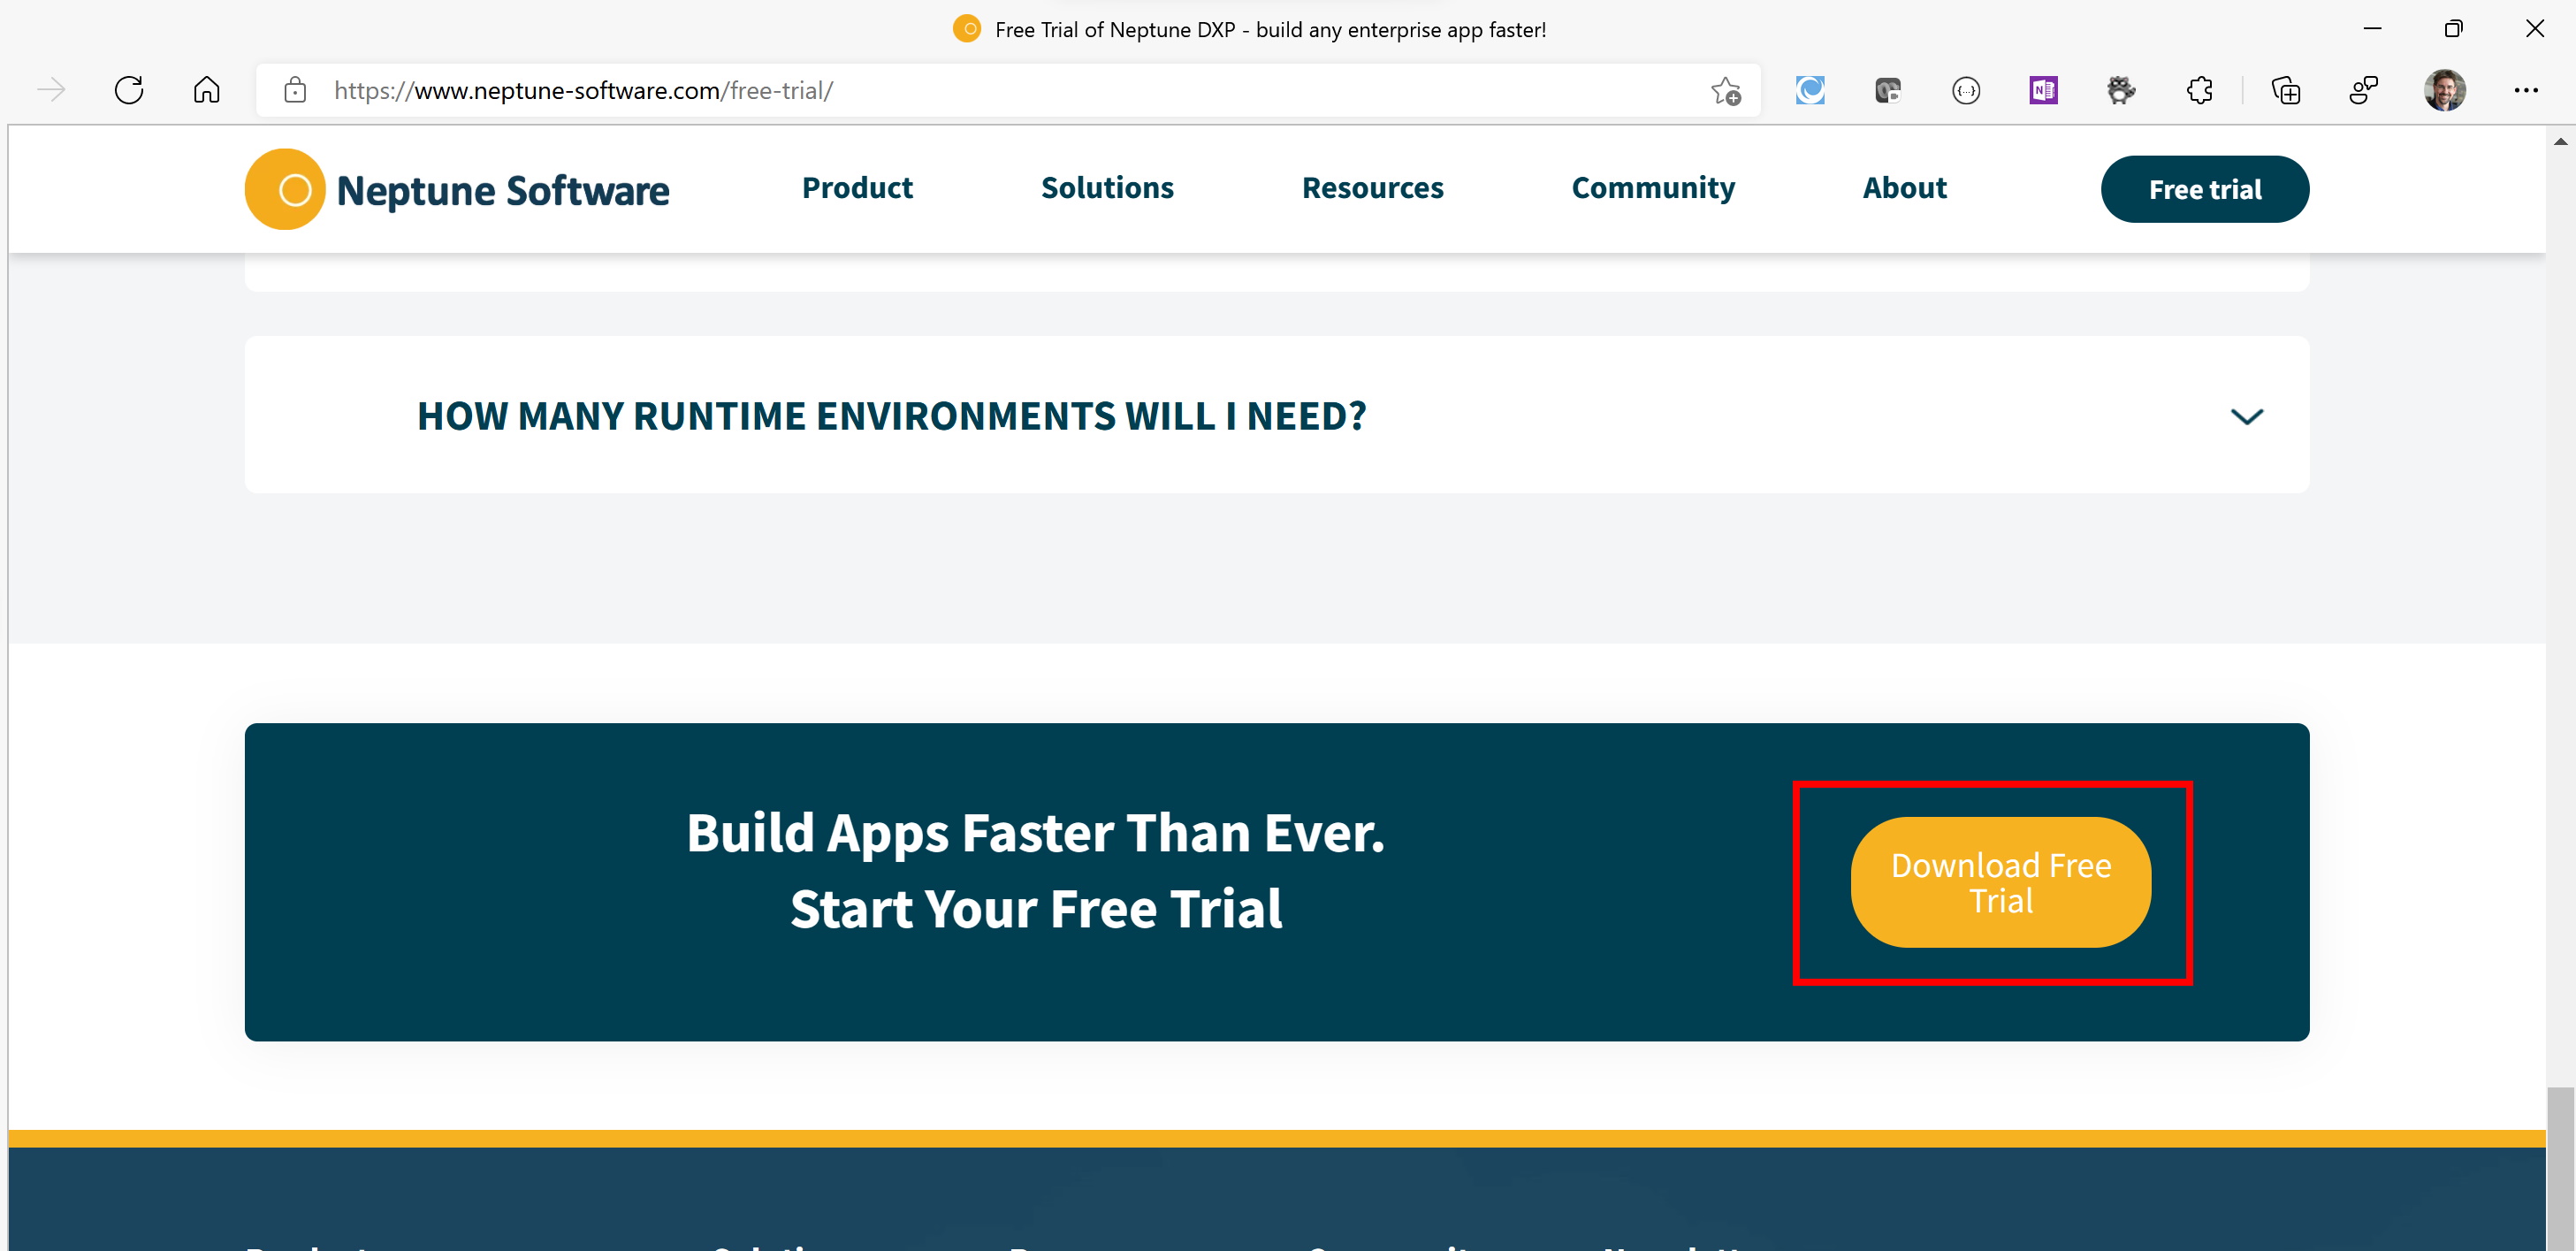
Go to https://www.neptune-software.com/free-trial/ scroll down and click on "Download Free Trial"
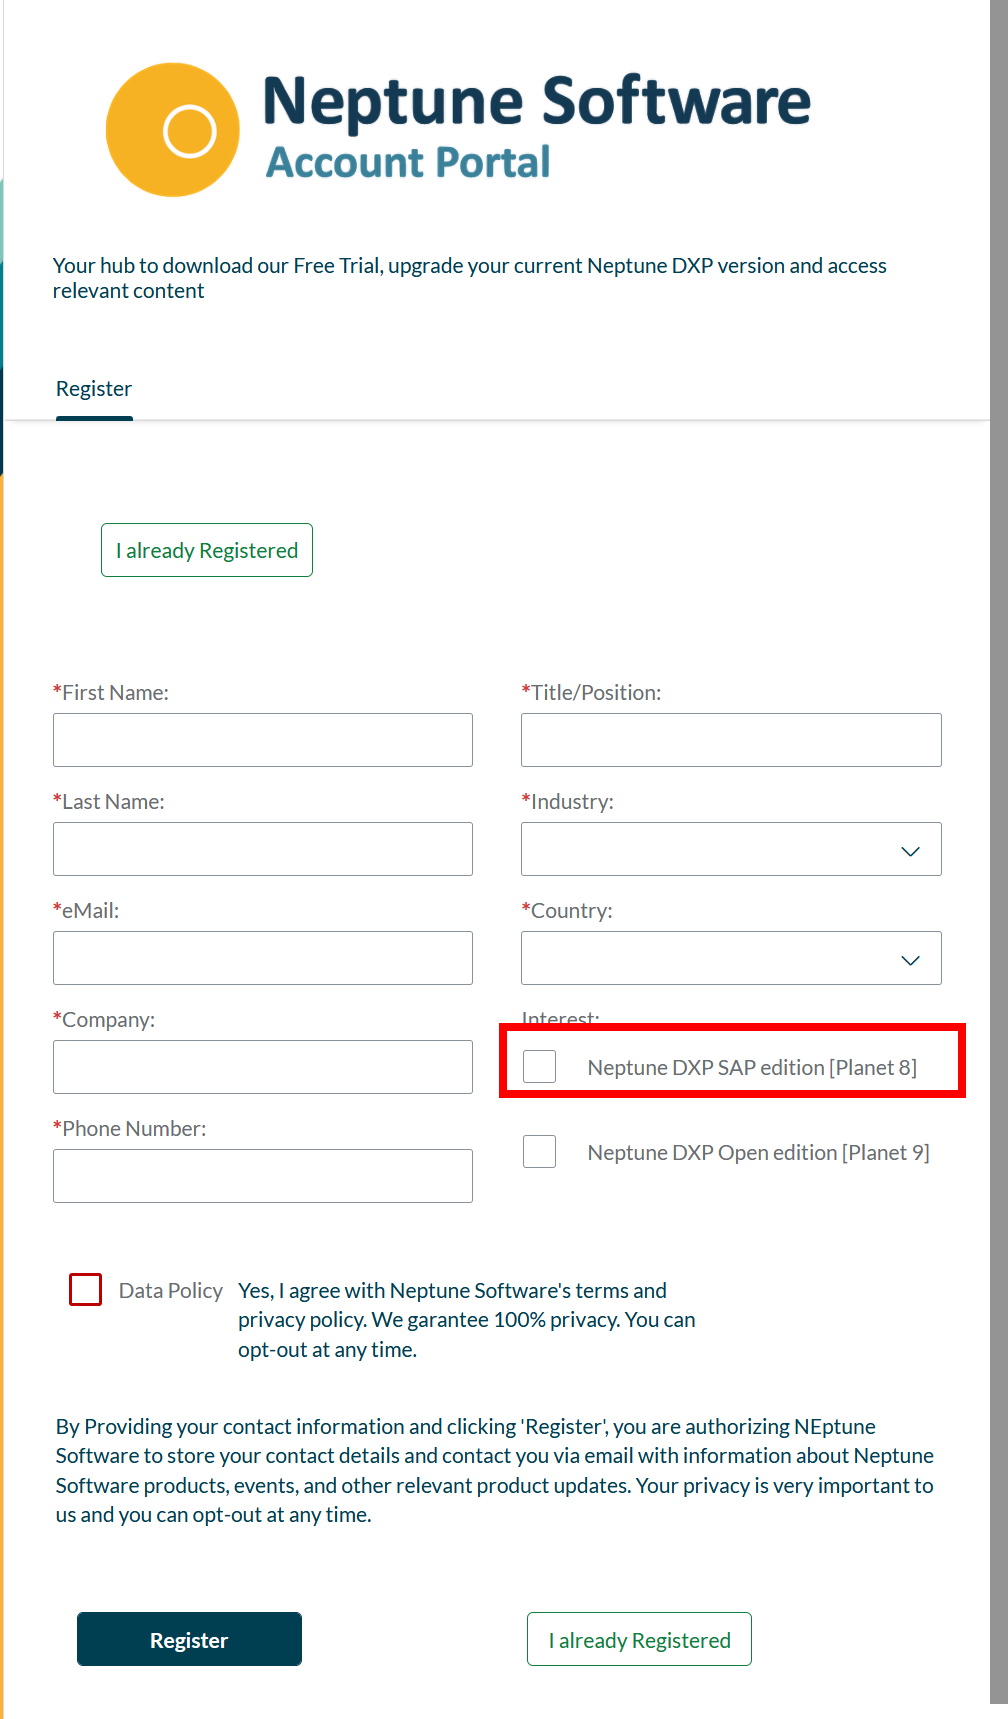
and fill in the required information. Select "Neptune DXP SAP edition [Planet 8]" and click on Register
You should get an Email with the required information to sign in to the Netpune Software Account Portal. We will log onto the portal later on in step xx
Sign up to the Power Platform Developer Trial
Go to https://powerapps.microsoft.com/en-us/developerplan/ and sign up for the "Power Apps Developer Plan"
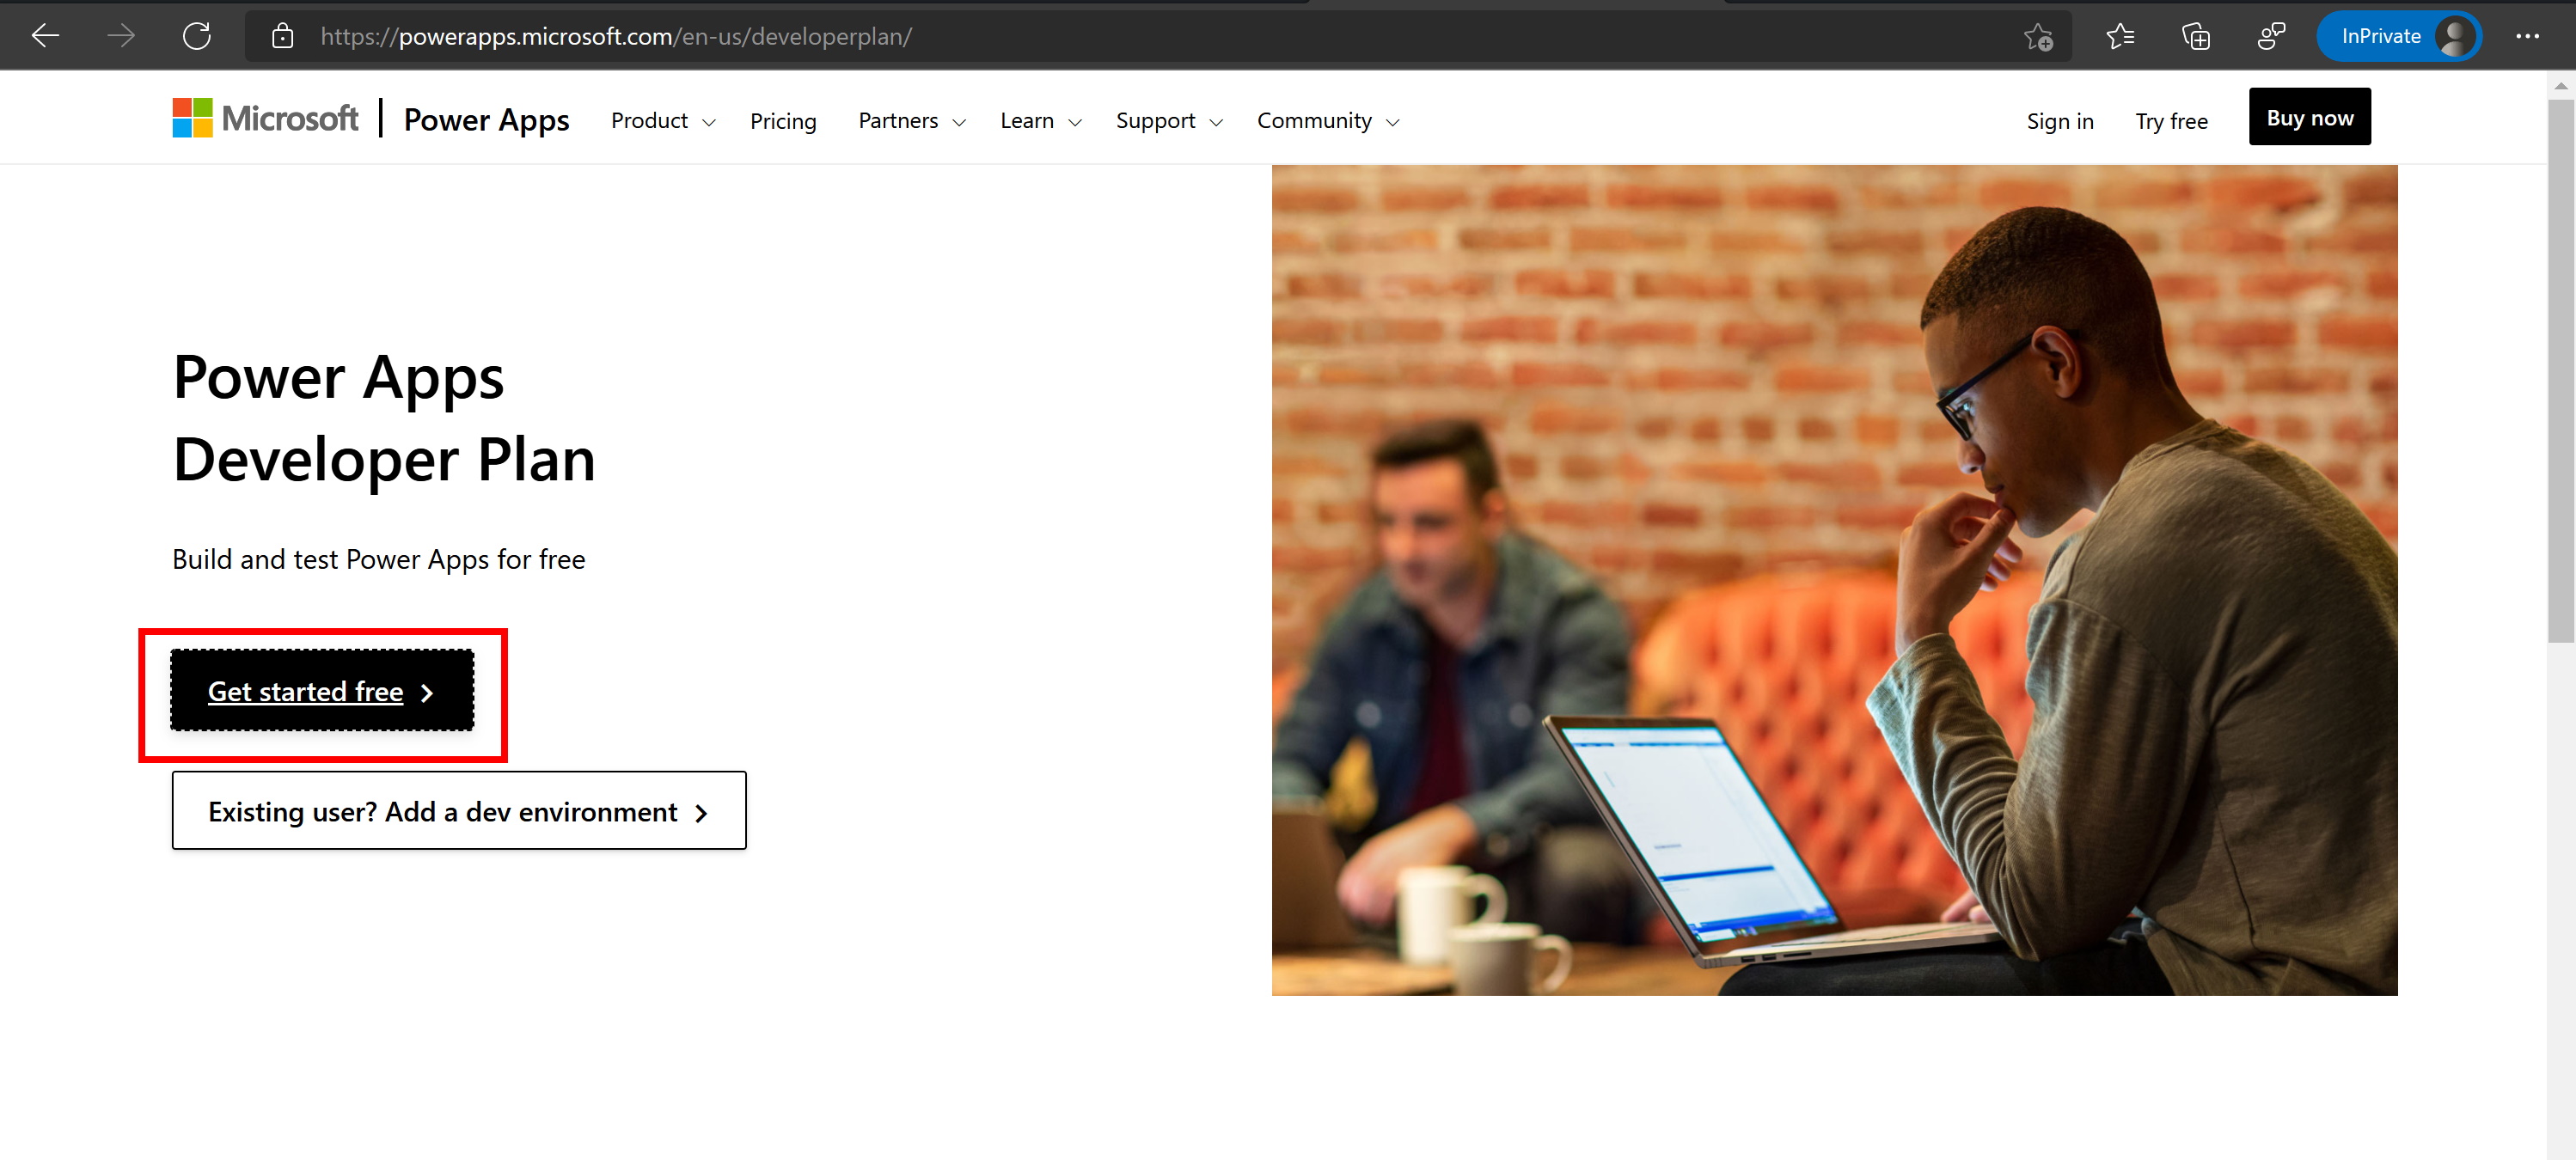
Fill in the required information.

Note: If you have problems signing in with your work / school account, go to https://developer.microsoft.com/en-us/microsoft-365/dev-program and sign up for the Microsoft 365 Developer Program first.
Download and install the required files from Neptune
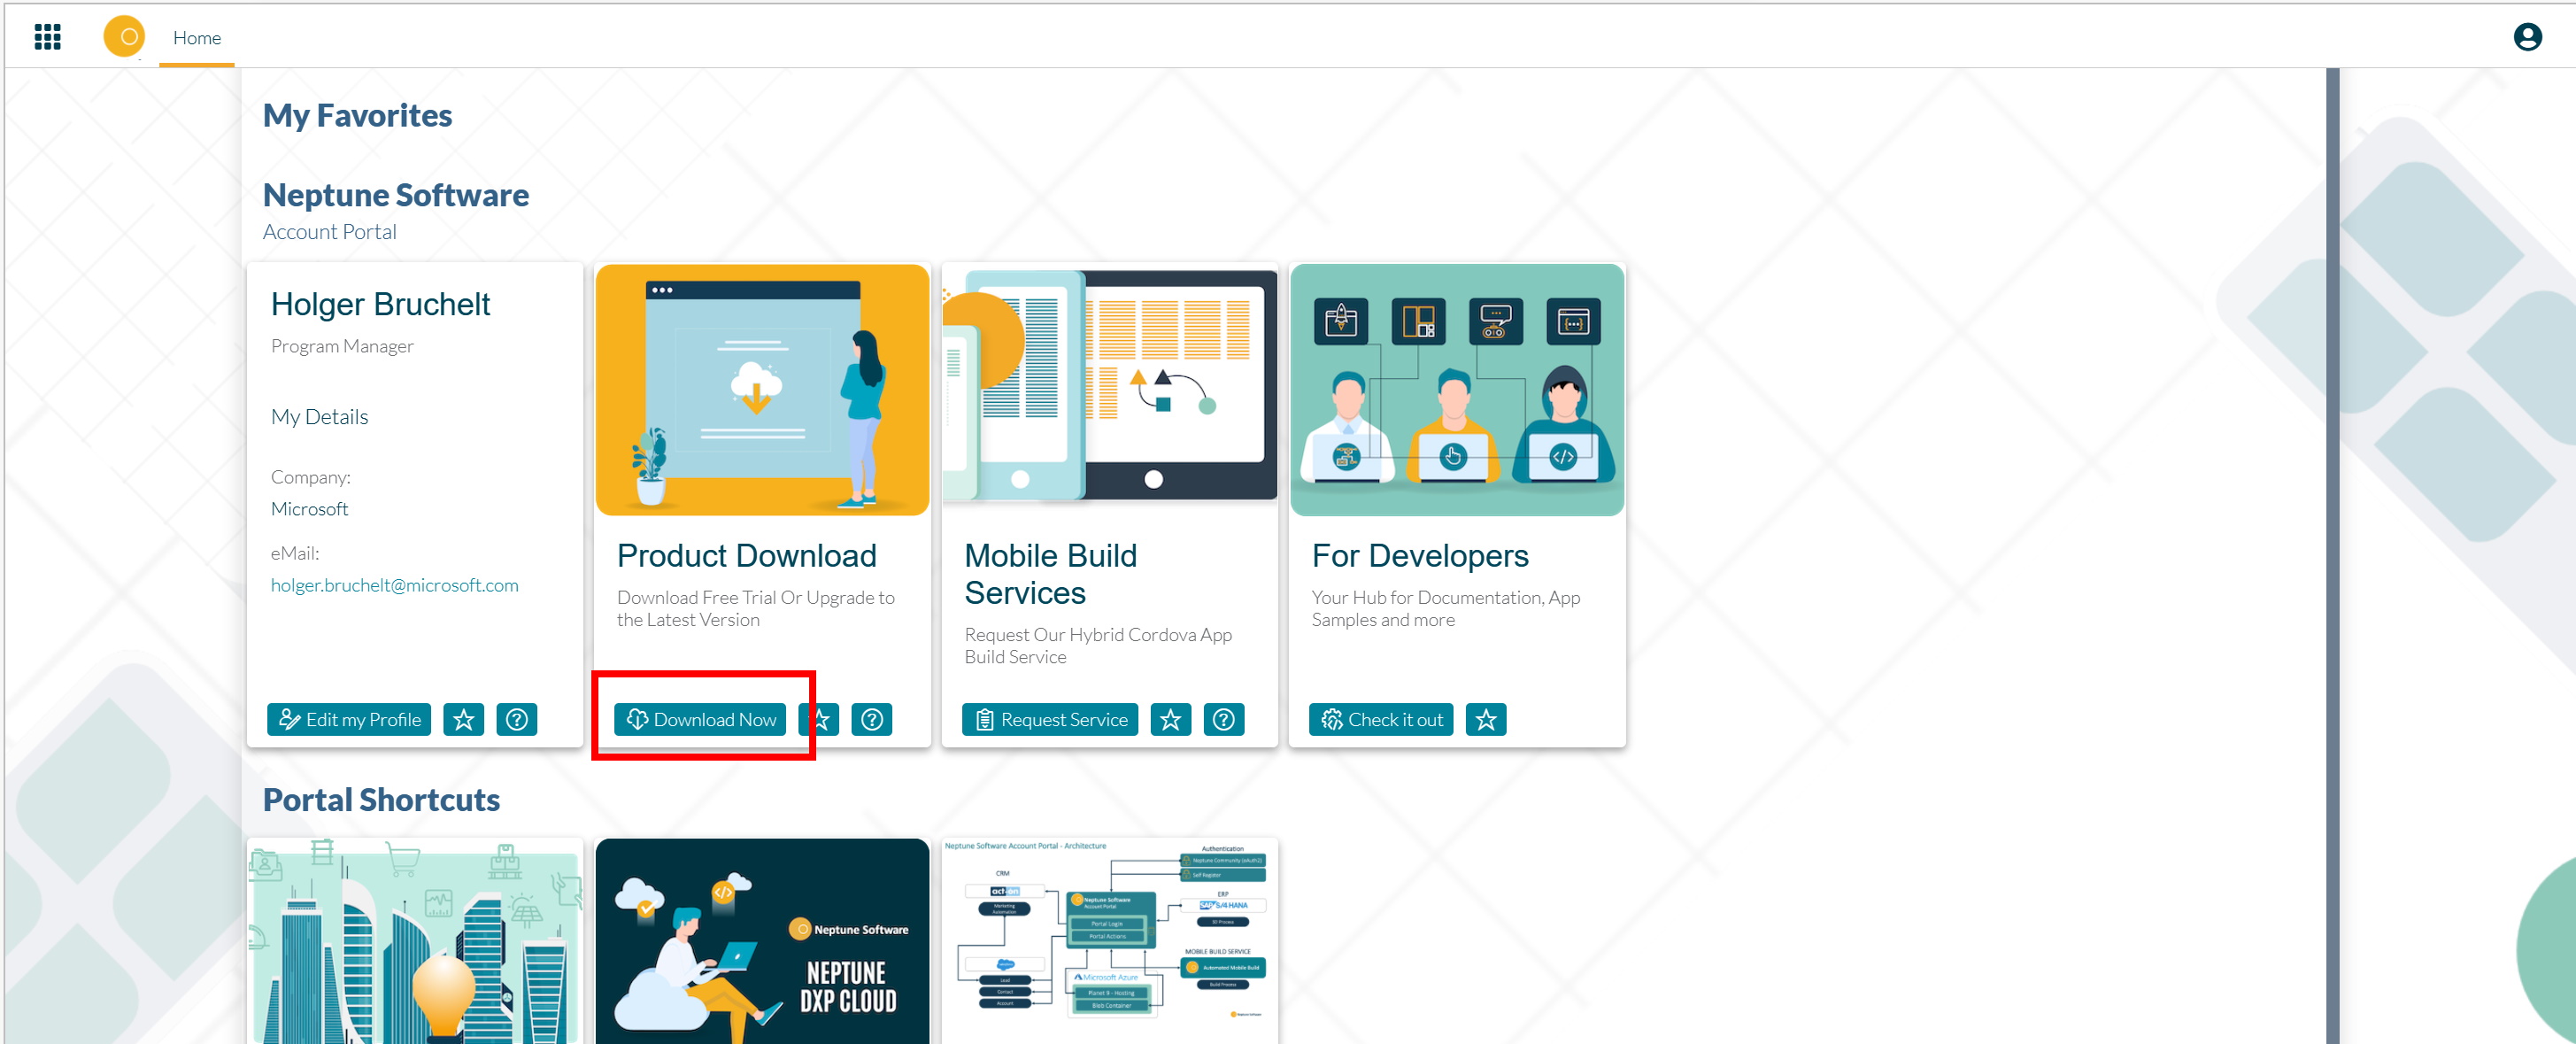
After registration to the Neptune Developer Trial you will get credentials and a link to login to the Neptune Portal. From there Click on Product Download -> Download Now
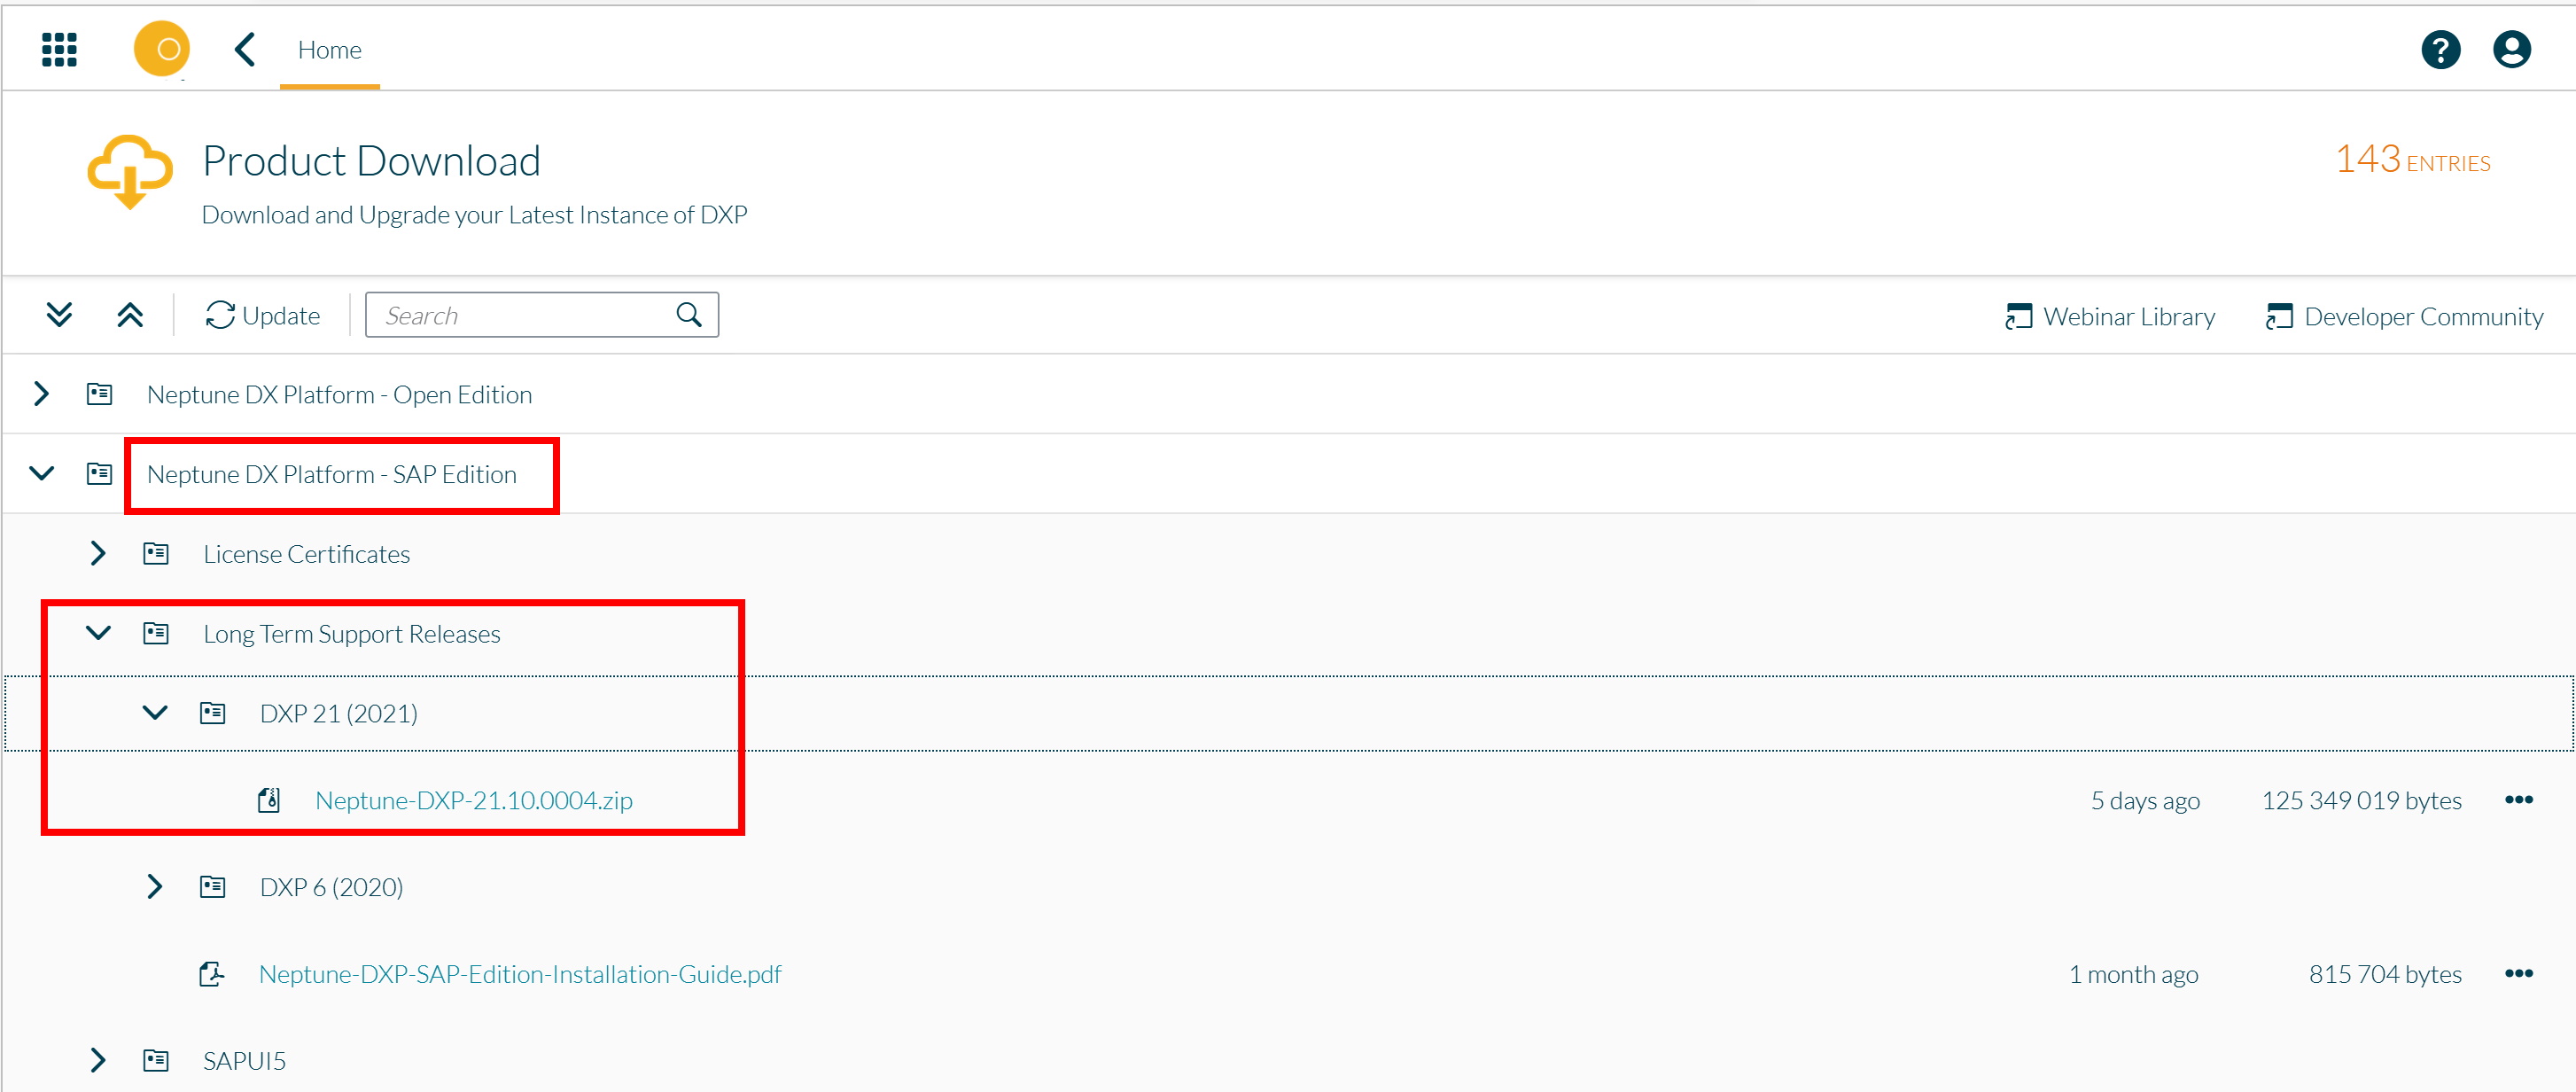
From the Neptune DX Platform - SAP Edition, select Long Term Support Release -> DXP 21 (2021) and download the ZIP file.
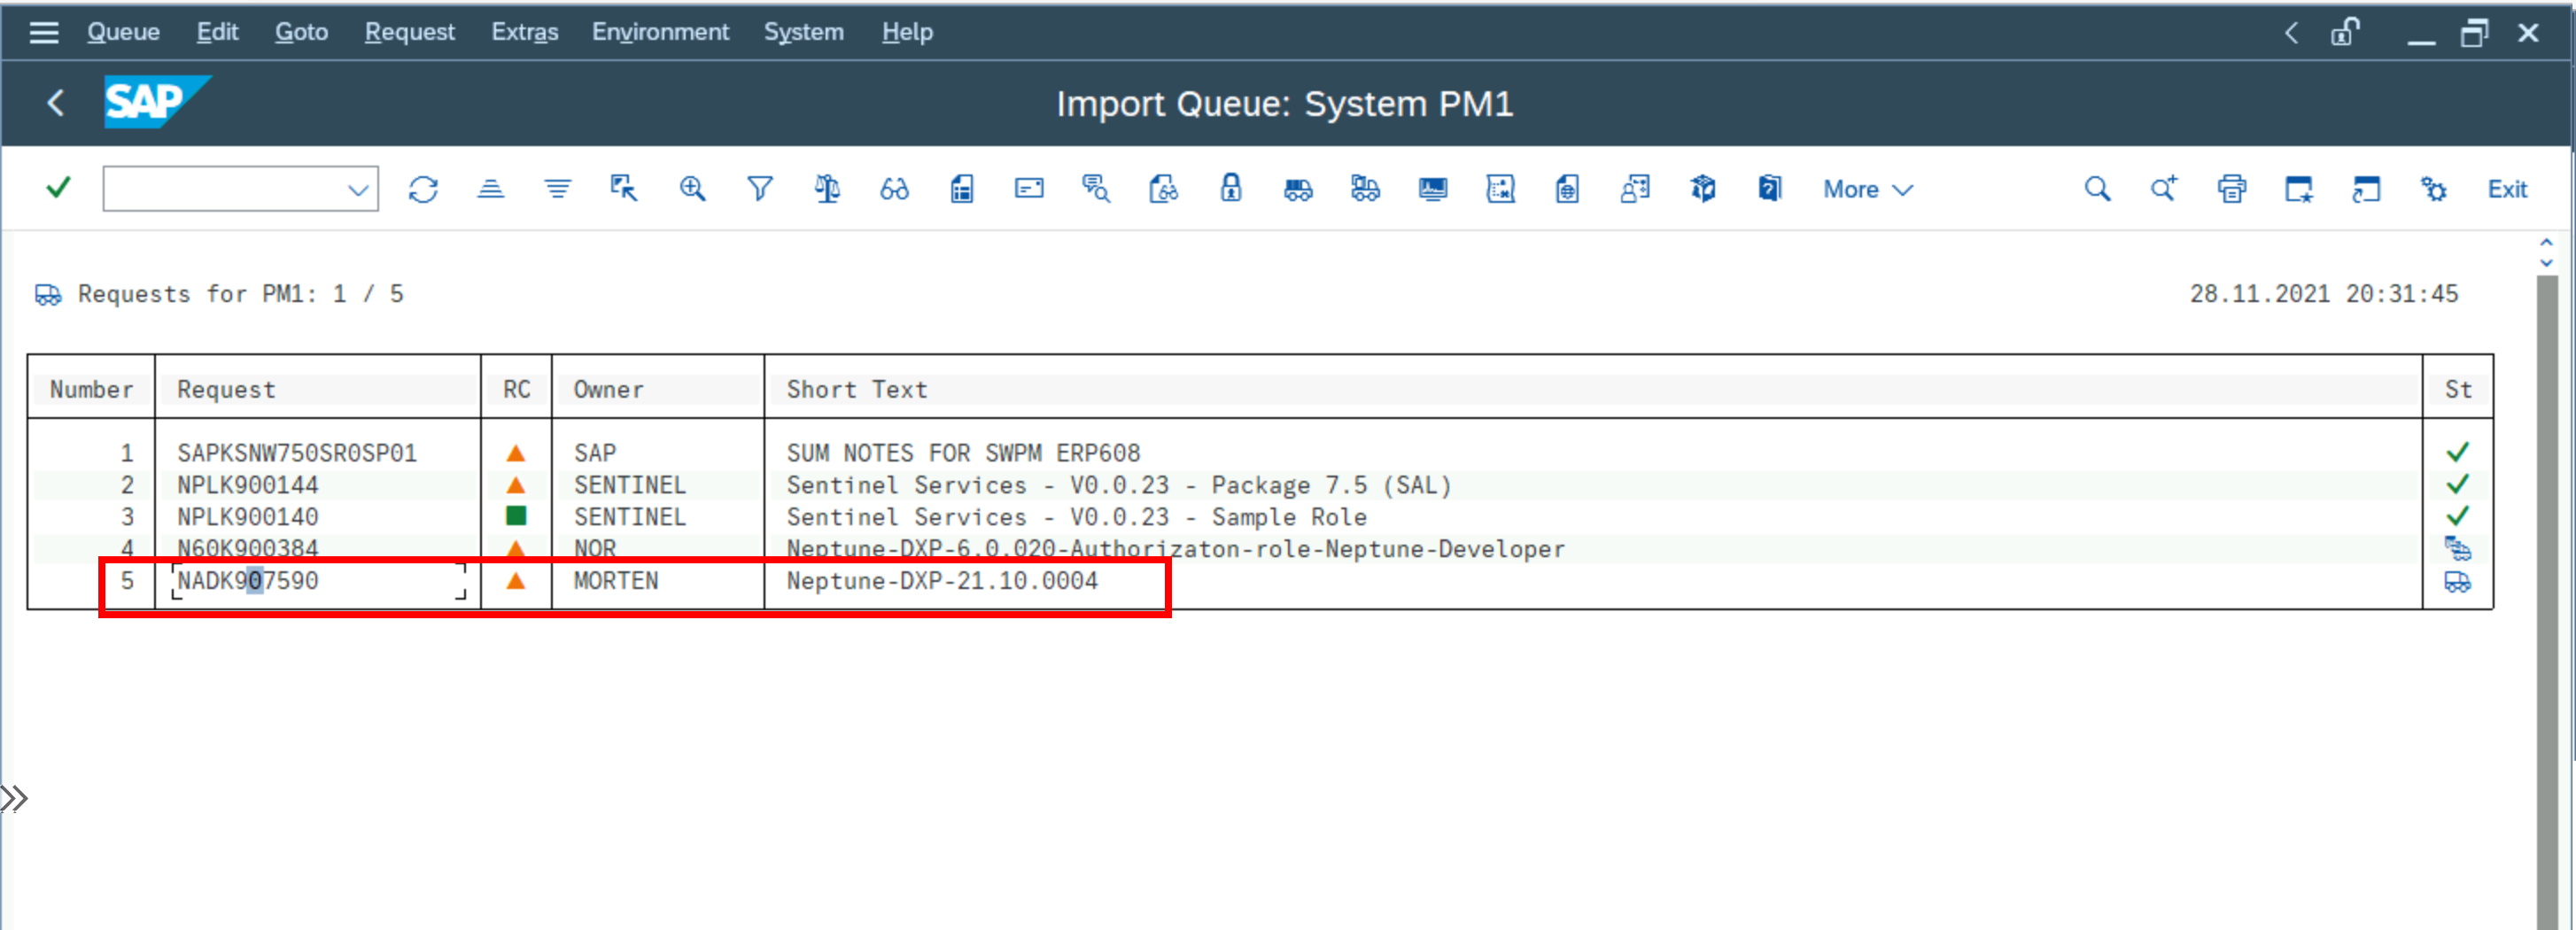
Now follow the instructions outlined in the Neptune-DXP SAP Edition Installation-Guide.pdf and install the transport files.
Also make sure to active the Neptune servies in SICF

After activation run the /NEPTUNE/INSTALLATION_CHECK from SE38

Start Neptune
From the SAP GUI and start transaction /NEPTUNE/COCKPIT
A browser will open with the Netpune DX Platofrm. Select the API Factory

Select in the ObjectTypeName column select the /NEPTUNE/CL_DR_LIB_DDIC_SHLP_X object:

Click on Policy and click on Edit

Now switch to Unrestricted and click on Save.
Note: This is only for our test environment. For a real implementation you would not change this to unrestricted!
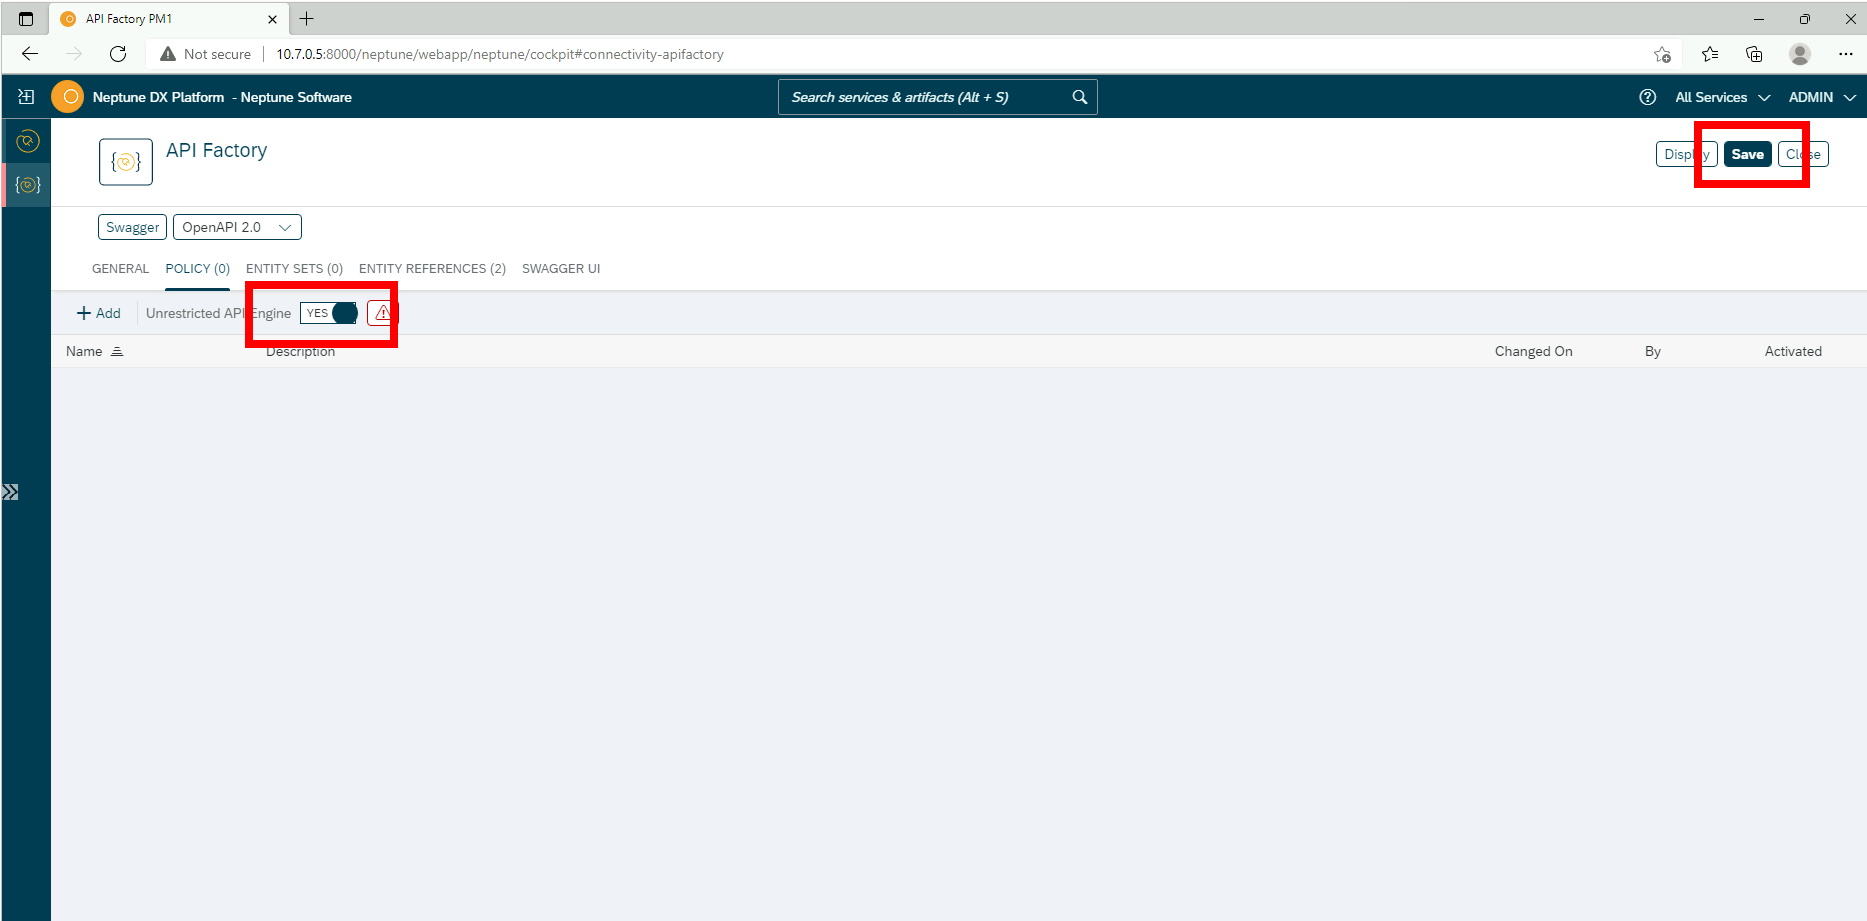
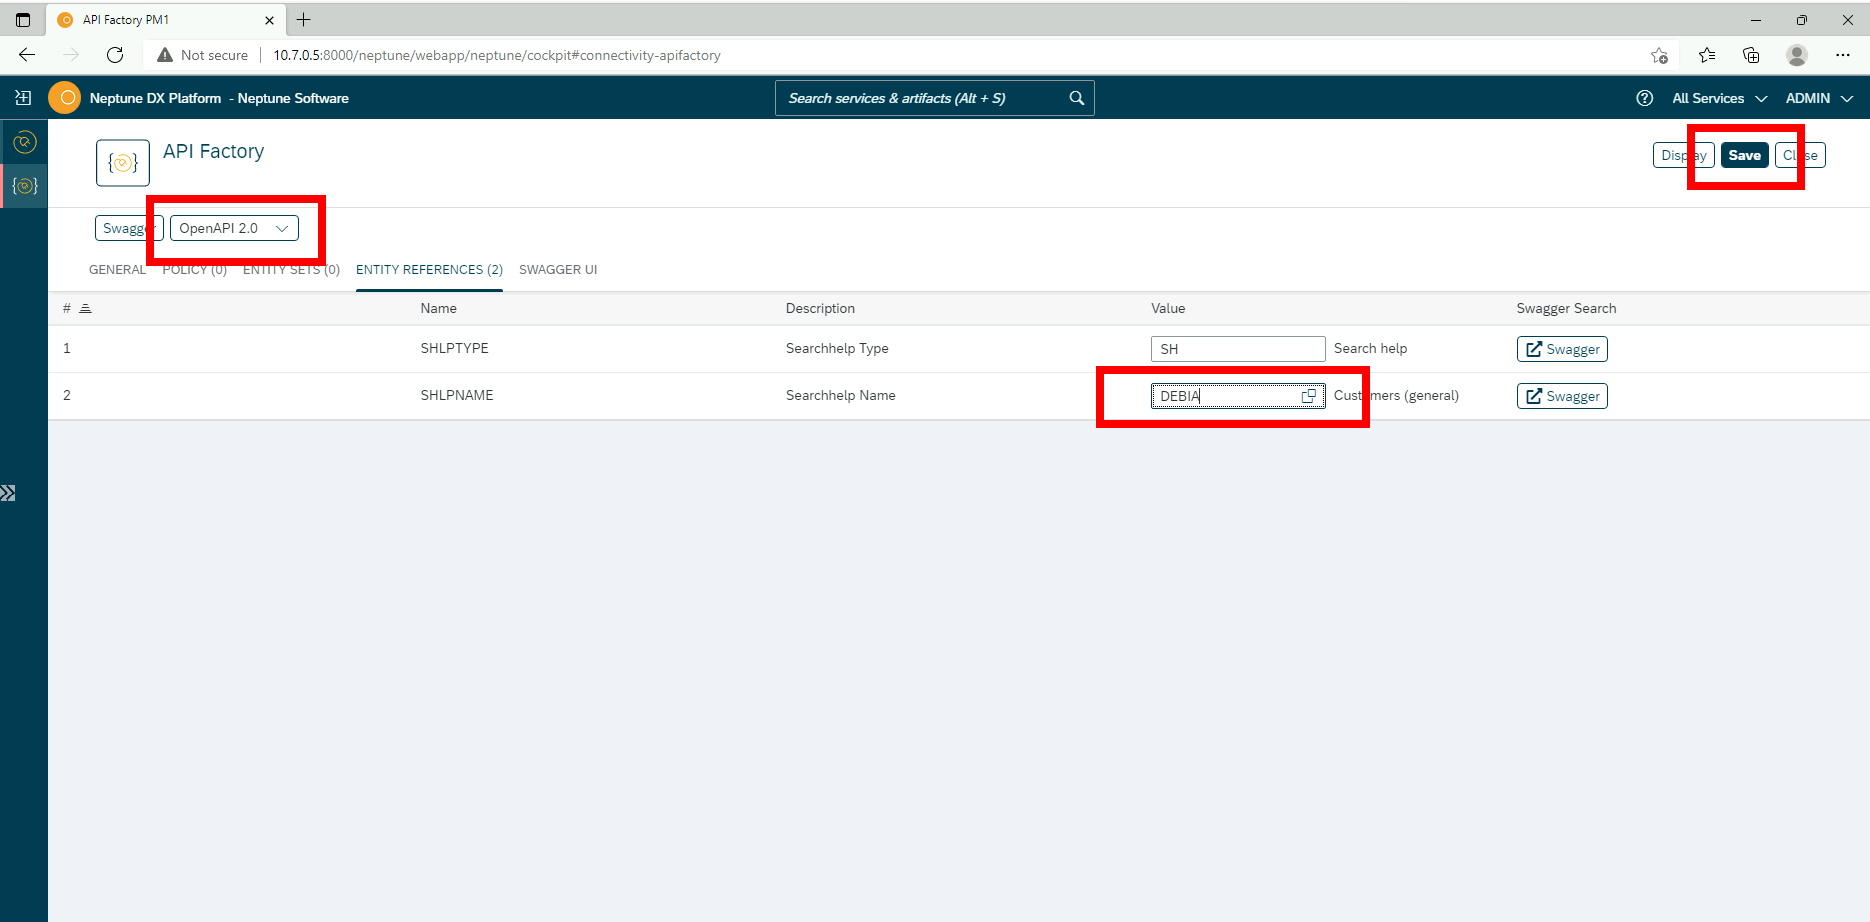
Make sure to select OpenAPI 2.0 in the drop down (Power Platform currently does not support OpenAPI 3.0) and enter DEBIA for the Searchhelp value
Click on the Swagger UI and Explore to see the dynamically created specification
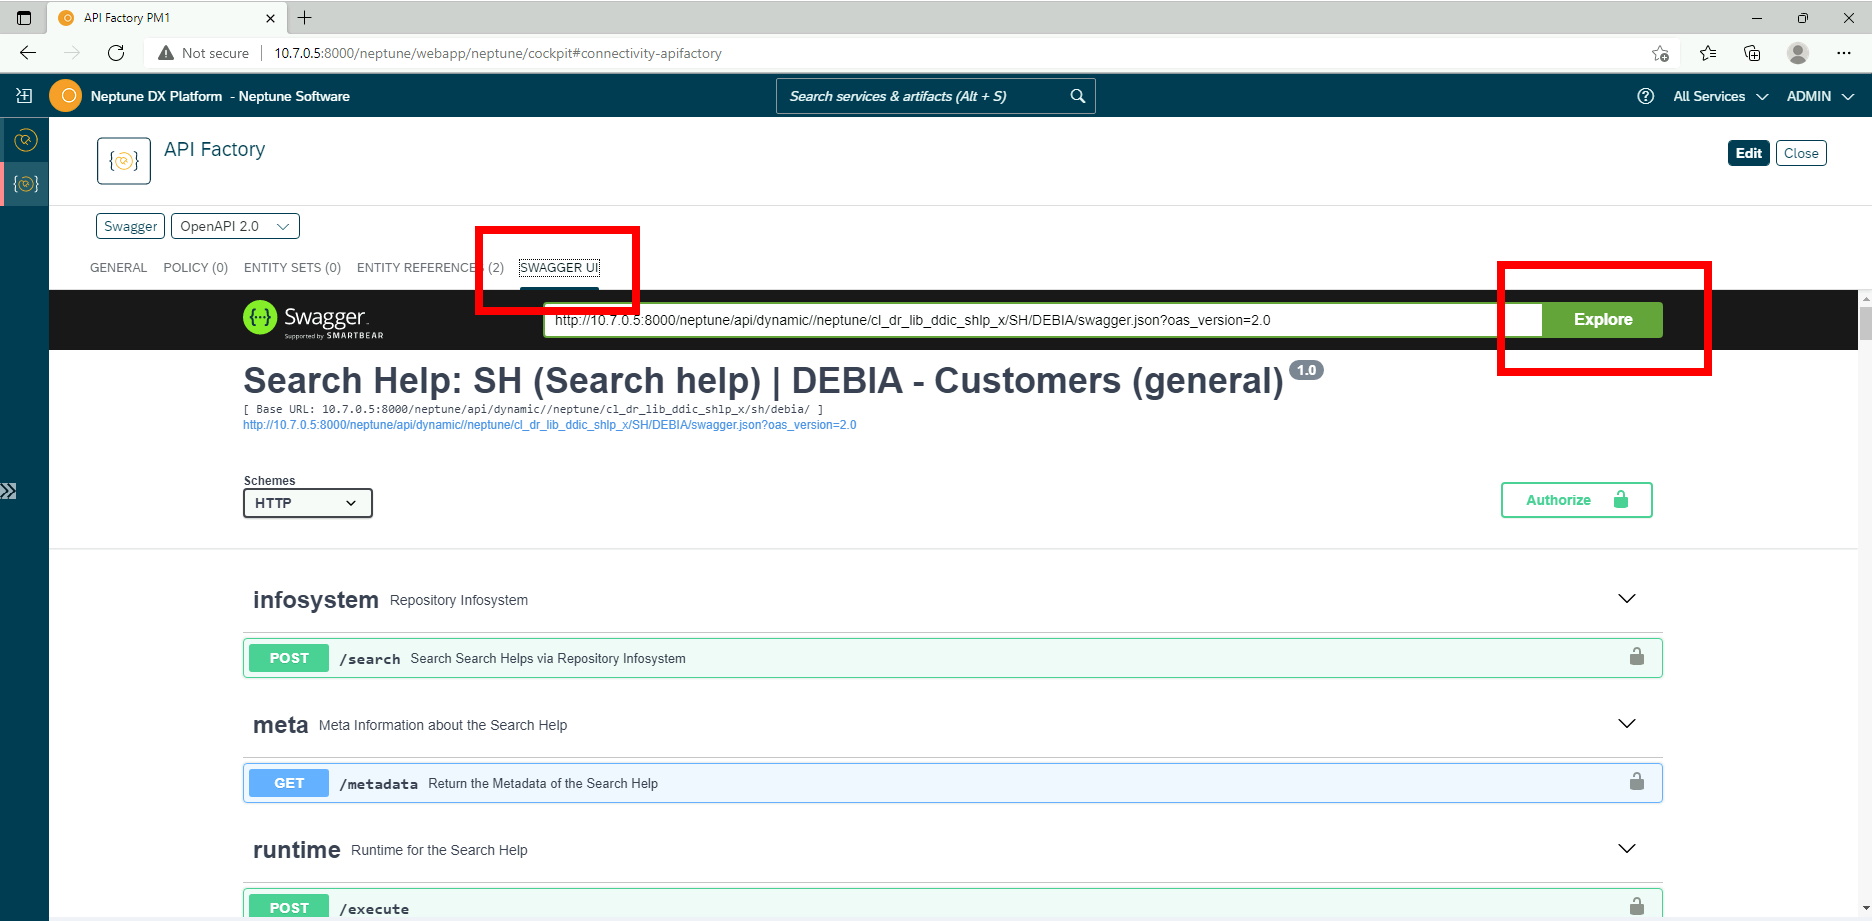
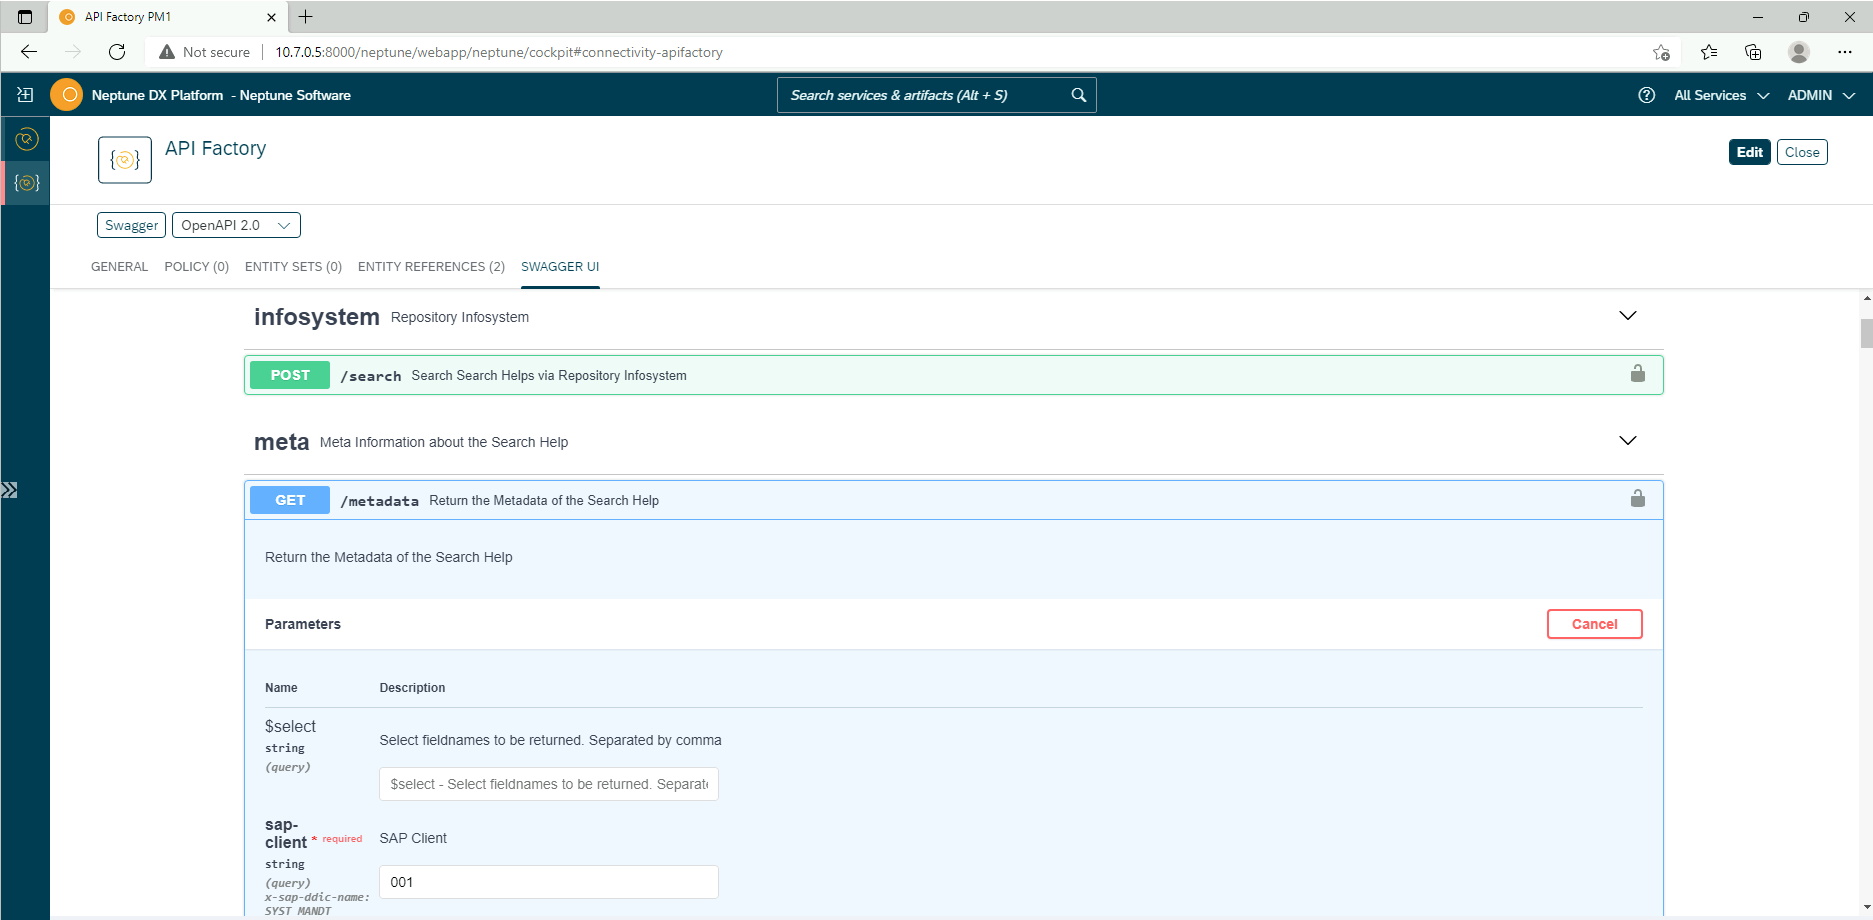
From here you can already test the function.
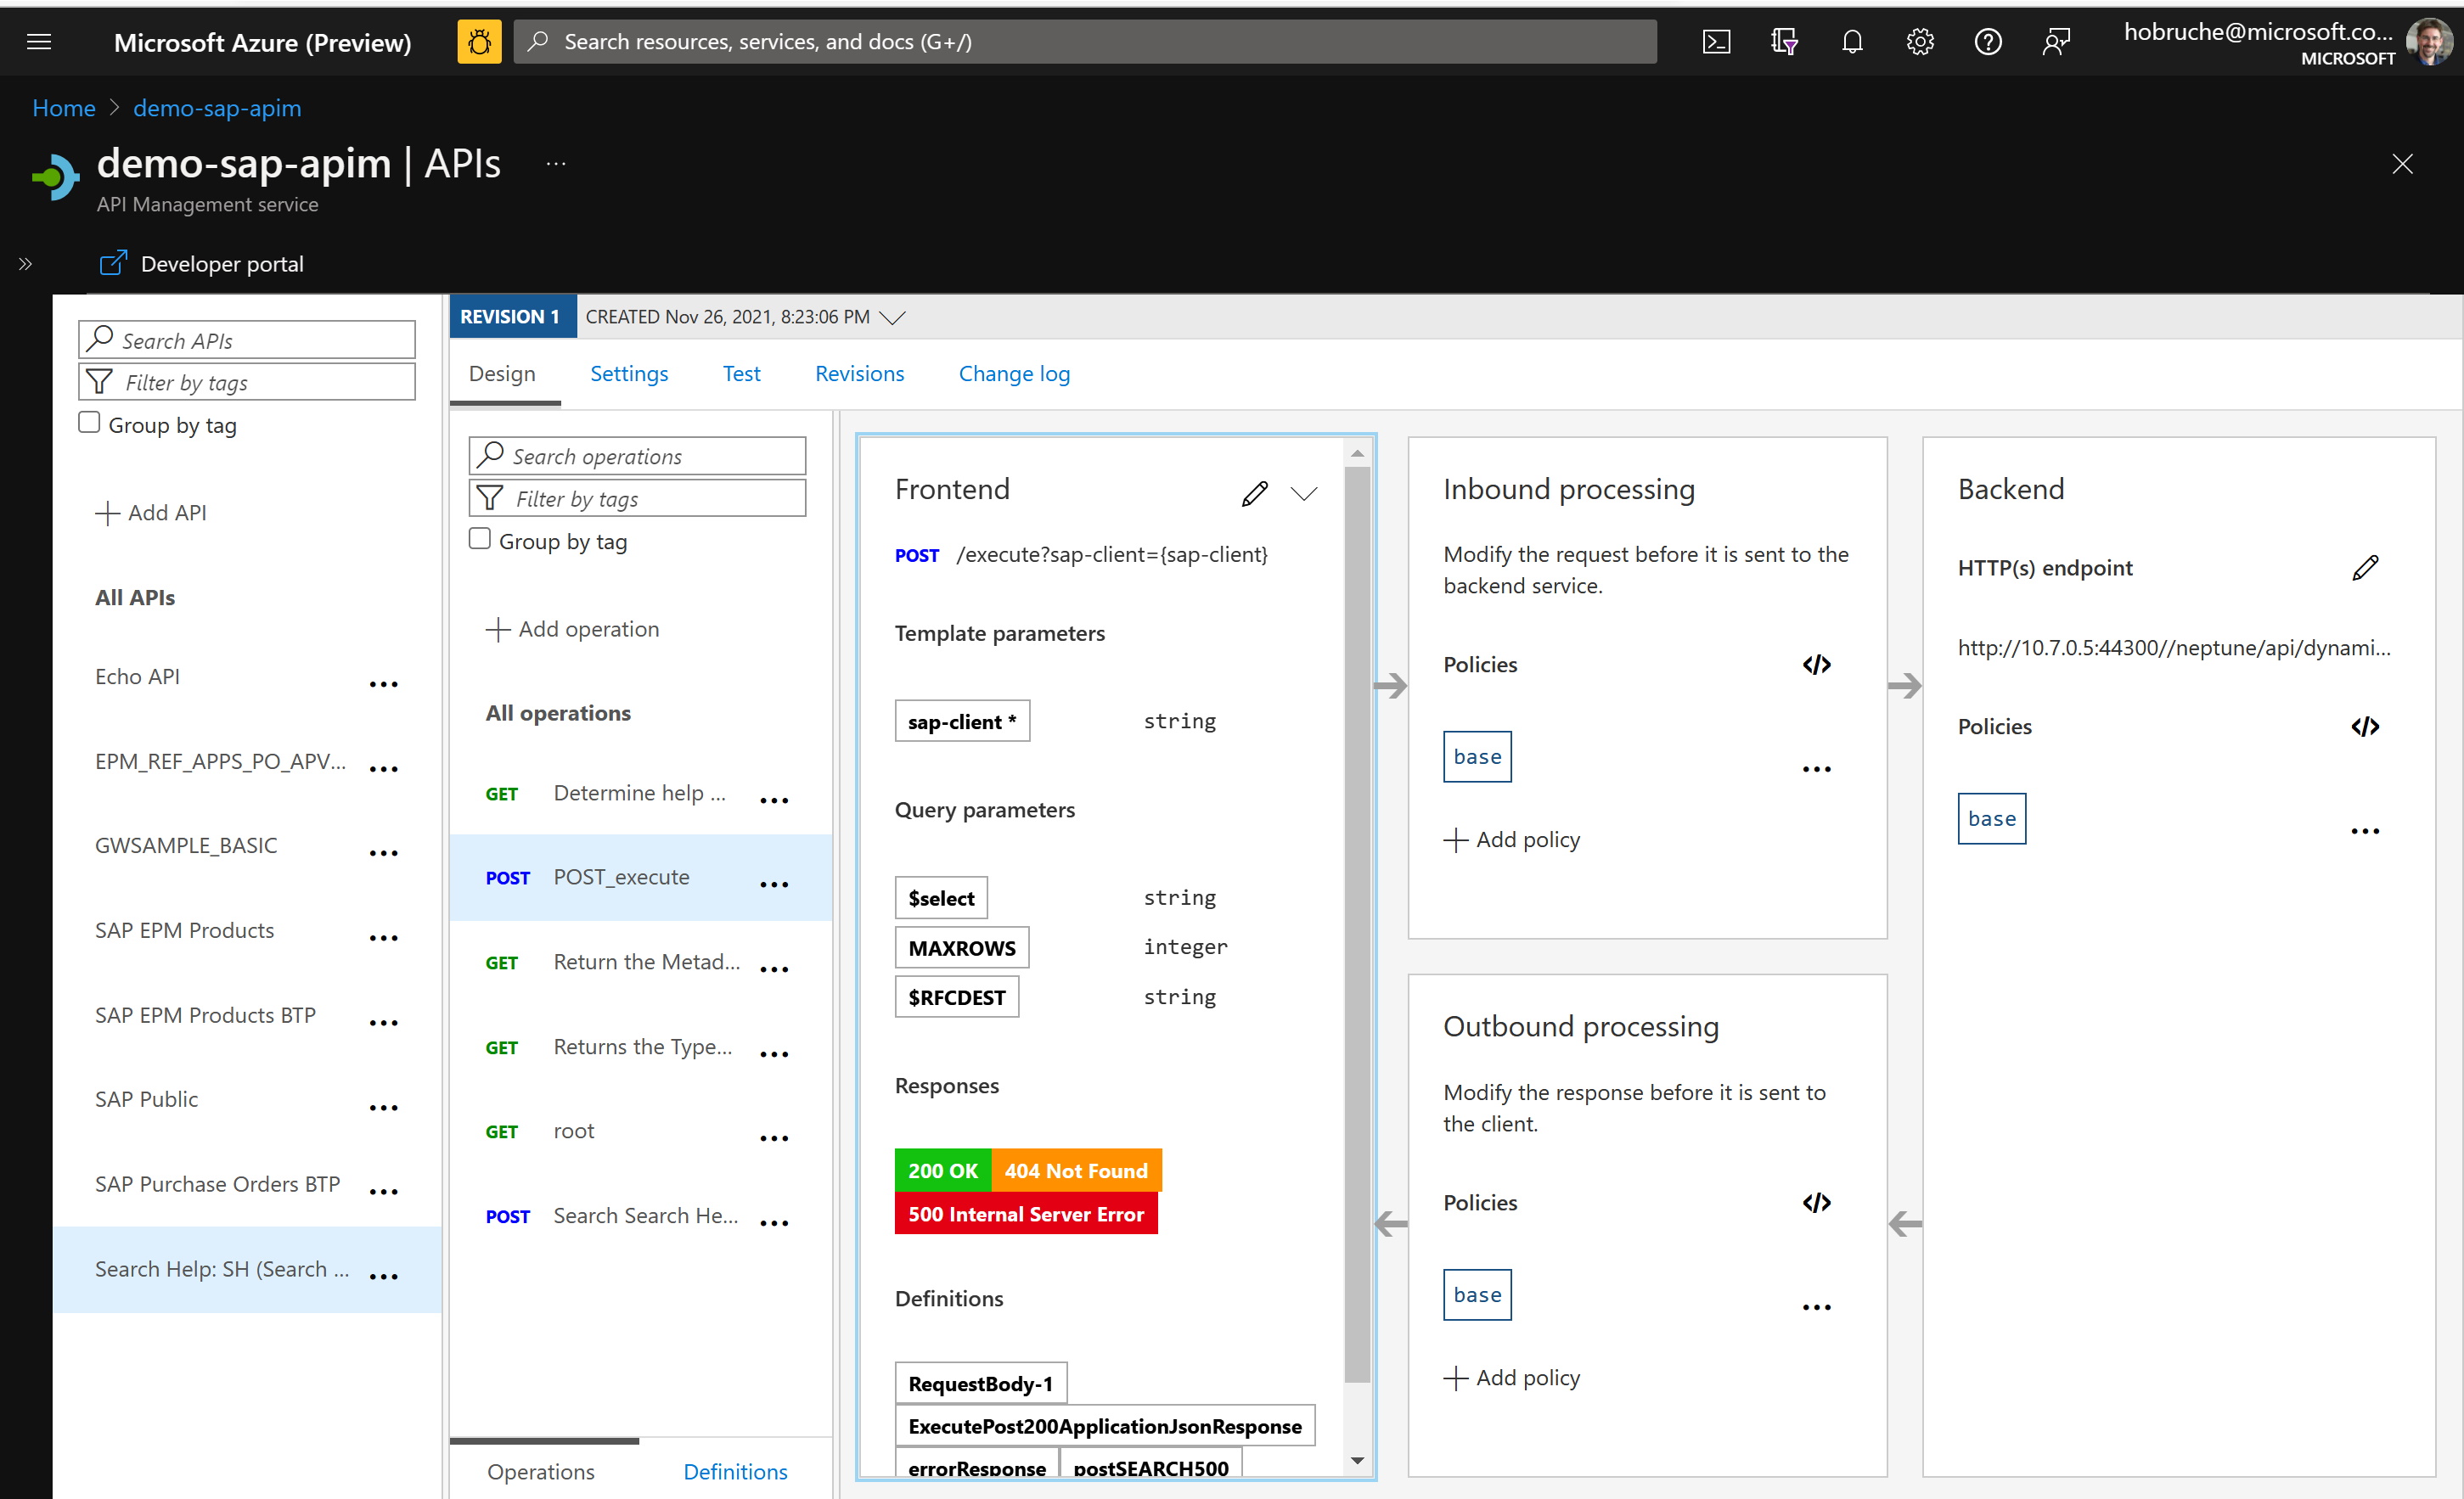
Note: In my setup I am using an Azure API Management to actually expose the REST API to the internet. This allows me to protect the SAP system, but also to quickly implement features like Single Sign-On from Azure Active Directory to the SAP sytem (see also
- .NET speaks OData too – how to implement Azure App Service with SAP Gateway from Martin Pankraz and
- Principal propagation in a multi-cloud solution between Microsoft Azure and SAP Business Technology Platform (BTP), Part IV: SSO with a Power Virtual Agents Chatbot and On-Premises Data Gateway from Martin Raepple).
If your system already exposes this API to the internet, there is nothing else for you to do.
Creating a Custom Connector in the Power Platform
With this we can switch over to the Power Platform, [https://us.flow.microsoft.com/en-us/[(https://us.flow.microsoft.com/en-us/).
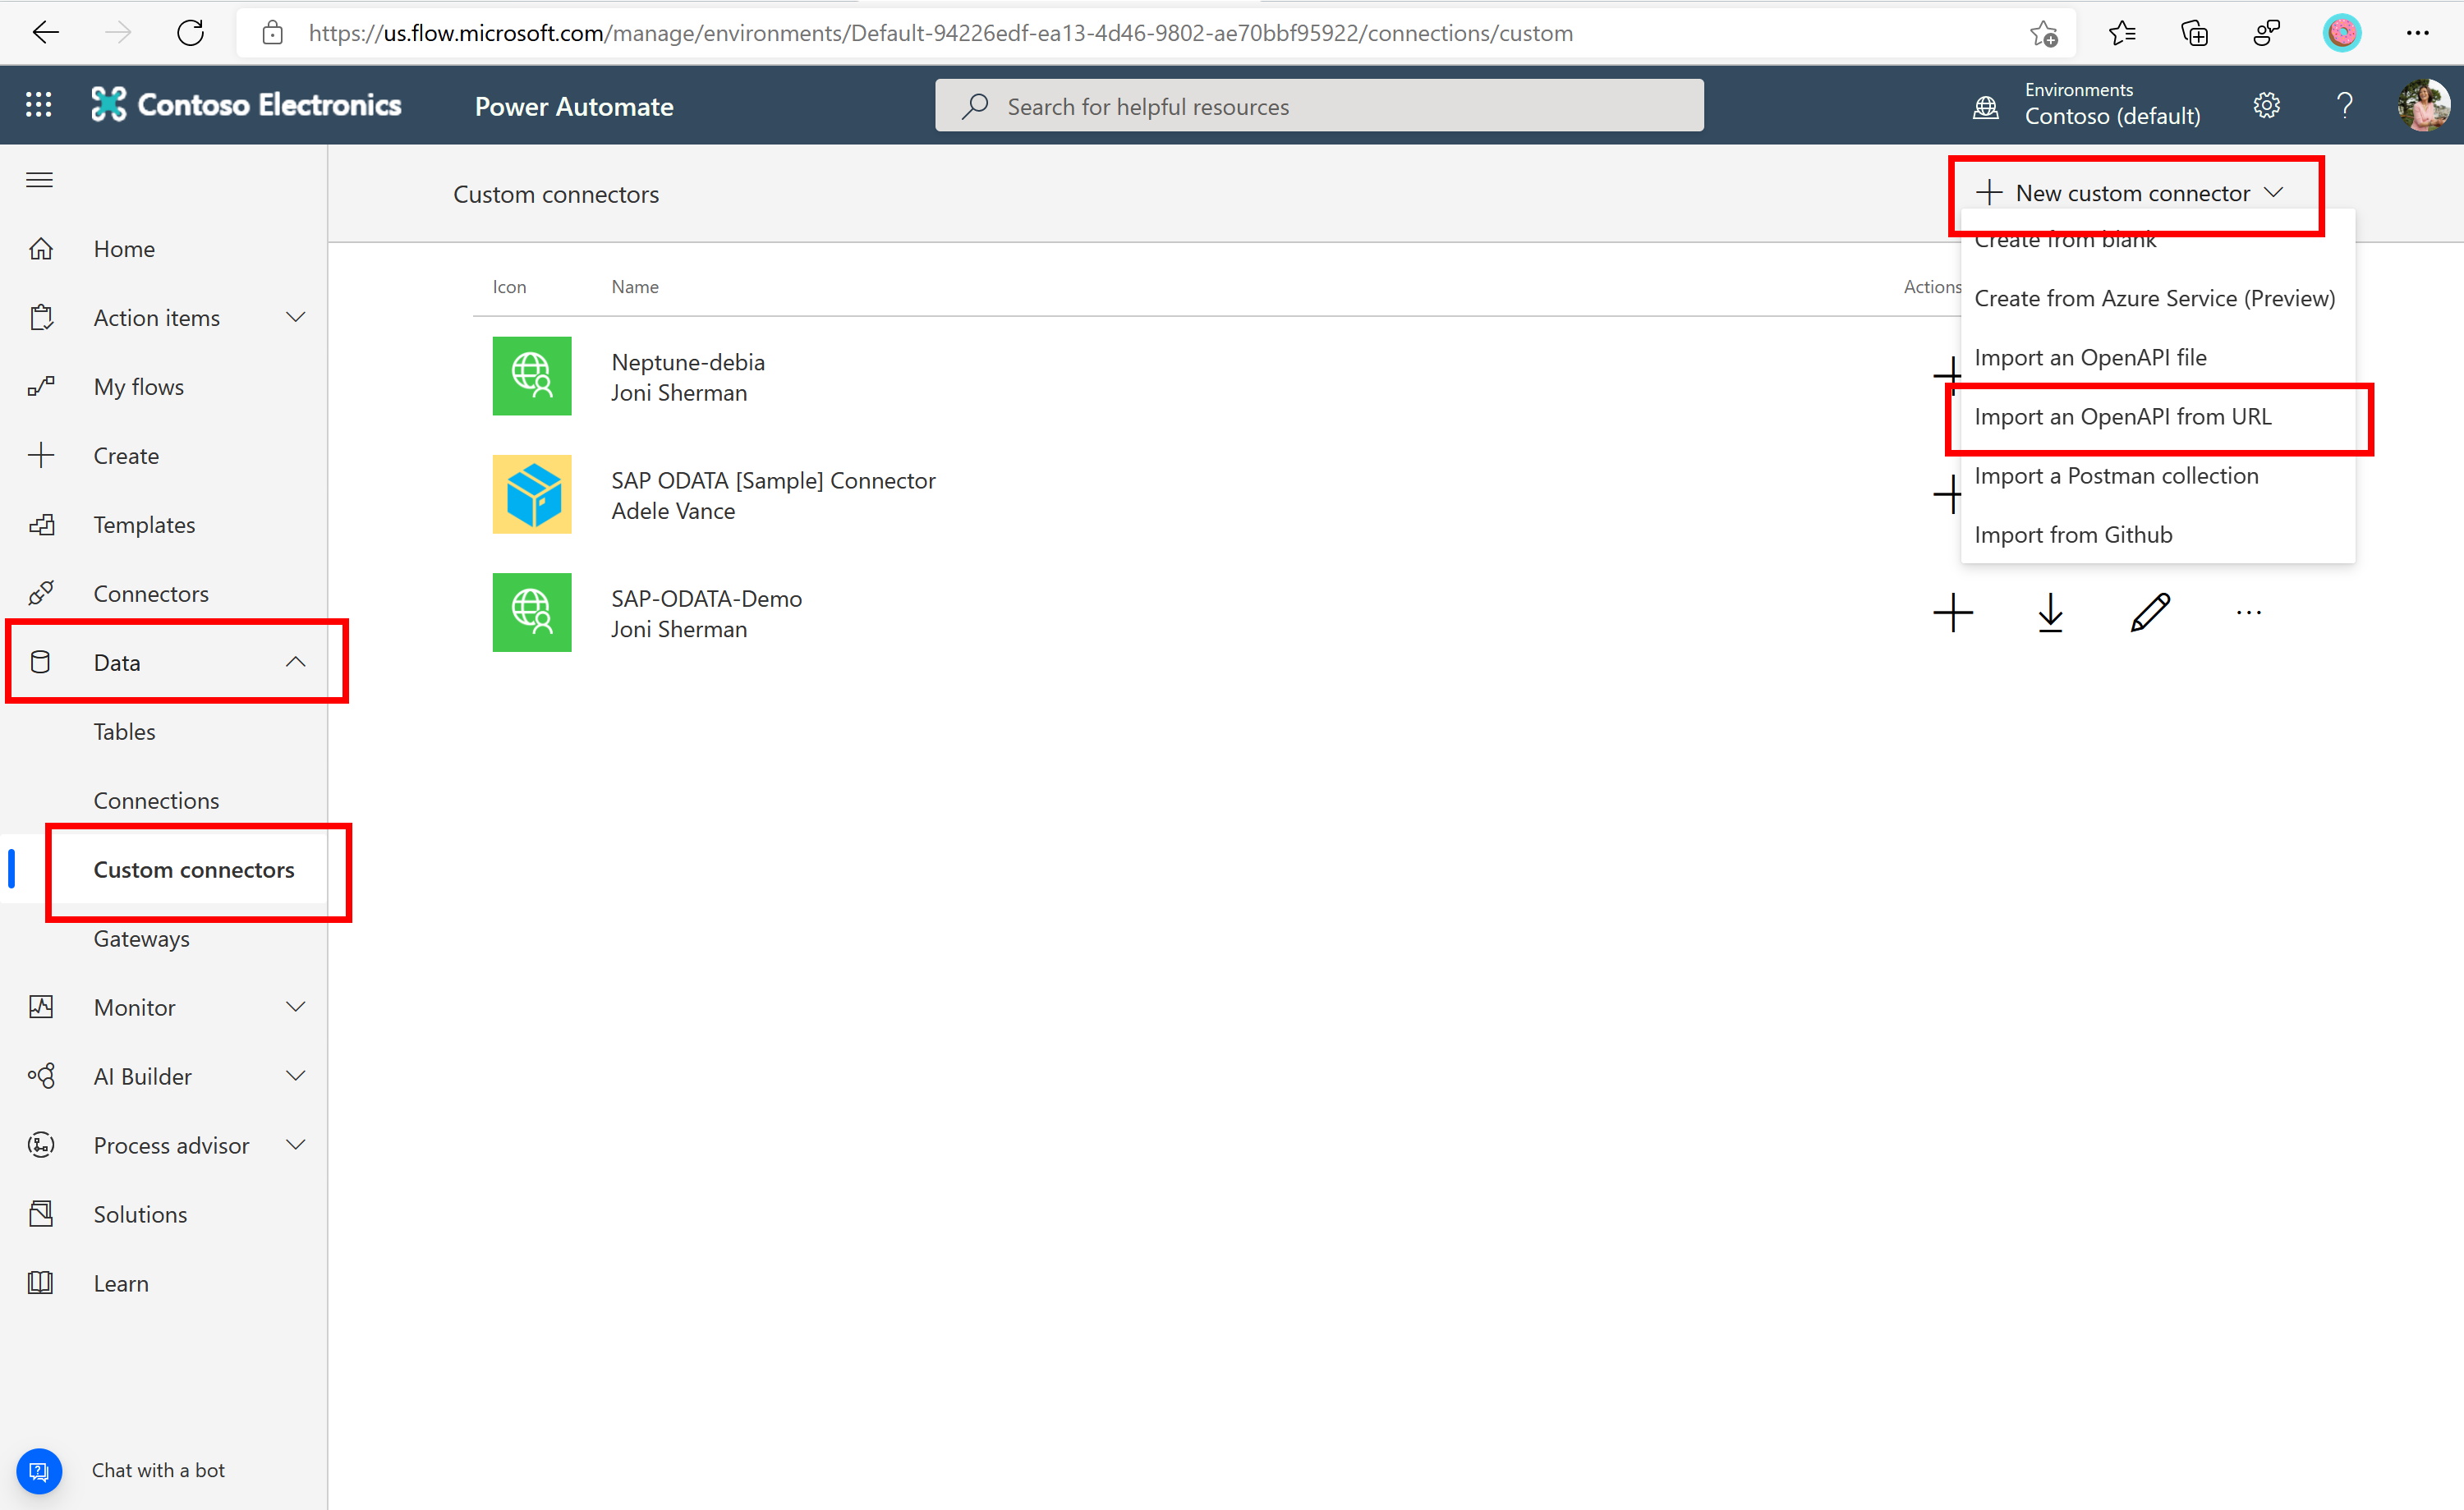
Under Data -> Customer Connectors click on "+ New custom connector" and select "Import an OpenAPI from URL".
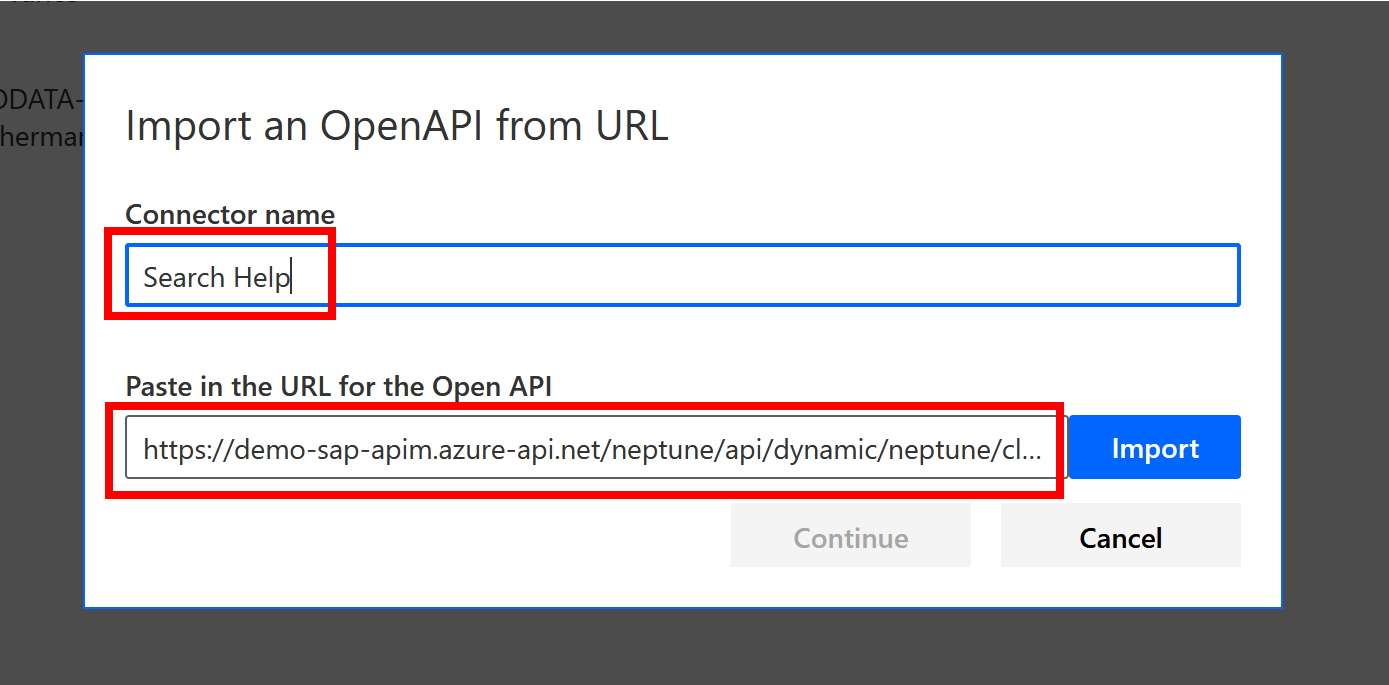
Enter the URL from the Swagger.ui, e.g.
https://yourSAPSystem:port/neptune/api/dynamic/neptune/cl_dr_lib_ddic_shlp_x/SH/DEBIA/swagger.json?oas_version=2.0&sap-user=user&sap-password=password&exclude_response_examples=true&namespace_separator=-
Please note that you might need to add the parameters exclude_response_examples=true and namespace_separator=- if you do get error "Definition is not valid" when creating the Customer Connector in Power Platform
Make sure to replace the user and password with the username and password of your SAP system (alternatively you can also download and upload the Swagger file) and click on Import -> Continue
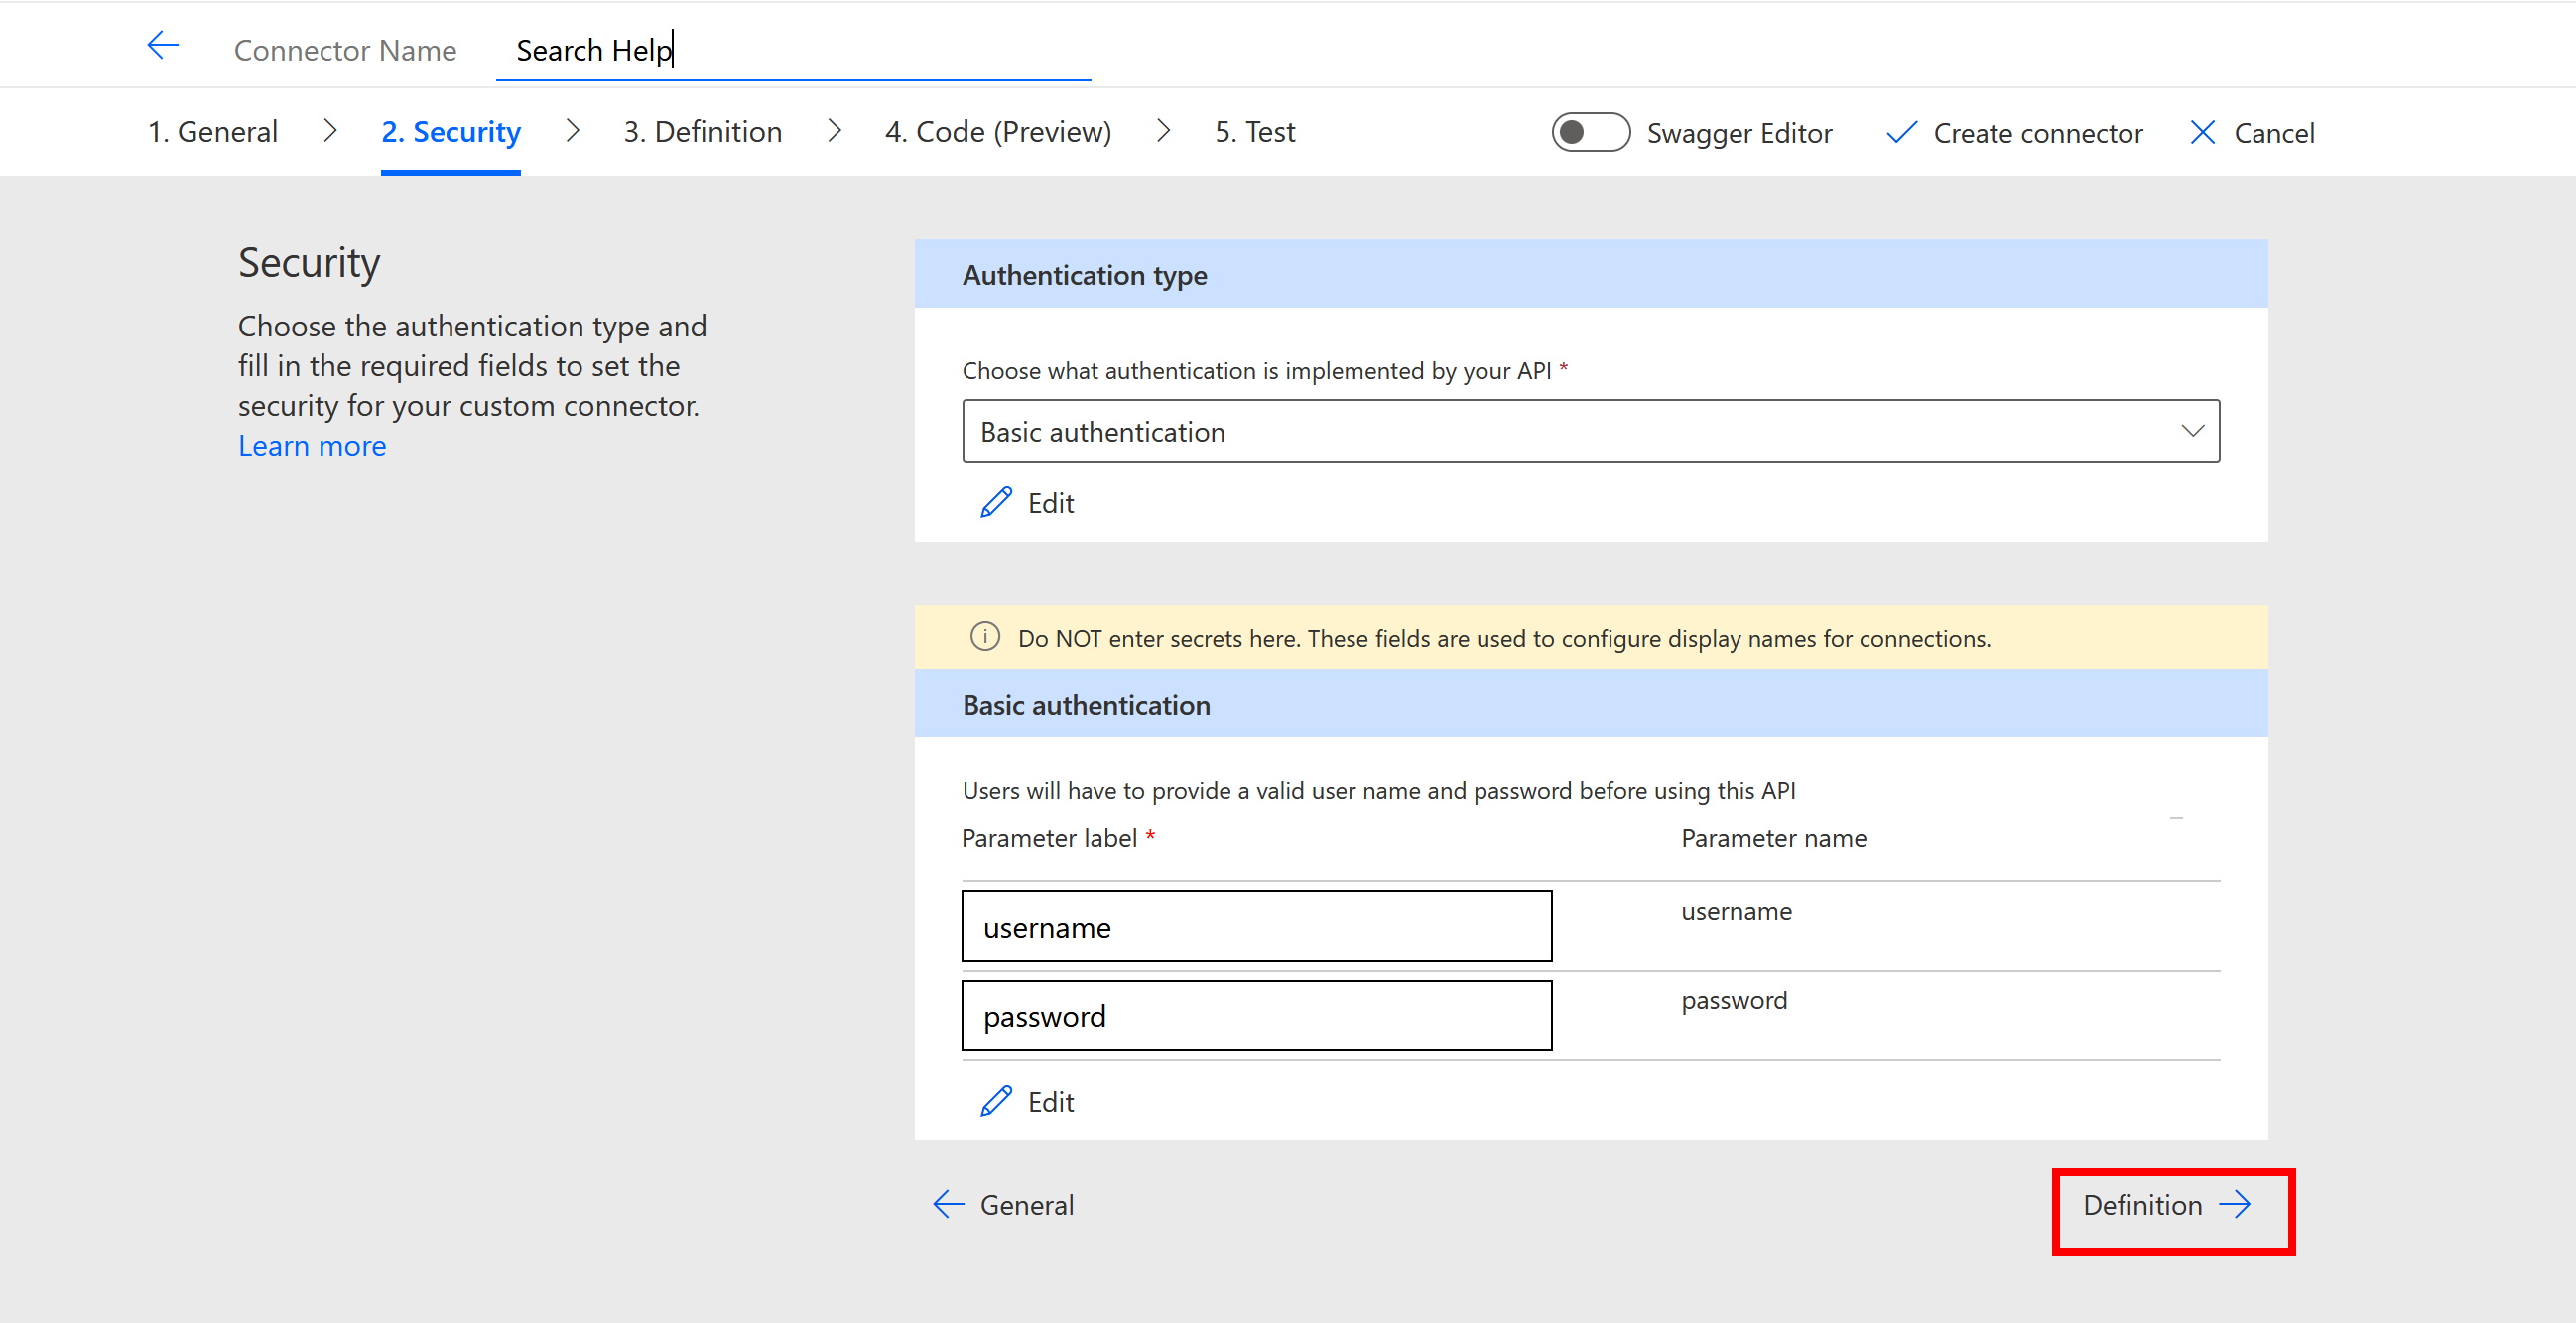
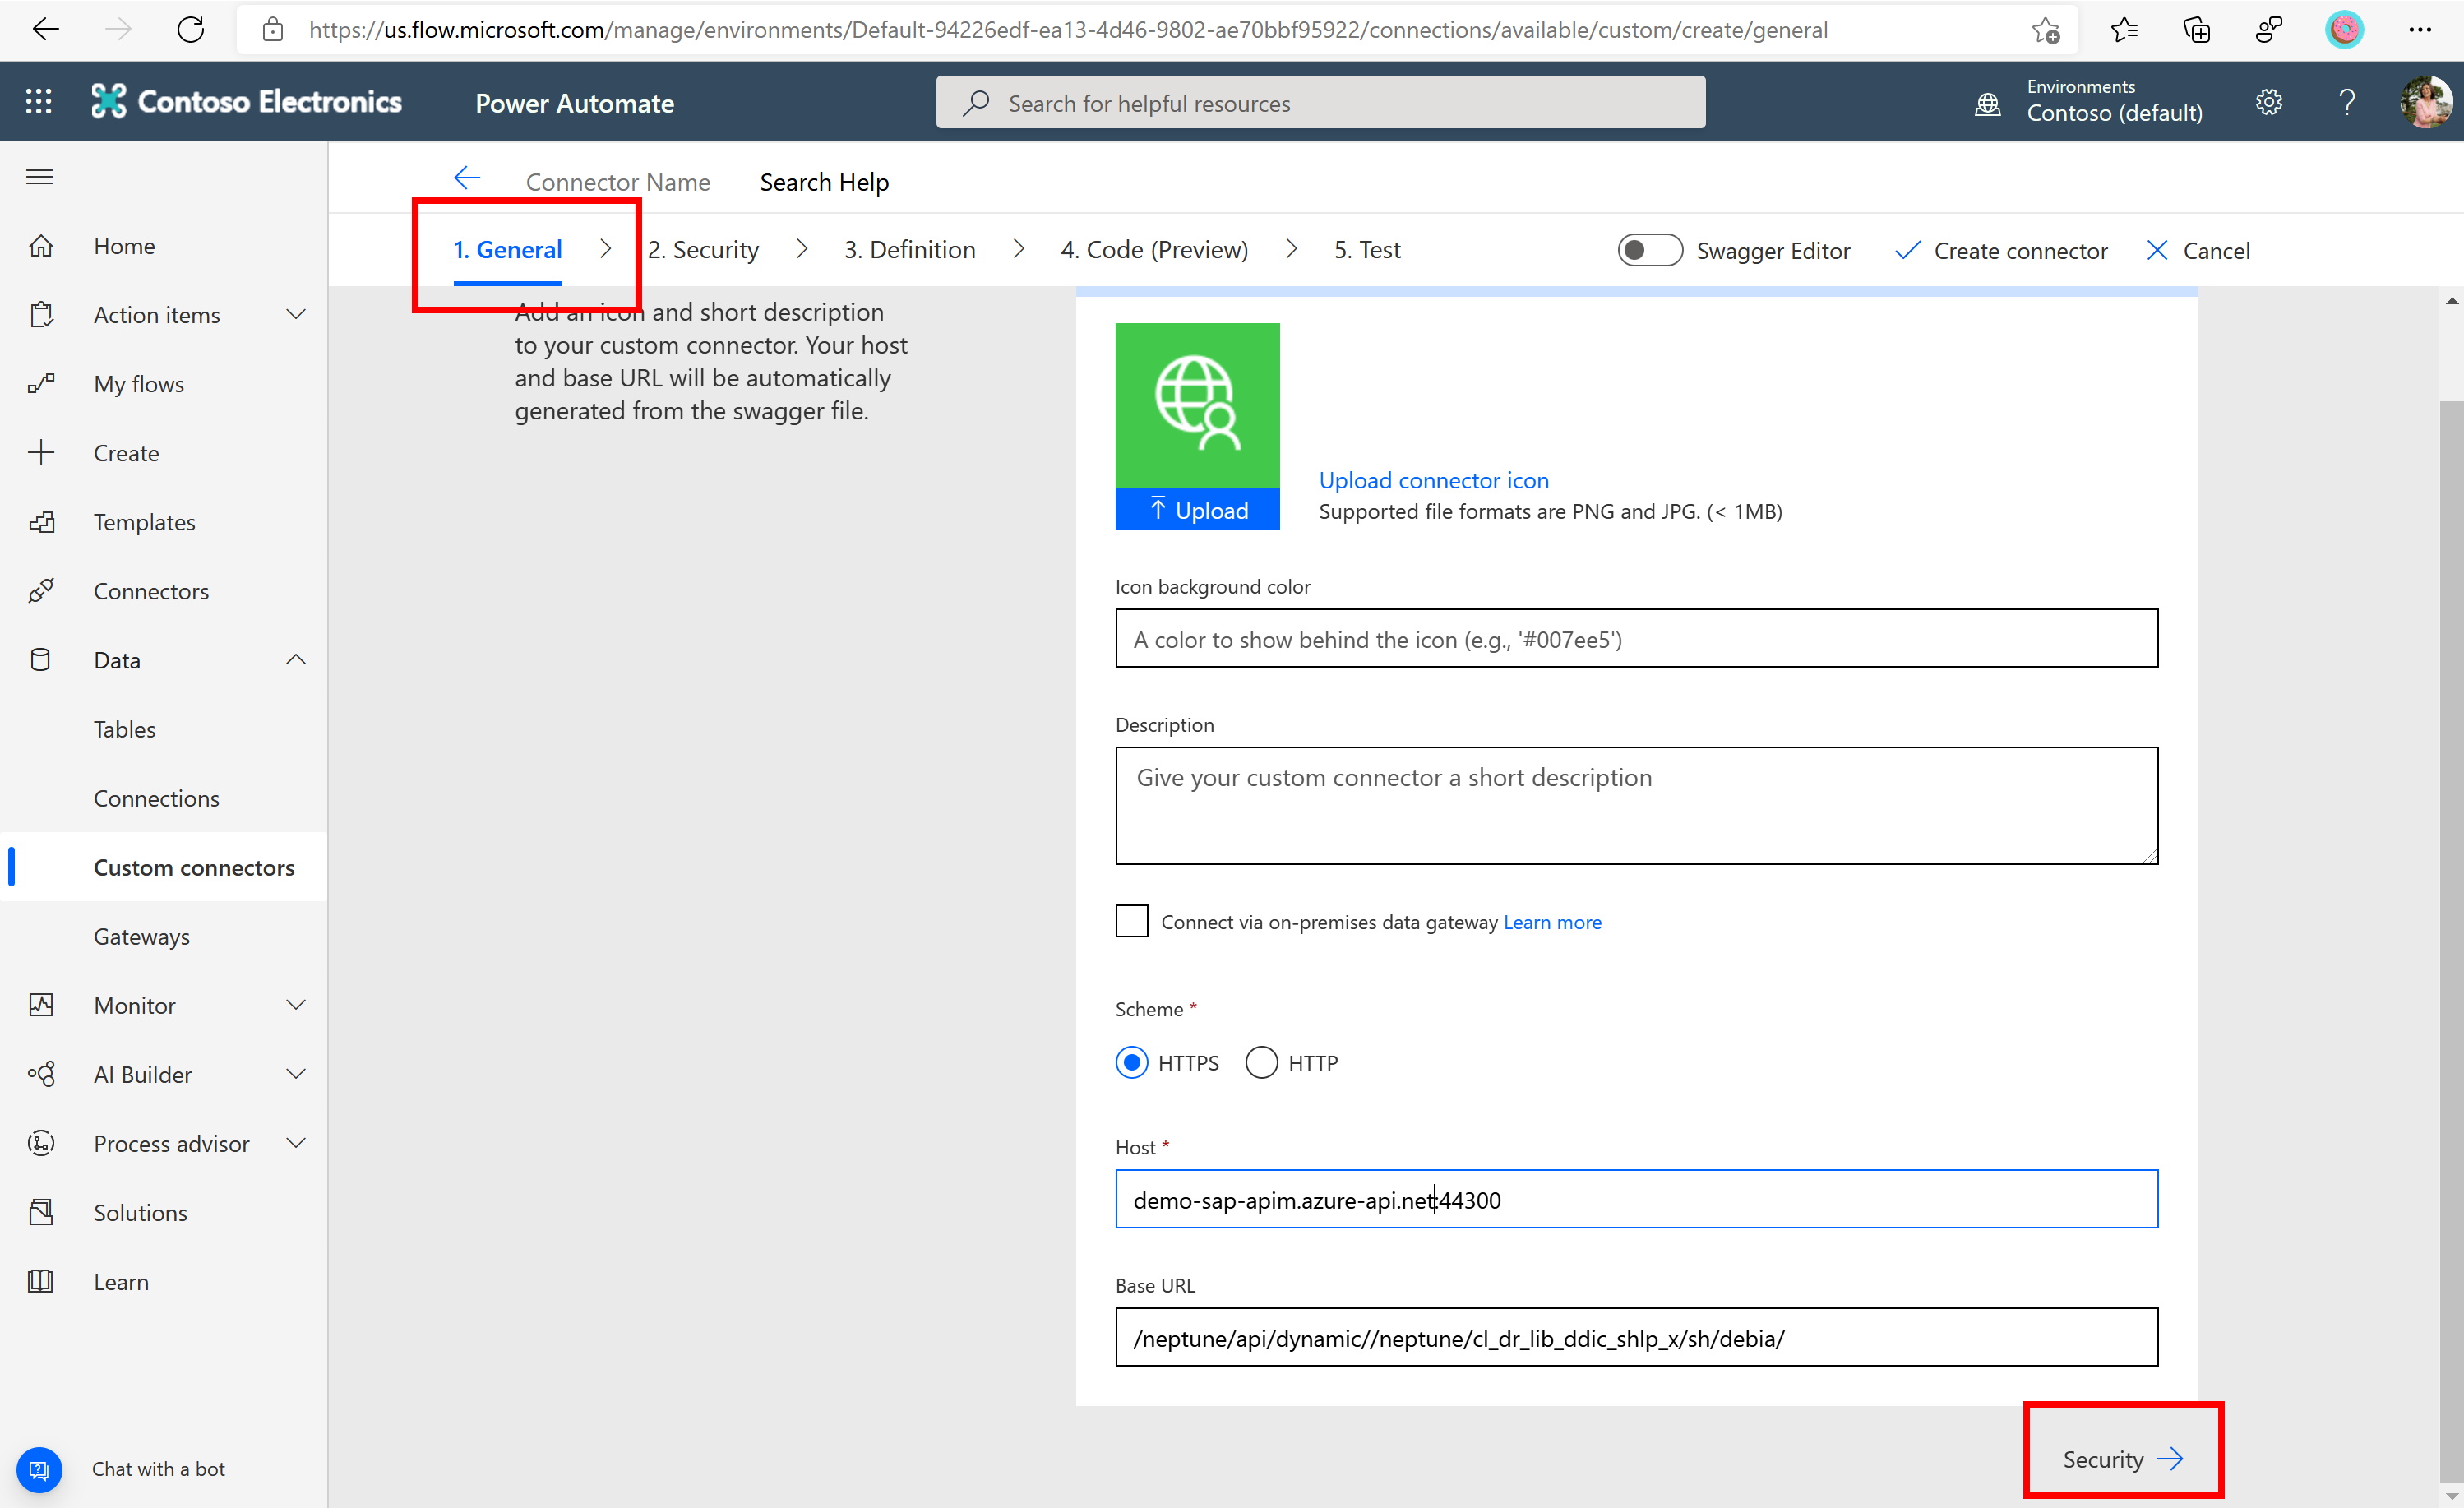
Now double check the configuration. Click on Security,
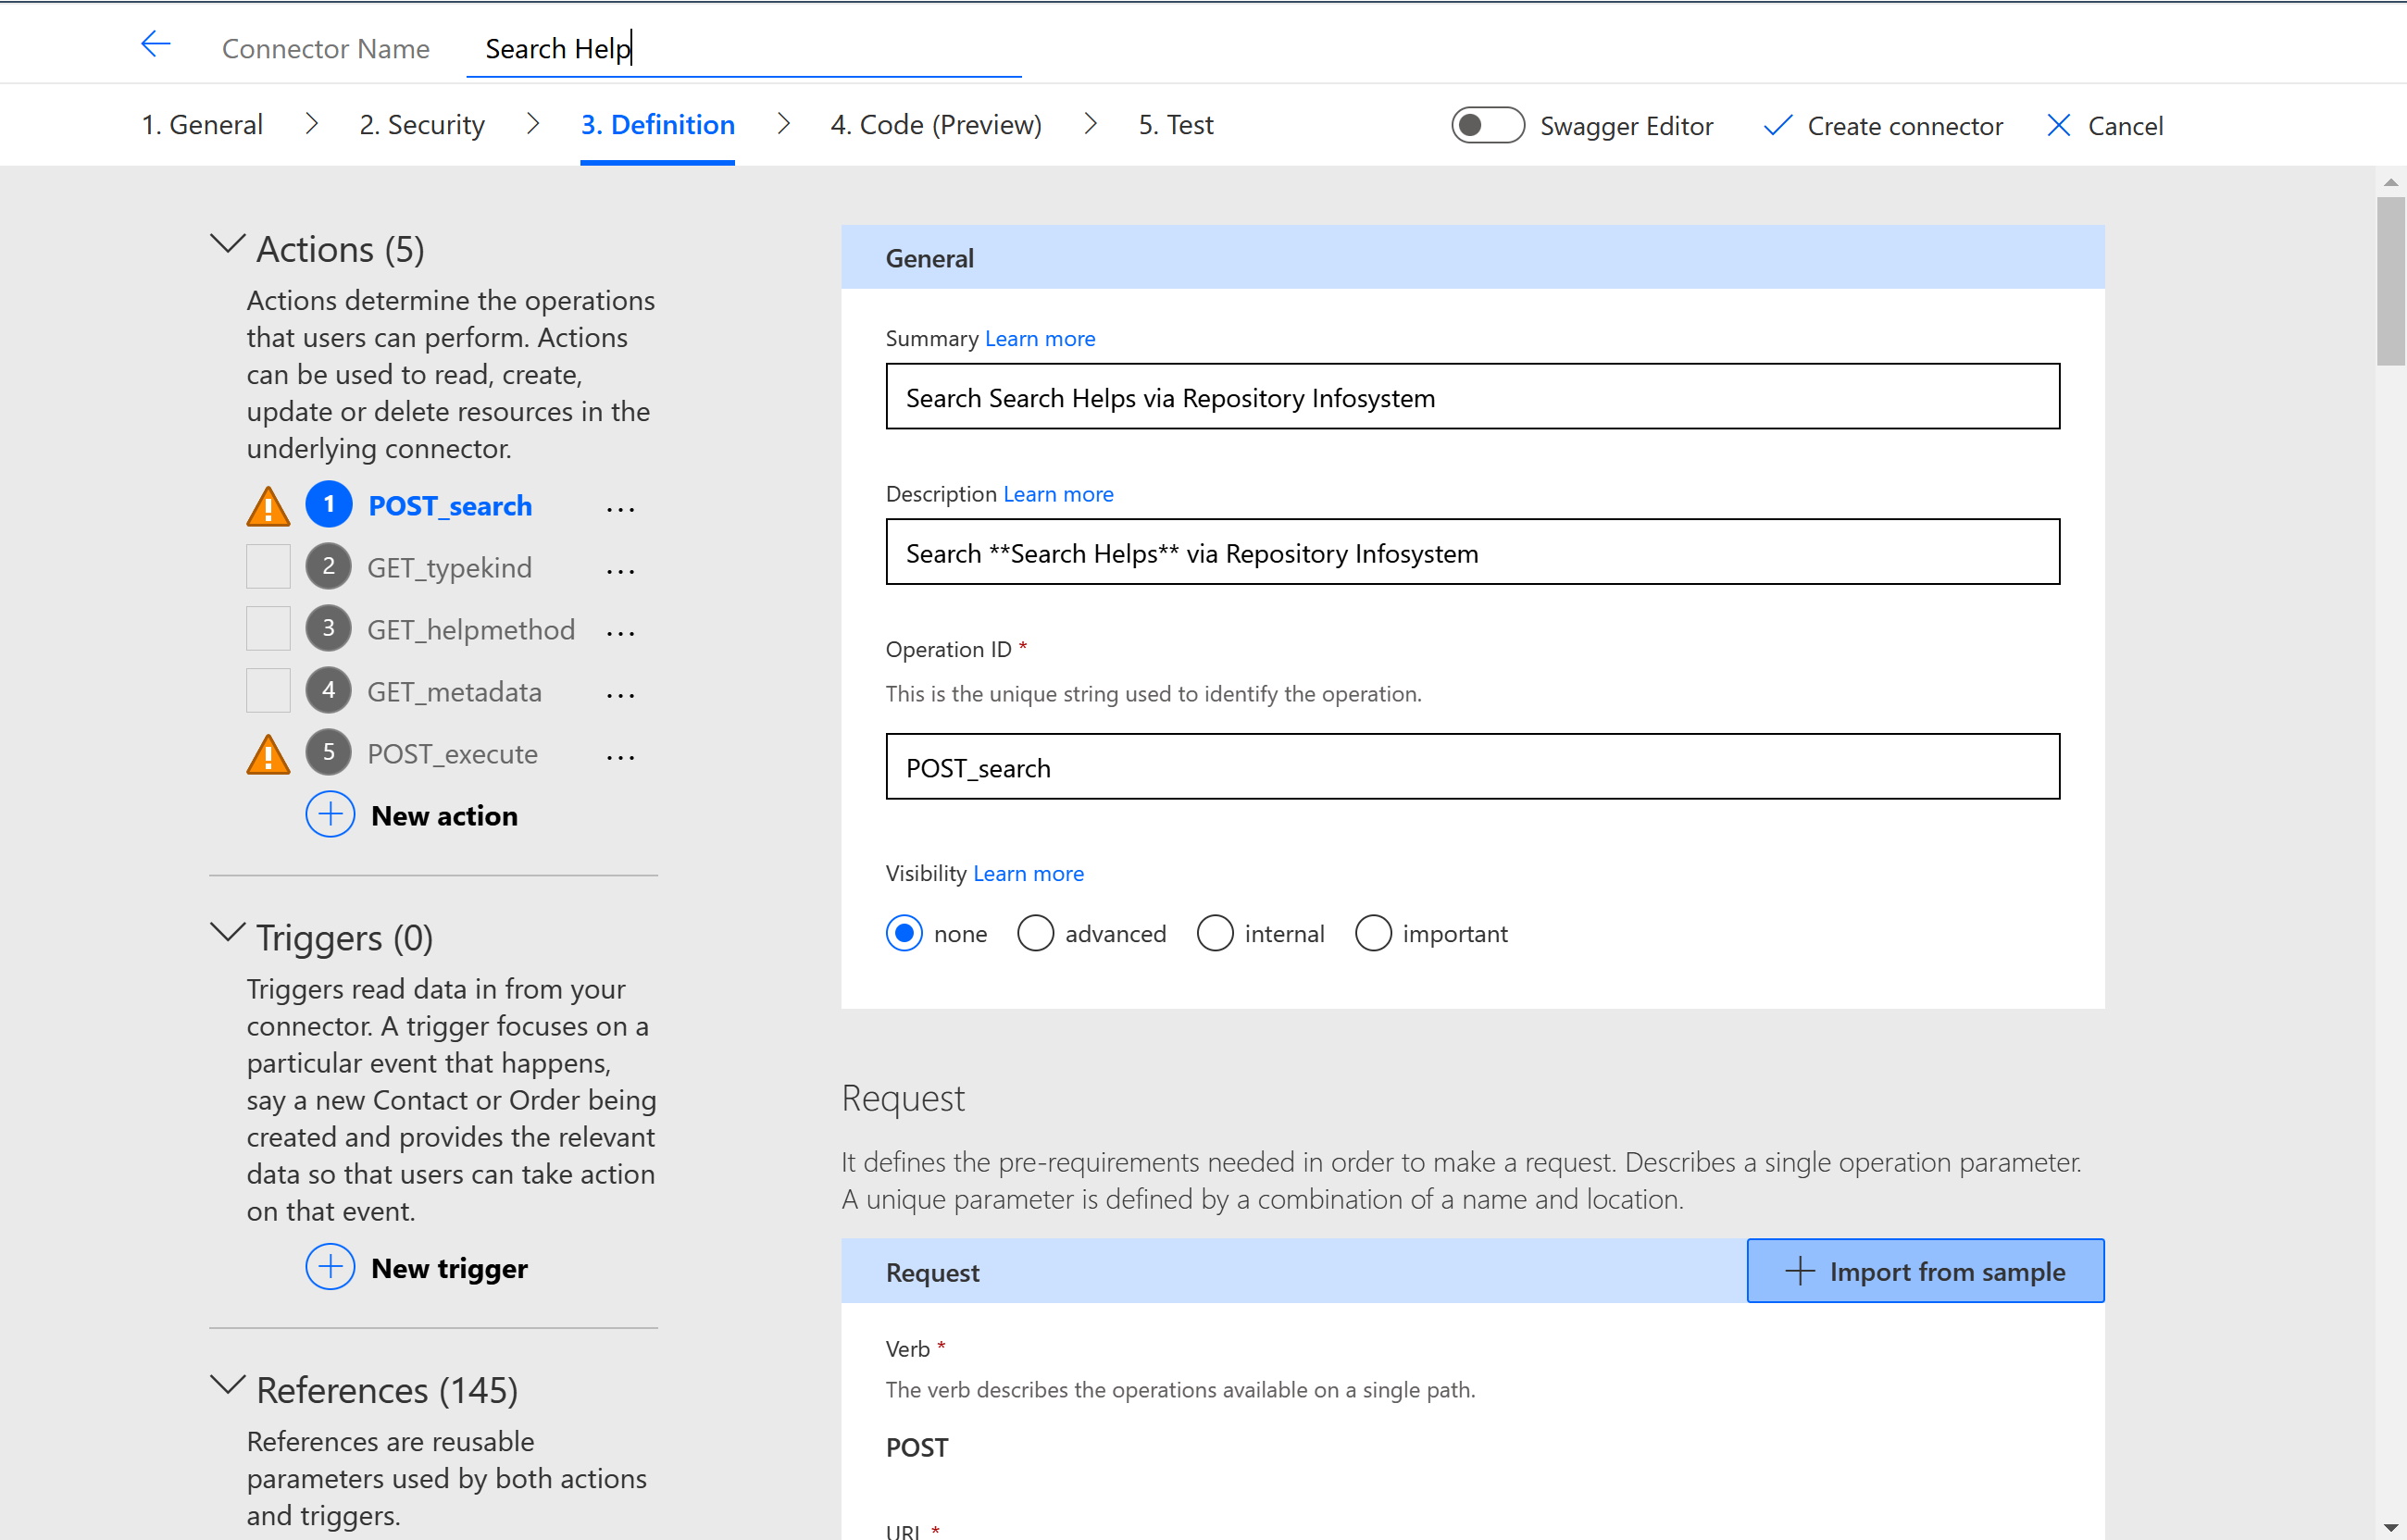
Definition
And finally click on "Create Connector" to create the connector the actual connector.
Now open Power Apps, http://make.powerapps.com/ and click on Create -> Canvas app from blank
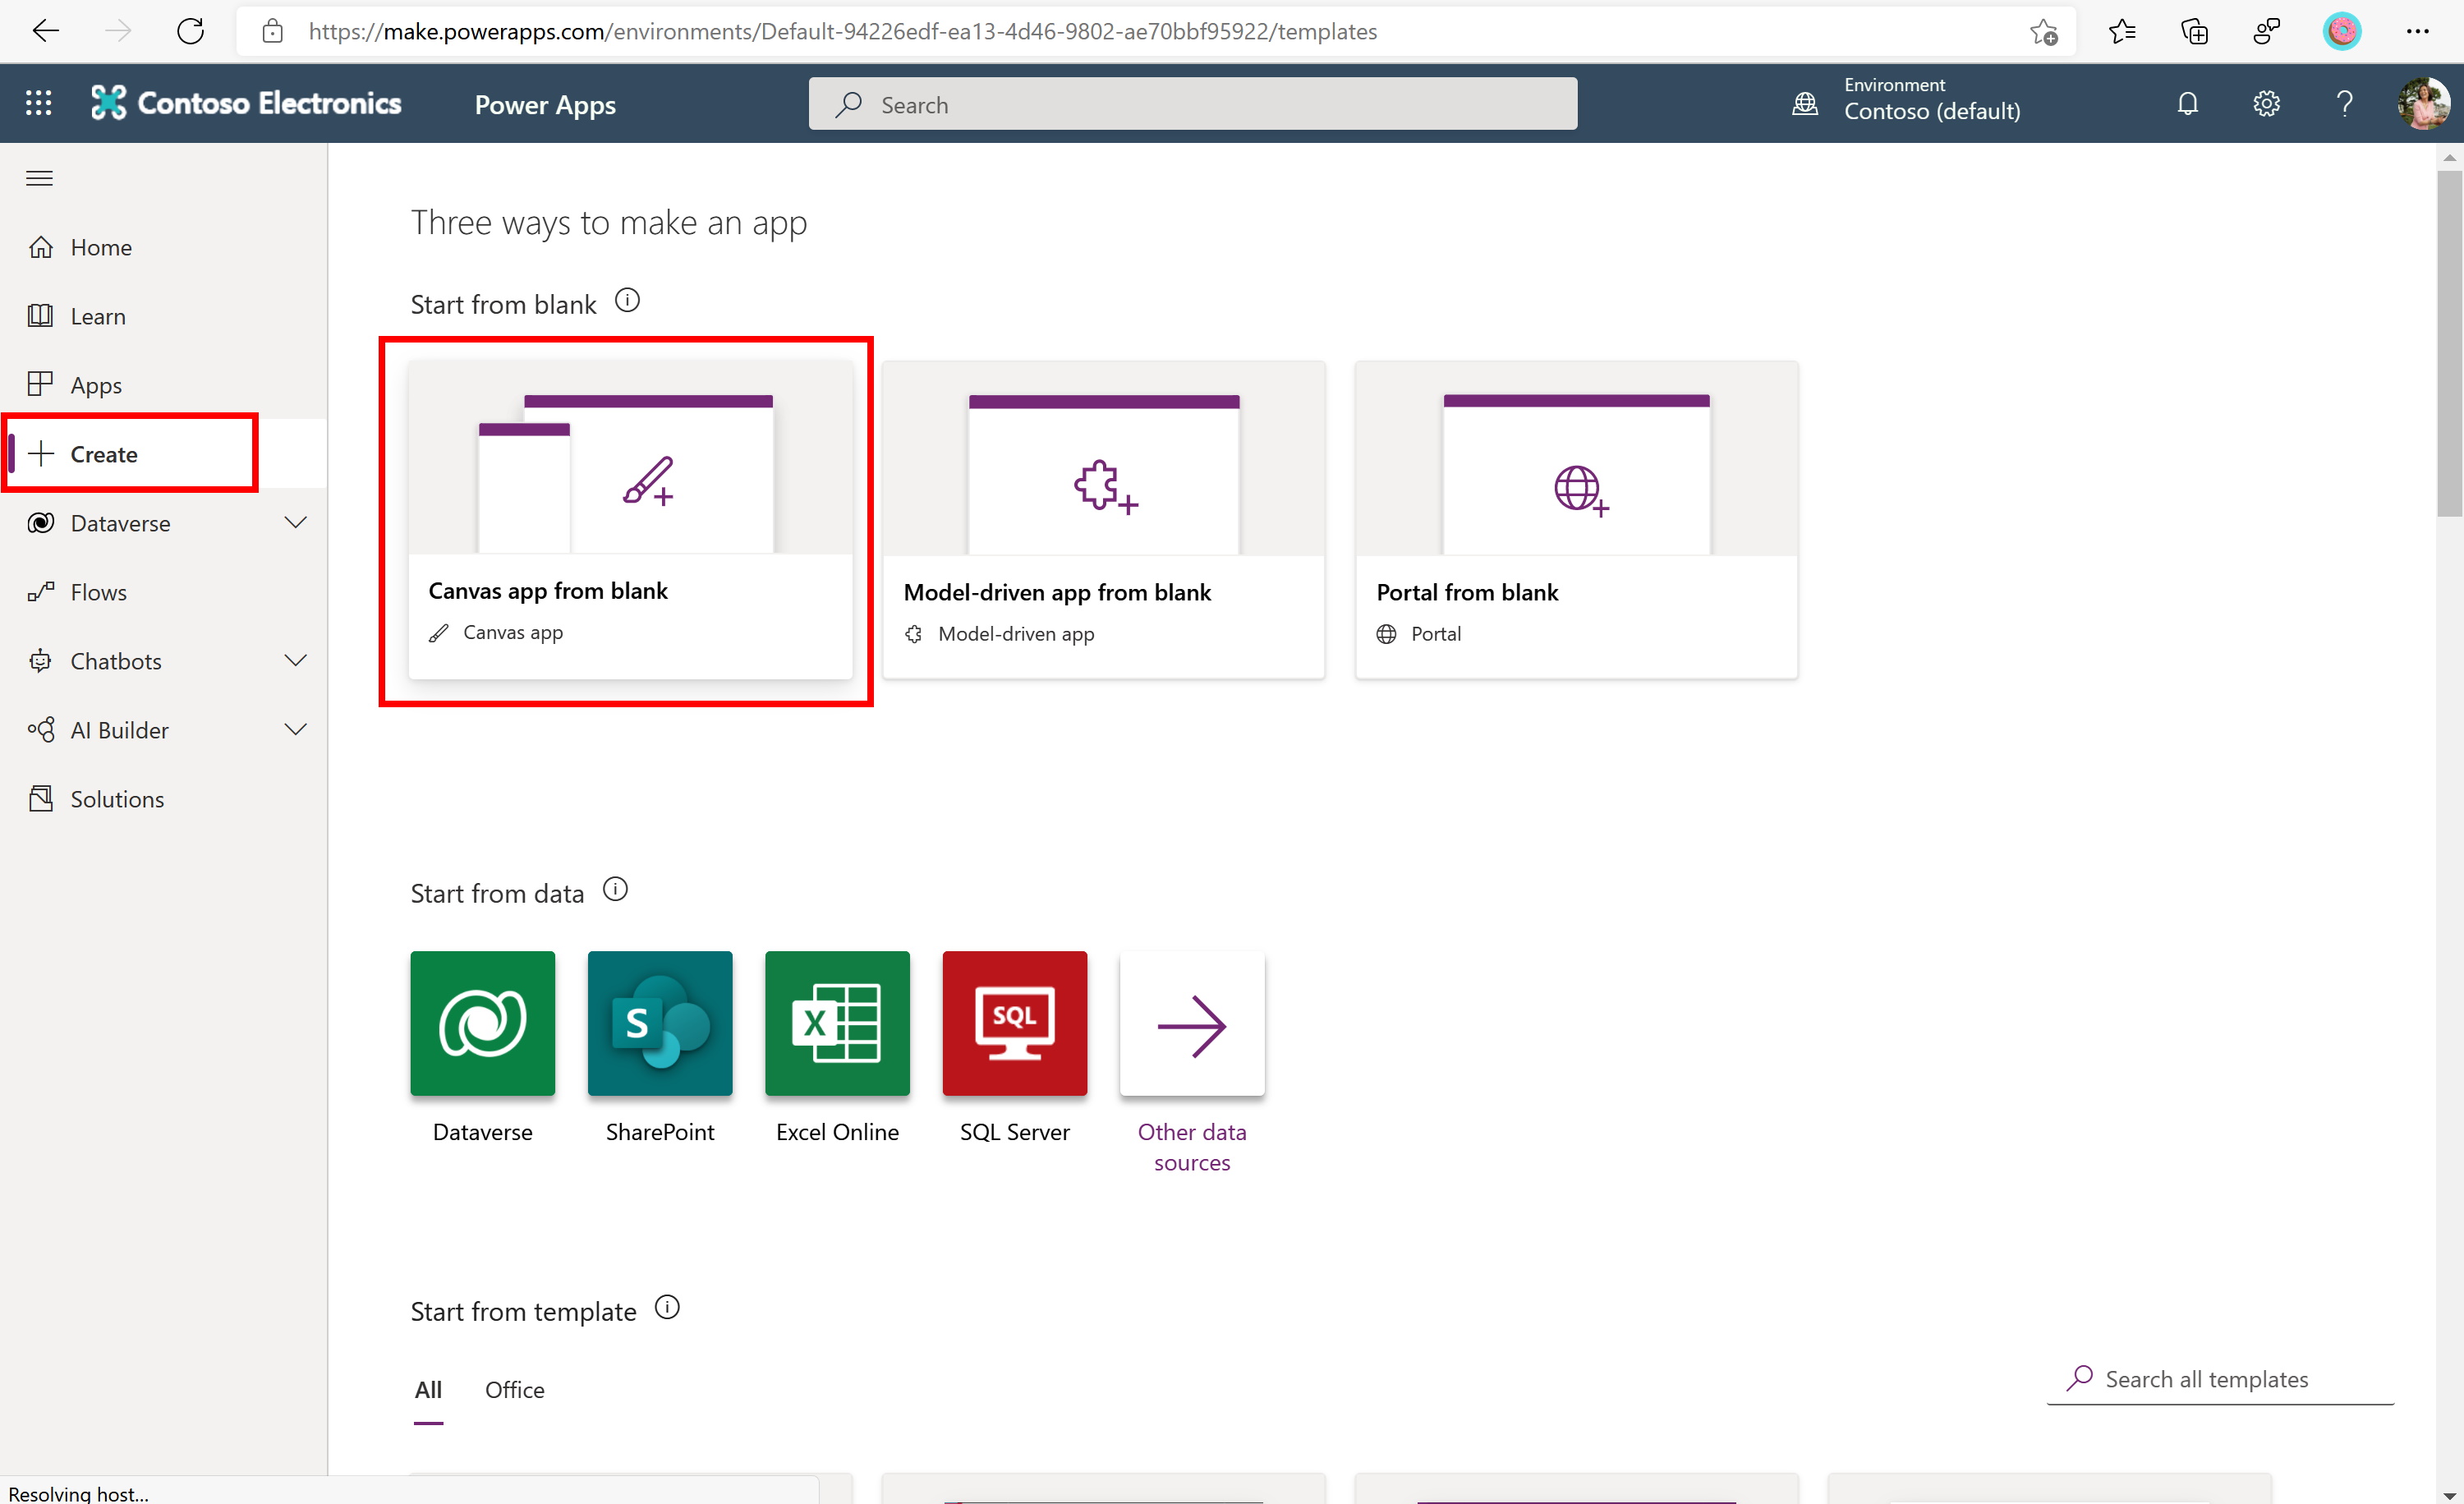
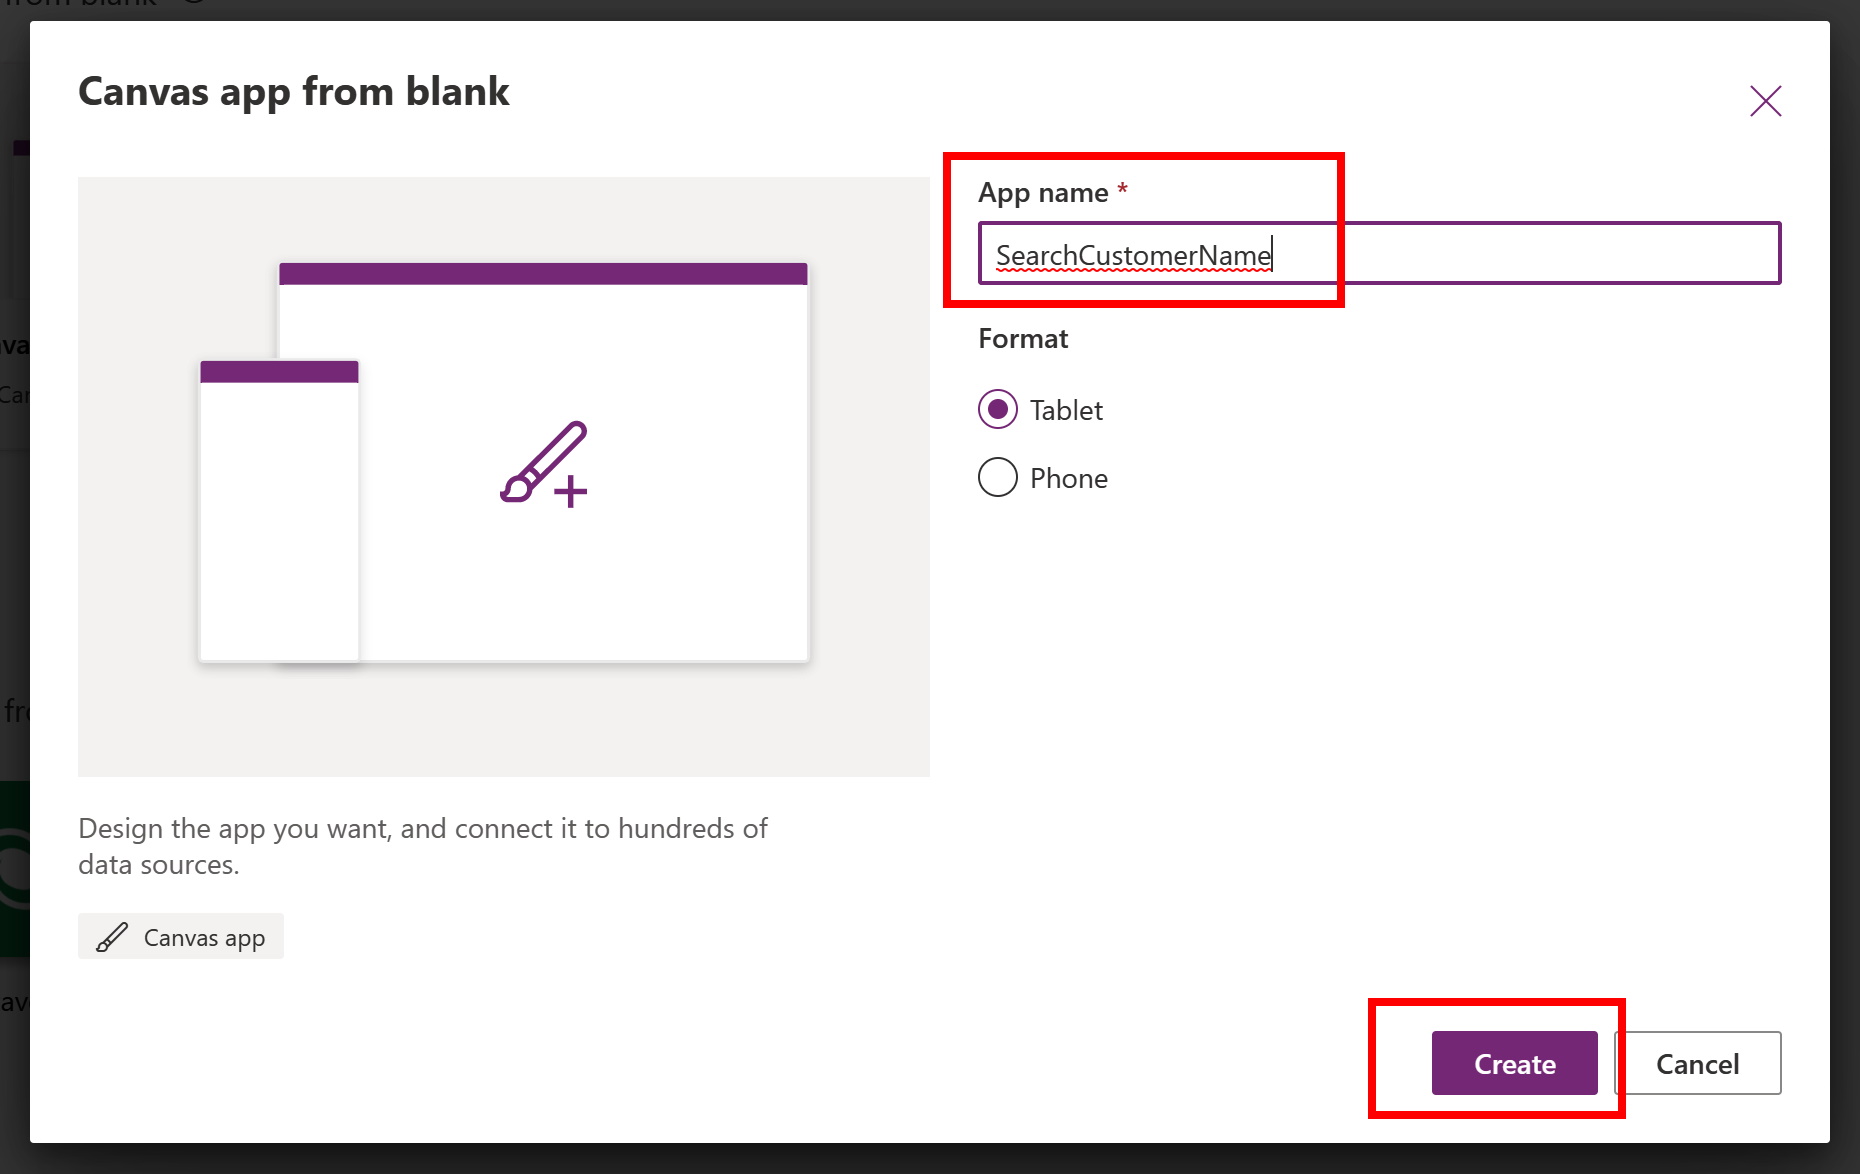
Enter an App name and click on Create
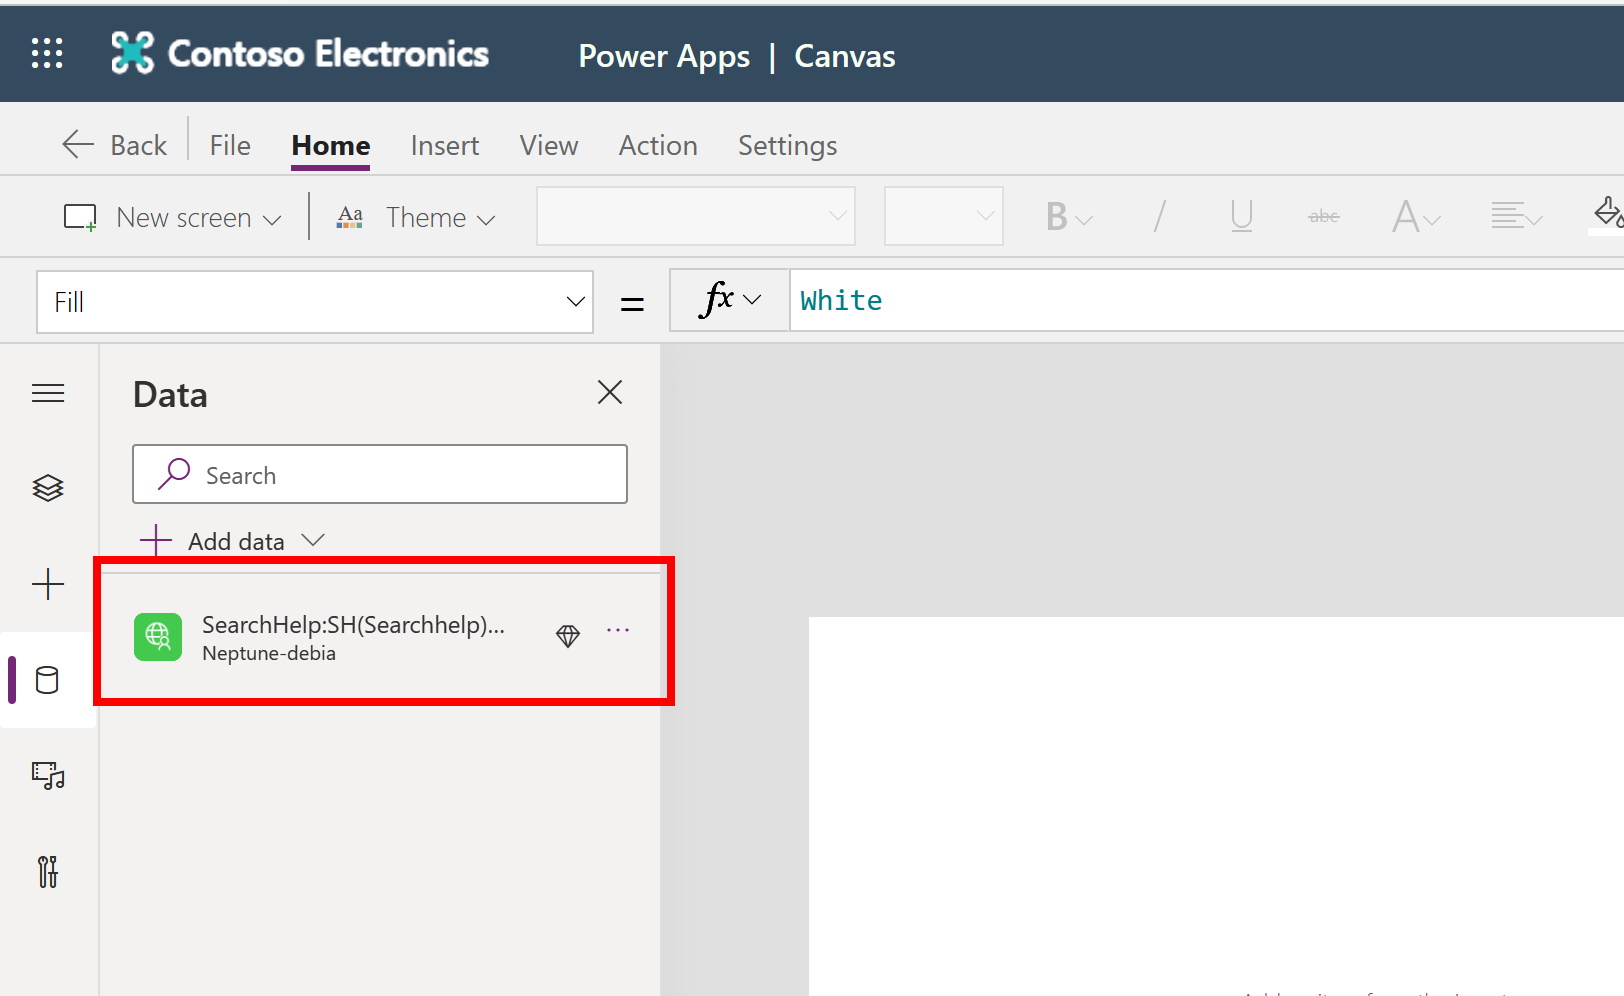
In the Apps Canvas click on the Data icon on the right, click on "Add data" Search for the Customer Connector name you previously created and select it.

As a result you should see the new data source SearchHelp:SH(Searchhelp)
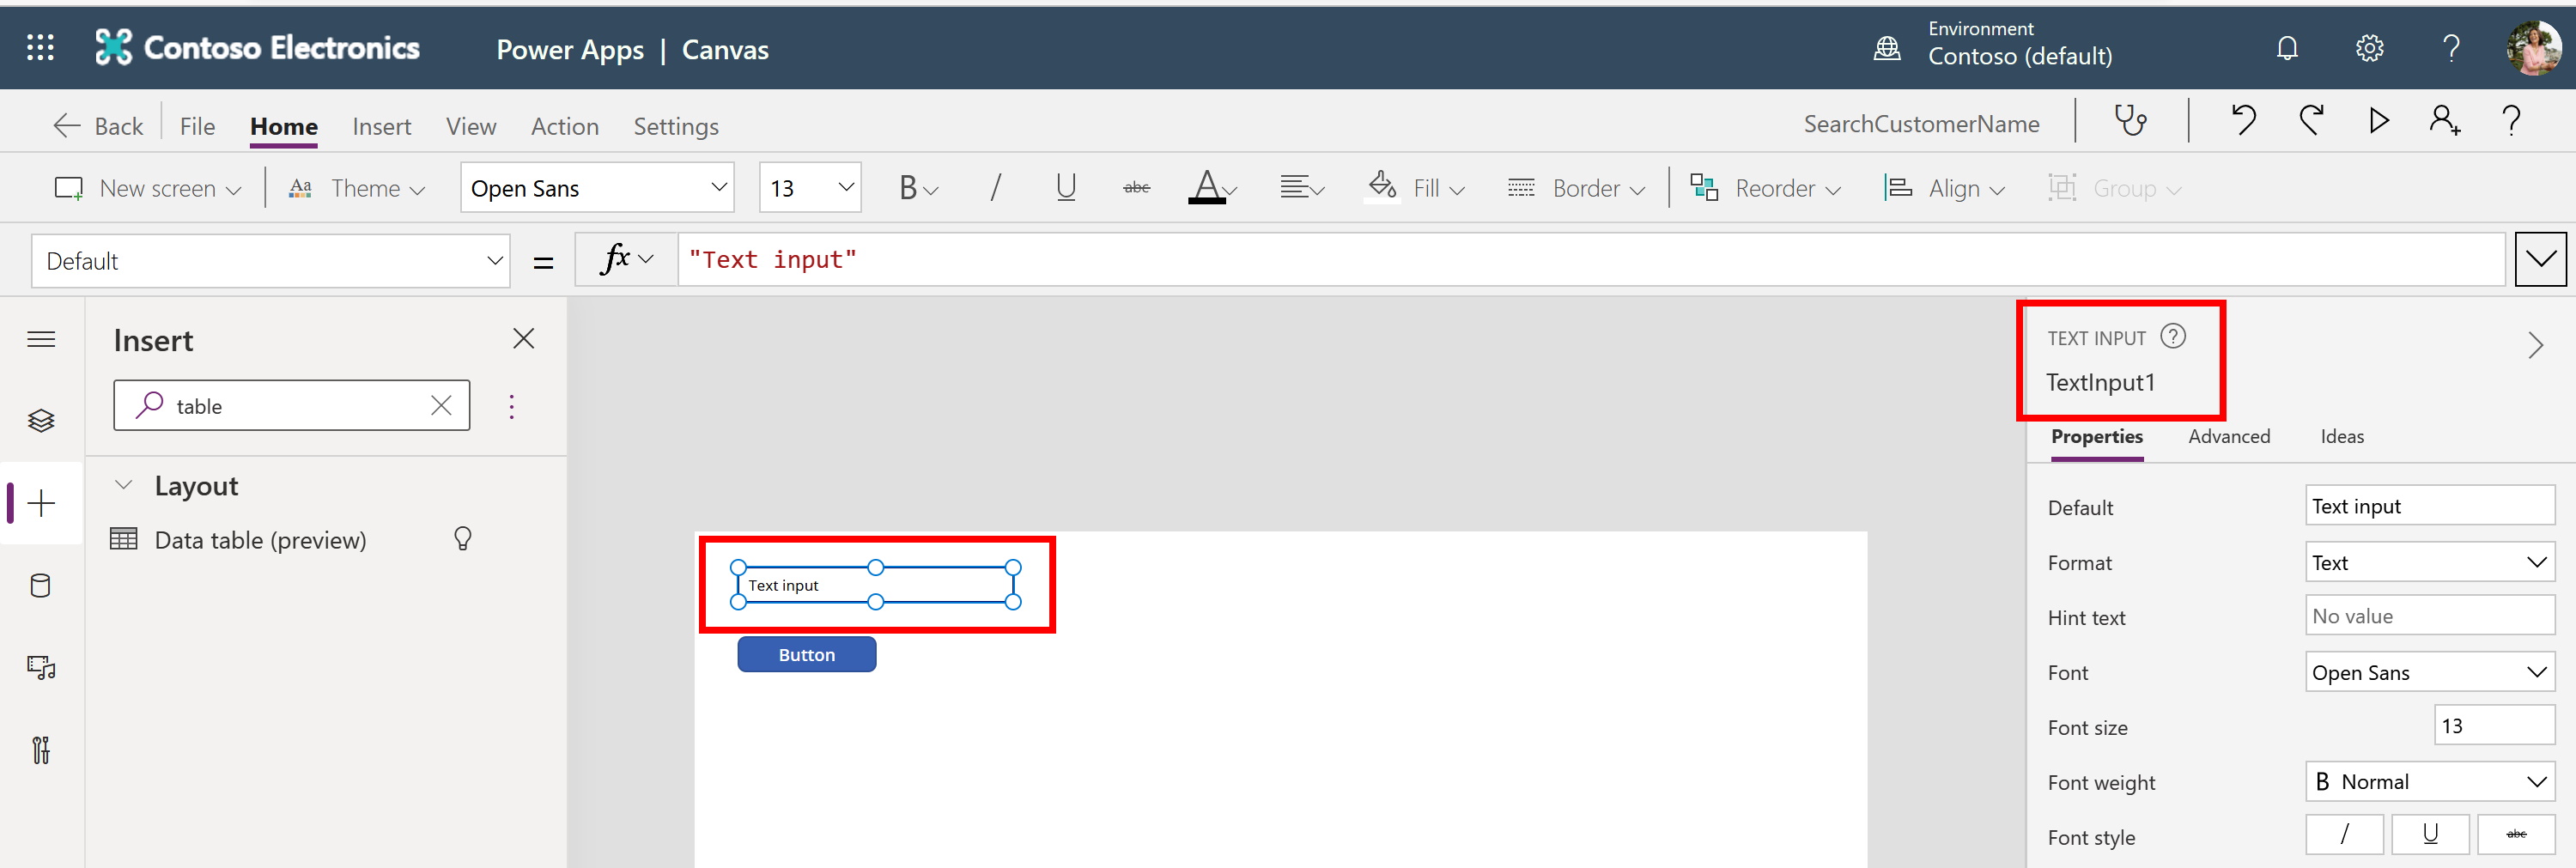
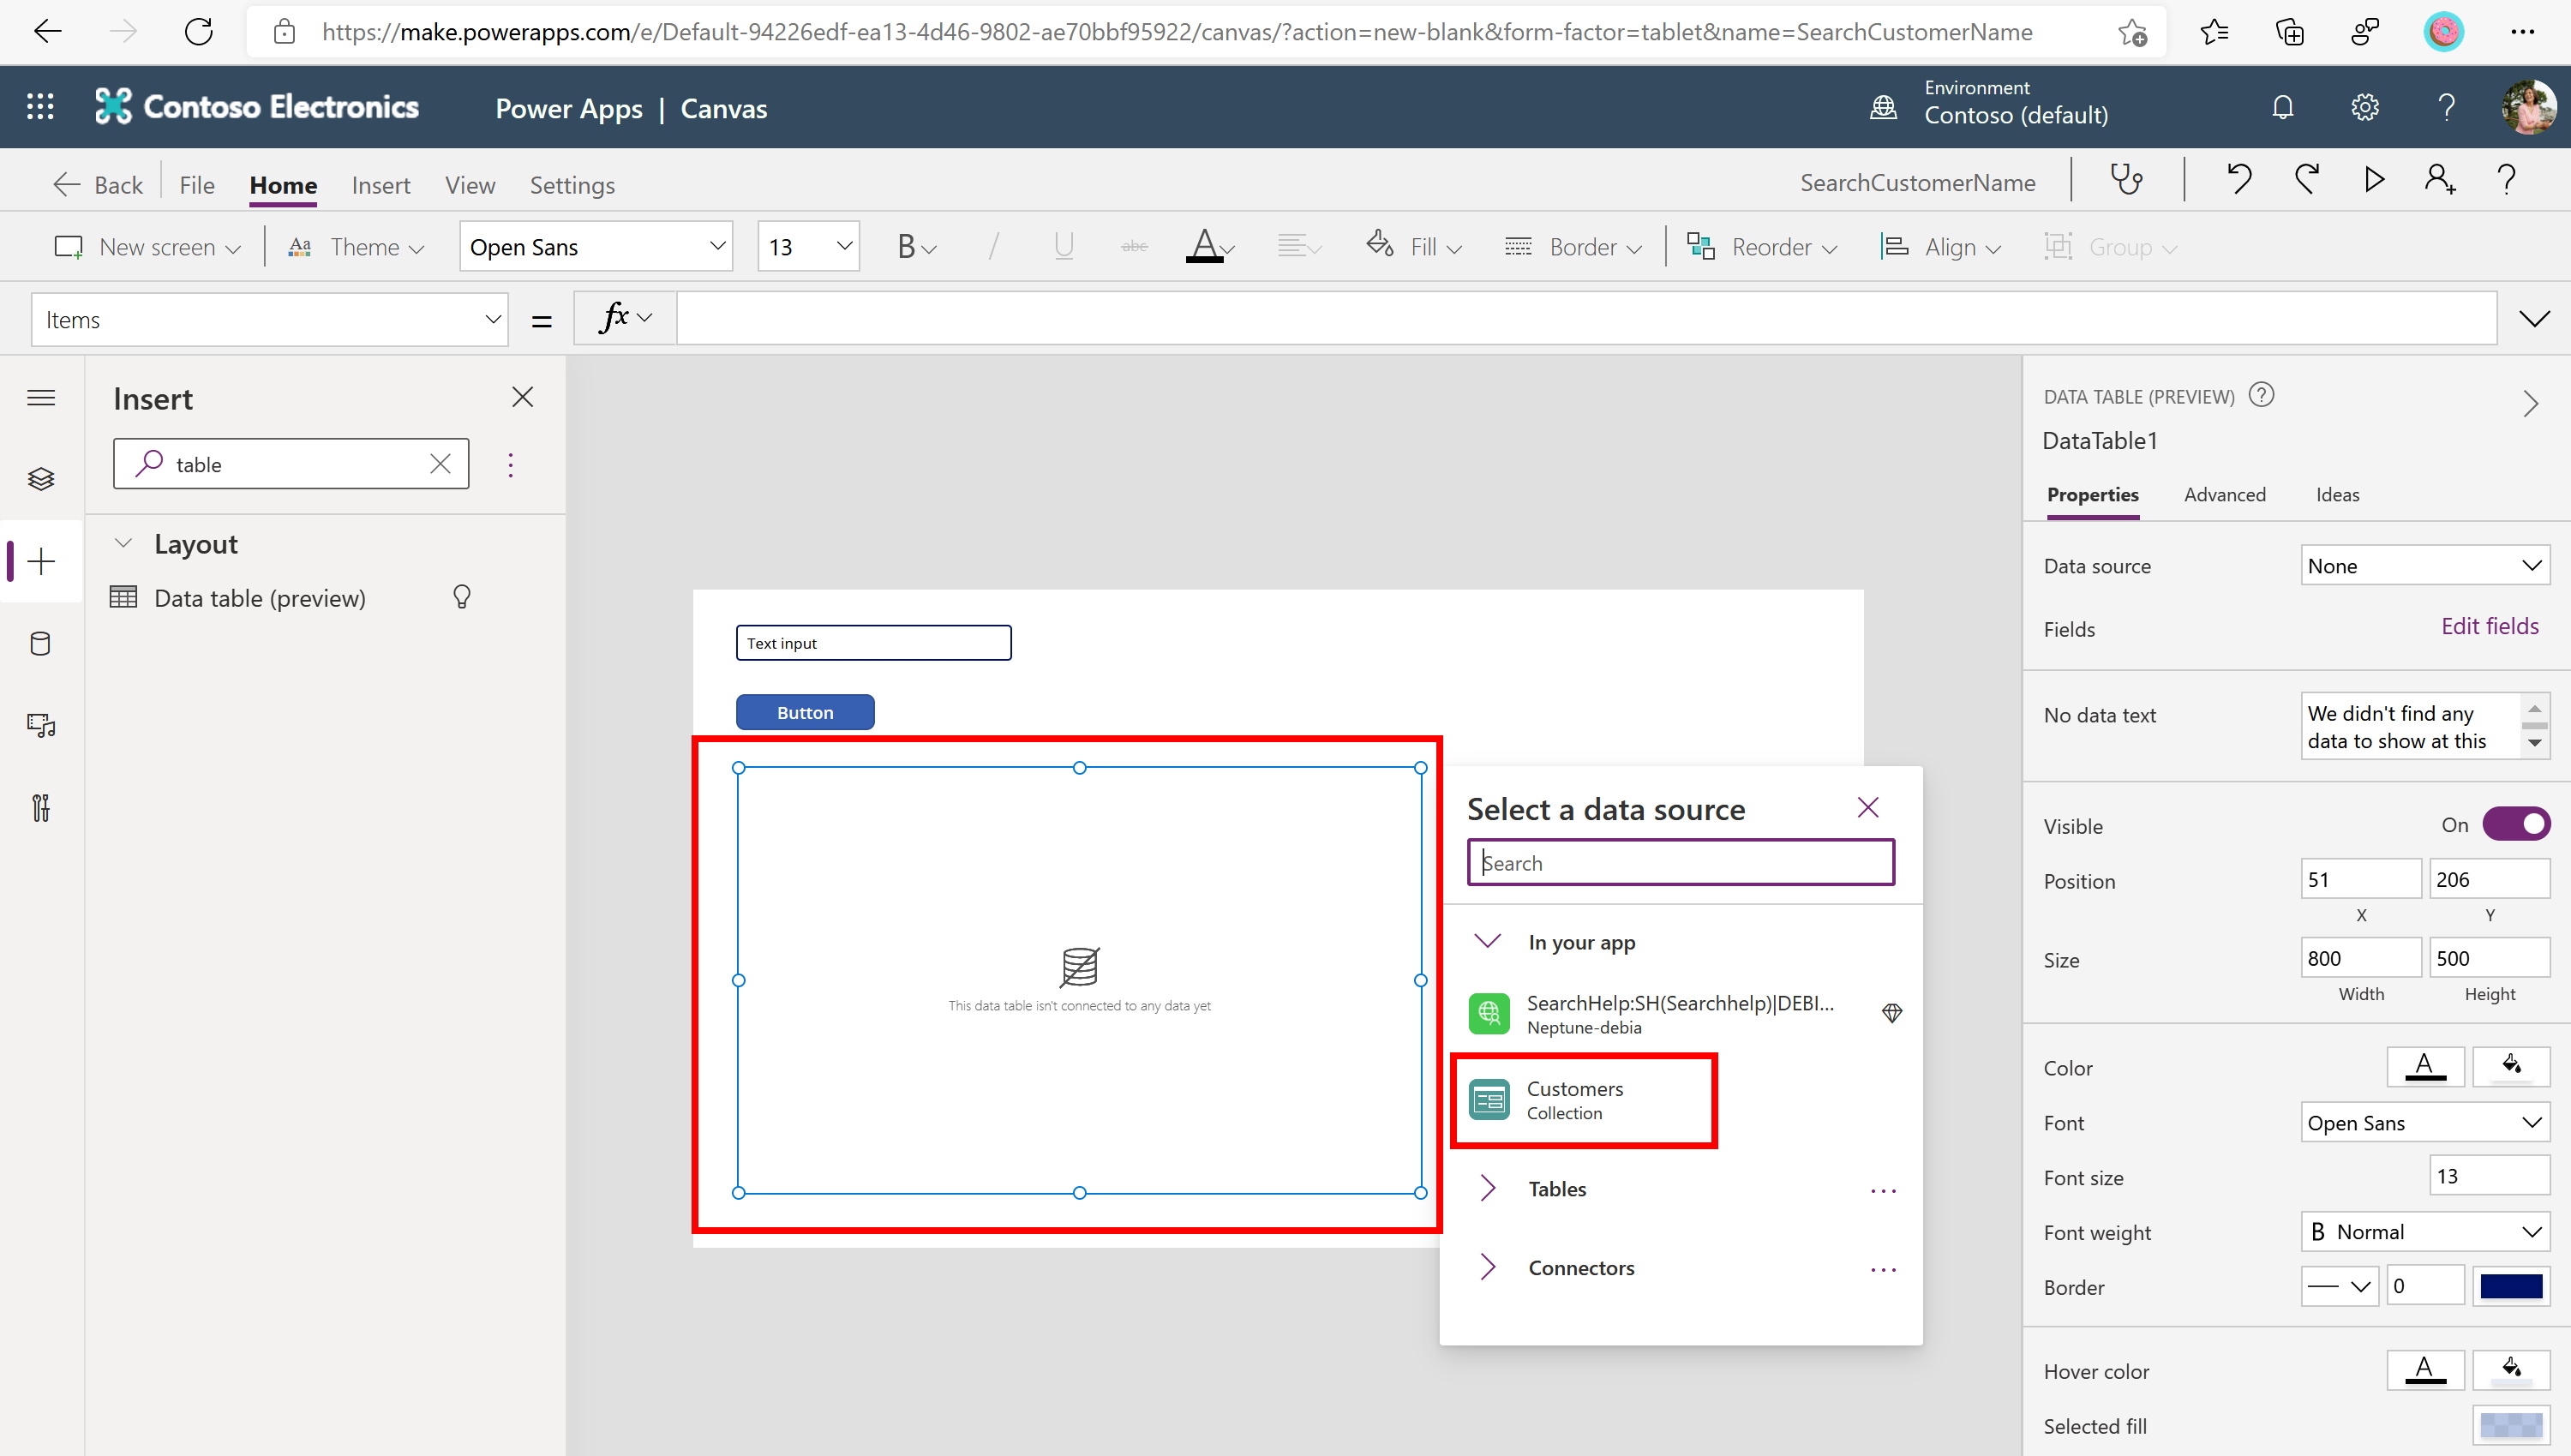
Now click on Insert and Drag and drop a Text Input and Button onto the canvas

Search for Table, select the Data table (preview) and drag it onto the canvas as well.

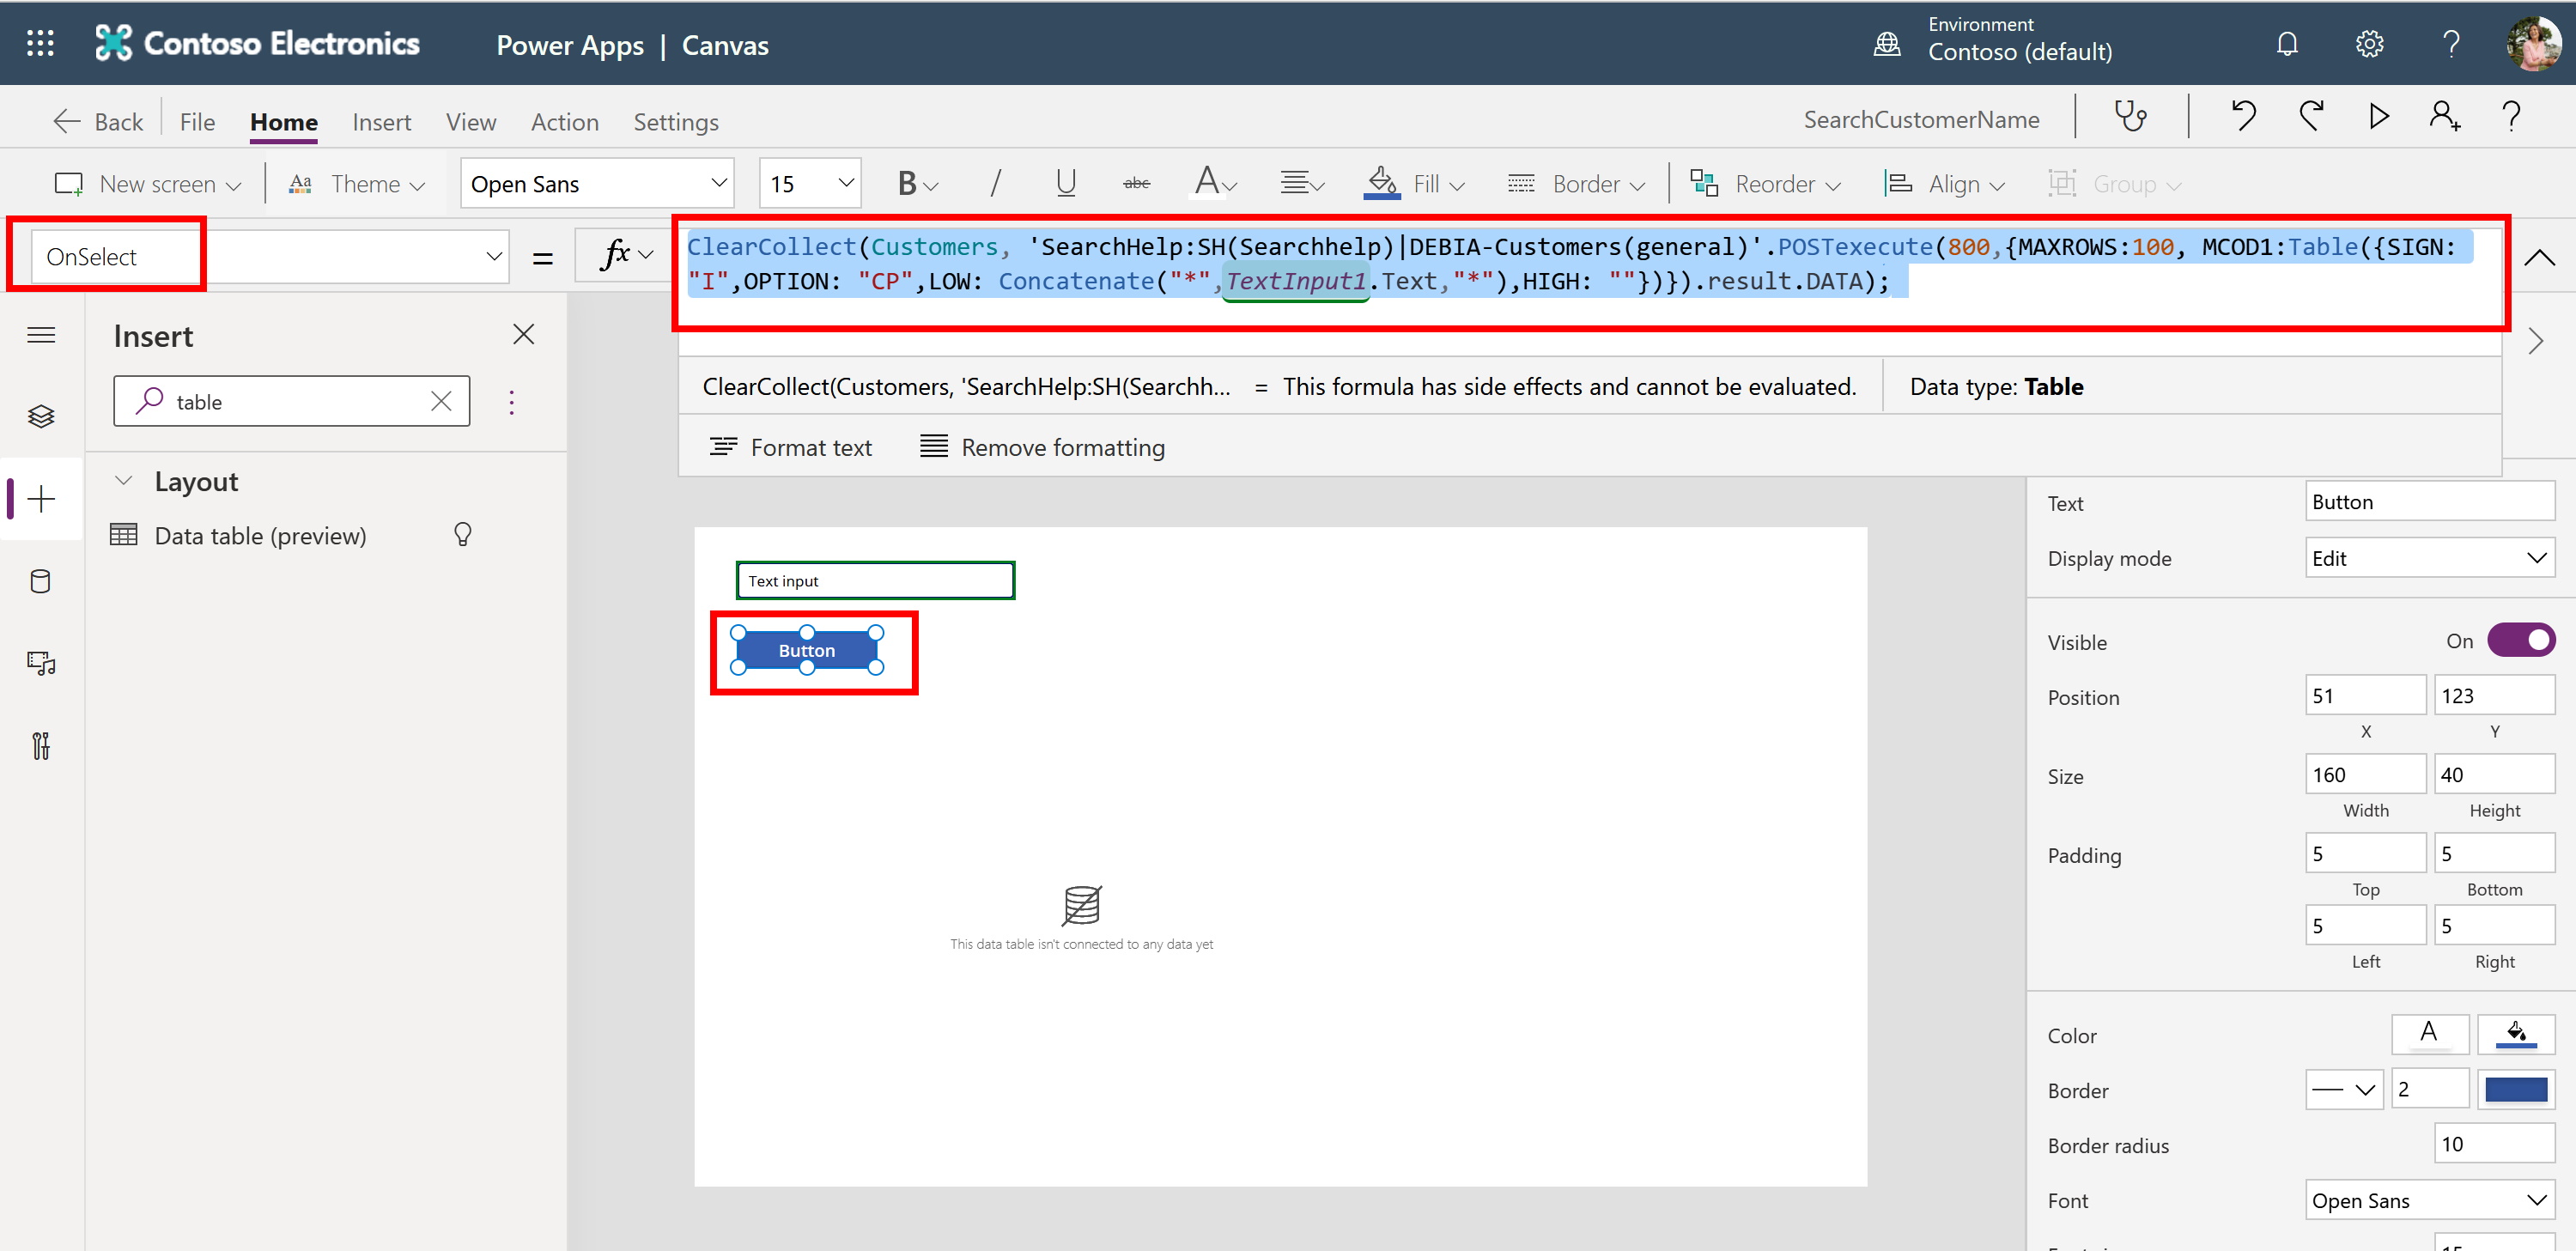
Now select the button you created. Make sure that the Action for the Button is OnSelect and enter the function,
ClearCollect(Customers, 'SearchHelp:SH(Searchhelp)|DEBIA-Customers(general)'.POSTexecute(800,{MAXROWS:100, MCOD1:Table({SIGN: "I",OPTION: "CP",LOW: Concatenate("*",TextInput1.Text,"*"),HIGH: ""})}).result.DATA);
Note:
- ClearCollect creates a new collection that we can easily poulate and use in other items.
- SearchHelp:SH is the Custom Connection that we created in step xxx.
- The POSTexecute step is the function to lookup the customer information
- it requires several mandatory parameters, like SAP-Client (800), MAXROWS (a default value of 100 as an example), MCOD1 (a Table with information on what customer information we should look for)
- TextInput1.Text is the value the user interes in the Input Field. You can find the execat property name by clicking on the Next infput field
Now click on the table and link the newly created Collection "Customers" to it.
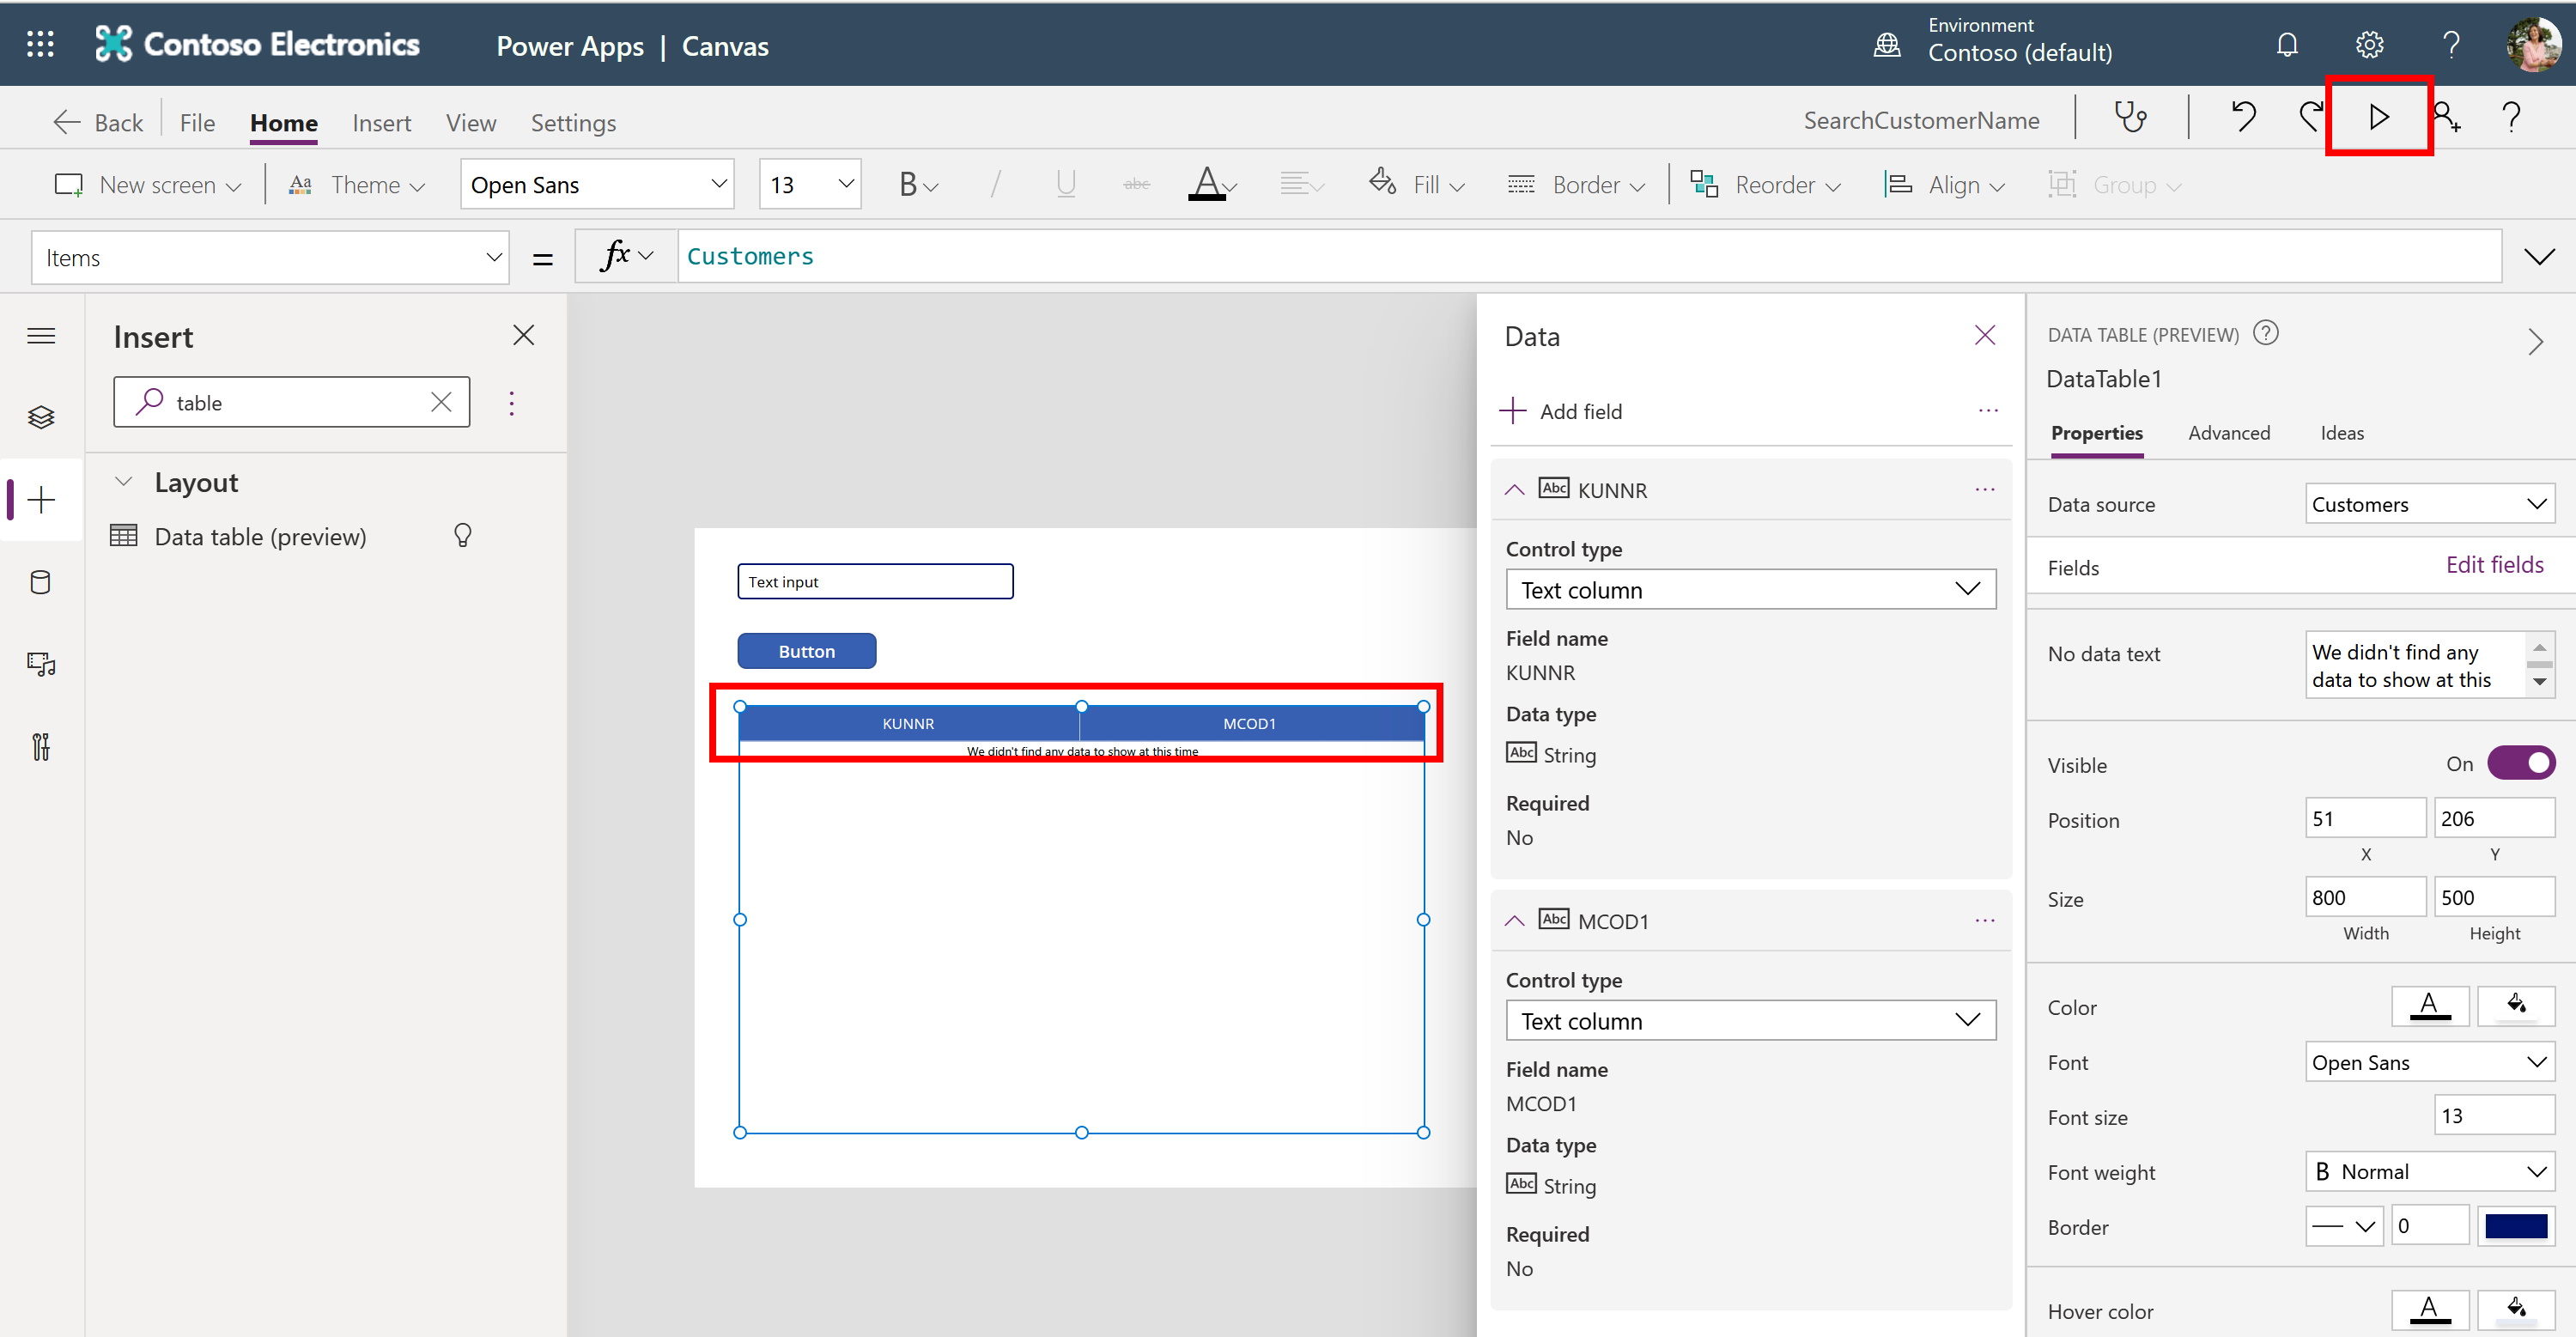
On the right hand side under Data sources -> Customers click on Fields -> Edit fields, click on "+ Add field" and select the two properties KUNNR and MCOD1. Then click on Add.

The result should look like this (now you can see the name of the two columns). It's time to test the Power Apps. On the upper right corner click on the "Play" button.
Enter some letters in the Input field and click the button. As a result you should see customer data displayed in the Power App.
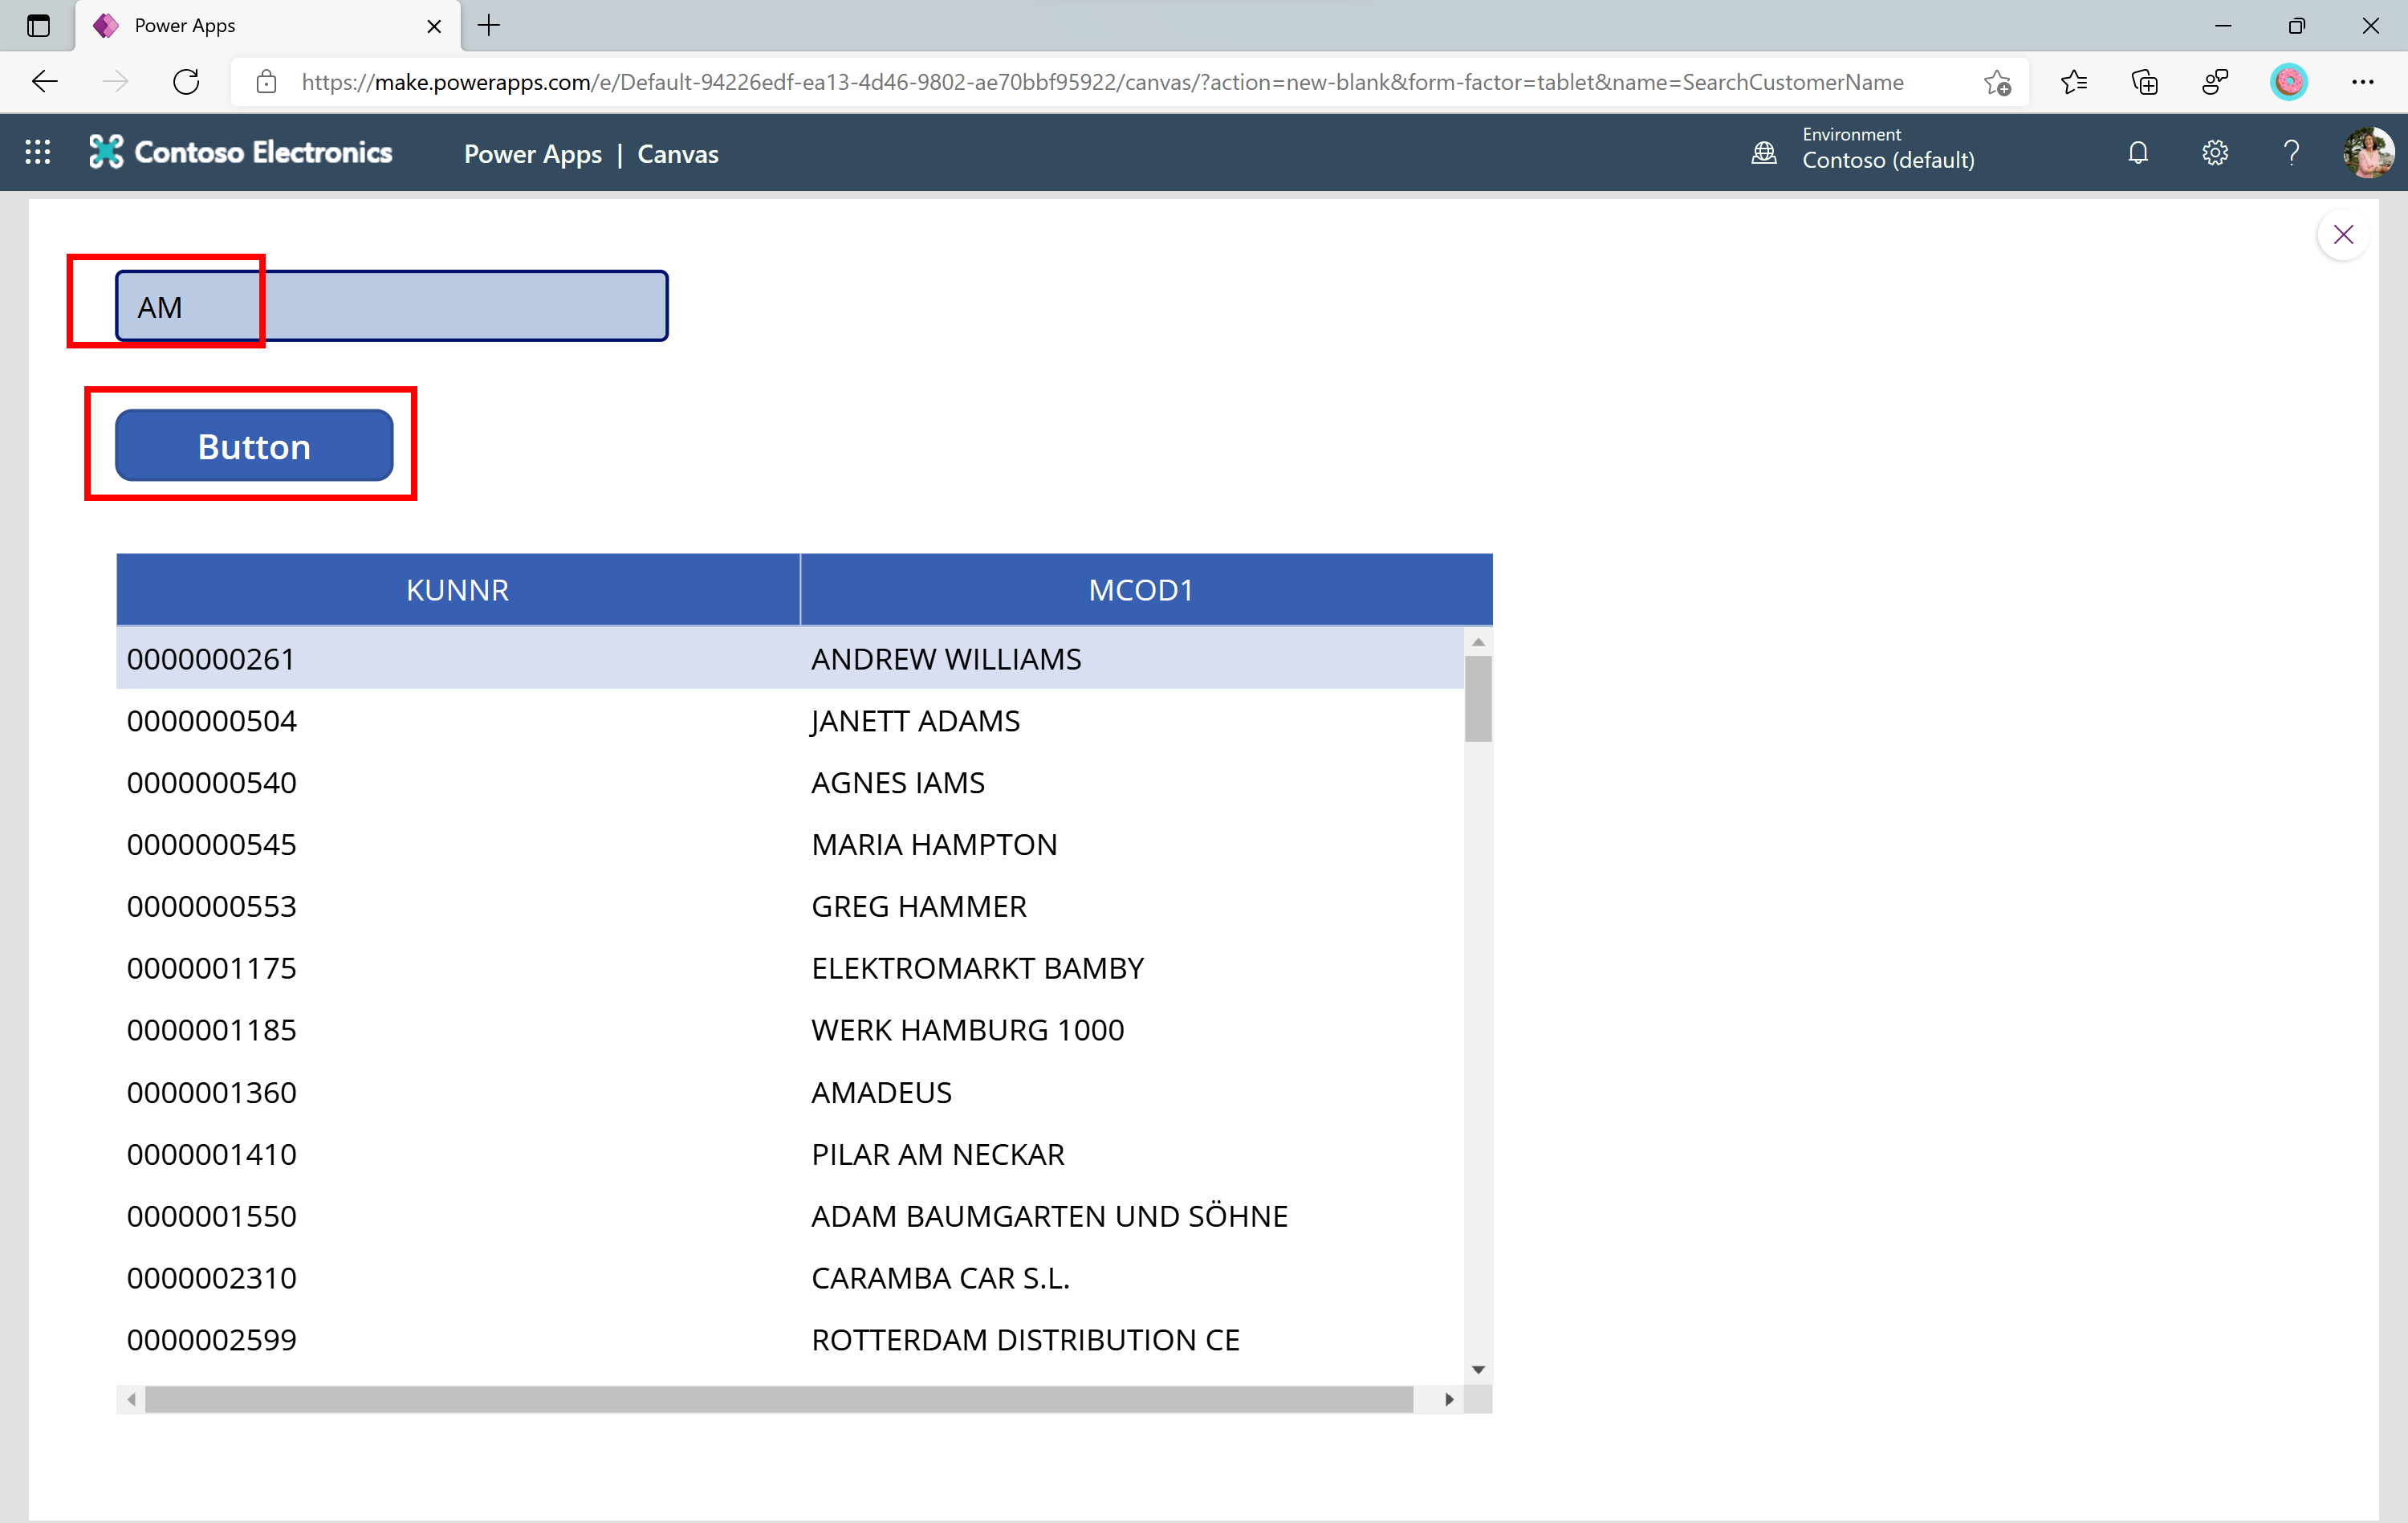
With this the app is ready. You can save it, publish it and distribute it within the organization. Now that you have the Custom Connector it can also be used in Power Automate Flow (for example to integrate it in Teams, Excel, ...).
