- Lab 9
-

-


-
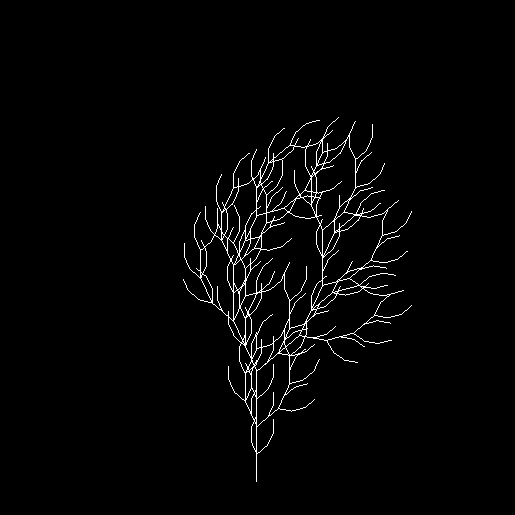
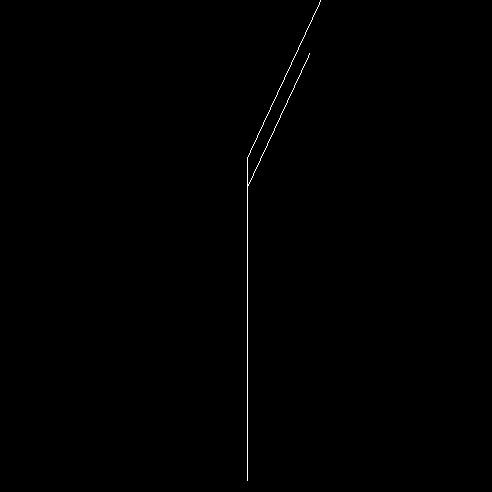
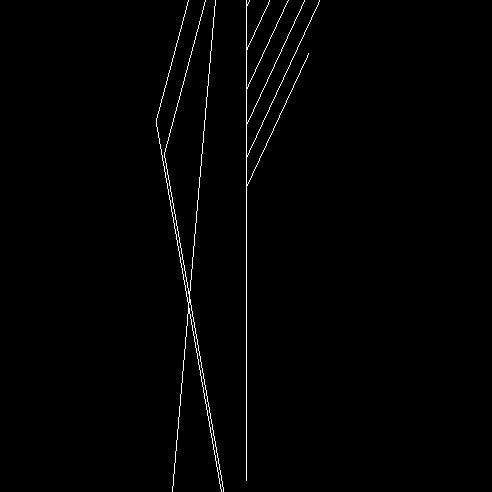
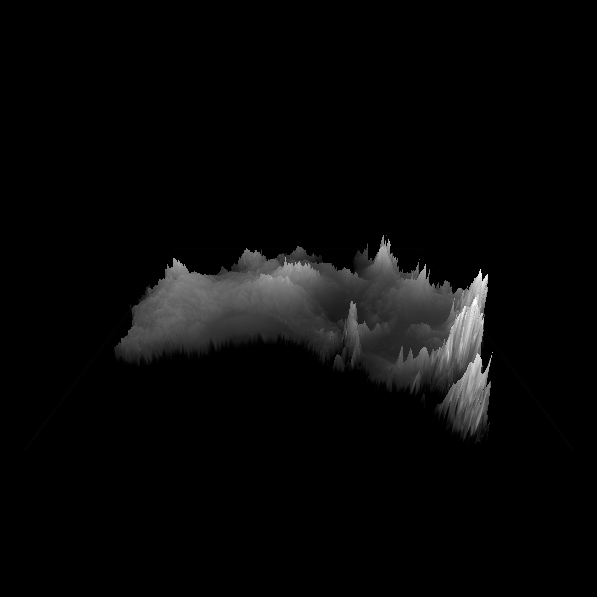
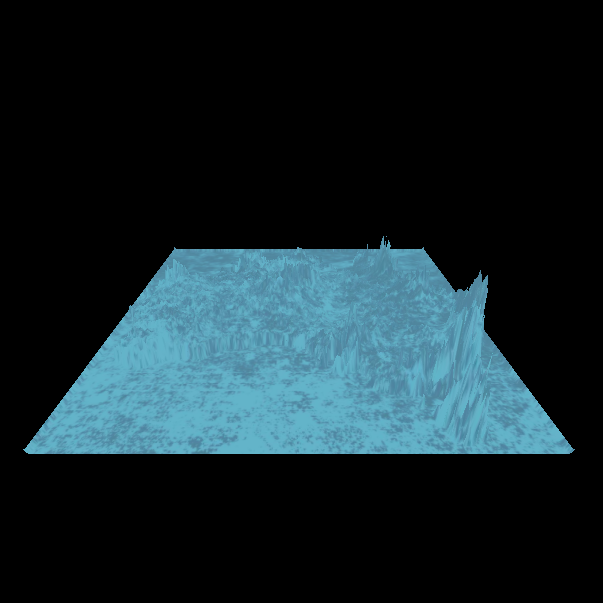
I was doing the original A->AB, B->A with different sequences. I'm curious on how the image will look with different instruction.


- Lab 8
-
-
-
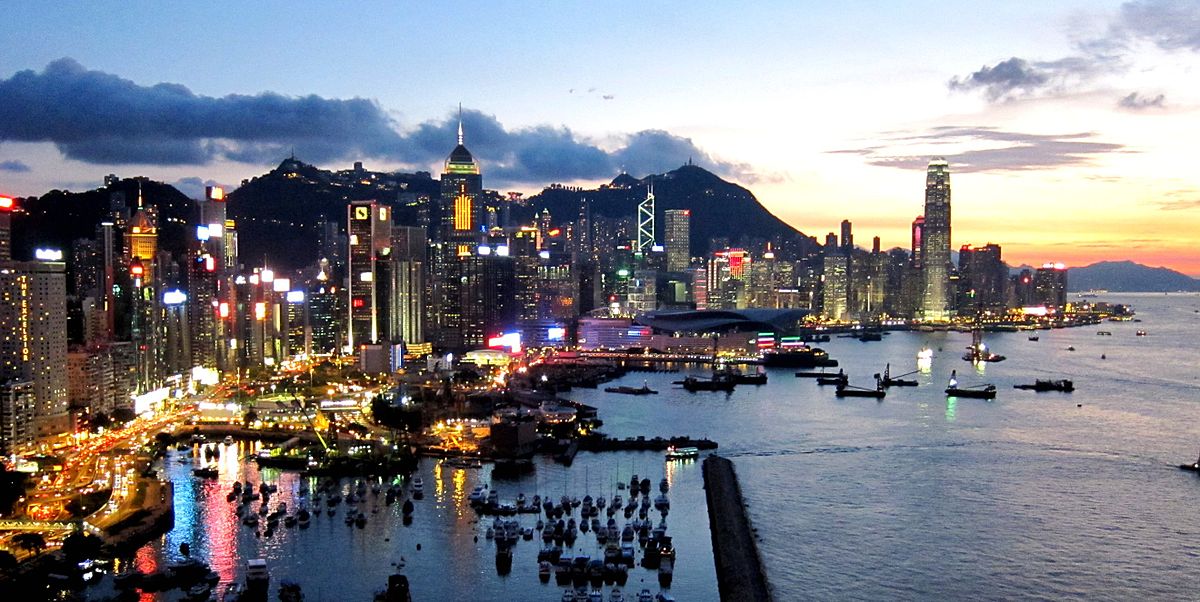
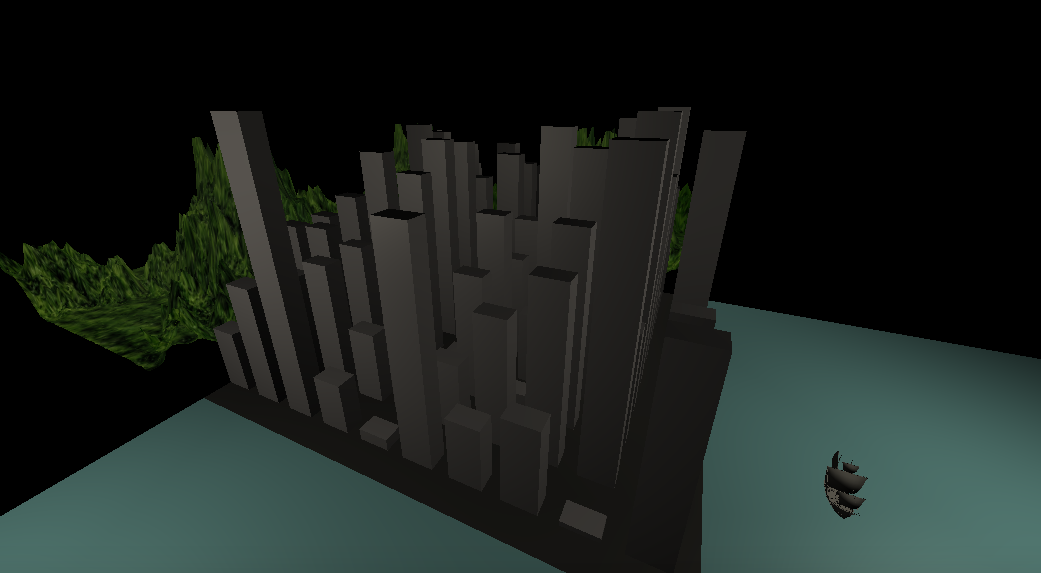
Based on the picture, I added the mountain behind the city and ocean besides the city. I also added a boat to reminiscent the city signature junk boat(couldn't find free model of junk boat, hehe).


My Partner Repsonse: "The way I did it was that instead of arranging the buildings in a grid using x and y, I arranged them in circles with r (radius) and d (degrees) d increments by 5-10 degrees per building, and then rotates them by that amount so that they're facing the center"
- Lab 7
-
-
https://drive.google.com/file/d/1ZaRTYNyMSxbOeZs79oI3t4XJ1JFV3jk5/view?usp=sharing
-
https://drive.google.com/file/d/1QtOgFIz5FXJHiDObidxjA32SRQuhiCDj/view?usp=sharing


-Which part did my partner do?
I did part 1.
-Which part of a tutorial did your partner find most challenging?
Step 6 where you need to import more models&materials. As it is not clear in the handout that using the universal rendering
pipeline would cause problems with custom shaders, it was really hard for me to import one into the scene.
-Which part of a tutorial did your partner find most interesting?
Step 4 where you get to make a wave with only the shader. It was epic.
- Lab 6

- Lab 5
a.) video link: https://drive.google.com/open?id=1T-nAFOFCe2oApHi9cXM11thiliPizI3G
b.) video link: https://drive.google.com/open?id=1iWmPXbM32jE_ijNjCislKdPg0W4amIWP
c.) video link: https://drive.google.com/open?id=1mtVjJbnUz8QSFJRKRBhVM86FYKX5jXjb
I made my custom scene by combining the techinque we learned from part a and part b. I first used the part a technique, replace the texture with a cloud picture. And add the particle with rain drop texture, and changed the velocity downwards.
- Lab 4
Answers: 24 a.) x = u * (width of texture)
b.) y = (height of texture) - v * (height of texture)
c.) x = 0.375 * 8 = 3 y = 8 - (0.25 * 8) = 6 (3, 6), which is a white grid.
Video Link: https://drive.google.com/file/d/1L0O49qEahsB8Kn-4NYQjwX0nJak6loJa/view?usp=sharing
- The first cube is the leftmost one. I first created a mesh, and I apply a texture on its surface.
- The second cube is the middle one. After I created the mesh, I apply the texture on its surface and the normal at last.
- The thrid cube is the rightmost one. I repeated the process from the second cube, but using a new texture & normal.
- The forth one is the downmost one. Instead of using the built in material attributes, I wrote a shader to apply texture on the mesh.
- The last cube is the upmost one. I repeated the same process from the forth cube. I did the tiling by mutiplying the the uv coordinates by 3 and applied modulo (by 0.5).
- Lab 3
Video Link: https://drive.google.com/file/d/1KMBJpjPNrFZP9a-H9bvyScomGrOxq47O/view?usp=sharing
- I made the first cube by creating a cube and adding phong material (green) on it
- It's similar to the first one, but instead of using phong material, I used lambert material (blue).
- I first created a vertx shader and a fragment shader file for coloring. then, made variables and loader code. Lastly, created the function to build the cube and add animation.
- The process is similar to (3), but the colors are changed.
- Lab 2
Part 1 Video Link: https://drive.google.com/open?id=1lYS7XkilJ2G4QZed1QMRvOKfkb292tng
Part 2
