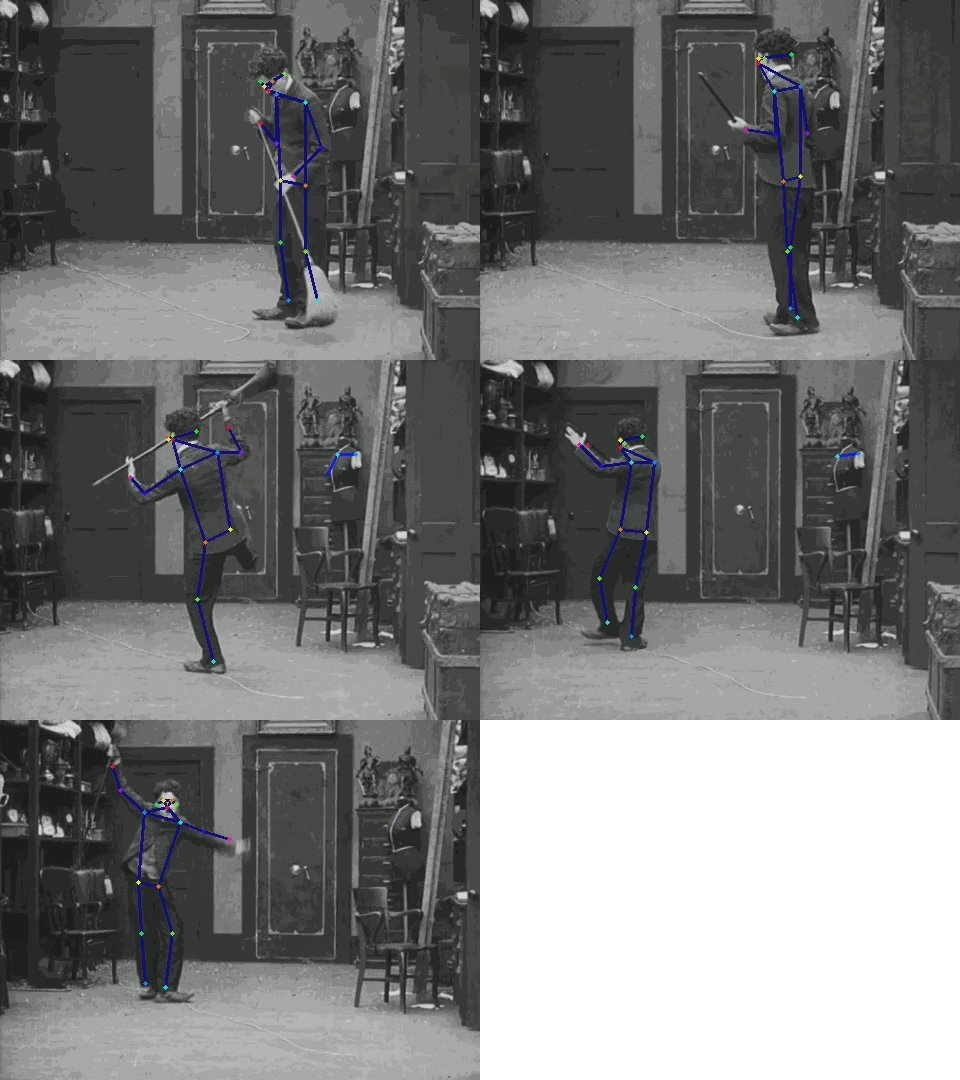
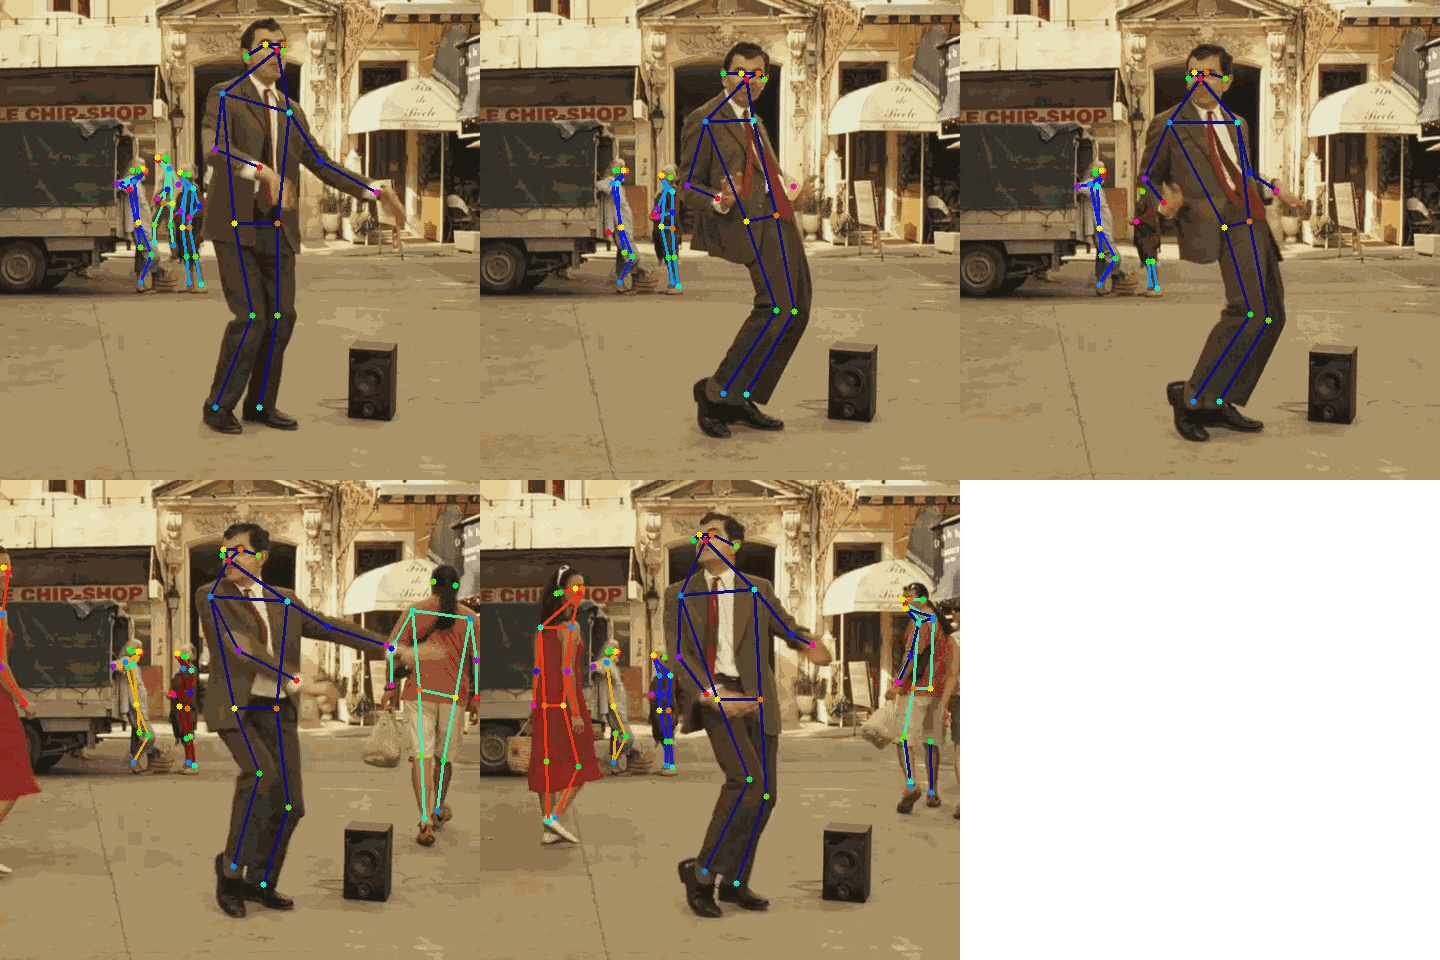
This is an unofficial implementation of the paper
Deep High-Resolution Representation Learning for Human Pose Estimation.
The code is a simplified version of the official code
with the ease-of-use in mind.
The code is fully compatible with the official pre-trained weights and the results are the same of the original implementation (only slight differences on gpu due to CUDA). It supports both Windows and Linux.
This repository provides:
- A simple
HRNetimplementation in PyTorch (>=1.0) - compatible with official weights (pose_hrnet_*). - A simple class (
SimpleHRNet) that loads the HRNet network for the human pose estimation, loads the pre-trained weights, and make human predictions on a single image or a batch of images. - NEW Support for "SimpleBaselines" model based on ResNet - compatible with official weights (
pose_resnet_*). - NEW Support for multi-GPU inference.
- NEW Add option for using YOLOv3-tiny (faster, but less accurate person detection).
- NEW Add options for retrieving yolo bounding boxes and HRNet heatmaps.
- Multi-person support with YOLOv3 (enabled by default).
- A reference code that runs a live demo reading frames from a webcam or a video file.
- A relatively-simple code for training and testing the HRNet network.
- A specific script for training the network on the COCO dataset.
- NEW A Google Colab notebook showcasing how to use this repository - Sincere thanks to @basicvisual and @wuyenlin.
If you are interested in HigherHRNet, please look at simple-HigherHRNet
 |
 |
import cv2
from SimpleHRNet import SimpleHRNet

model = SimpleHRNet(48, 17, "./weights/pose_hrnet_w48_384x288.pth")
image = cv2.imread("image.png", cv2.IMREAD_COLOR)

joints = model.predict(image)
The most useful parameters of the __init__ function are:
| c | number of channels (HRNet: 32, 48; PoseResNet: resnet size) |
| nof_joints | number of joints (COCO: 17, MPII: 16) |
| checkpoint_path | path of the (official) weights to be loaded |
| model_name | 'HRNet' or 'PoseResNet' |
| resolution | image resolution, it depends on the loaded weights |
| multiperson | enable multiperson prediction |
| return_heatmaps | the `predict` method returns also the heatmaps |
| return_bounding_boxes | the `predict` method returns also the bounding boxes (useful in conjunction with `multiperson`) |
| max_batch_size | maximum batch size used in hrnet inference |
| device | device (cpu or cuda) |
From a connected camera:
python scripts/live-demo.py --camera_id 0
From a saved video:
python scripts/live-demo.py --filename video.mp4
For help:
python scripts/live-demo.py --help
From a saved video:
python scripts/extract-keypoints.py --format csv --filename video.mp4
For help:
python scripts/extract-keypoints.py --help
python scripts/train_coco.py
For help:
python scripts/train_coco.py --help
-
Clone the repository
git clone https://github.com/stefanopini/simple-HRNet.git -
Install the required packages
pip install -r requirements.txt -
Download the official pre-trained weights from https://github.com/leoxiaobin/deep-high-resolution-net.pytorch
Direct links (official Drive folder, official OneDrive folder):- COCO w48 384x288 (more accurate, but slower) - Used as default in
live_demo.pyand the other scripts
pose_hrnet_w48_384x288.pth - COCO w32 256x192 (less accurate, but faster)
pose_hrnet_w32_256x192.pth - MPII w32 256x256 (MPII human joints)
pose_hrnet_w32_256x256.pth
Remember to set the parameters of SimpleHRNet accordingly (in particular
c,nof_joints, andresolution). - COCO w48 384x288 (more accurate, but slower) - Used as default in
-
For multi-person support:
- Get YOLOv3:
- Clone YOLOv3
in the folder
./models/detectorsand change the folder name fromPyTorch-YOLOv3toyolo
OR - Update git submodules
git submodule update --init --recursive
- Clone YOLOv3
in the folder
- Install YOLOv3 required packages
pip install -r requirements.txt(from folder./models/detectors/yolo) - Download the pre-trained weights running the script
download_weights.shfrom theweightsfolder
- Get YOLOv3:
-
(Optional) Download the COCO dataset and save it in
./datasets/COCO -
Your folders should look like:
simple-HRNet ├── datasets (datasets - for training only) │ └── COCO (COCO dataset) ├── losses (loss functions) ├── misc (misc) │ └── nms (CUDA nms module - for training only) ├── models (pytorch models) │ └── detectors (people detectors) │ └── yolo (PyTorch-YOLOv3 repository) │ ├── ... │ └── weights (YOLOv3 weights) ├── scripts (scripts) ├── testing (testing code) ├── training (training code) └── weights (HRnet weights) -
If you want to run the training script on COCO
scripts/train_coco.py, you have to build thenmsmodule first.
Please note that a linux machine with CUDA is currently required. Build it with either:cd misc; makeorcd misc/nms; python setup_linux.py build_ext --inplace
You may need to add the
./misc/nmsdirectory in thePYTHONPATHvariable:
export PYTHONPATH="<path-to-simple-HRNet>/misc/nms:$PYTHONPATH"
Thanks to the great work of @basicvisual and @wuyenlin, you can also try this repository online on Google Colab.
More details and the notebook URL are available in this issue.
Please make sure to make a copy on your own Google Drive and to change the Colab "Runtime type" from CPU to GPU or TPU.