- Snow Leopard install ISO (You can grab one from archive.org)
- OSX-KVM (https://github.com/kholia/OSX-KVM.git)
We need to change some properties in the OpenCore config plist.
OpenCore is installed on an external drive by default (as OpenCore/OpenCore.qcow2).
We need to edit EFI/OC/config.plist in the disk.
Mount the disk as follows:
mkdir -p ocfs
sudo modprobe nbd
sudo qemu-nbd --connect=/dev/nbd0 ./OpenCore/OpenCore.qcow2
sudo mount -o user /dev/nbd0p1 ocfs
Next, edit the config file with:
sudo vim ocfs/EFI/OC/config.plistMake sure the following varaibles are set:
AvoidRuntimeDefrag: YES
DevirtualiseMmio: YES
EnableSafeModeSlide: YES
ProtectUefiServices: NO
ProvideCustomSlide: YES
RebuildAppleMemoryMap: YES
AllowRelocationBlock: YES
(See quirks.txt for the exact contents of my config plist)
Once you are done, unmount the disk with:
sudo umount ocfs
sudo qemu-nbd --disconnect /dev/nbd0Edit boot-macOS-headless.sh with the following changes:
- Change the Install Media drive from
BaseSystem.dmgto your snow leopard installer ISO. - Change
OVMF_VARS-1920x1080.fdtoOVMF_VARS.fd - Change the network interface to use an
e1000-82545emdevice (otherwise networking will just not work). - Decrease the core and thread count to 1, and bump RAM up to 8192.
-ALLOCATED_RAM="7192" # MiB
+ALLOCATED_RAM="8192" # MiB
-CPU_CORES="2"
-CPU_THREADS="4"
+CPU_CORES="1"
+CPU_THREADS="1"
-  -drive if=pflash,format=raw,file="$REPO_PATH/$OVMF_DIR/OVMF_VARS-1920x1080.fd"
+  -drive if=pflash,format=raw,file="$REPO_PATH/$OVMF_DIR/OVMF_VARS.fd"
-  -drive id=InstallMedia,if=none,file="$REPO_PATH/BaseSystem.img",format=raw
+  -drive id=InstallMedia,if=none,file="./snowleopard.iso",format=raw
-  -netdev user,id=net0,hostfwd=tcp::2222-:22 -device vmxnet3,netdev=net0,id=net0,mac=52:54:00:c9:18:27
+  -netdev user,id=net0,hostfwd=tcp::2023-:22 -device e1000-82545em,netdev=net0,id=net0
Finally, create a qcow2 hard disk for your VM (by default called mac_hdd_ng.img) following the OSX-KVM instructions (qemu-img create -f qcow2 mac_hdd_ng.img 16G), and boot with ./boot-macOS-headless.sh.
Note that 16G should be enough for Snow Leopard with XCode but you can make it as large as you want.
Connect to the VM over VNC (by default, port 5901).
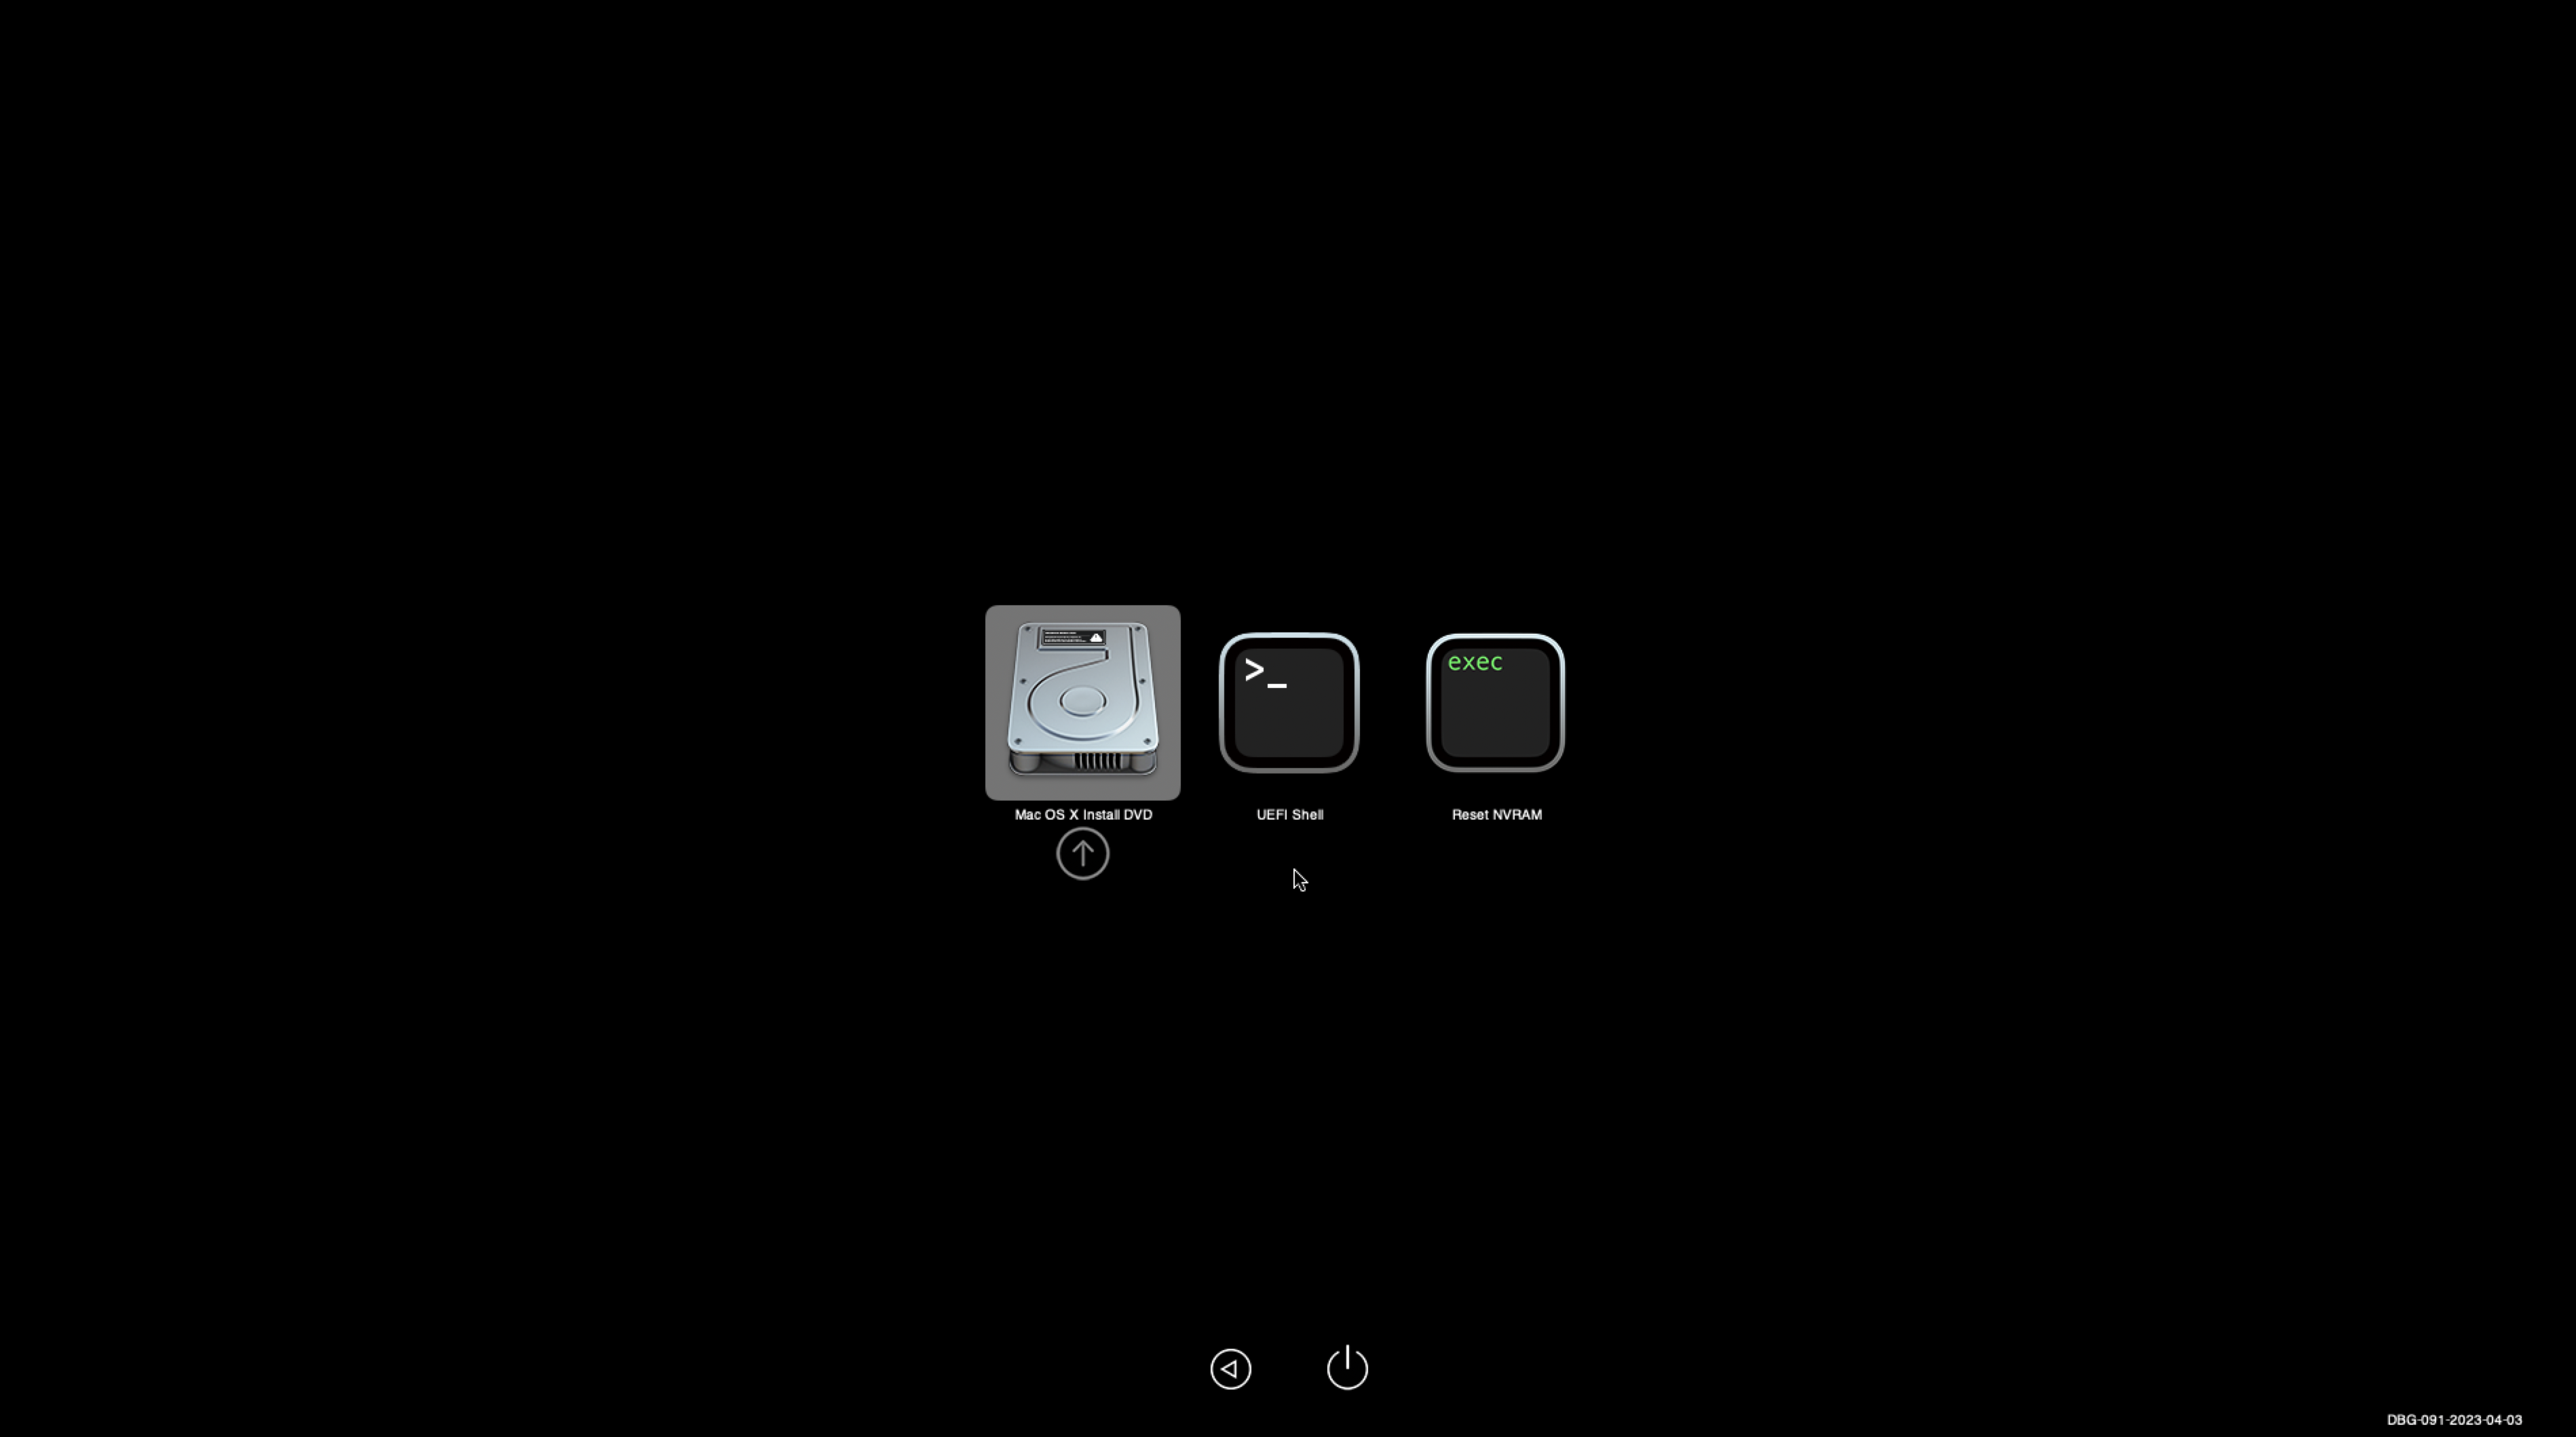
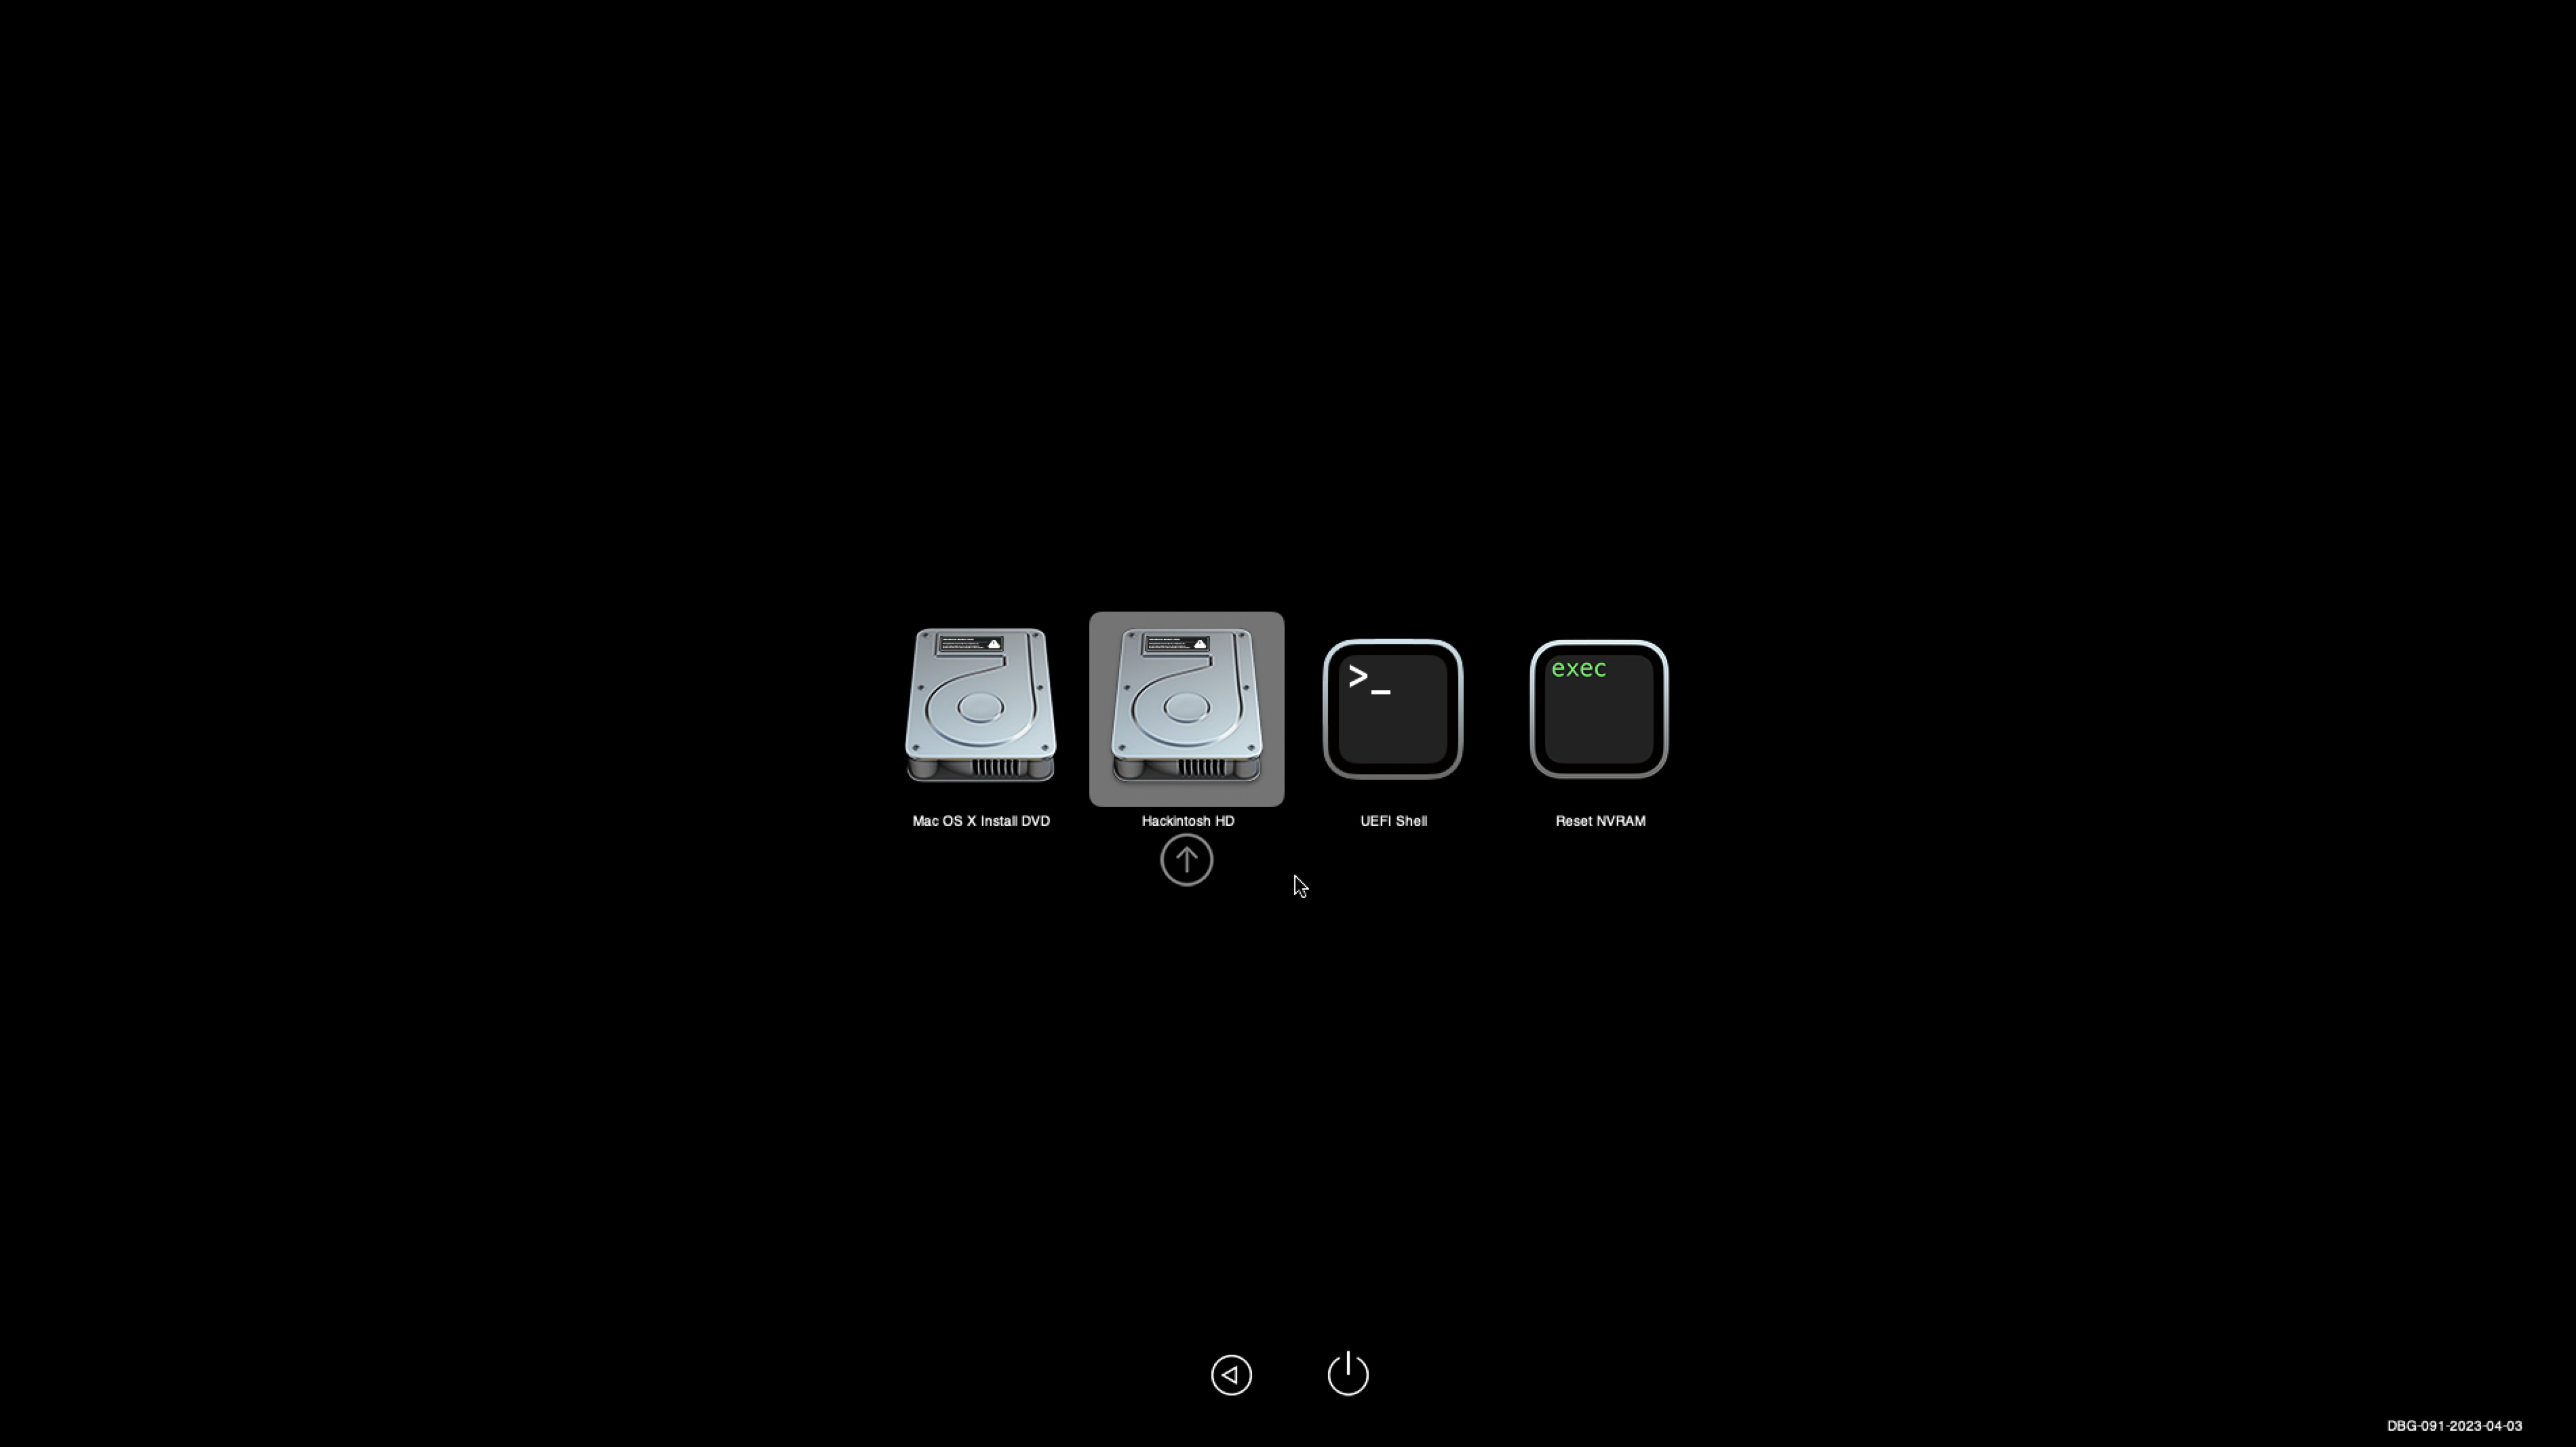
You should see the OpenCore boot manager with three options- press enter on "Mac OS X Install DVD".
(Note that your mouse cursor may not work in OpenCore, that is ok- use the arrow keys).
Proceed with the installation as normal.
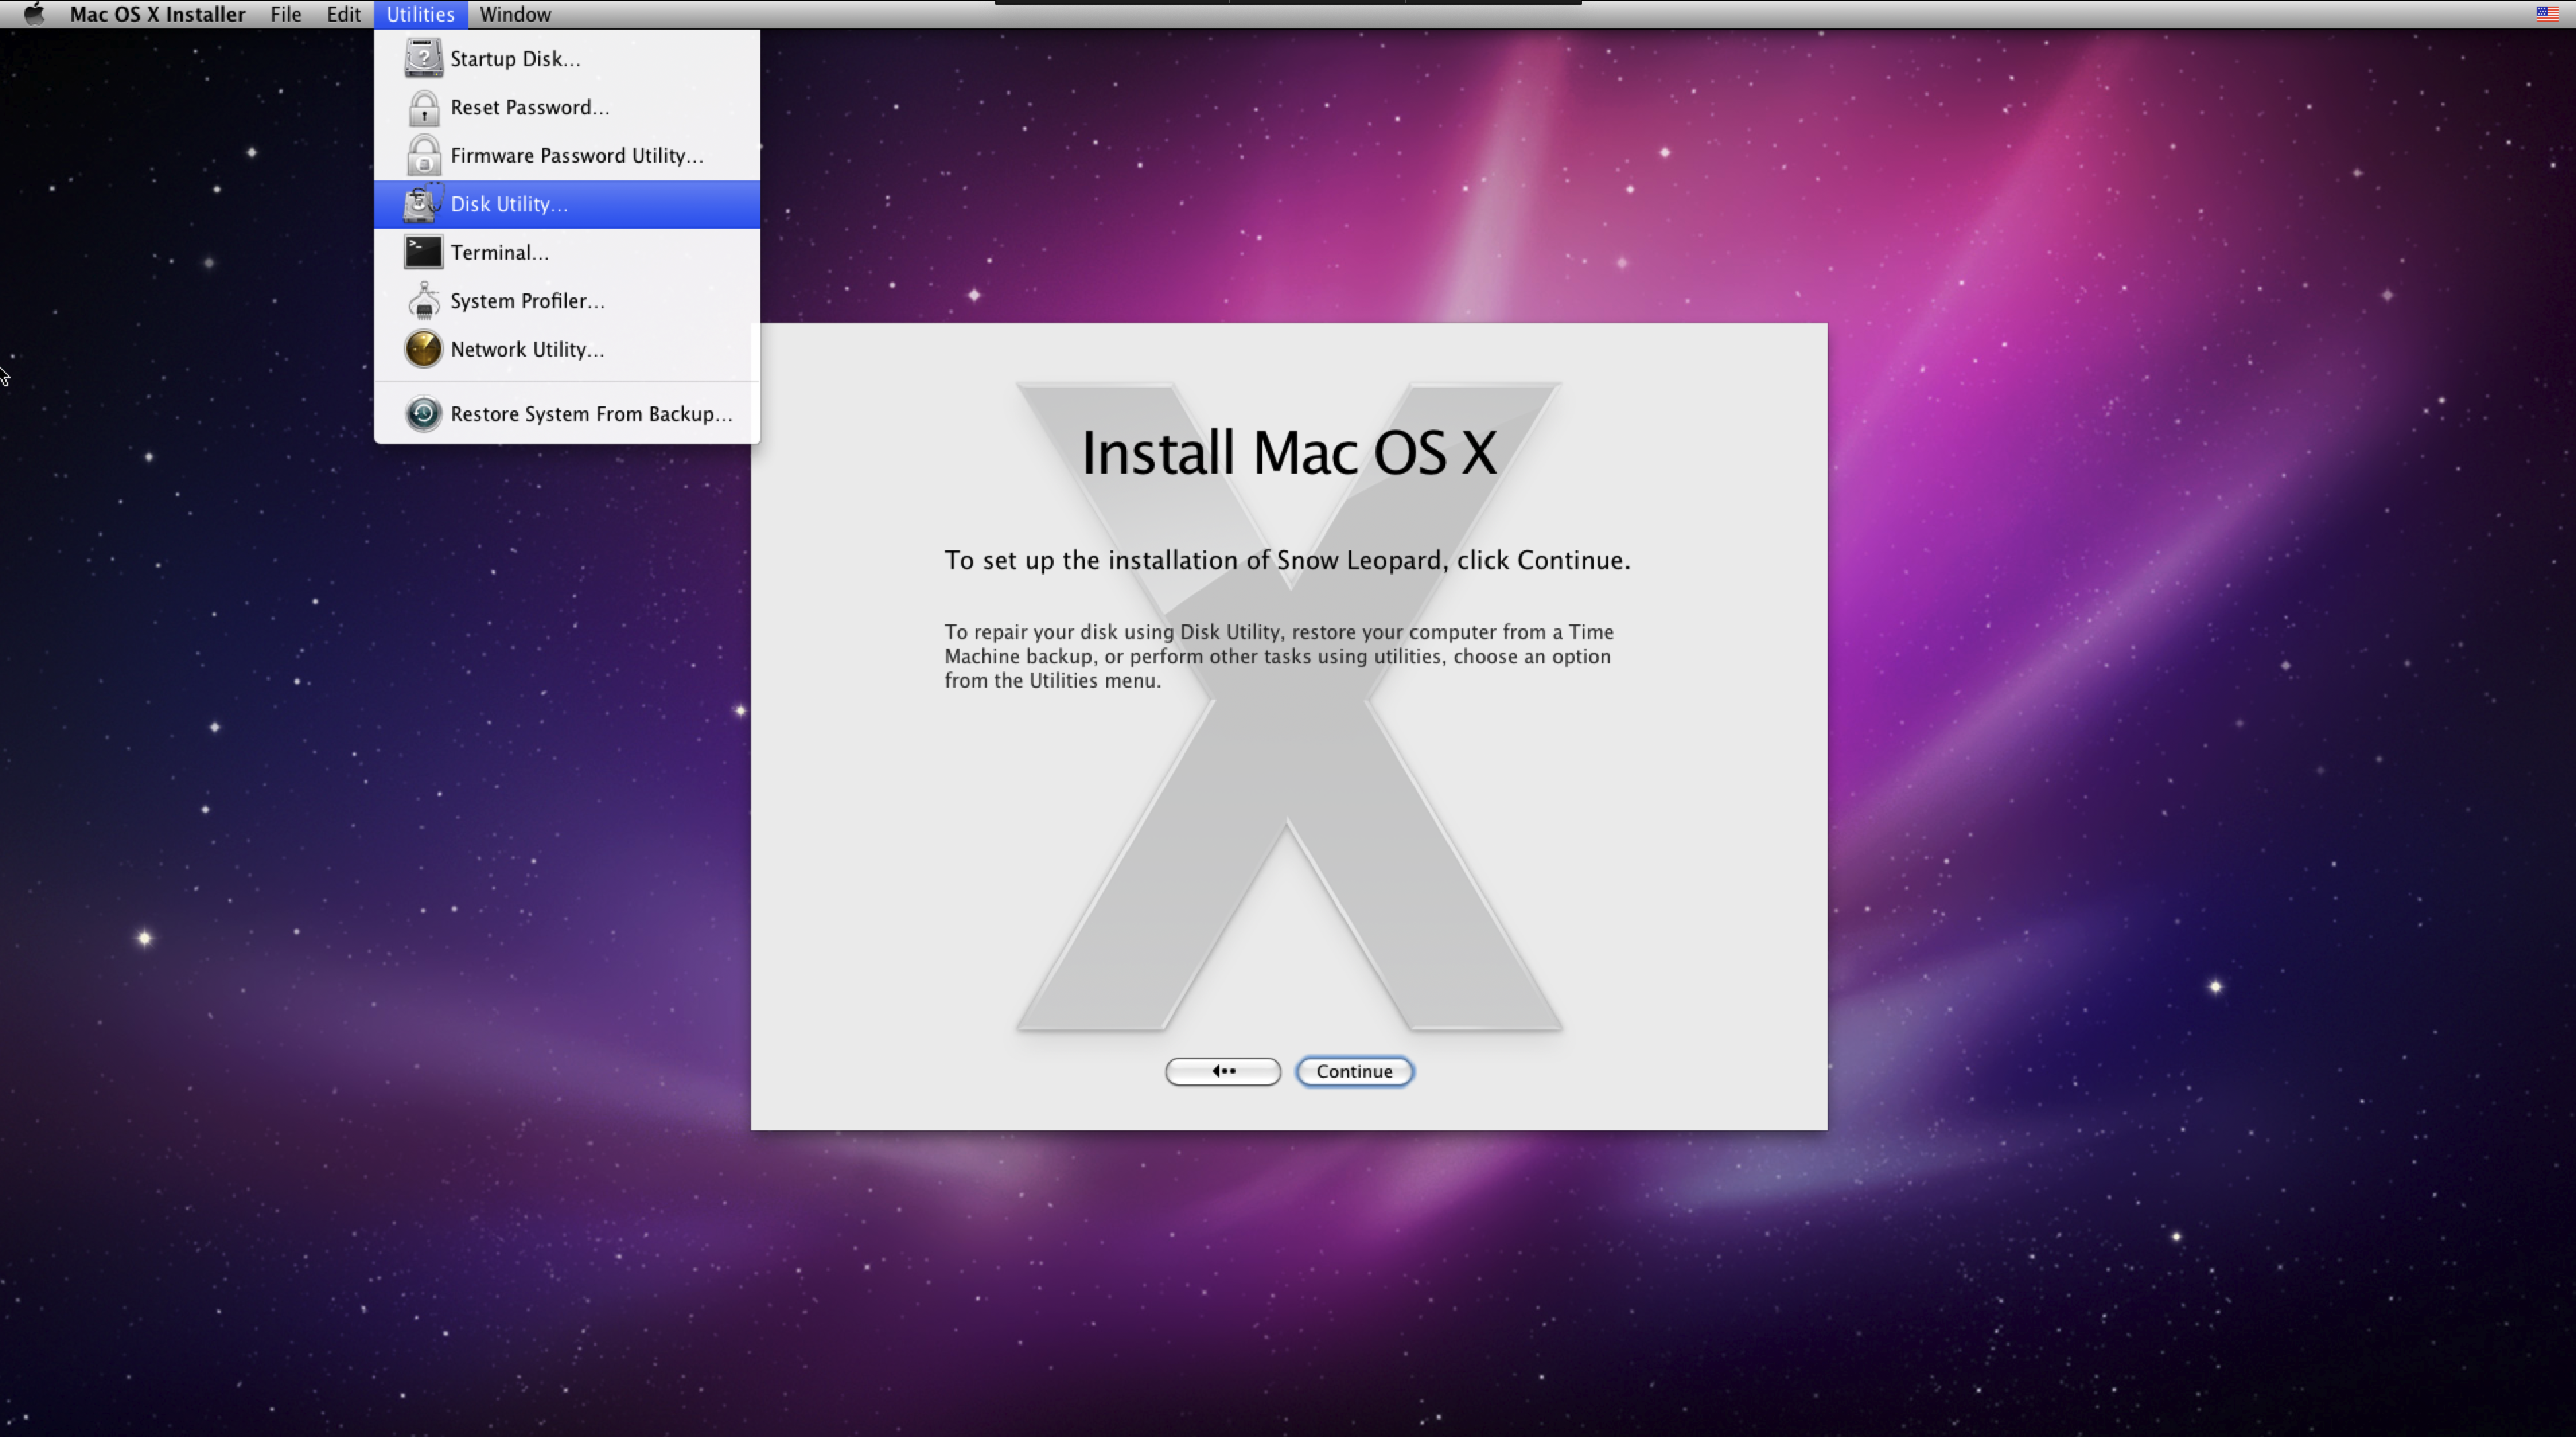
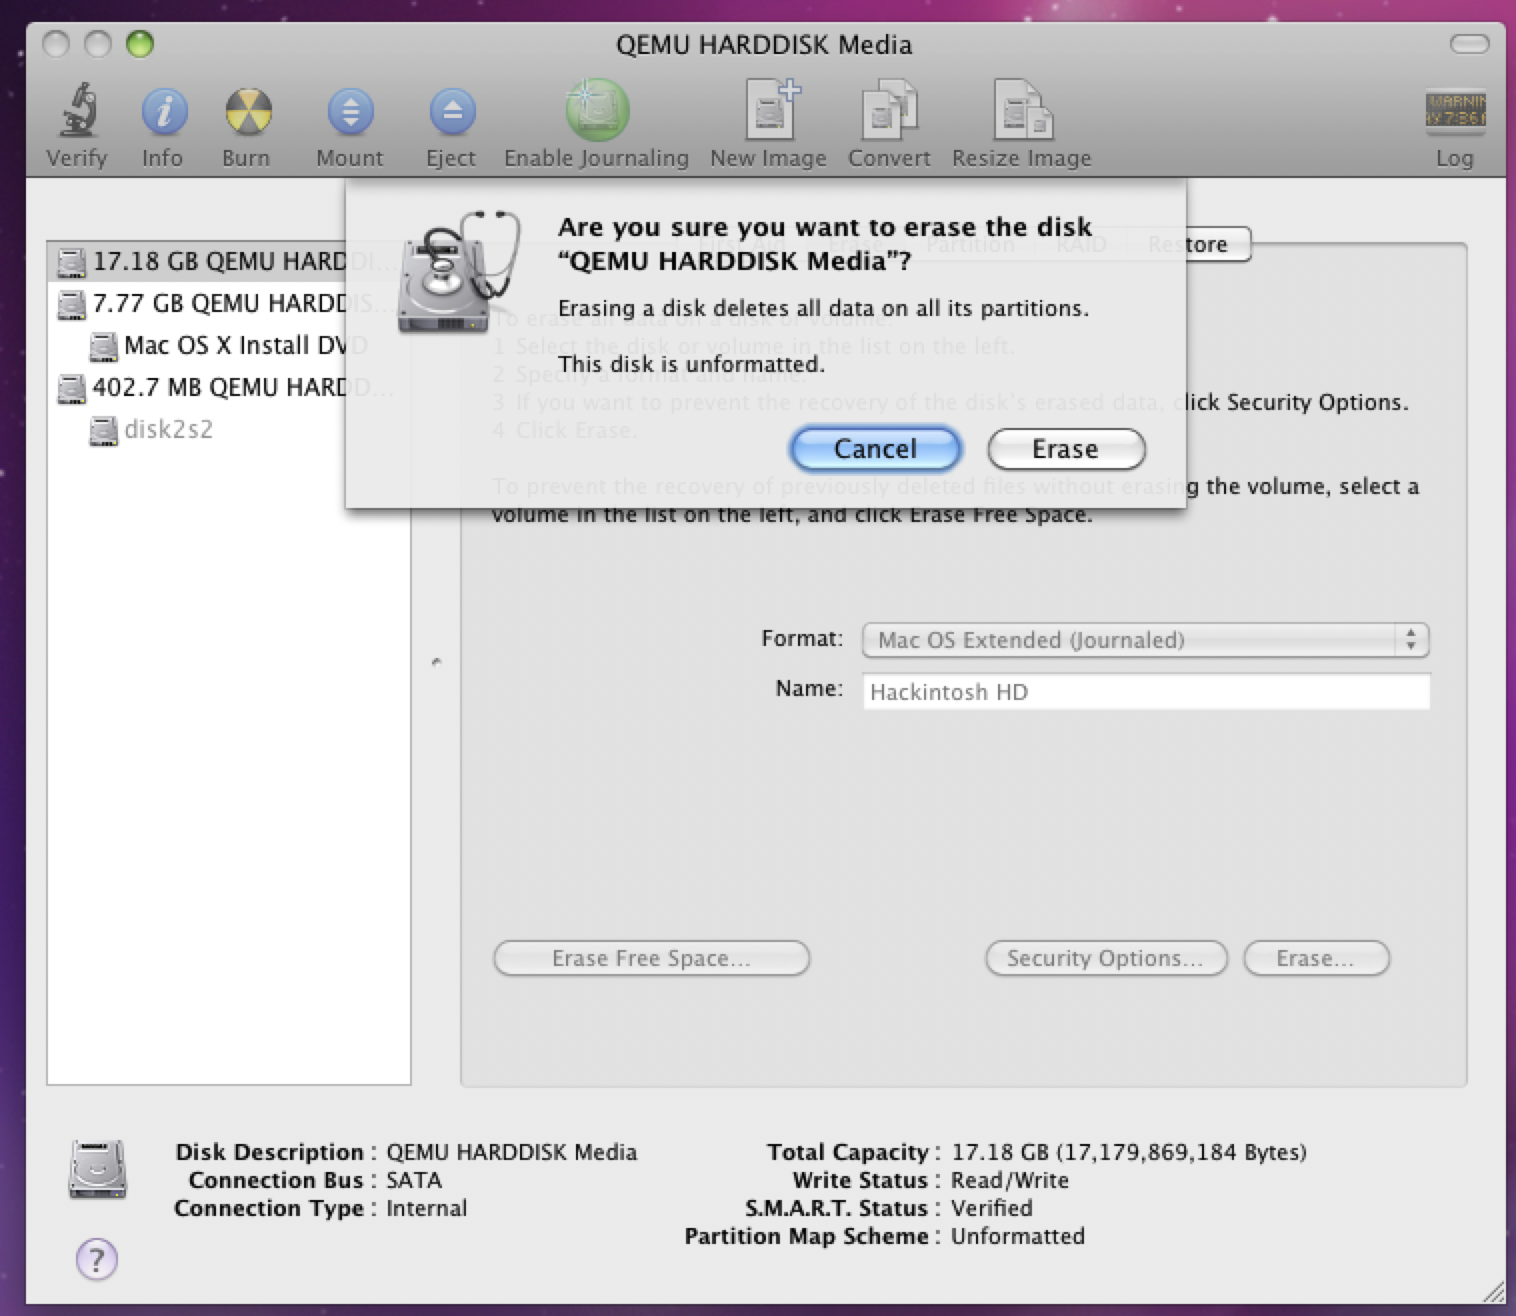
You'll need to format the disk as a MacOS Extended (Journaled) filesystem using Disk Utility, which can be found in the "Utilities" menu:
Next, proceed to install Snow Leopard to the Qemu disk (should take around 30 mins).
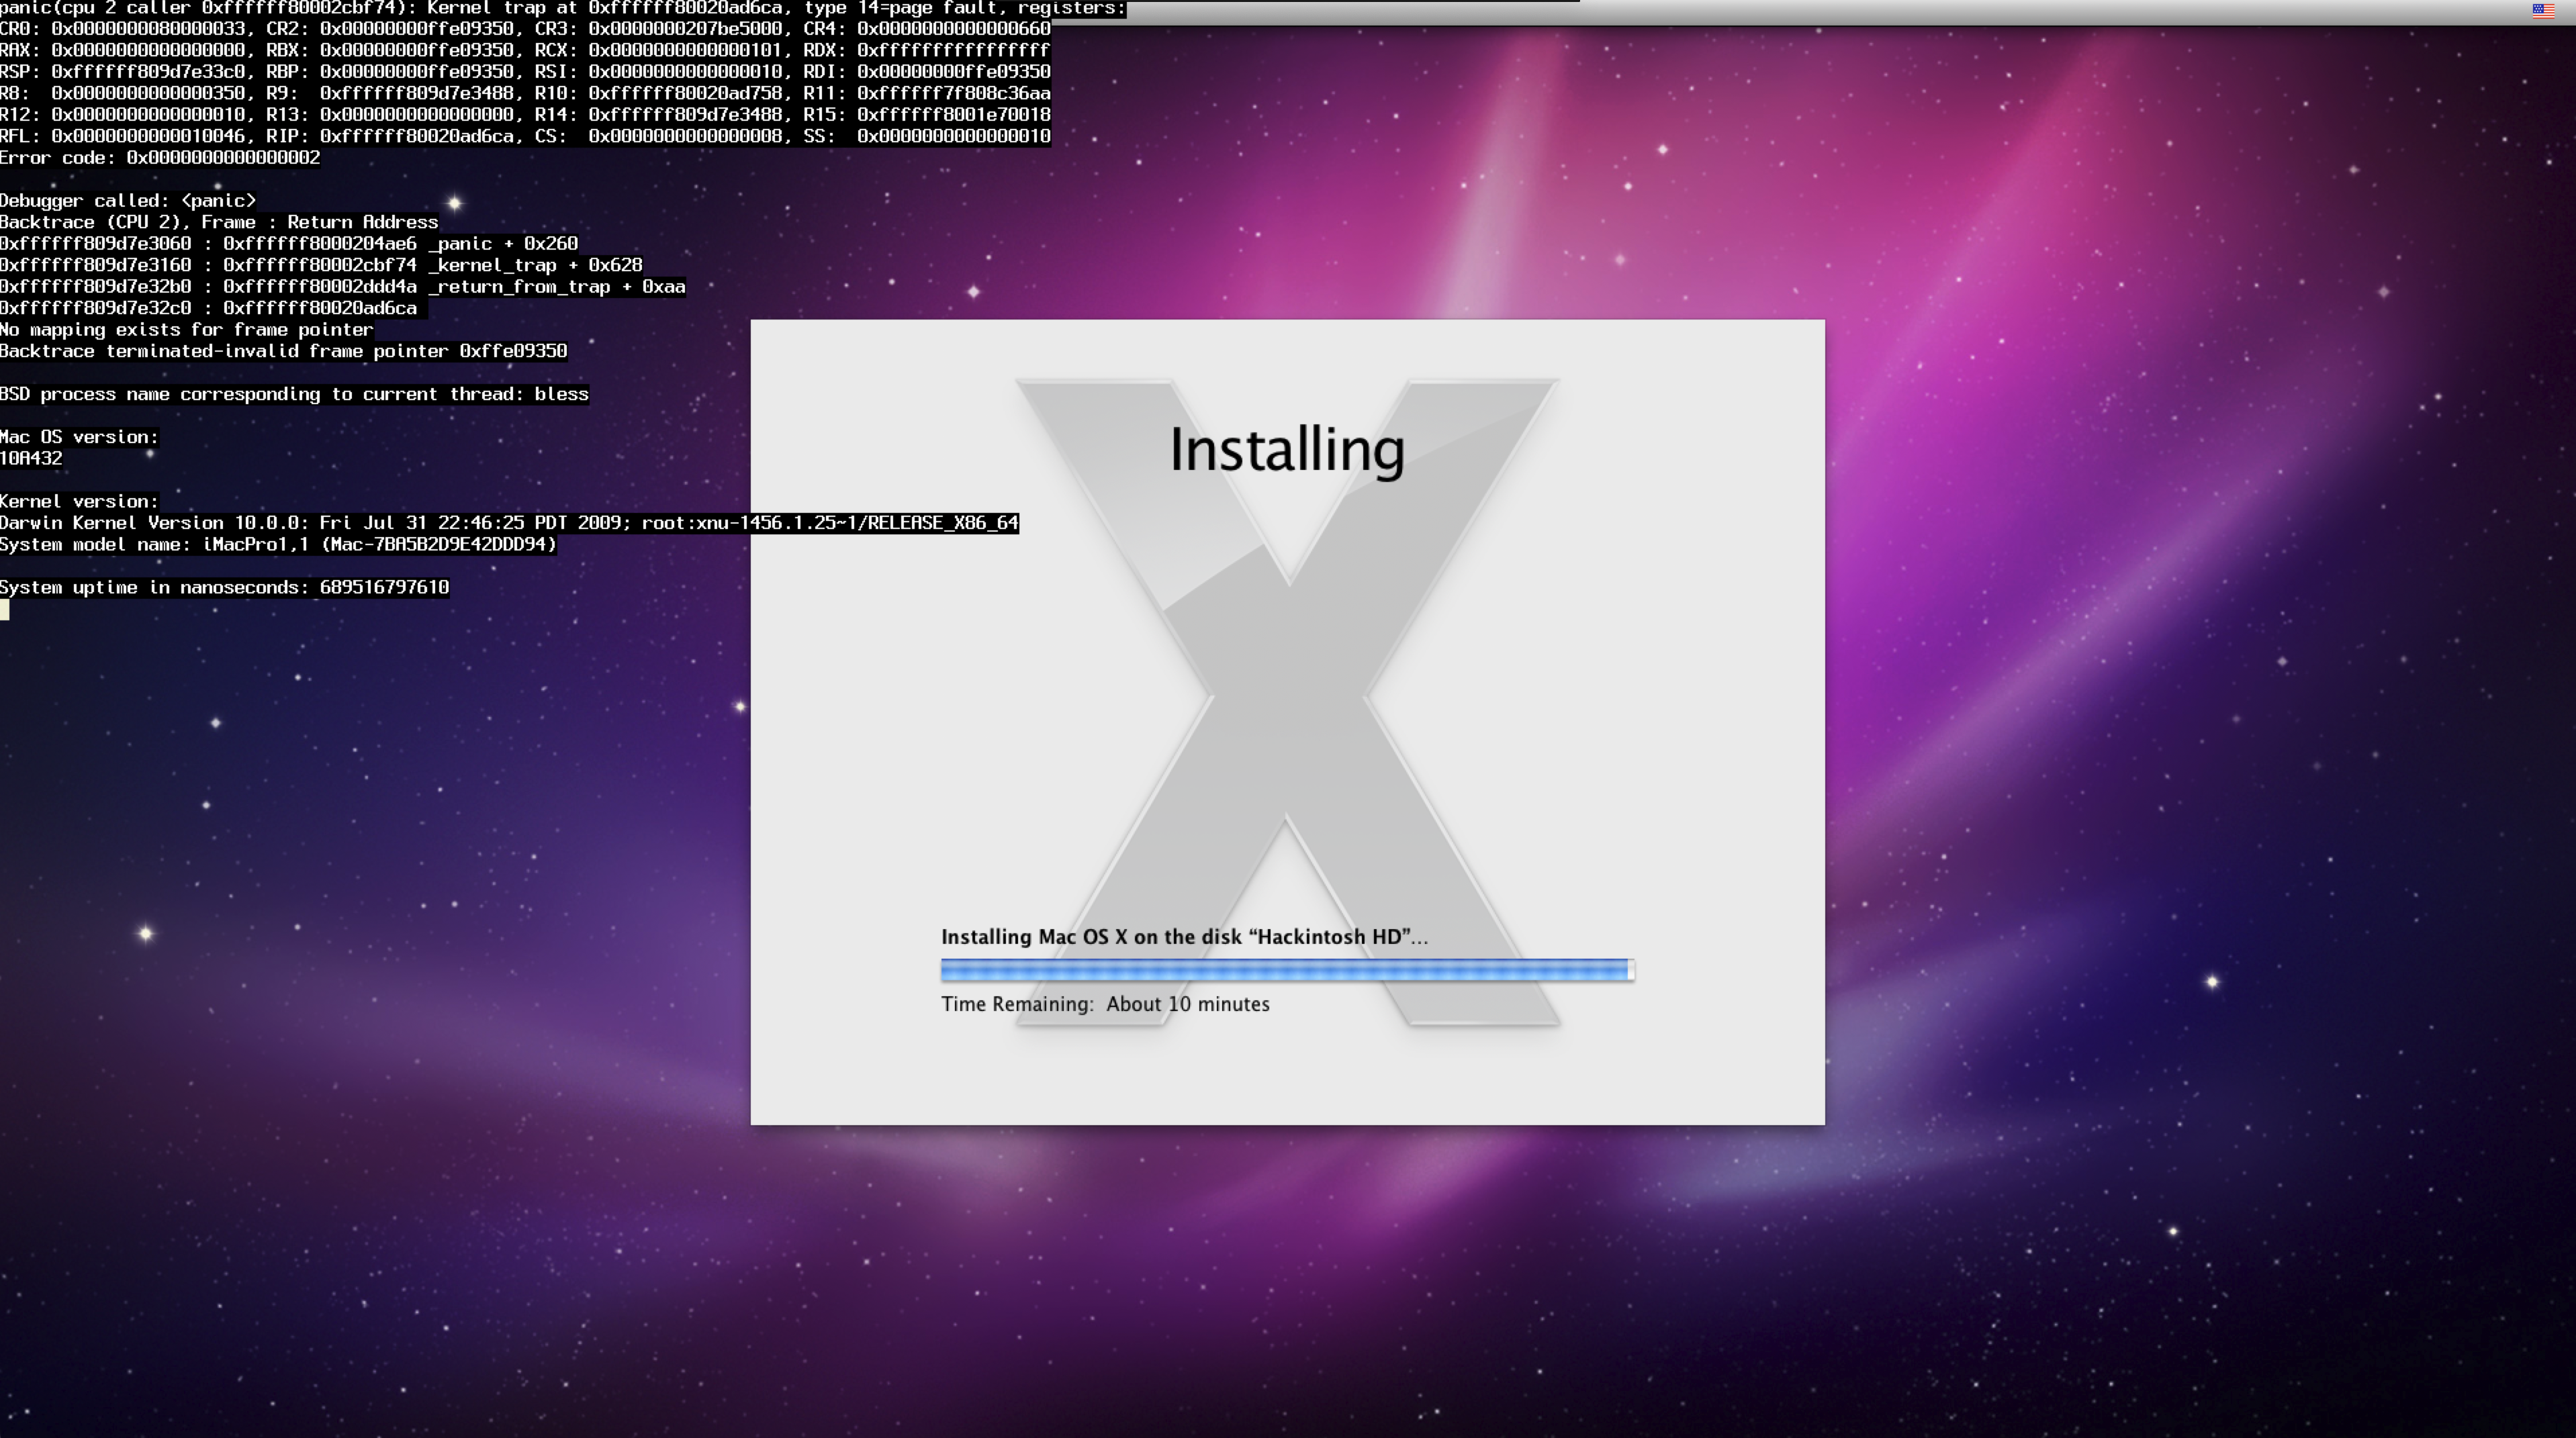
The installation will end in a kernel panic when the installer tries to bless the new drive.
This is expected and can be fixed.
Shut down the VM, restart it, and enter the installer again.
Open a Terminal window using Utilities -> Terminal (like how you opened Disk Utility).
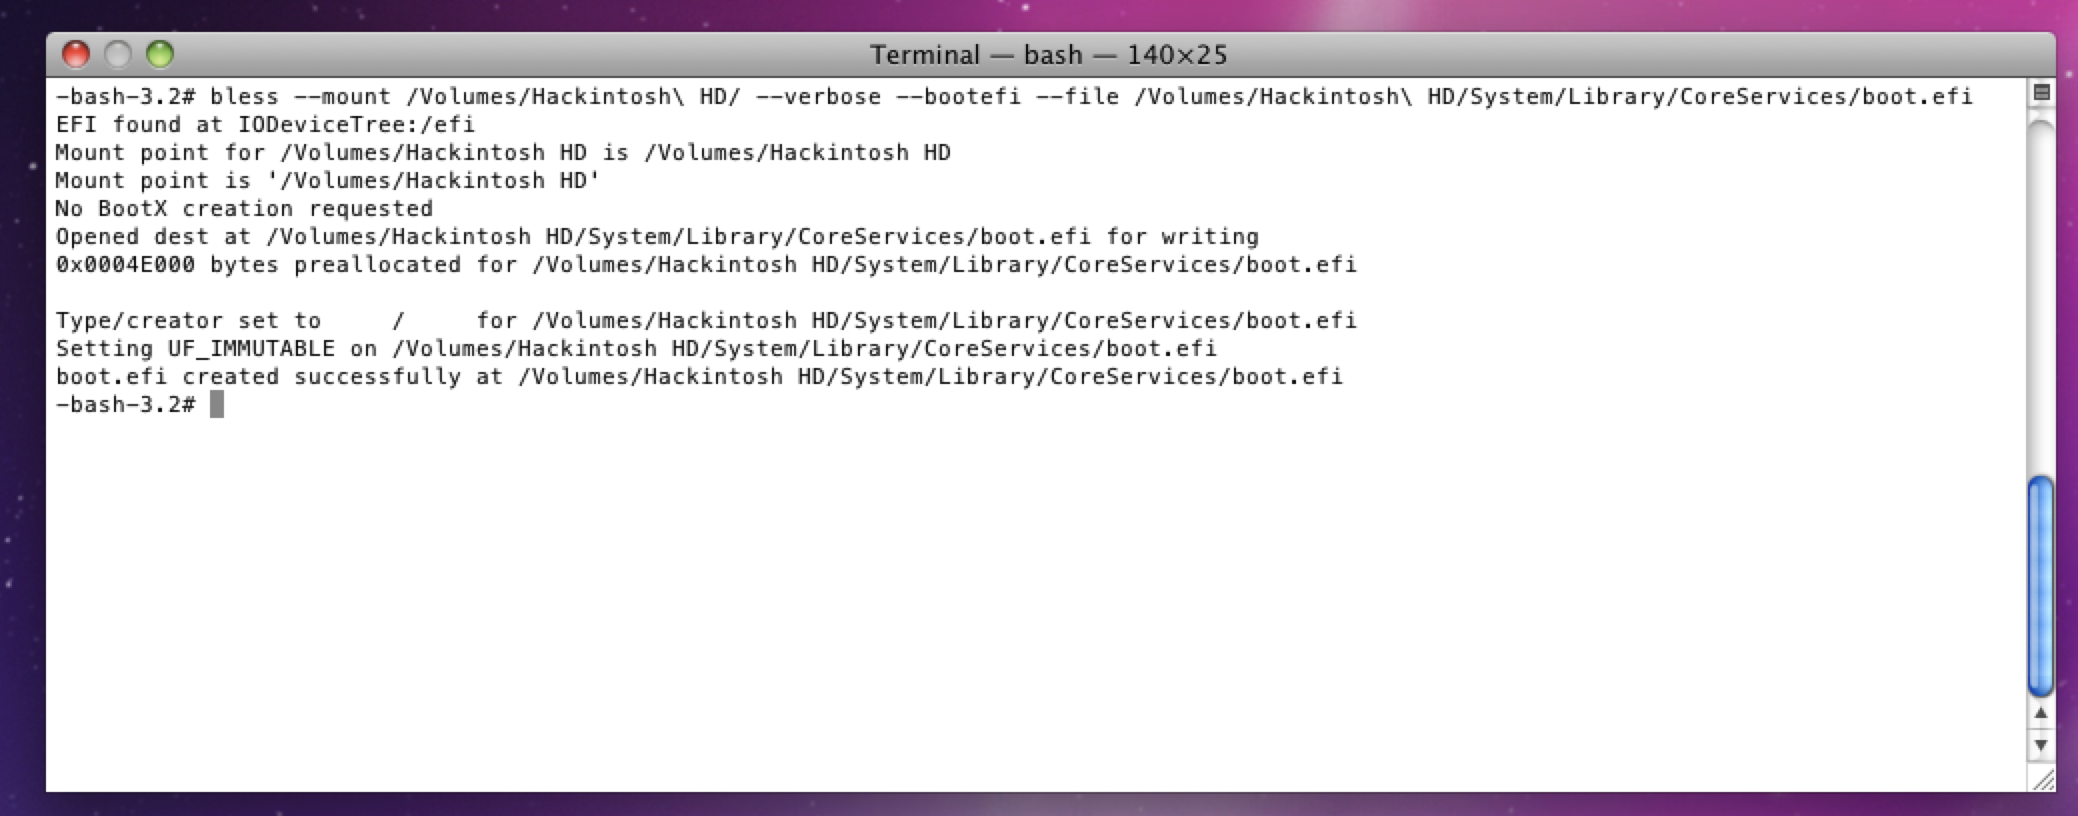
Type the following into the Terminal:
bless --mount /Volumes/Hackintosh\ HD/ --verbose --bootefi --file /Volumes/Hackintosh\ HD/System/Library/CoreServices/boot.efiWhere Hackintosh\ HD is replaced with whatever you called your new Snow Leopard drive when you formatted it in Disk Utility (note that this needs to be replaced in two spots in the command).
Finally, shut the VM down once again (you can use shutdown -h now from the Terminal window).
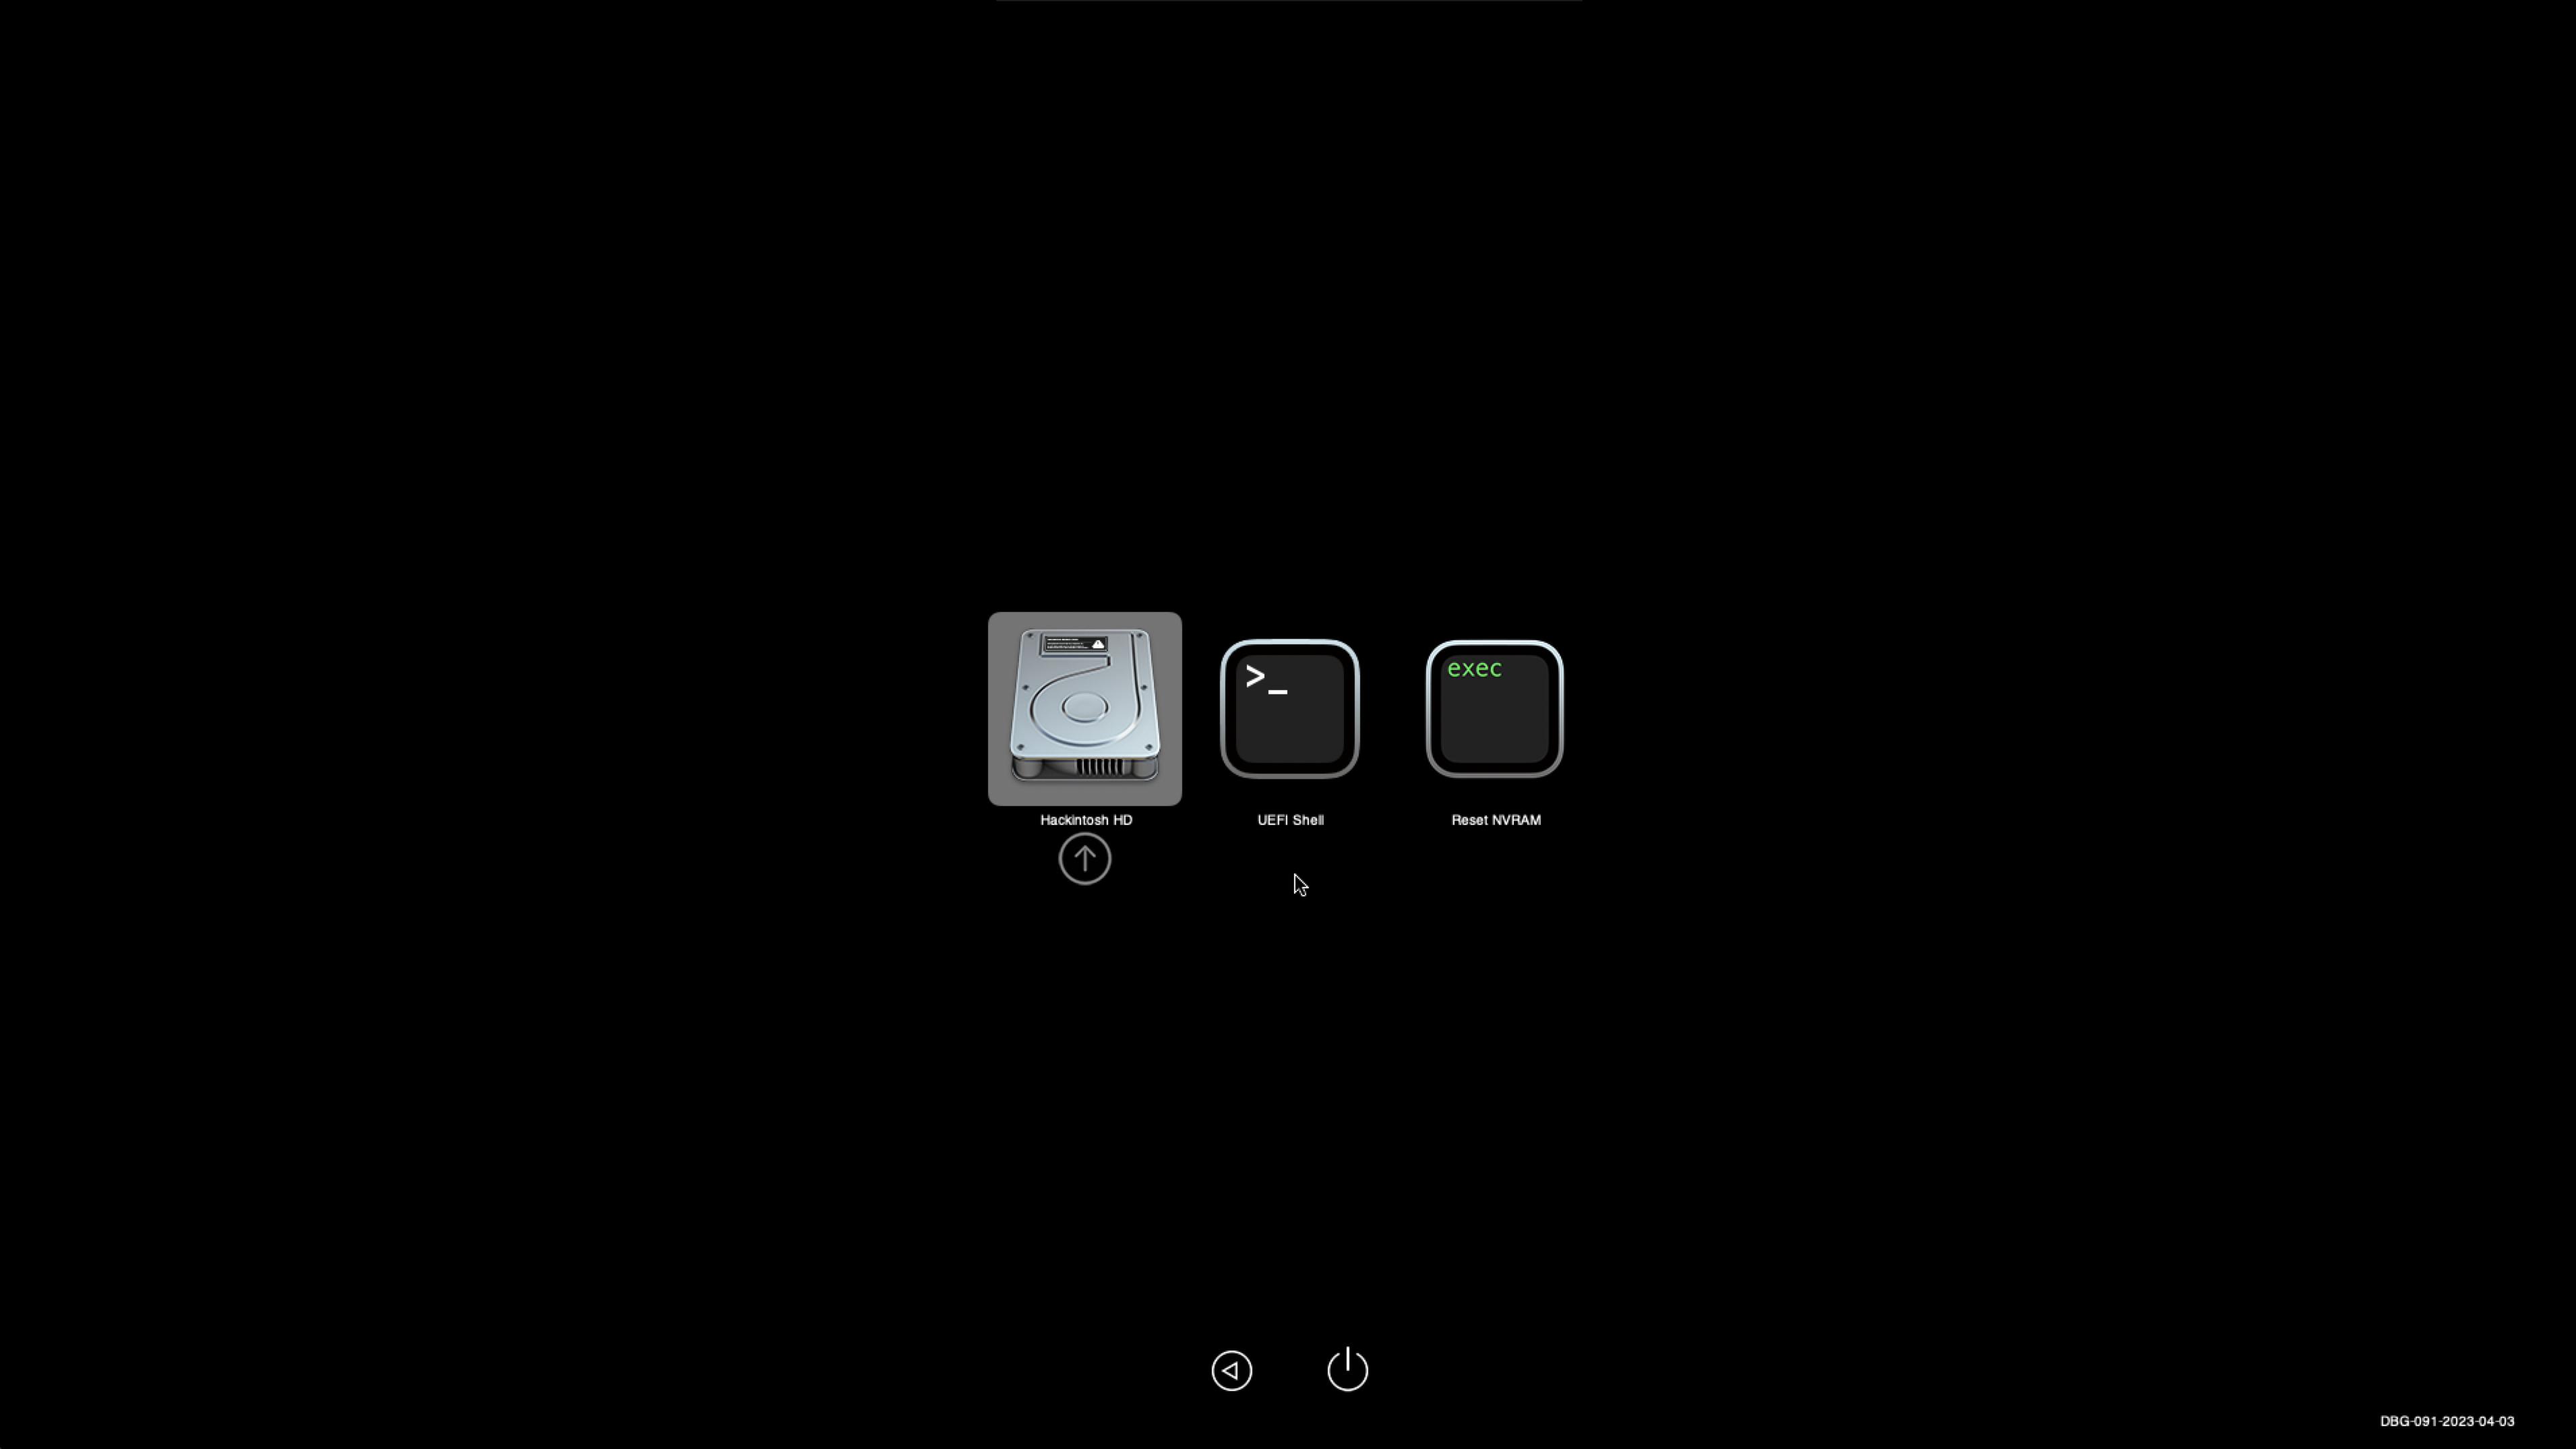
Restart the VM. You should see your new Snow Leopard volume appear in the OpenCore boot manager.
Booting into it should take you to the setup screen for Snow Leopard.
Setup your new VM!
We can remove the dependence on OpenCore.qcow2 by copying the EFI partition off of the Open Core disk into the new Snow Leopard volume.
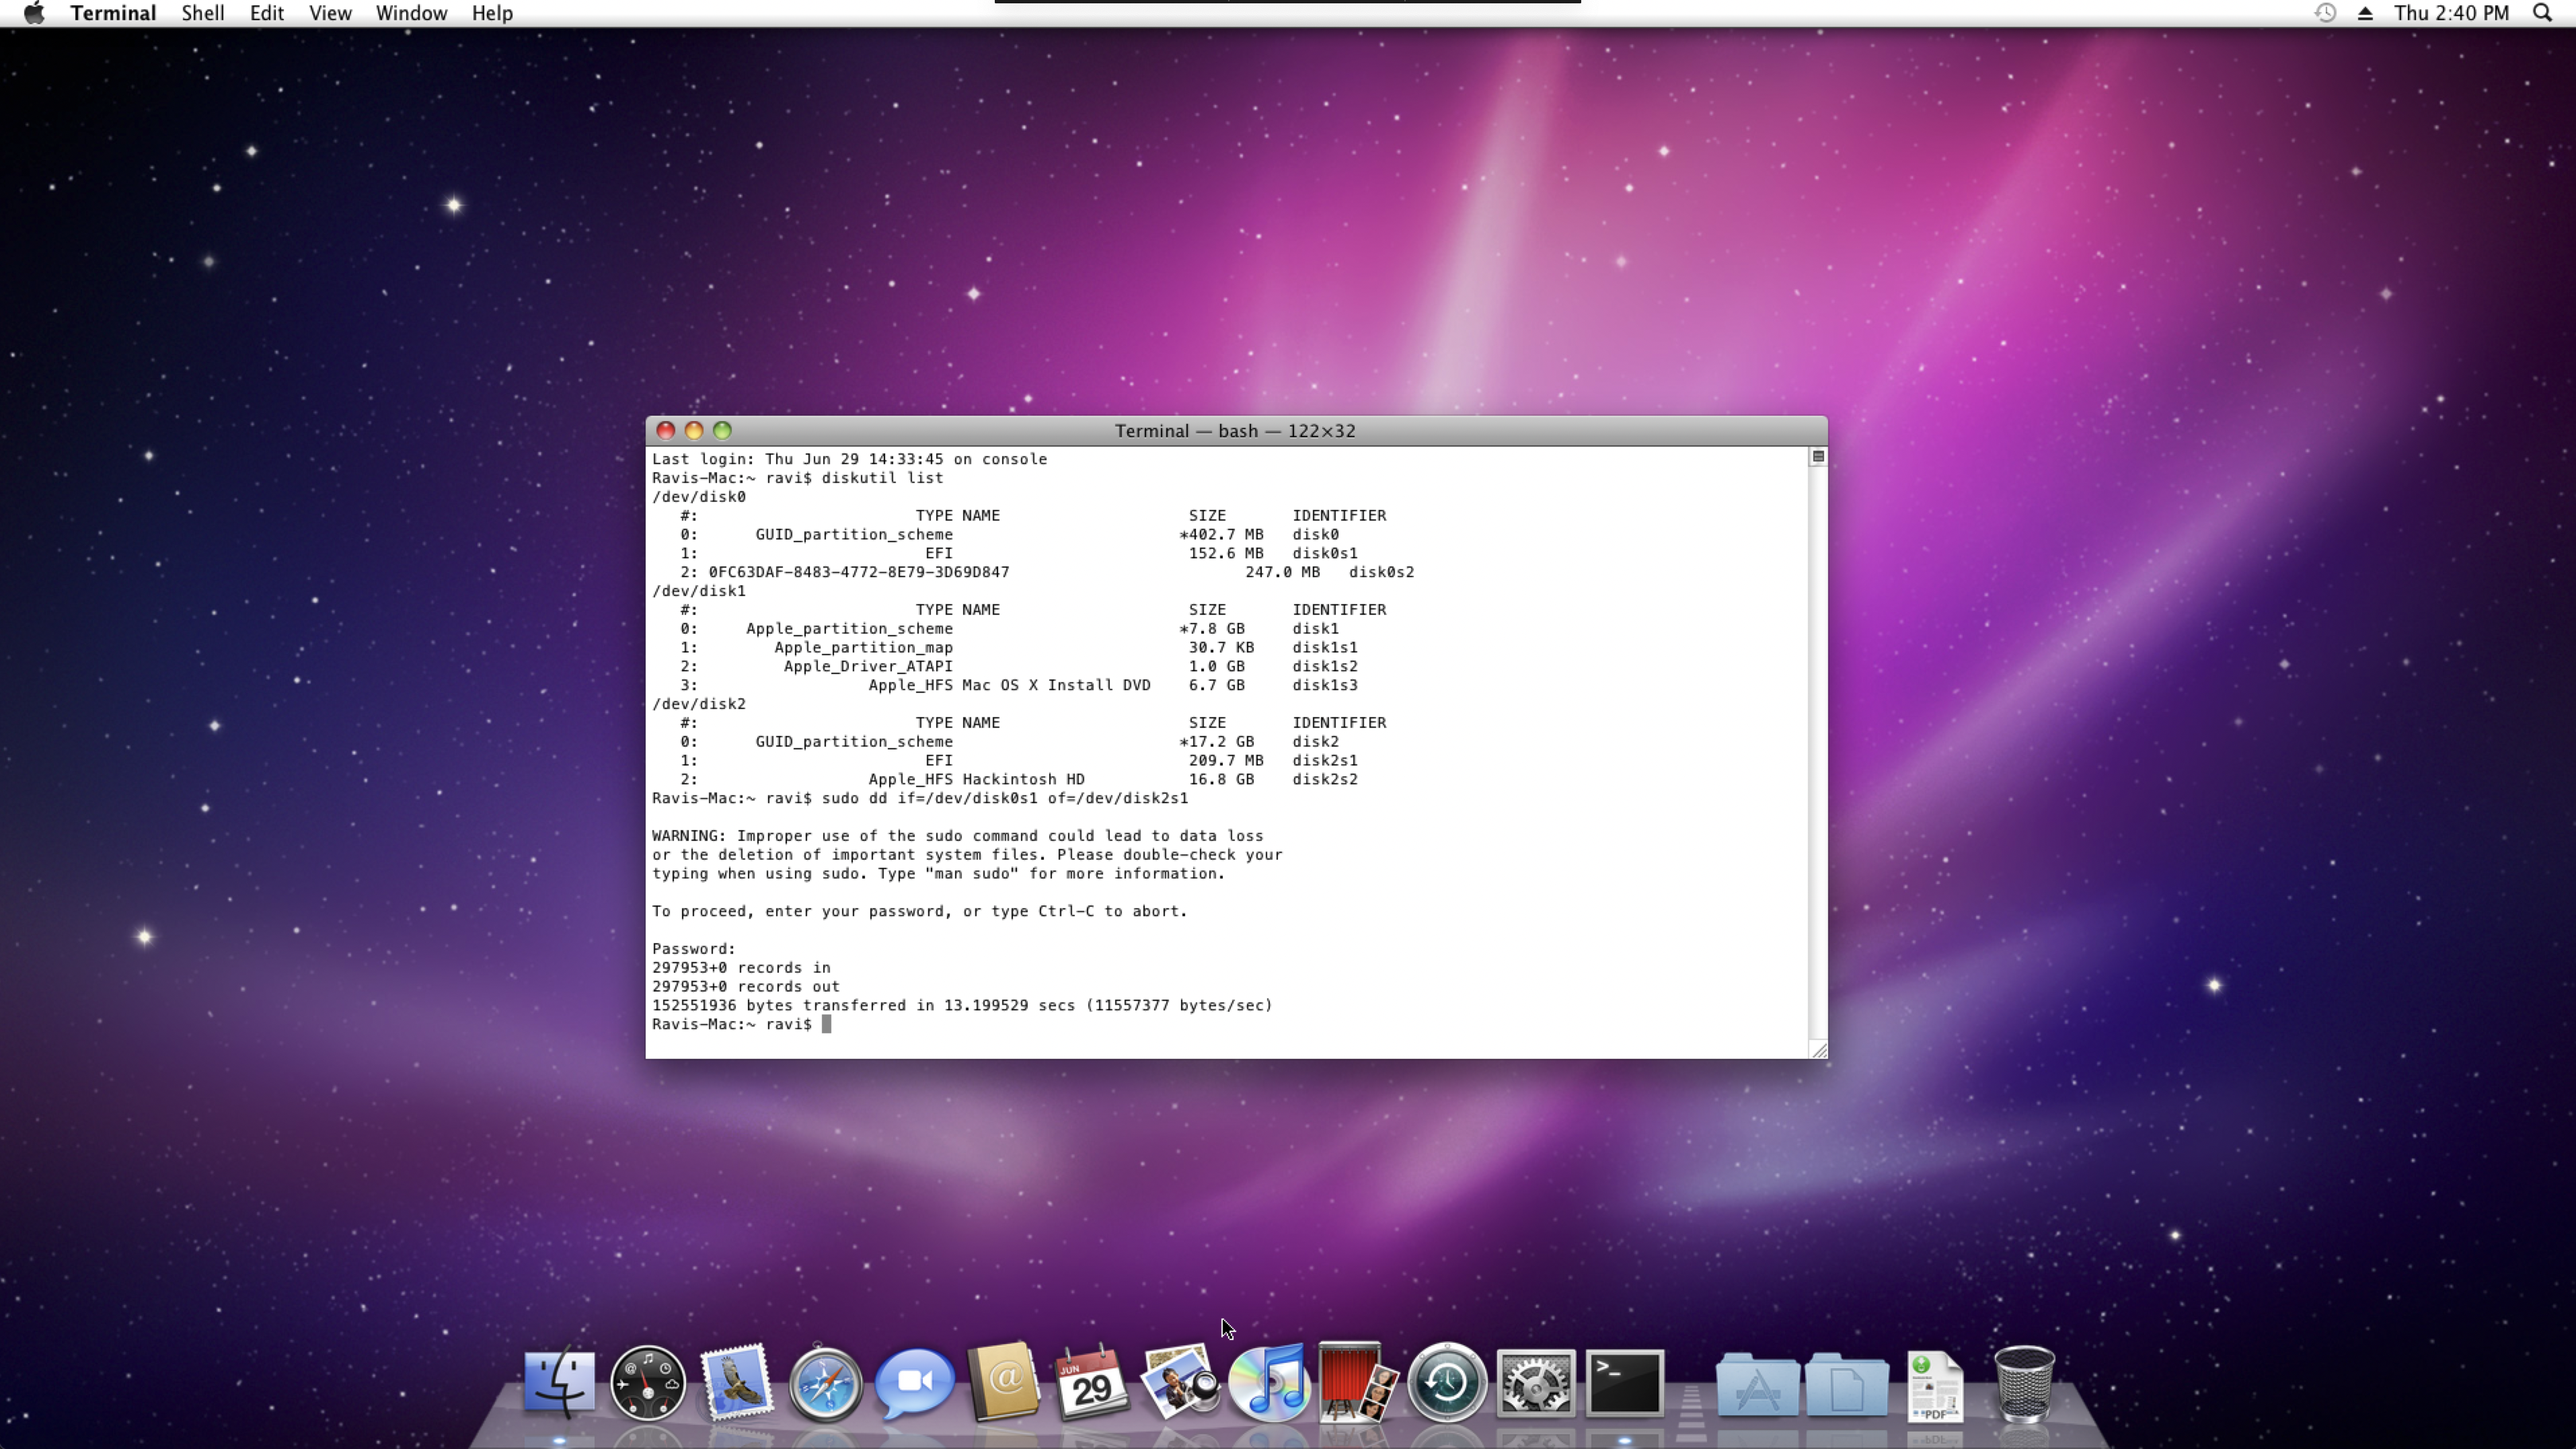
First, use diskutil list to show all available disks.
We want to use dd to duplicate the EFI partition from the OpenCore disk onto the EFI partition of the Snow Leopard disk.
The OpenCore EFI partition is the EFI partition that belongs to the OpenCore disk.
You can identify it by it being a GUID_partition_scheme disk with a long identifier for the second partition.
It will not have an Apple_HFS filesystem on it.
The target volume is your Snow Leopard install, it should have an Apple_HFS partition with the name you specified earlier in Disk Utility on it.
In this example screenshot, OpenCore is on disk0 and Snow Leopard is on disk2.
Since we want the EFI partition of each, we will dd from disk0s1 to disk2s1 as follows:
sudo dd if=/dev/disk0s1 of=/dev/disk2s1Warning: Be careful here as you can accidentally wipe your new volume.
Maybe make a backup of mac_hdd_ng.img before doing this!
You can now shut down the VM and edit boot-macOS-headless.sh and remove all the installation media and OpenCore disk, as we don't need them anymore.
-  -drive id=OpenCoreBoot,if=none,snapshot=on,format=qcow2,file="$REPO_PATH/OpenCore/OpenCore.qcow2"
-  -device ide-hd,bus=sata.2,drive=OpenCoreBoot
-  -device ide-hd,bus=sata.3,drive=InstallMedia
-  -drive id=InstallMedia,if=none,file="./snowleopard.iso",format=raw
Congratulations! You should now be able to boot into a fully working Snow Leopard Qemu KVM VM!!
Enjoy your new virtual Mac :)
If you want to edit the OpenCore configuration or the VM contents using the Linux hfs filesystem drivers, you can do so with the following.
First, inside the VM, run the following to disable journaling (as if journaling is enabled, the HFS volume will be read-only):
Ravis-Mac:~ ravi$ diskutil disableJournal /Volumes/Hackintosh\ HD
Journaling has been disabled for volume Hackintosh HD on disk0s2
(Where Hackintosh\ HD is replaced by your volume name).
| Note that while non-journaled HFS volumes are possible, MacOS cannot boot from them. So, we must install the VM into a journaled HFS volume, and later disable it.
| I have found that you need to re-run the disable journaling command every time you want to change the contents of the volume from the host.
Now, shut down the VM and run the following:
mkdir -p ocfs hfs
sudo modprobe nbd max_part=8
sudo qemu-nbd --connect=/dev/nbd0 $PWD/mac_hdd_ng.img
sudo mount -o user /dev/nbd0p2 hfs
sudo mount -o user /dev/nbd0p1 ocfs
This will mount the HFS (MacOS) partition into the hfs folder, and the OpenCore EFI partition into the ocfs folder.
You can now edit the MacOS filesystem inside of the hfs folder and the OpenCore configuration within the ocfs folder.
When you're done, run this to clean up:
sudo umount hfs
sudo umount ocfs
sudo qemu-nbd --disconnect /dev/nbd0
sudo rmmod nbd