Step 1: Gather the data
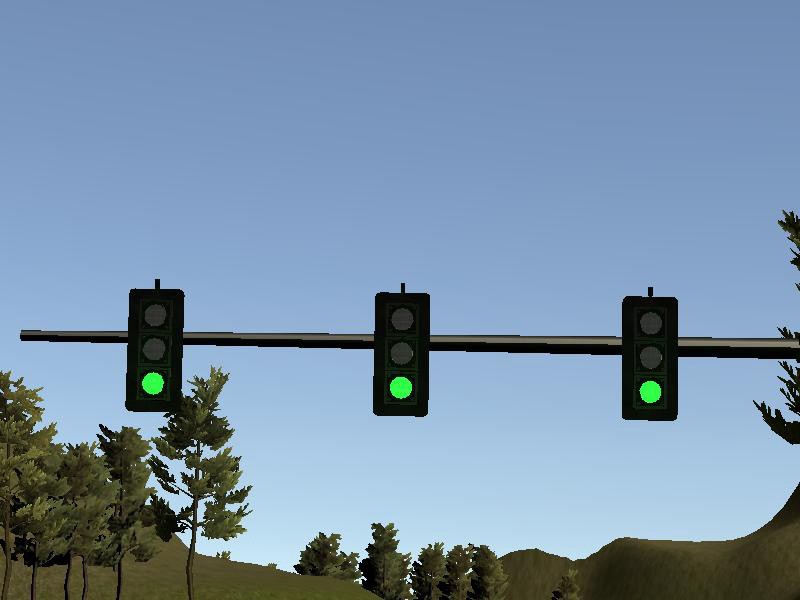
As with any machine learning exercise, we first need to gather our data on which we will train the model. The simulator images look something like this:
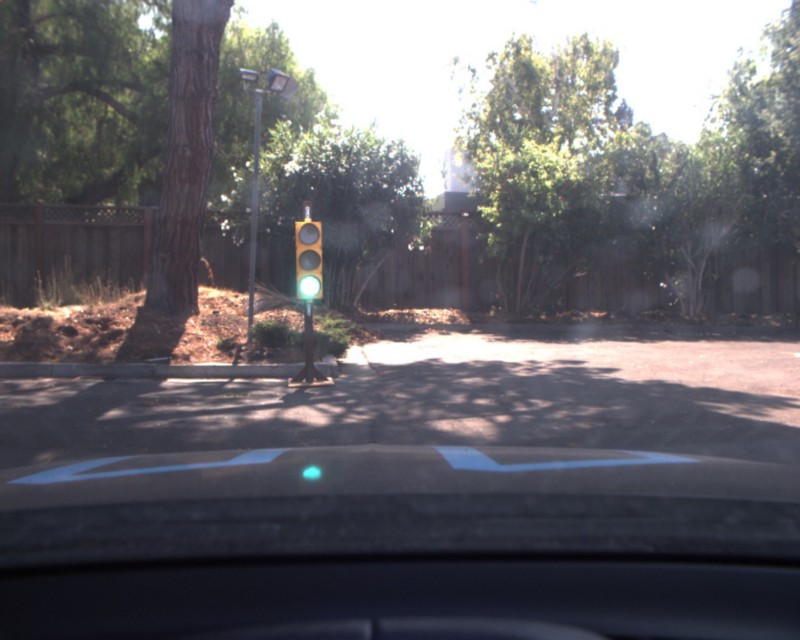
Real data image:
Step 2: Label and annotate the images
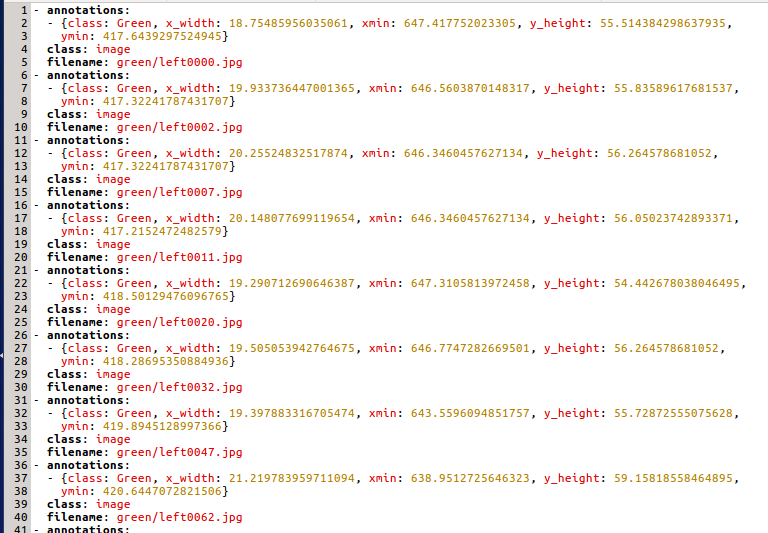
The next step is to manually annotate the images for the network. There are many open source tools available for this like LabelImg, Sloth, etc. The annotation tools create a yaml file that looks something like this:
-
Do
git clone https://github.com/tensorflow/models.gitinside the tensorflow directory. -
We will work with python 2, so activate respective virtual environment.
-
Follow the instructions at this page for installing some simple dependencies.
-
Go to research directory -
cd tensorflow/models/research/and run following commands:python setup.py build python setup.py install python slim/setup.py build python slim/setup.py install protoc object_detection/protos/*.proto --python_out=. export PYTHONPATH=$PYTHONPATH:`pwd`:`pwd`/slim
-
Now that installation is done, test it:
python object_detection/builders/model_builder_test.py
python data_conversion_udacity_sim.py --output_path data/sim_data.record
python data_conversion_udacity_real.py --output_path data/real_data.record
Credits
To save the time and effort, I followed the post from https://becominghuman.ai/@Vatsal410 and https://medium.com/@anthony_sarkis, where they have shared shared his annotated data-set openly available for all to use. Thank you to them for that.


