This repo is a sample of how you can allow GeoNode to act as an OAuth2 Provider for a Node.js application.

- Developers
- Business Owners
A basic knowledge of the following is needed to proceed with the tutorial:
- Node
- EJS template engine
Please follow the below steps (on master branch to complete the workshop):
The GeoNode instance you're using must have the CORS enabled for this to work.
The GeoNode instance that will be used for the workshop has all the needed configurations.
Make sure that you have MongoDB installed on your machine as we use it to store session data (access token & user information).
-
Launch your browser and open it to where your GeoNode instance is running on.
-
Login to GeoNode as admin.
-
From the Admin dropdown at the right corner of your navbar, access the Admin panel.
-
From the admin panel head over to
Django OAuth Toolkitsection and access Applications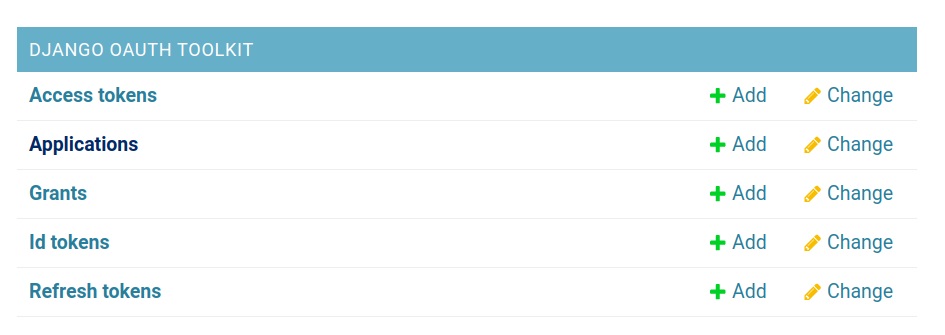
-
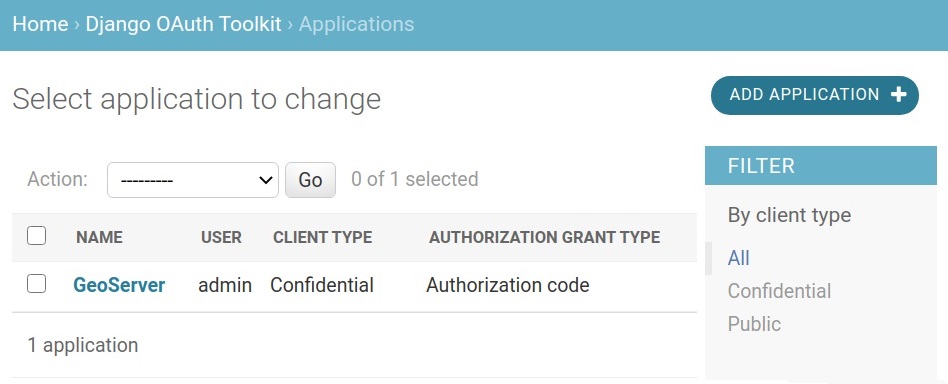
From there click Add Application button at the right top-right cornner.
-
You will notice that
client idandsecret idvalues are auto generated.- Set
Client typetoConfidential. - Set
Authorization grant typetoResource owner password-based. - Set
NametoGeoNode Mobile. - Copy the auto generated
Client idandClient secretinto a side note, both will be used later. - Hit
Saveto create the oAuth application.
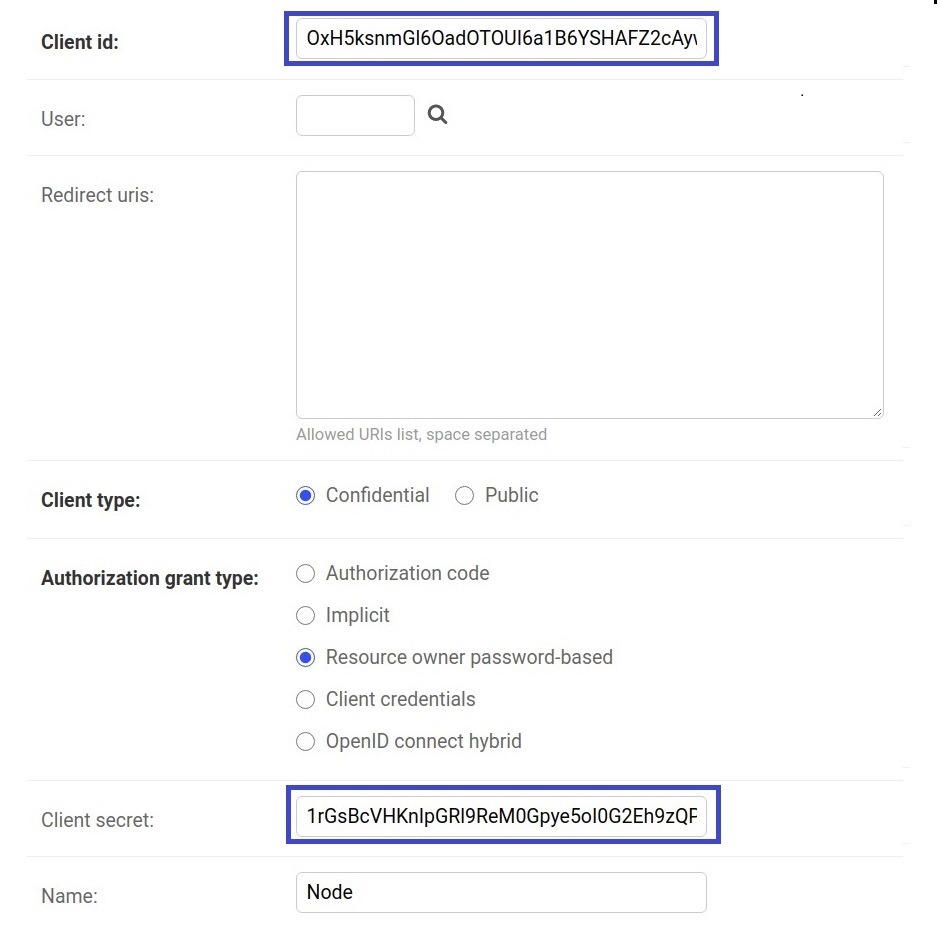
- Set
-
Clone/Download the code from the repo https://github.com/cartologic/geonode-node-sample.
-
Open the code in your IDE and open the file
config.jsmodule.- Set the
authenticationClientIdto theClient idvalue from step6. - Set the
authenticationClientSecretto theClient secretvalue from step1.
- Set the
-
In your terminal, install the dependencies.


npm install
- Run the server
node server.js
You should have the app up and running in your browser at http://localhost:5000 by default.
- To test the GeoNode authentication log in using the following credintials
username: demo, password: demoof a user exist in the system.
NOTE: To see how the
Authenticationworks, open the filecontrollers/auth.controller.jsand check theloginmiddleware.
- For authorization,check the
loginmiddleware atcontrollers/auth.controller.js, notice that the login request returns token that we store in session and send it with at the headers of request that is responsible for retrieving layers atroutes/views.route.jsat line19.
Notice, that before login and attaching token to the request that responsible for retrieving layers, a certain number of layers has been retrieved and after login and attaching the token the umber of layers will increase, those layers are only accessed by that authorized user.