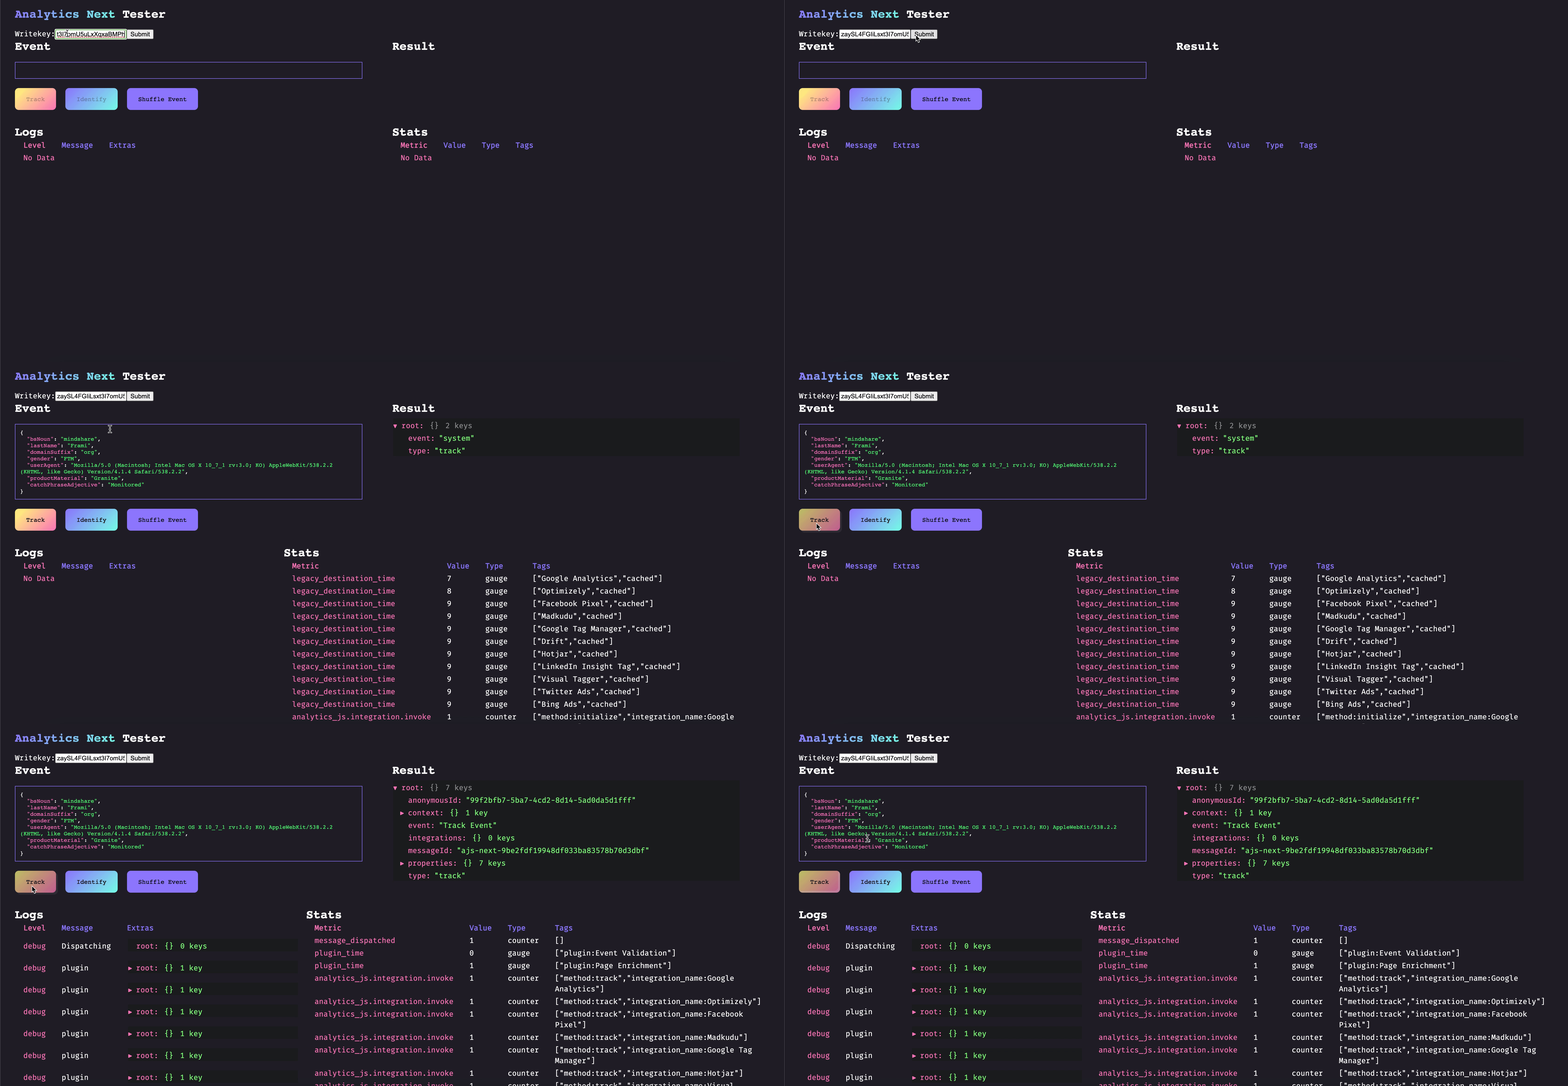
Analytics Next (aka Analytics 2.0) is the latest version of Segment’s JavaScript SDK - enabling you to send your data to any tool without having to learn, test, or use a new API every time.
The easiest and quickest way to get started with Analytics 2.0 is to use it through Segment. Alternatively, you can install it through NPM and do the instrumentation yourself.
-
Create a javascript source at Segment - new sources will automatically be using Analytics 2.0! Segment will automatically generate a snippet that you can add to your website. For more information visit our documentation).
-
Start tracking!
- Install the package
# npm
npm install @segment/analytics-next

# yarn
yarn add @segment/analytics-next

#pnpm
pnpm add @segment/analytics-next- Import the package into your project and you're good to go (with working types)! Example react app:
import { Analytics, AnalyticsBrowser, Context } from '@segment/analytics-next'
import { useEffect, useState } from 'react'
import logo from './logo.svg'

function App() {
  const [analytics, setAnalytics] = useState<Analytics | undefined>(undefined)
  const [writeKey, setWriteKey] = useState('<YOUR_WRITE_KEY>')

  useEffect(() => {
    const loadAnalytics = async () => {
      let [response] = await AnalyticsBrowser.load({ writeKey })
      setAnalytics(response)
    }
    loadAnalytics()
  }, [writeKey])

  return (
    <div className="App">
      <header className="App-header">
        <img src={logo} className="App-logo" alt="logo" />
        <p>
          Edit <code>src/App.js</code> and save to reload.
        </p>
        <a
          onClick={(e) => {
            e.preventDefault()
            analytics?.track('Hello world')
          }}
          className="App-link"
          href="https://reactjs.org"
          target="_blank"
          rel="noopener noreferrer"
        >
          Track
        </a>
      </header>
    </div>
  )
}

export default App- add to your
index.html
<script>
  window.global = window
  var exports = {}
</script>- create composable file
segment.tswith factory ref analytics:
import { ref, reactive } from 'vue'
import { Analytics, AnalyticsBrowser } from '@segment/analytics-next'

const analytics = ref<Analytics>()

export const useSegment = () => {
  if (!analytics.value) {
    AnalyticsBrowser.load({
      writeKey: '<YOUR_WRITE_KEY>',
    })
      .then(([response]) => {
        analytics.value = response
      })
      .catch((e) => {
        console.log('error loading segment')
      })
  }

  return reactive({
    analytics,
  })
}- in component
<template>
  <button @click="track()">Track</button>
</template>

<script>
import { defineComponent } from 'vue'
import { useSegment } from './services/segment'

export default defineComponent({
  setup() {
    const { analytics } = useSegment()

    function track() {
      analytics?.track('Hello world')
    }

    return {
      track
    }
  }
})
</script>
First, clone the repo and then startup our local dev environment:
$ git clone git@github.com:segmentio/analytics-next.git
$ cd analytics-next
$ make dev
Then, make your changes and test them out in the test app!
When developing against Analytics Next you will likely be writing plugins, which can augment functionality and enrich data. Plugins are isolated chunks which you can build, test, version, and deploy independently of the rest of the codebase. Plugins are bounded by Analytics Next which handles things such as observability, retries, and error management.
Plugins can be of two different priorities:
Critical: Analytics Next should expect this plugin to be loaded before starting event delivery Non-critical: Analytics Next can start event delivery before this plugin has finished loading
and can be of five different types:
Before: Plugins that need to be run before any other plugins are run. An example of this would be validating events before passing them along to other plugins. After: Plugins that need to run after all other plugins have run. An example of this is the segment.io integration, which will wait for destinations to succeed or fail so that it can send its observability metrics. Destination: Destinations to send the event to (ie. legacy destinations). Does not modify the event and failure does not halt execution. Enrichment: Modifies an event, failure here could halt the event pipeline. Utility: Plugins that change Analytics Next functionality and don't fall into the other categories.
Here is an example of a simple plugin that would convert all track events event names to lowercase before the event gets sent through the rest of the pipeline:
export const lowercase: Plugin = {
  name: 'Lowercase events',
  type: 'before',
  version: '1.0.0',

  isLoaded: () => true,
  load: () => Promise.resolve(),

  track: (ctx) => {
    ctx.event.event = ctx.event.event.toLowerCase()
    return ctx
  },
  identify: (ctx) => ctx,
  page: (ctx) => ctx,
  alias: (ctx) => ctx,
  group: (ctx) => ctx,
  screen: (ctx) => ctx,
}
For further examples check out our existing plugins.
The tests are written in Jest and can be run be using make test-unit
Linting is done using ESLint and can be run using make lint.
Please write small, and concise unit tests for every feature you work on.
$ make test-unit # runs all tests
$ yarn jest src/<path> # runs a specific test or tests in a folder