This overview details the setup of a secure method for accessing Home Assistant as well as other services (MythWeb, Grafana, Kibana etc.) via a reverse proxy on Apache 2.4. Security is provided via HTML Basic Authentication using Apache form handling (mod_auth_form) and with two-factor authentication via Google Authenticator.
After configuration, Home Assistant is accessed via SSL encrypted link at the base url. Other proxied services are accessed at sub-locations. The repository contains example Virtual Host and login form files that could be modified for your specific use case.
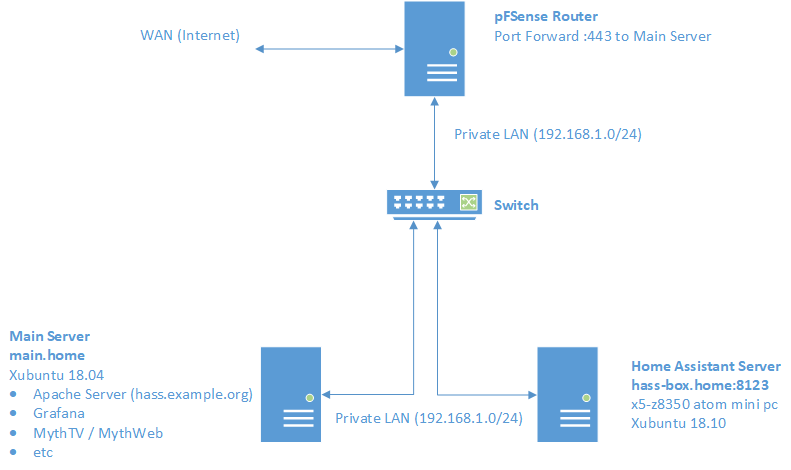
For context, the setup on which this example is based is depicted in the diagram that follows:
Apache is hosted on a primary server that includes other services such as MythTV / MythWeb, Grafana, and Kibana. Home Assistant is hosted on a separate dedicated machine. The installation does not use any Docker containers or virtual machines and is a vanilla install of Home Assistant on Xubuntu 18.10 per the instructions here: (https://www.home-assistant.io/docs/installation/raspberry-pi/).
-
Obtain Let's Encrypt SSL certificates for your Home Assistant domain name and install on the machine running Apache.
-
Ensure Apache is installed and accessible.
The following modules must be enabled
sudo a2enmod.- auth_form
- auth_basic
- session
- session_crypto
- session_cookie
- proxy
- proxy_html
- cgid
- alias
- ssl
- rewrite
- proxy_wstunnel
-
Set up Apache Two-Factor (2FA) Authentication with Google Authenticator (https://github.com/itemir/apache_2fa).
Upon initial connection to a secured resource, this program passes the requested URL through an external 'auth' program twice. The first pass sets a COOKIE with a random 'state' number if the user is successfully logged in via Basic Authentication through the login form and is a valid user in the tokens.json file. Given a valid COOKIE, the second pass will create a state file with the same number as the COOKIE if the user then successfully authenticates with Google Authenticator TOTP token. Once these are set, all other requests pass through as long as the COOKIE and Token have not expired.
For this example, there are a few differences from the installation instructions at the linked repository.
- The files in this example are installed at /srv/html/apache_2fa. Customize as needed in the Apache Virtual Host definition.
- This setup uses Basic Authentication via Form Login rather than standalone Digest Authentication and stores in an encrypted Apache Session.
- The Rewrite Rules in the Virtual Host definition here are updated and slightly streamlined.
- The apache_credentials file is generated via
htpasswd -m /srv/html/apache_2fa/apache_credentials <username>. Again, adjust path as needed for your installation. - The username / key combinations for the tokens.json file are generated using the following command:
The key that is displayed is what is put into the tokens.json file and also entered into the Google Authenticator app as a manually entered key.
$ base32 - <enter a secret of your choice> and press ENTER CTRL-D - As indicated in the Virtual Host definintion, the URL location for the authenticator is moved to /auth2fa rather than /auth. The /auth path is used by Home Assistant and cannot be used for the 2FA.
- Verify permissions as indicated in the instructions at the repository!
-
Save the example Virtual Host file from this repository (hass.example.org.conf) in /etc/apache2/sites-available (if on Ubuntu) and modify per the inline comments to match your local filesystem layout and preferences.
The example Virtual Host file includes reverse proxy locations for a MythWeb installation accessible at (https://hass.example.org/mythweb) and a Grafana installation on the same machine accessible at (https://hass.example.org/grafana). My Home Assistant setup includes a Markdown card links page that I use to transition to these other services. If you customize / add other services, you'll have to include additional RewriteCond rules to avoid routing unwanted requests to the Home Assistant location at the base url.
The setup also leverages a manual Google Assistant connection to Home Assistant and allows for the appropriate Google IP's to traverse through the proxy without authentication.
Note: Most of the current examples found for setup of an Apache Reverse Proxy and Home Assistant include directives for both ProxyPass and RewriteRules with the [P] flag (e.g. https://www.home-assistant.io/docs/ecosystem/apache/). Here, the ProxyPass/ProxyPassReverse directives are redundant and the flexibility provided by RewriteCond is needed so these lines are not present in this Virtual Host definition.
-
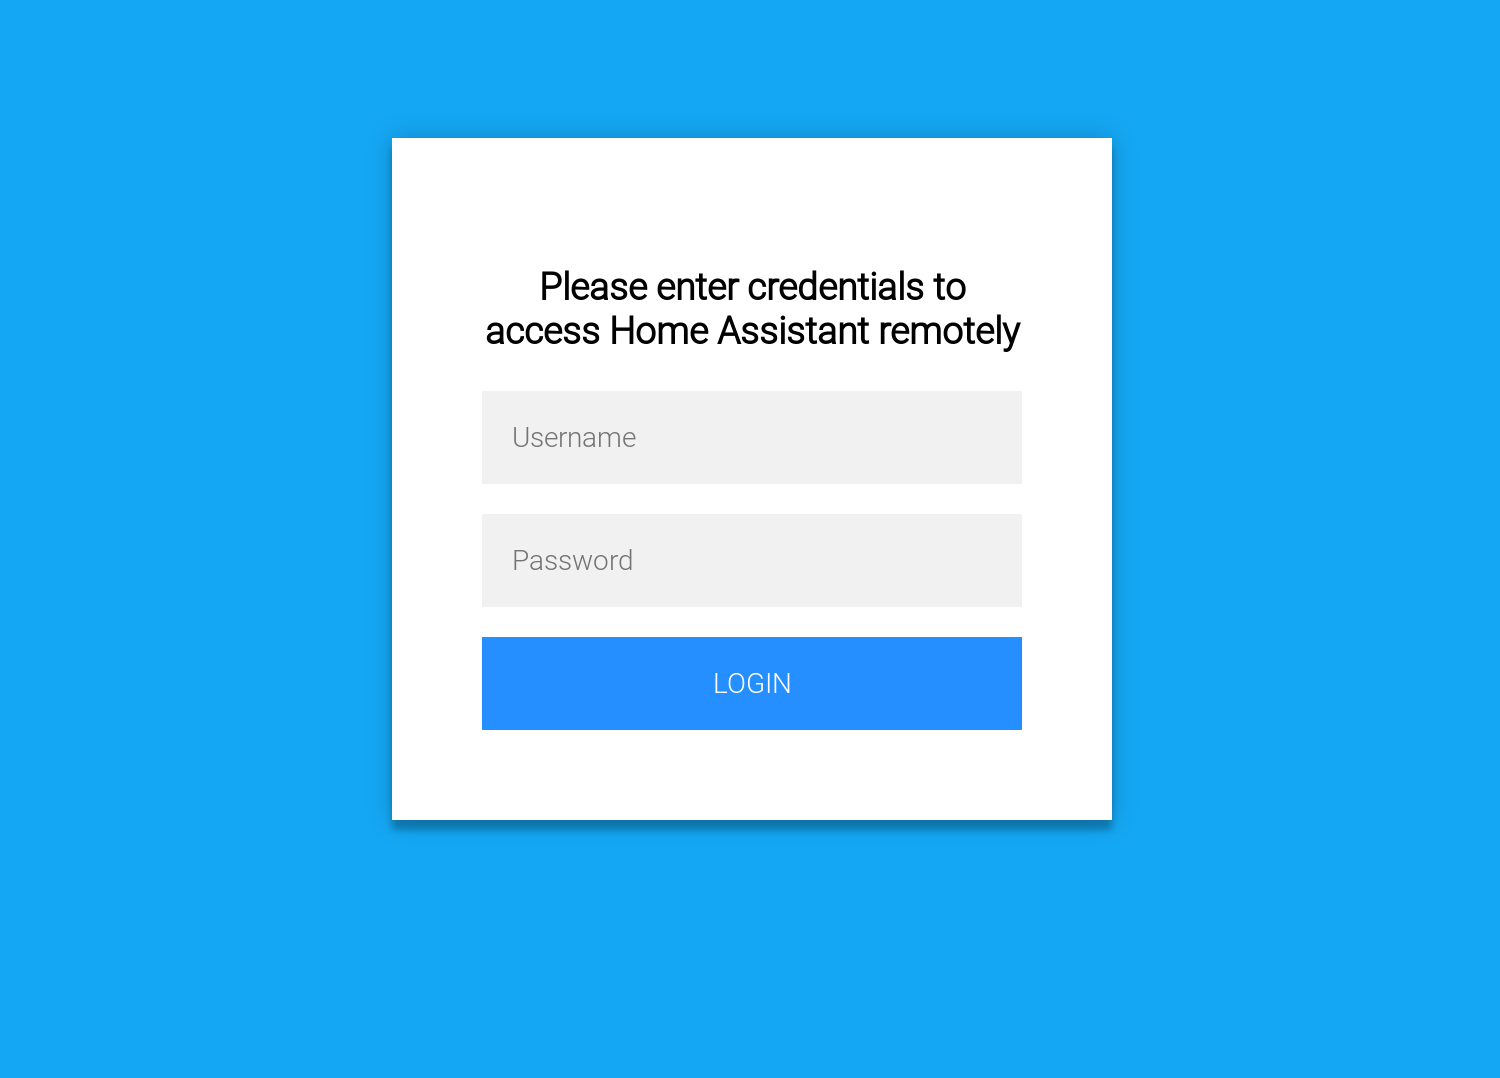
Create a login.html form.
Reference the login.html form in this repository which was generated by modifying a public example on CodePen (https://codepen.io/colorlib/pen/rxddKy). It must be placed in a location that is made public via the Virtual Hosts Location or Directory directive.
Here, login.html is installed in /srv/html/login and the Alias along with the 'Require all granted' directive for the /login location in the Virtual Host definition file makes this publicly accessible.
-
Enable the new site on Apache
sudo a2ensite hass.example.org -
If you would like to use Trusted Networks Authentication for Home Assistant when connecting from local LAN, modify Home Assistant configuration.yaml http section (https://www.home-assistant.io/components/http/) appropriately to configure:
- use_x_forwarded_for <--If this is not set, all proxy requests will appear to come from local LAN.
- trusted_proxies
- trusted_networks
-
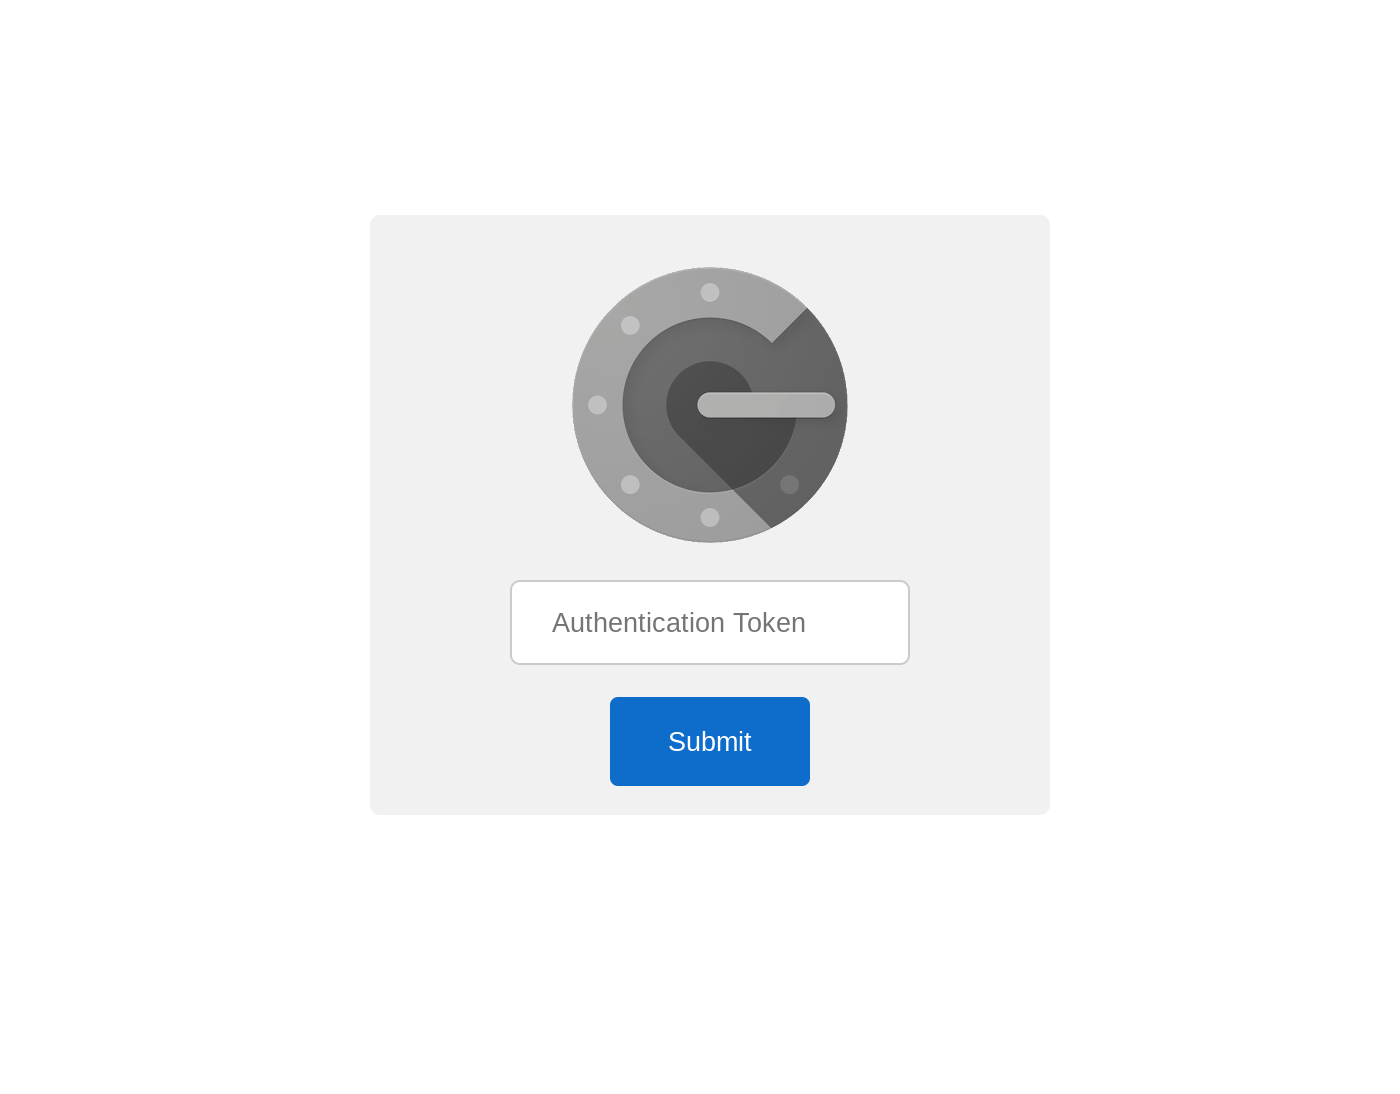
If everything is working and you are connecting from an external network, you should see the login form upon initially connecting. After authentication with the username and password, the Google Authenticator token request should appear next. If the correct token is entered from the Google Authenticator app on your phone, the site will redirect to the Home Assistant login page.
When connecting from your local lan, the connection should proceed directly to Home Assistant without presenting the login form and 2FA form.


