I created this device to support HoneyBee health through detecting varroa mites and other invaders. Given the urgency with the Giant Asian Hornet, I've quickly adapted this to detect them as well. My friend marlinspike and I wrote the code in python to bring it altogether. This app uses TensorFlow machine learning models to perform image classification locally at the device. All telemetry data is sent to Azure IoT Central.
- Raspberry Pi Zero W (The pi zero is substantially slower for image recognition, but also consumes way less power.)
- Raspberry Pi 3 B+
- Raspberry Pi 4 (4GB)
- Arducam 5MP camera
- 32 GB SD Card
- Jumper wires for connecting led and VCNL4010 motion sensor
- 20 ohm resistor for led
- 3v white LED for camera flash
Motion Sensor: - Adafruit VCNL4040 motion sensor
- Adafruit VCNL 4010 motion sensor
-
Download Latest version of Raspberry Pi OS: At the time of writing this we're using Kernel version 5.4
-
Install the OS using Win32 Disk Imager
-
Booth the Pi and setup all initial configuration:
- Keyboard, Language, Timezone, Wifi
- Update the pi (Sudo apt-get update) This might take ~40 - 60min
- Sudo raspi-config
i. System Option -> HostName -> BeeTracker
ii. Interface Options -> Camera -> Enabled
iii. Interface Options -> SSH -> Enabled
iv. Interface Options -> I2C -> Enabled
v. Finish / Reboot
- Keyboard, Language, Timezone, Wifi
-
SSH into your new pi
-
mkdir src
-
cd src
-
git clone https://github.com/prettyflyforabeeguy/BeeTracker.git
-
pip3 install -r ~/src/BeeTracker/requirements.txt
-
sudo apt-get install libatlas-base-dev
-
Solder the resistor to the Anode side of the led (the slightly longer side) and attach a jumper wire to each end. I used a little shrink tubing to keep things more tidy but you don't have to do this.
-
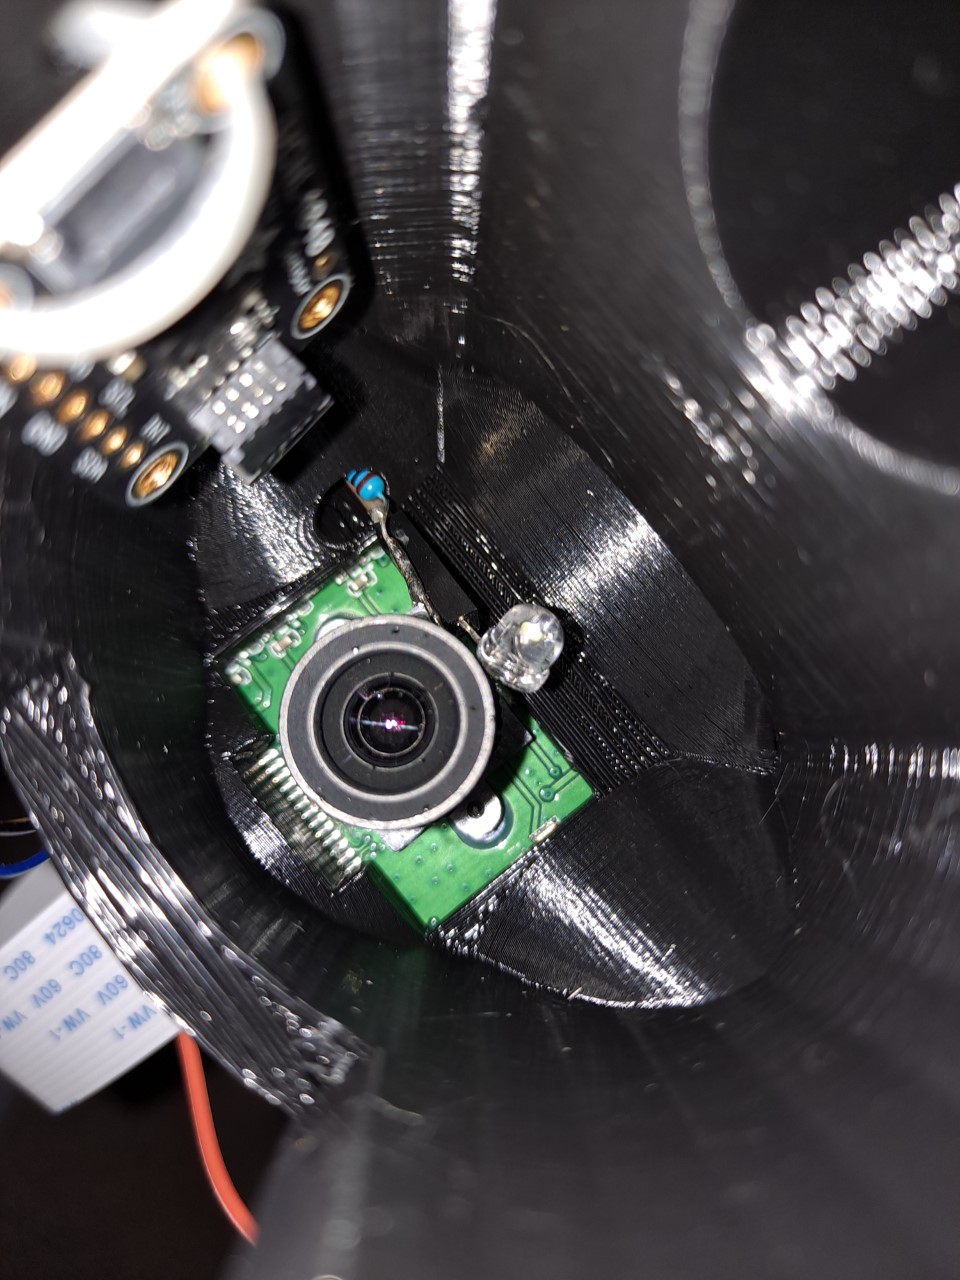
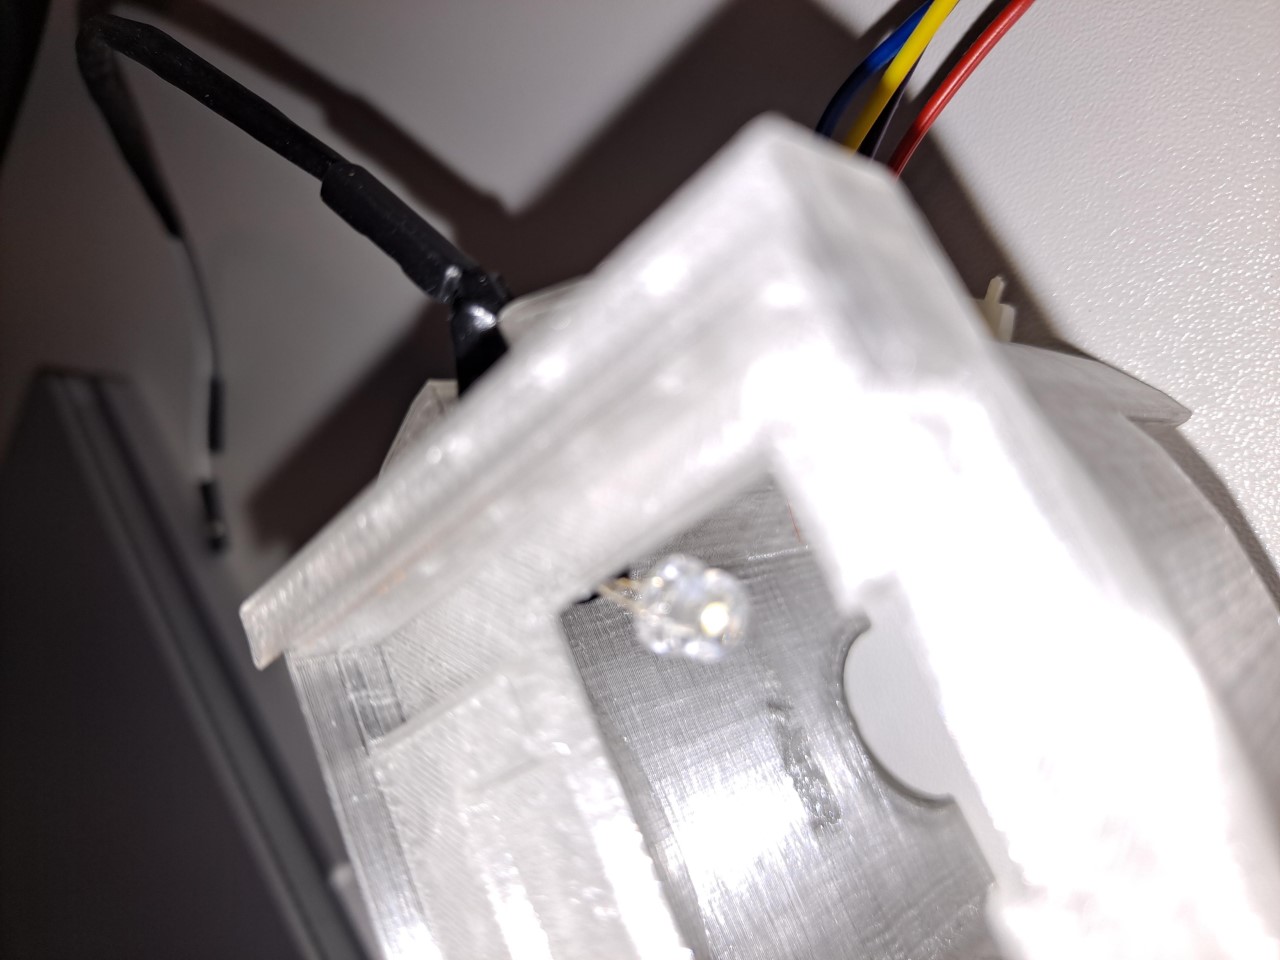
Slide the LED into the opening near the top of the booth. The idea is to bend the LED bulb to be right next to the camera lens to act as a flash. Careful not to block the camera lens with the LED.
-
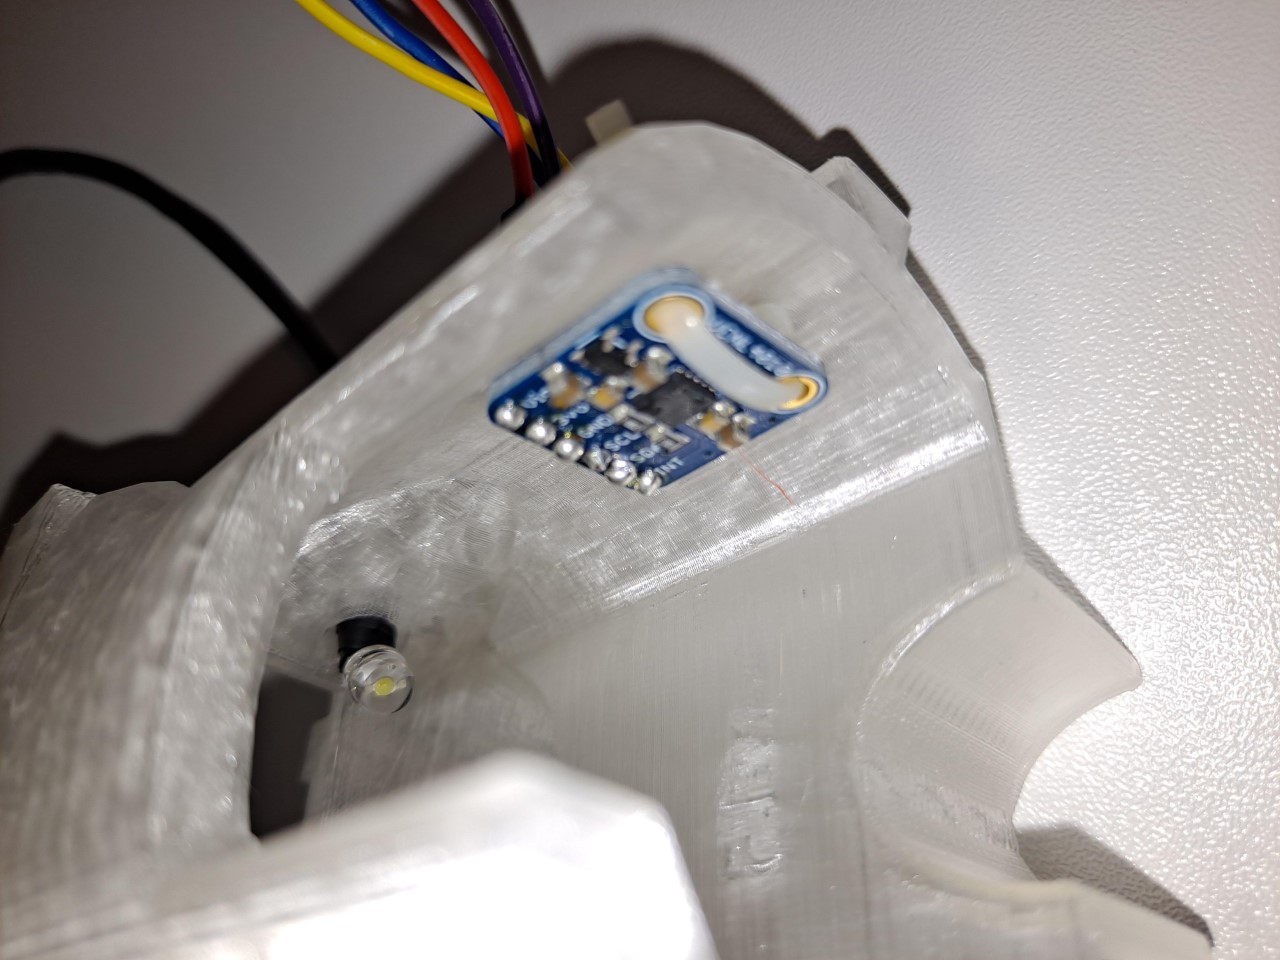
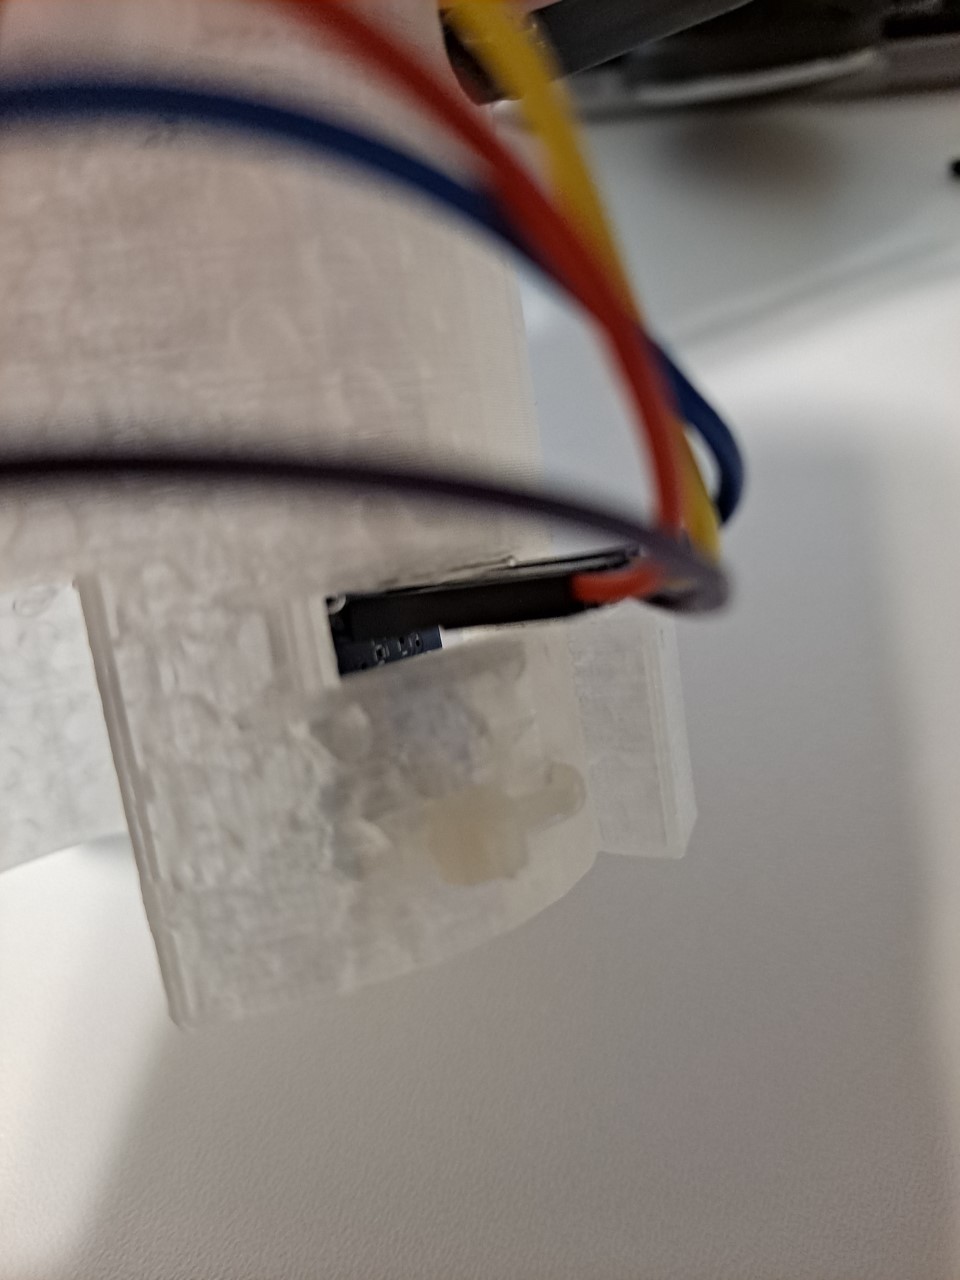
Slip the jumper wires through the slot on the lower right hand side of the booth. Note it's probably easier to first attach the jumper wires to the sensor before slipping them through.(see wiring instructions below) Use a small zip tie or hot glue to hold the motion sensor in place.
-
Carefully attach the camera ribbon to the camera. Take care to insert the ribbon the proper direction. Usually the little black slider clip on the camera will be up against the colored strip on the ribbon.
-
Insert the Arducam face down into the 3D printed bee booth (lens facing into the booth opening). Note the ribbon should be sticking out toward the square opening (the front) of the bee booth
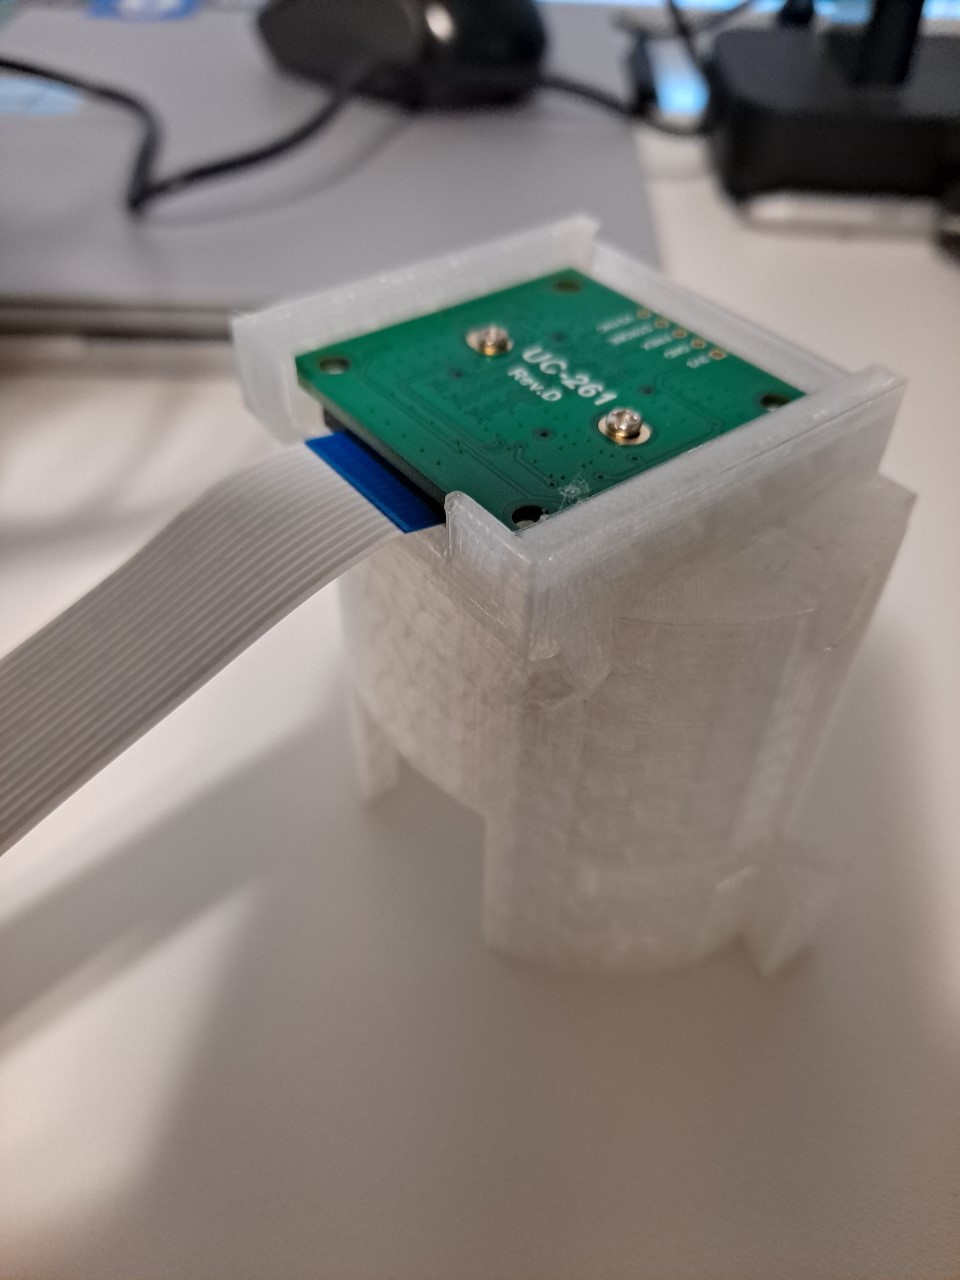
-
Snap the Raspberry Pi into the 3d printed holder, and slide it into the slot on top of the booth. It should fit all the way forward so the flat pack of the Pi case is flush with the flat back of the bee booth.
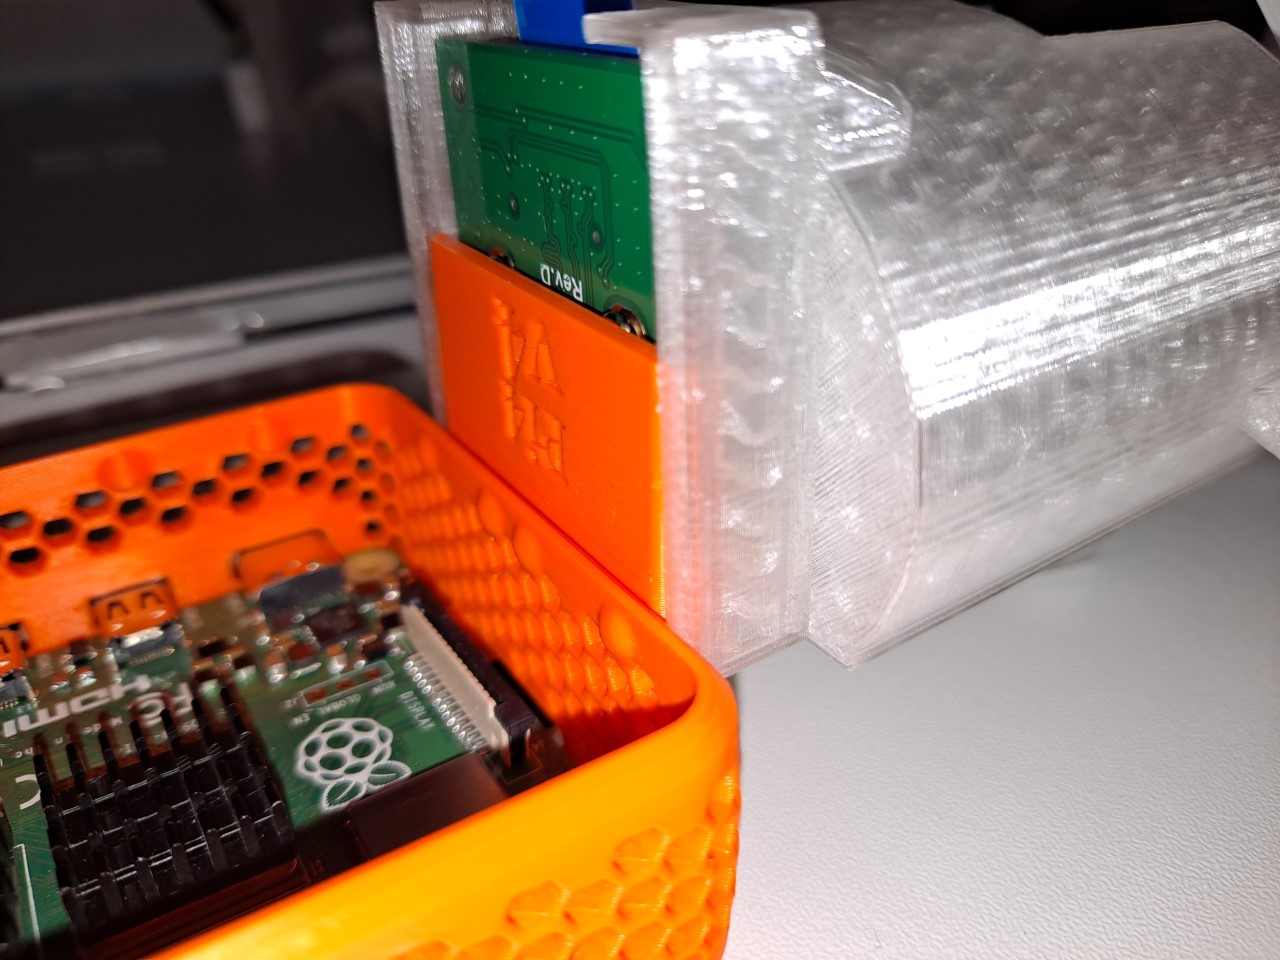
-
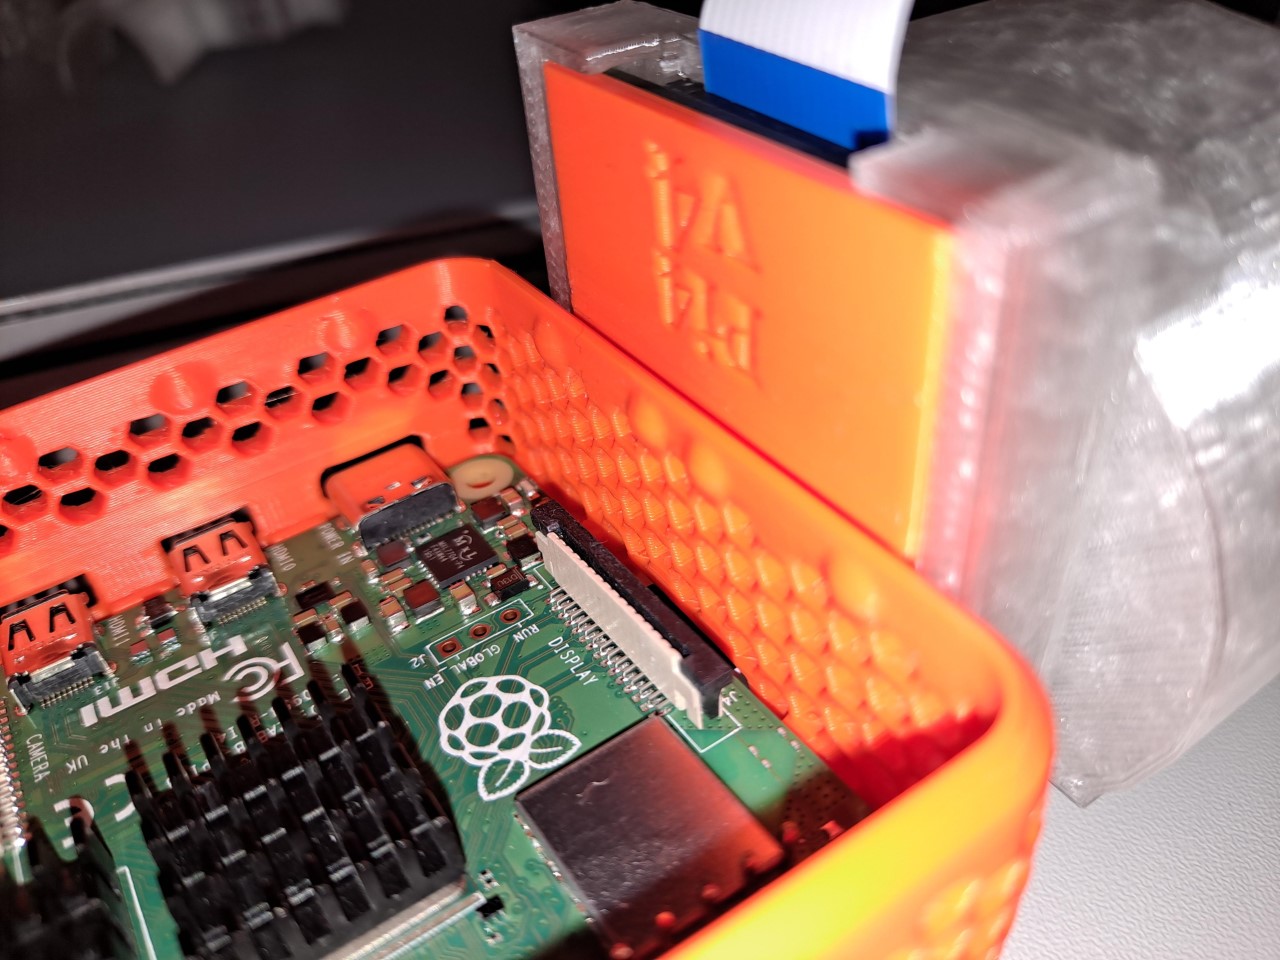
Attach the camera ribbon to the Raspberry Pi
-
Attach a jumper wire to the cathode (short end) from the LED to pin14 (Ground) on the Pi and the anode (long end with resistor) with a jumper wire to pin16 (GPIO23) on the pi.
For the VCNL 4010 Sensor:
- Attach the red wire to the Vin pin on the sensor, and connect the other end to pin 1 on the Raspberry Pi (3.3v)
- Attach the black wire to the GND pin on the sensor, and connect the other end to 9 on the Raspberry Pi (Ground)
- Attach the blue wire to the SCL pin on the sensor, and connect the other end to pin 5 on the Raspberry Pi (GPIO3)
- Attach the Yellow wire to the SDA pin on the sensor, and connect the other end to pin 3 on the Raspberry Pi (GPIO2)
- 3vo and INT pins are not used on the motion sensor.

For the VCNL 4040 Sensor:
6. Attach the 4 pin female to female pin to either socket on the motion sensor
7. Attach the red wire to the Vin pin on the sensor, and connect the other end to pin 1 on the Raspberry Pi (3.3v)
8. Attach the black wire to the GND pin on the sensor, and connect the other end to 9 on the Raspberry Pi (Ground)
9. Attach the blue wire to the SCL pin on the sensor, and connect the other end to pin 3 on the Raspberry Pi (GPIO2)
10. Attach the Yellow wire to the SDA pin on the sensor, and connect the other end to pin 5 on the Raspberry Pi (GPIO3)
11. Note the blue and yellow wires are in reversed positions compared to using the VCNL4010 sensor.
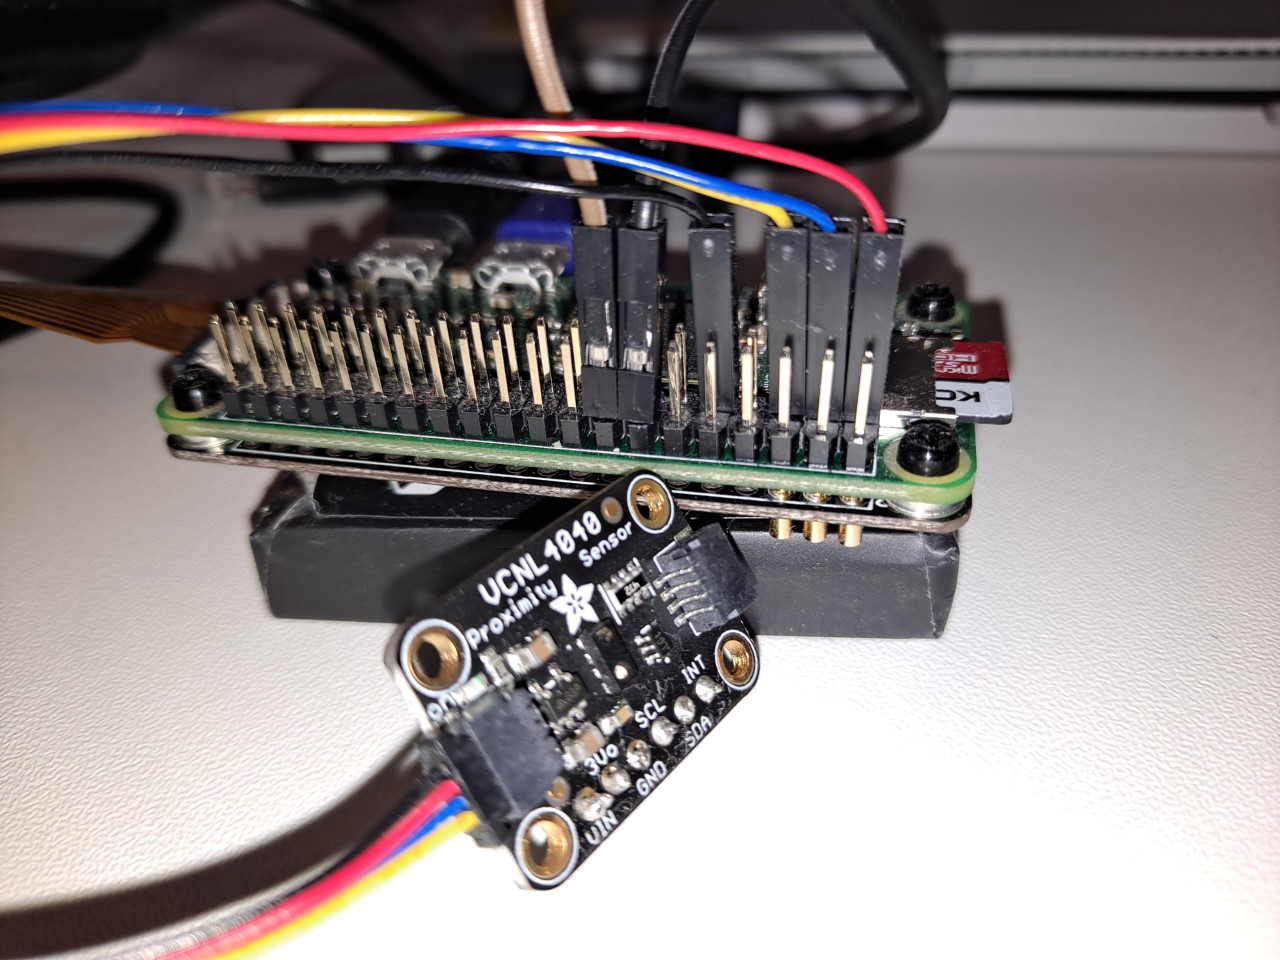
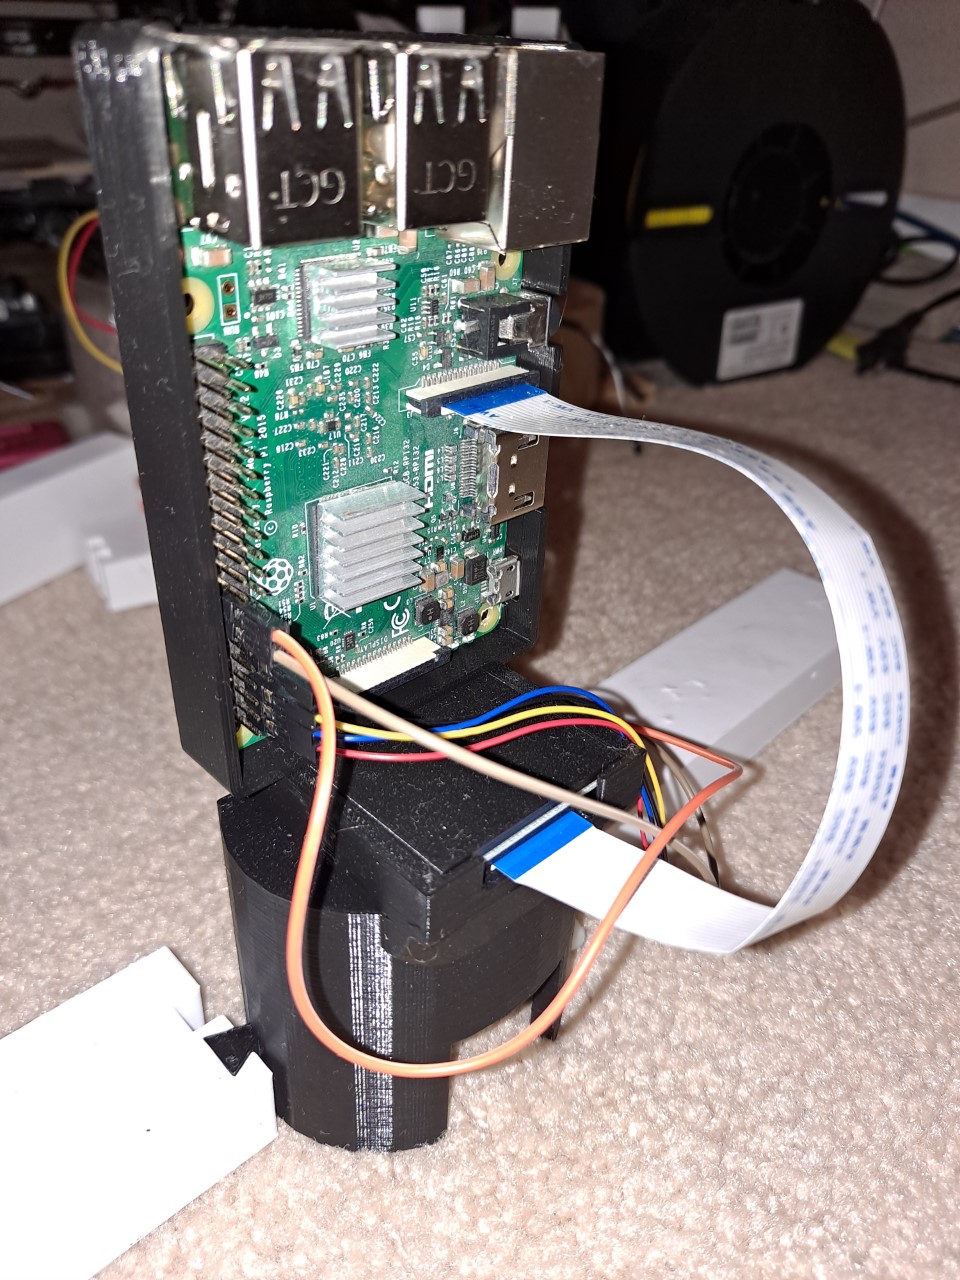
Once everything is attached should look something like this:
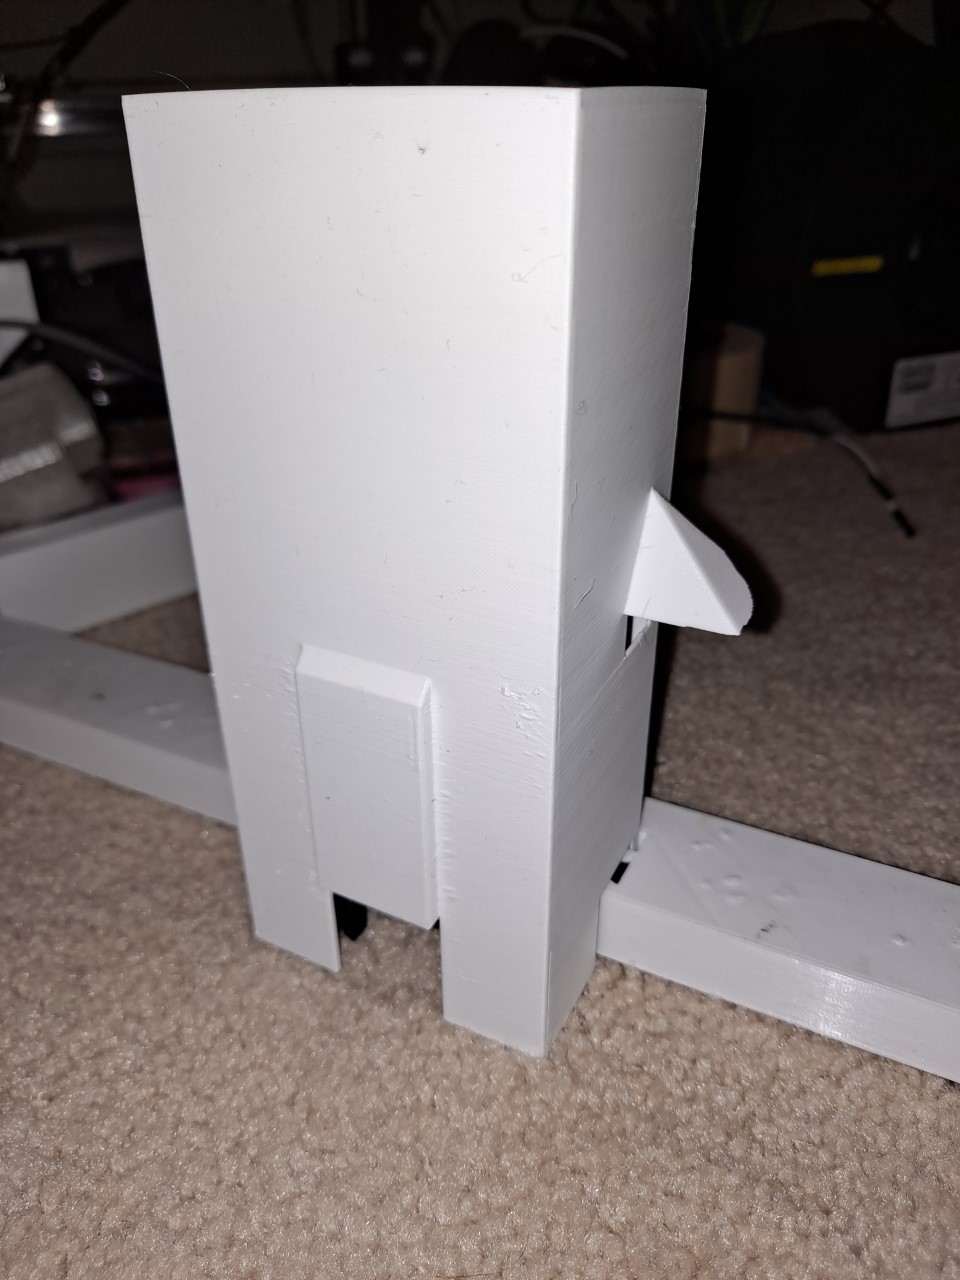
If you want to add the weather protection cover it should slip right over everything like this:
- Azure IoT Hub: Your device will need to be enrolled, and it's connection string updated in the creds.json file discussed below
- Azure Storage: Optionally used to archive telemetry data from the device
- Azure Stream Analytics: Optionally used for telemetry analysis
This app needs a creds.json file to store certain required credential and status info. It's not contained in the repo for obvious reasons. If you want to connect to our global dashboard please contact me separately so your device can be added. here's the structure you'll need:
{
    "device_id" : "CommunityDevicesFromGithub",
    "latitude" : "",
    "longitude" : "",
    "owner_email" : "",
    "provisioning_host": "global.azure-devices-provisioning.net",
    "registration_id": "CommunityDevicesFromGithub",
    "id_scope": "0ne00146FA6",
    "symmetric_key": "Please Contact me for this public dashboard key",
    "blob_token": "",
    "tf_models": ""
}
Save this in a file called creds.json in the root folder of the application.
You'll want to download both the Tier1 and Tier2 models and save them in BeeTracker/tier1 and BeeTracker/teir2 accordingly.
As our community grows, we'll have new image data to further improve the training of these learning models and will publish updated versions.
TIER1: https://1drv.ms/u/s!Aok2ArNyzY-zvSVIRDXiCsHZr5i3?e=CafR22
TIER2: https://1drv.ms/u/s!Aok2ArNyzY-zvSbGrdxlGFCBOBW1?e=veEdGo
Depending which sensor you're using, run the app using the command:
 python3 motion.py --sensor vcnl4010
 python3 motion.py --sensor vcnl4040
There are options to upload your images to a cloud storage container. This is disabled by default. If you enable this, your images will contribute to future model training.
Note that the initial startup time for the app is approx 30-45 seconds, as it loads the TensorFlow model. Performing image classification on the first image takes substantially longer (30s), than every subsequent image (1.1s).
Test mode tells the app to use the sample images in the img_test folder instead of ones it takes with the camera. These images are not ones used to train the model used, but ones that will test the classification and allow the app to run without the need for Bees to look at!
To run in TEST Mode:
Python3 motion.py --test True