A Docker Compose Charting Tool
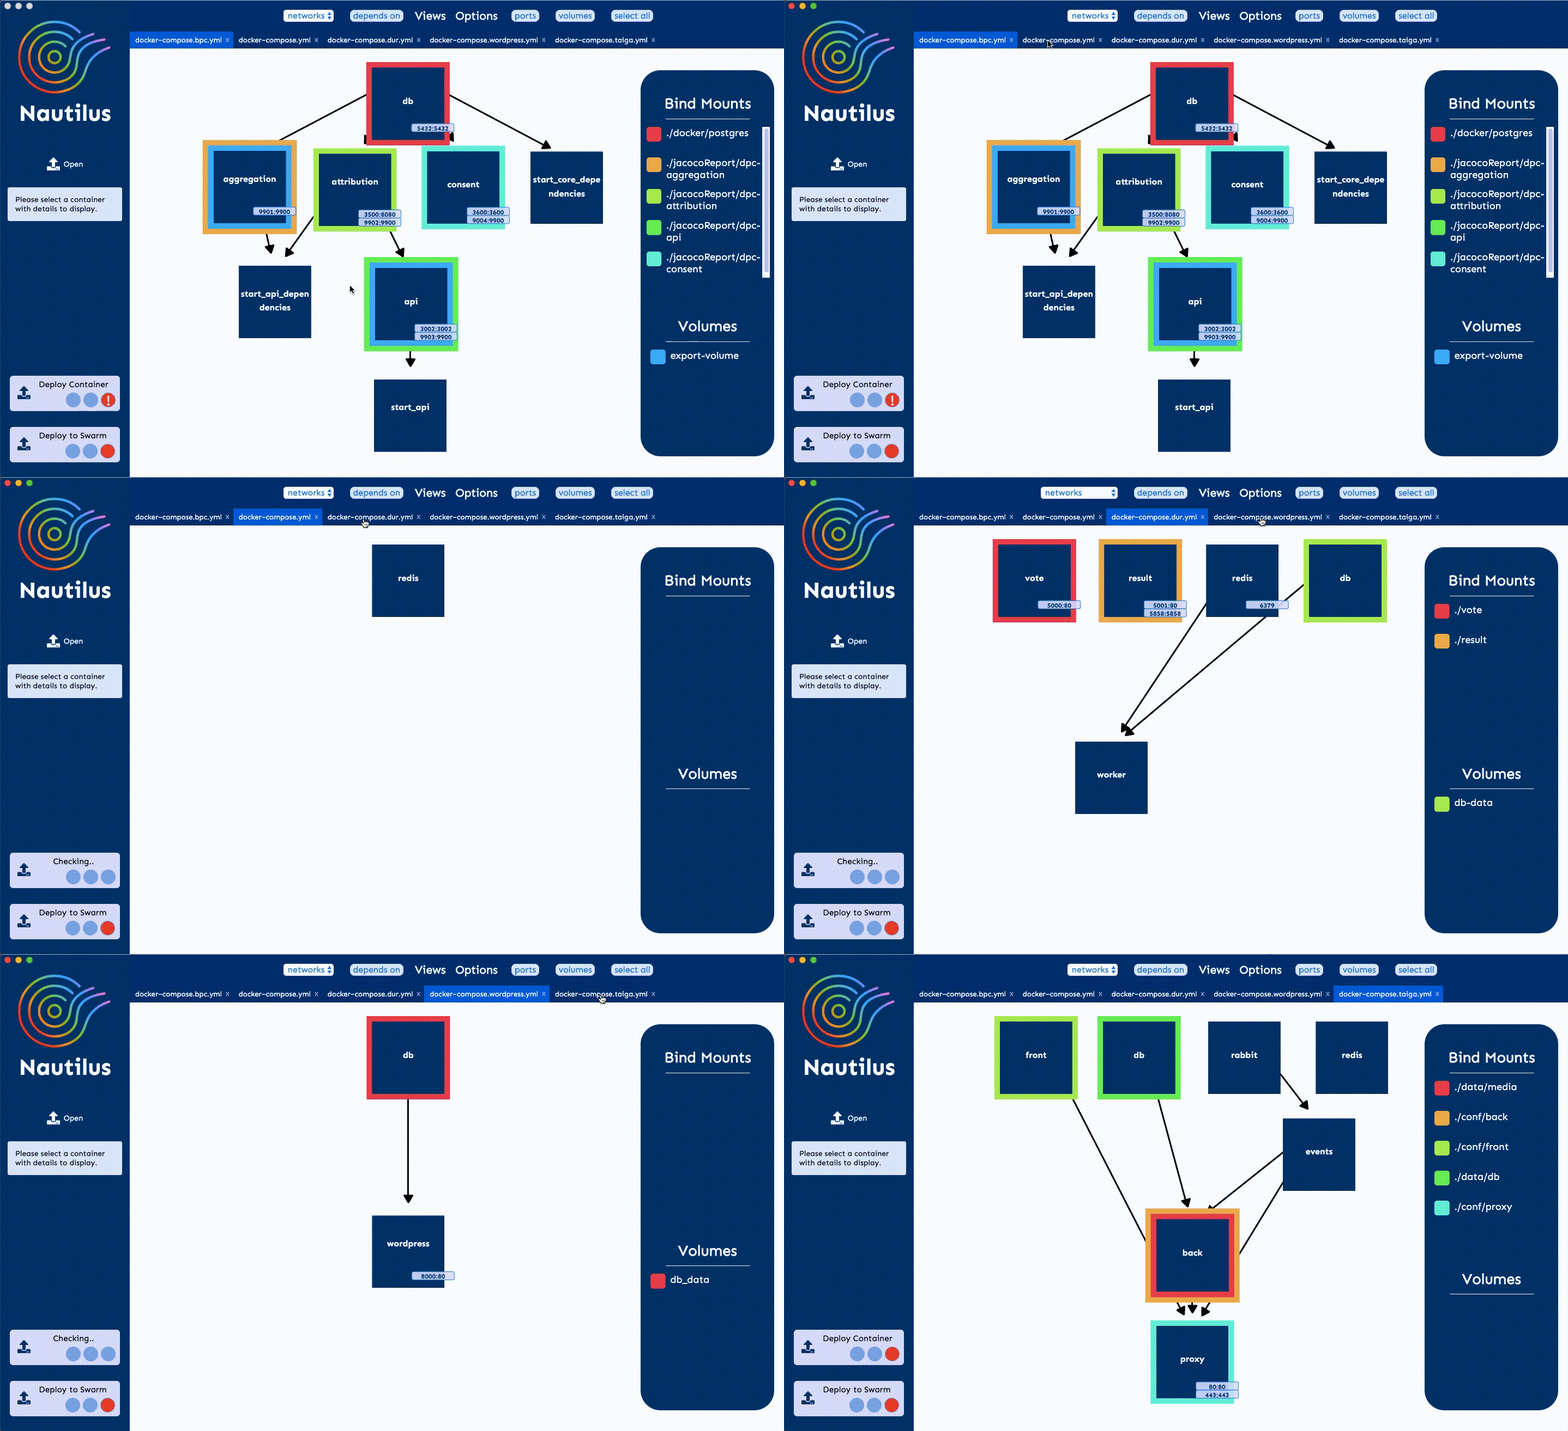
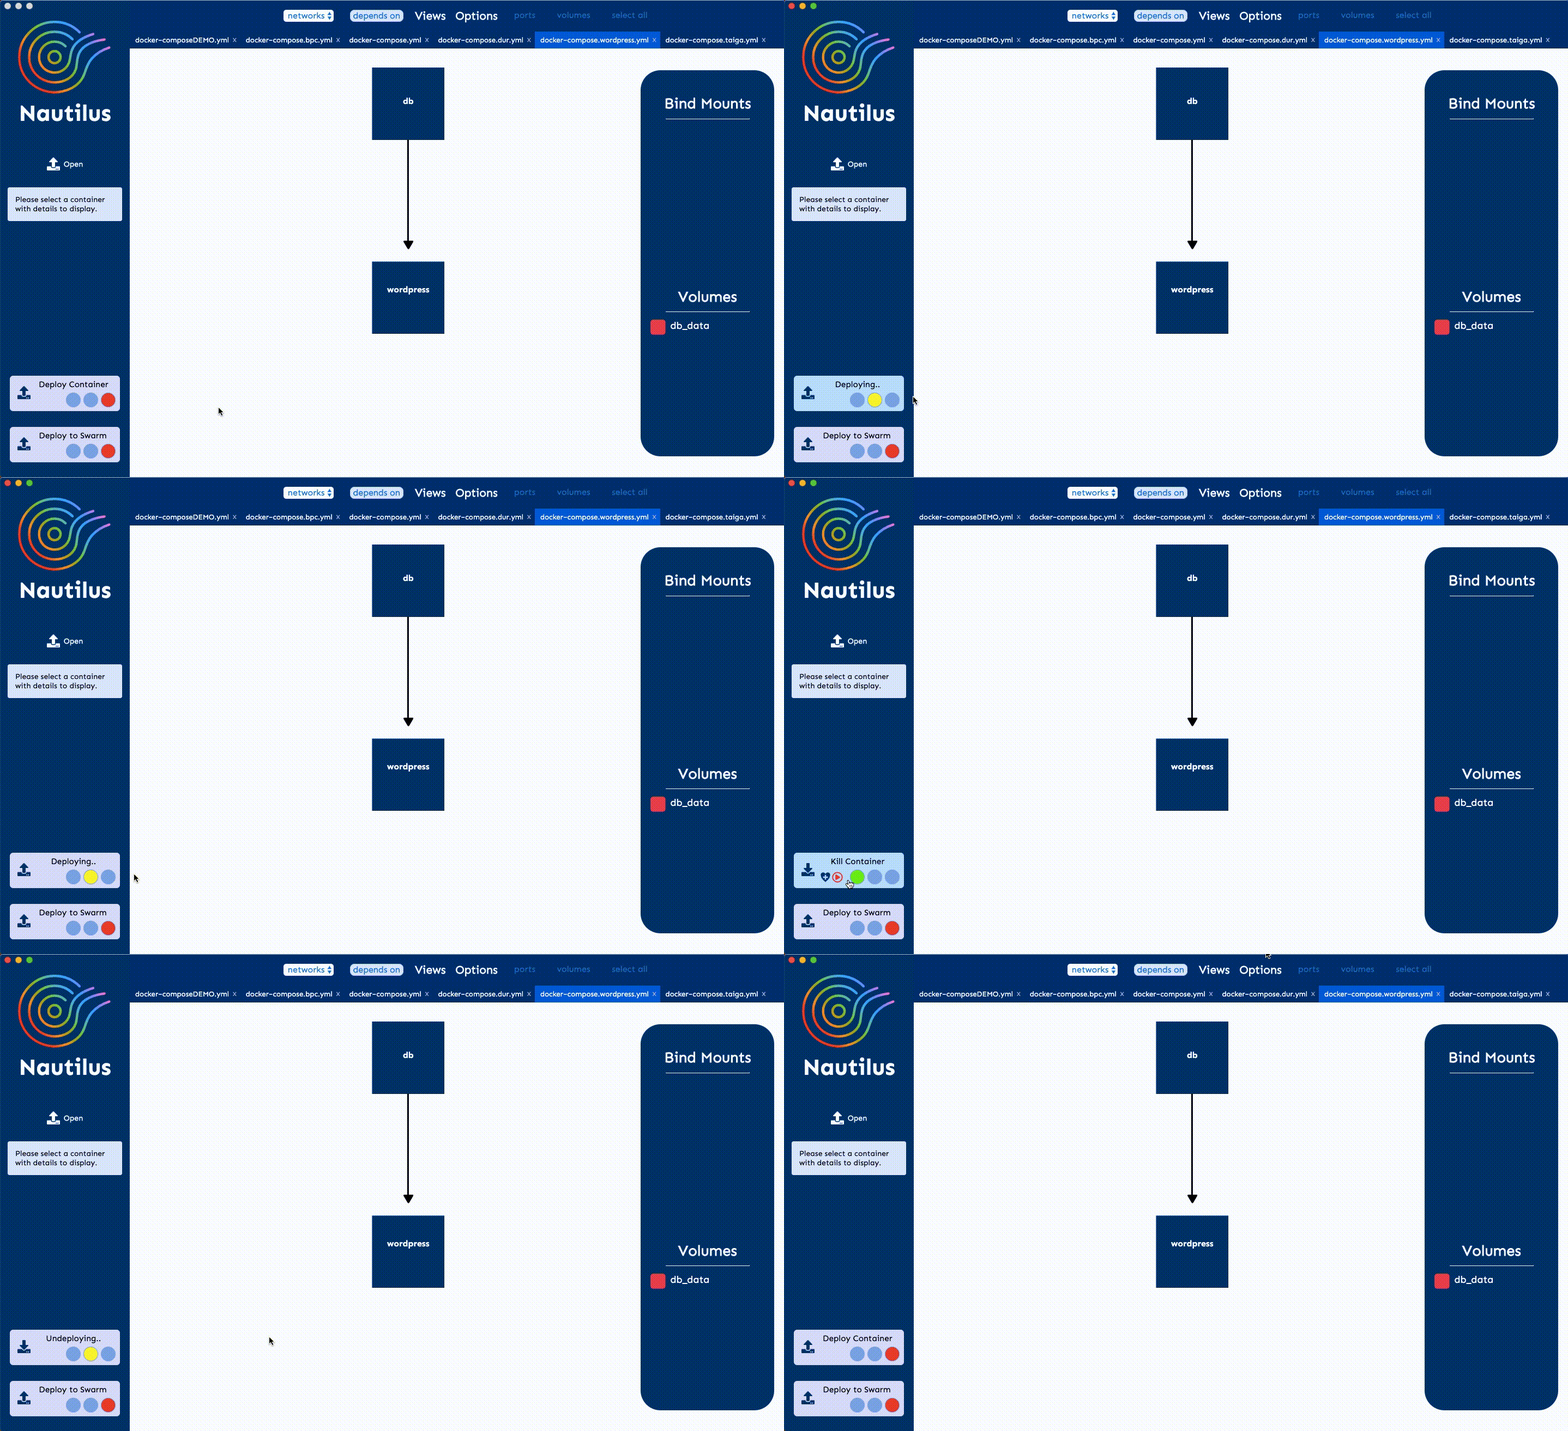
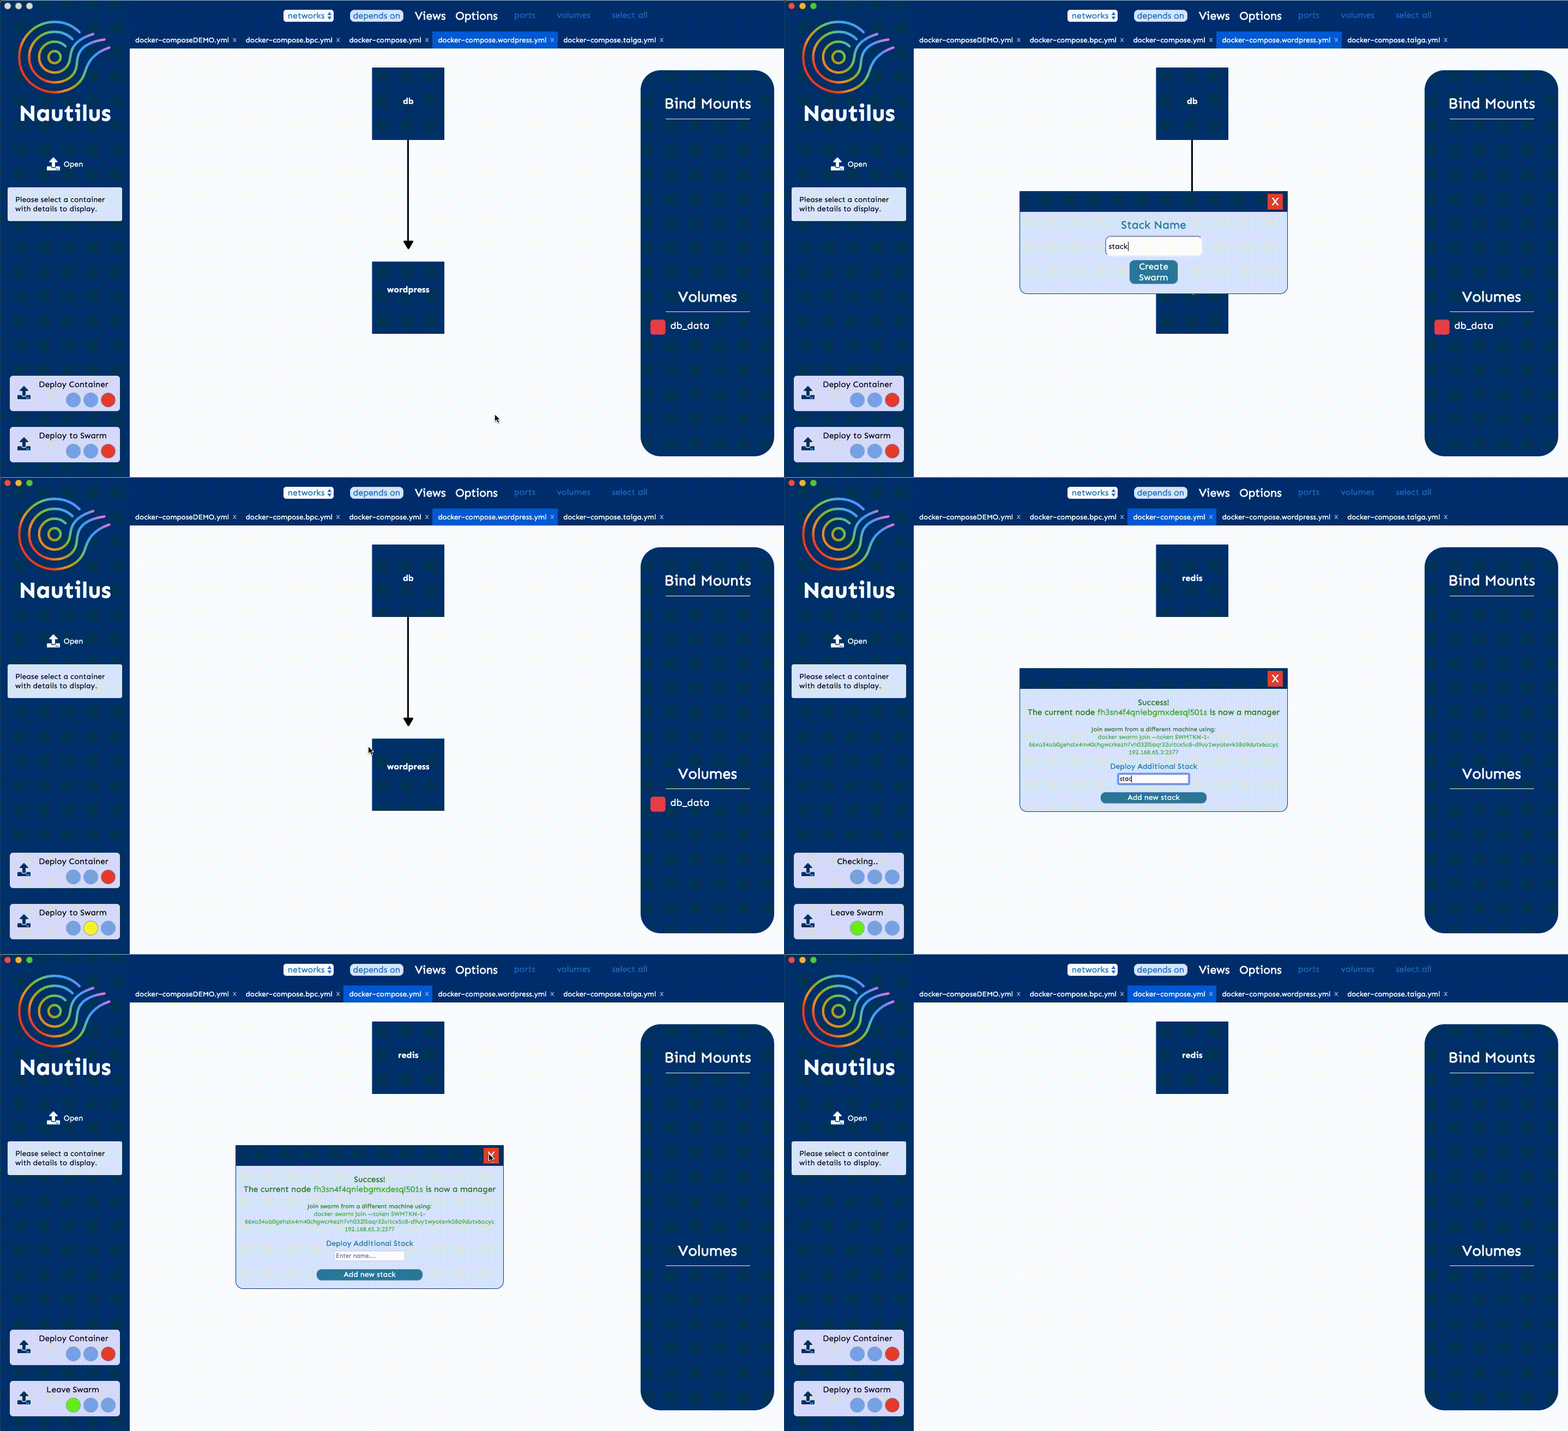
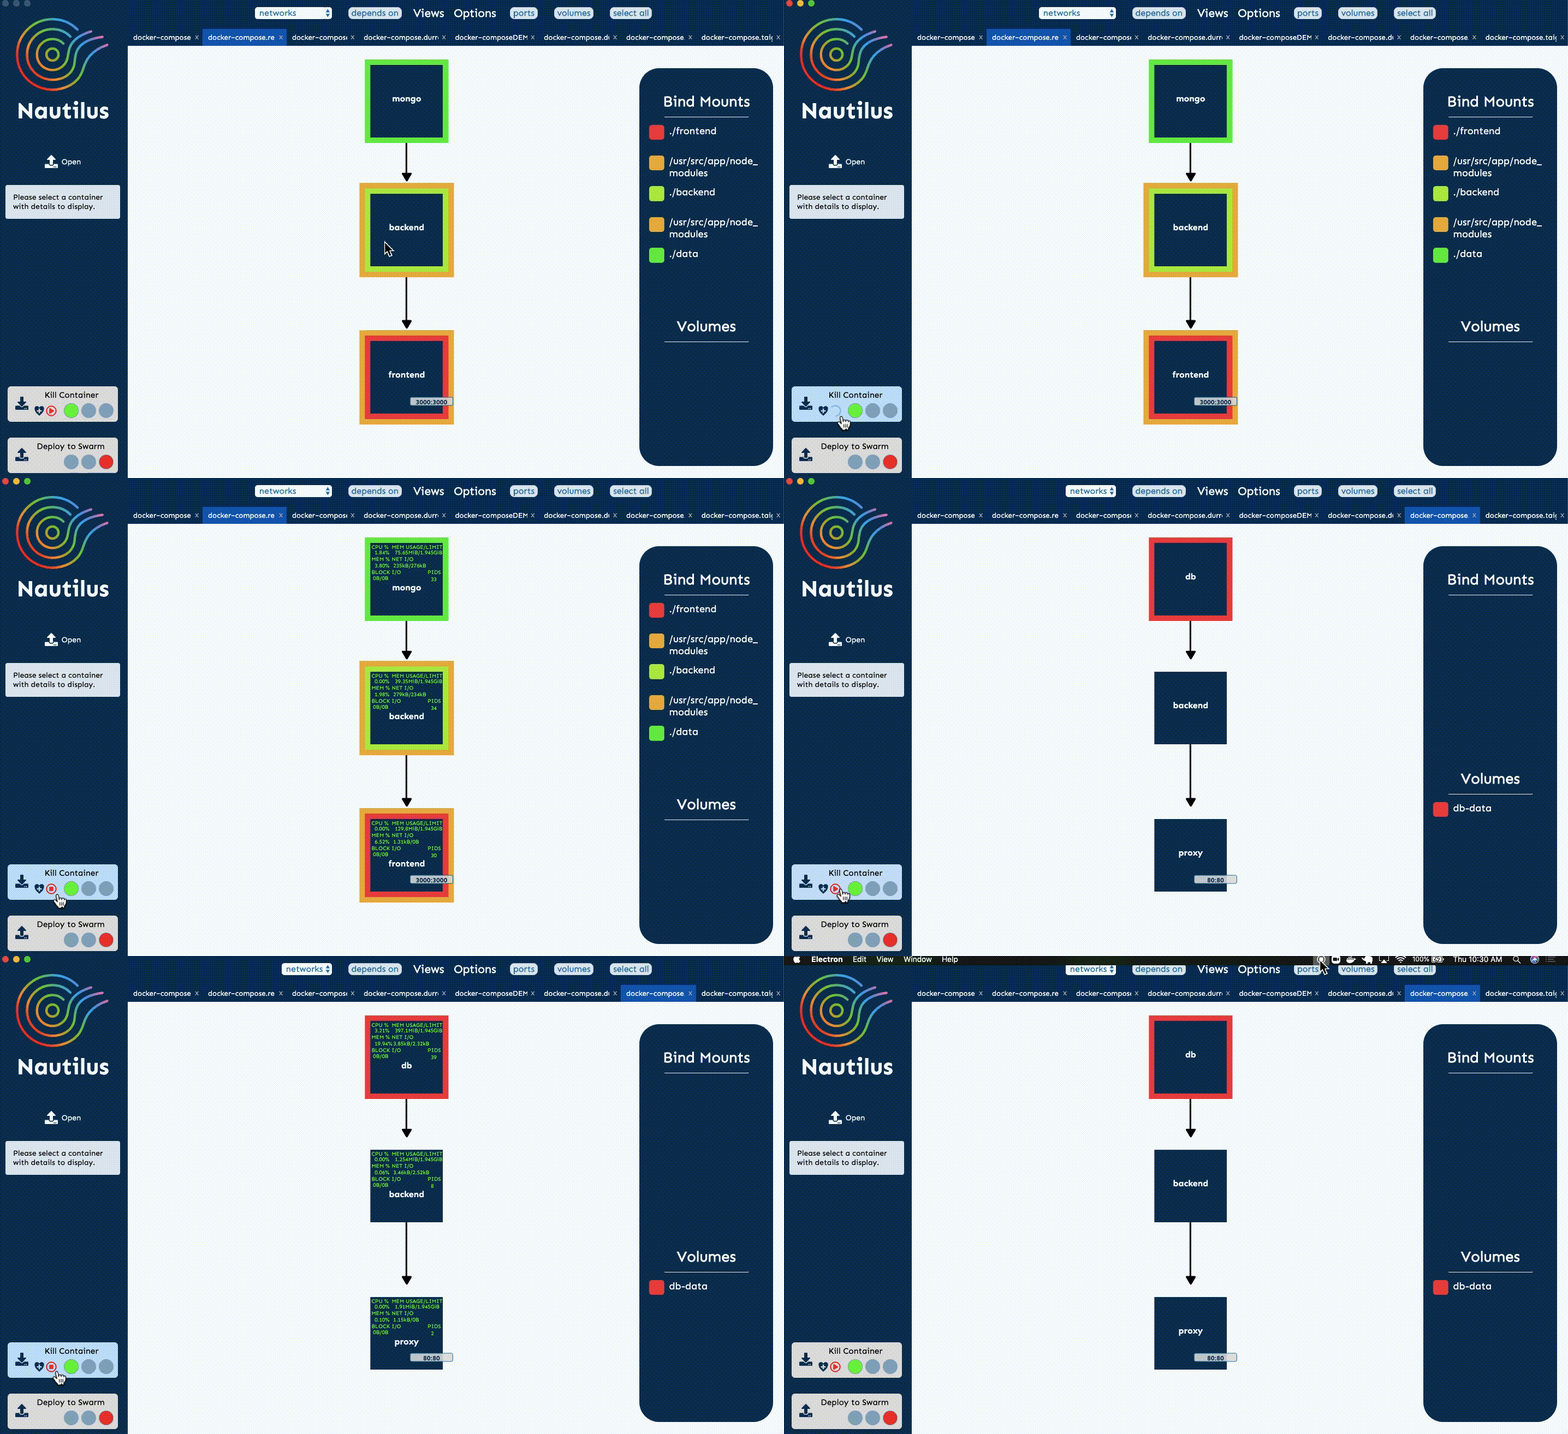
An interactive D3 visualizing tool that dynamically renders essential Docker Compose properties onto an Electron GUI, built to simplify the development environment for engineers.
No nautili were harmed during the making of this application
Nautilus comes in a prepackaged application that is ready to run on your preferred operating system.
Nautilus requires the docker and docker-compose command-line interface tools installed. For Mac and Windows users, this comes included with Docker Desktop. For Linux Users, this comes included with Docker Engine.
For your convenience, we've included links to Docker's documentation to set this up on your preferred operating system below.
Docker Setup Instructions
Once you're sure you have the Docker CLI tools installed, download the Nautilus application from one of the links below.
Nautilus Download Links
- [Mac]Coming Soon
- [Windows]Coming Soon
- [Linux]Coming Soon
We are currently in the process of getting appropriate certifications/signatures so you may need to bypass some security warnings to run our application, but rest assured Nautilus does not make any network calls (and the project is 100% open source).
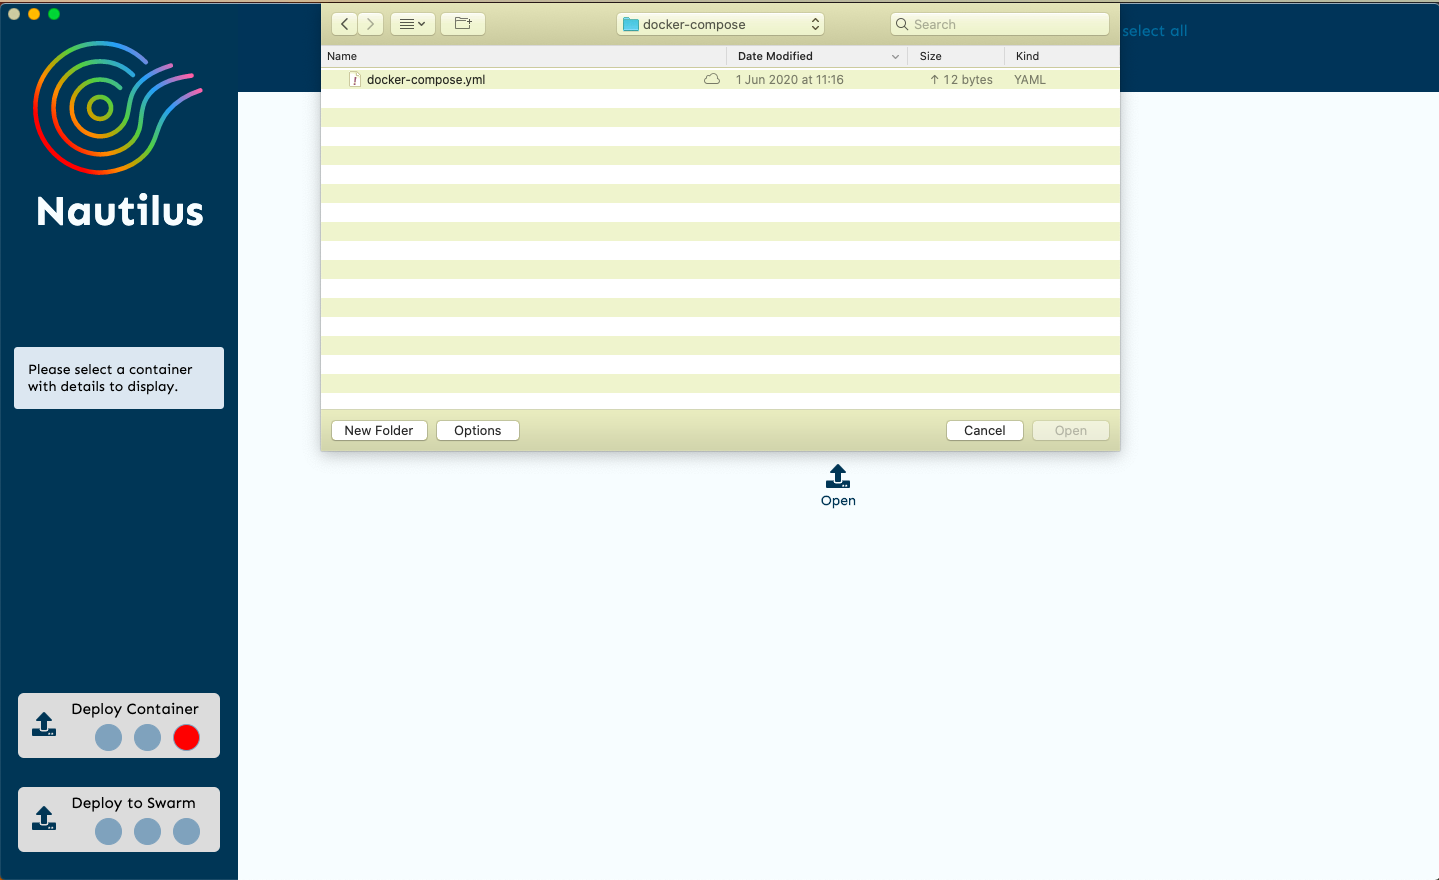
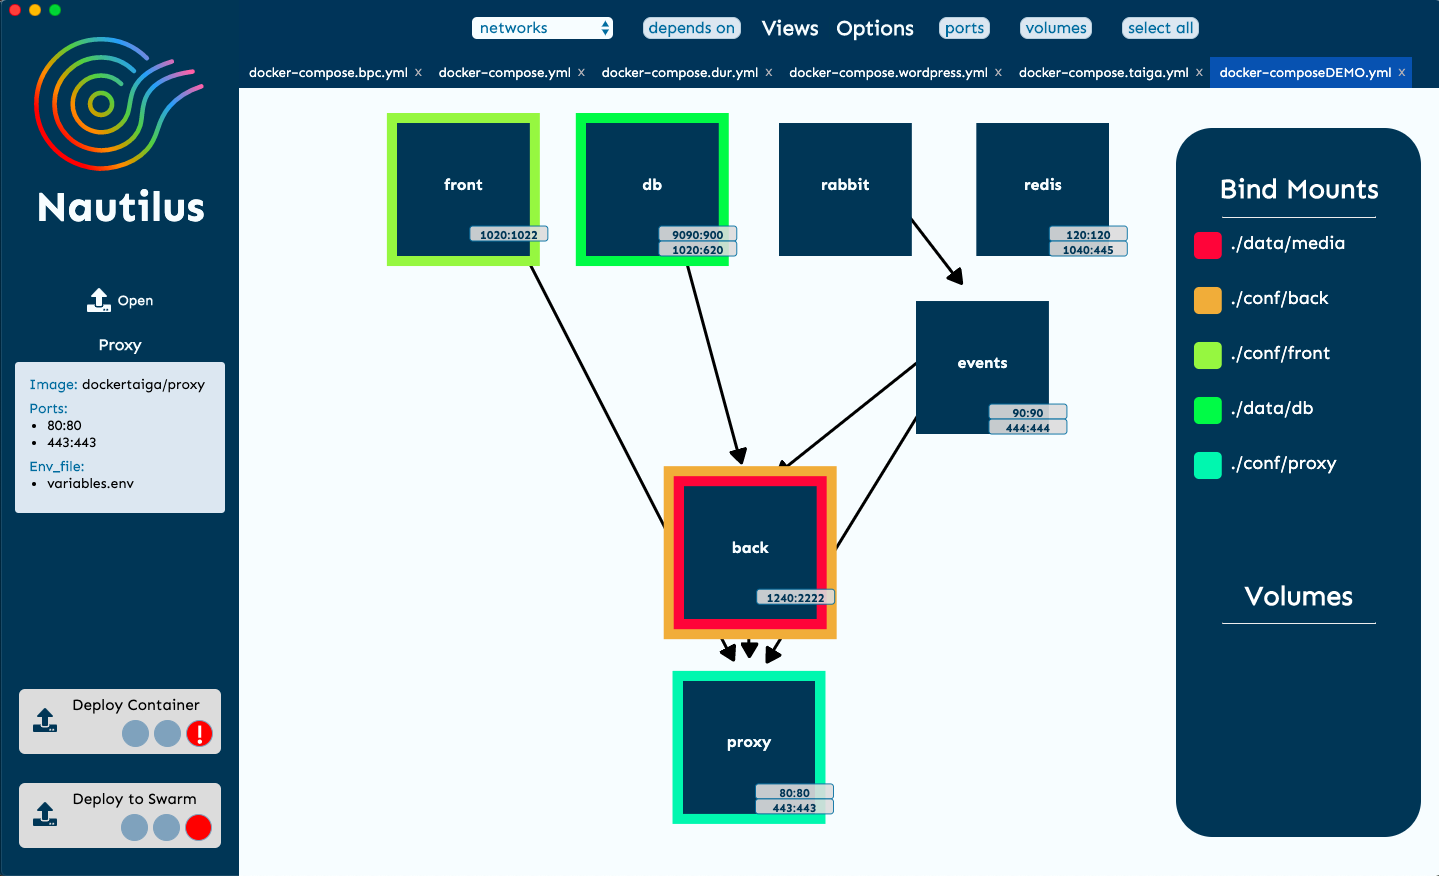
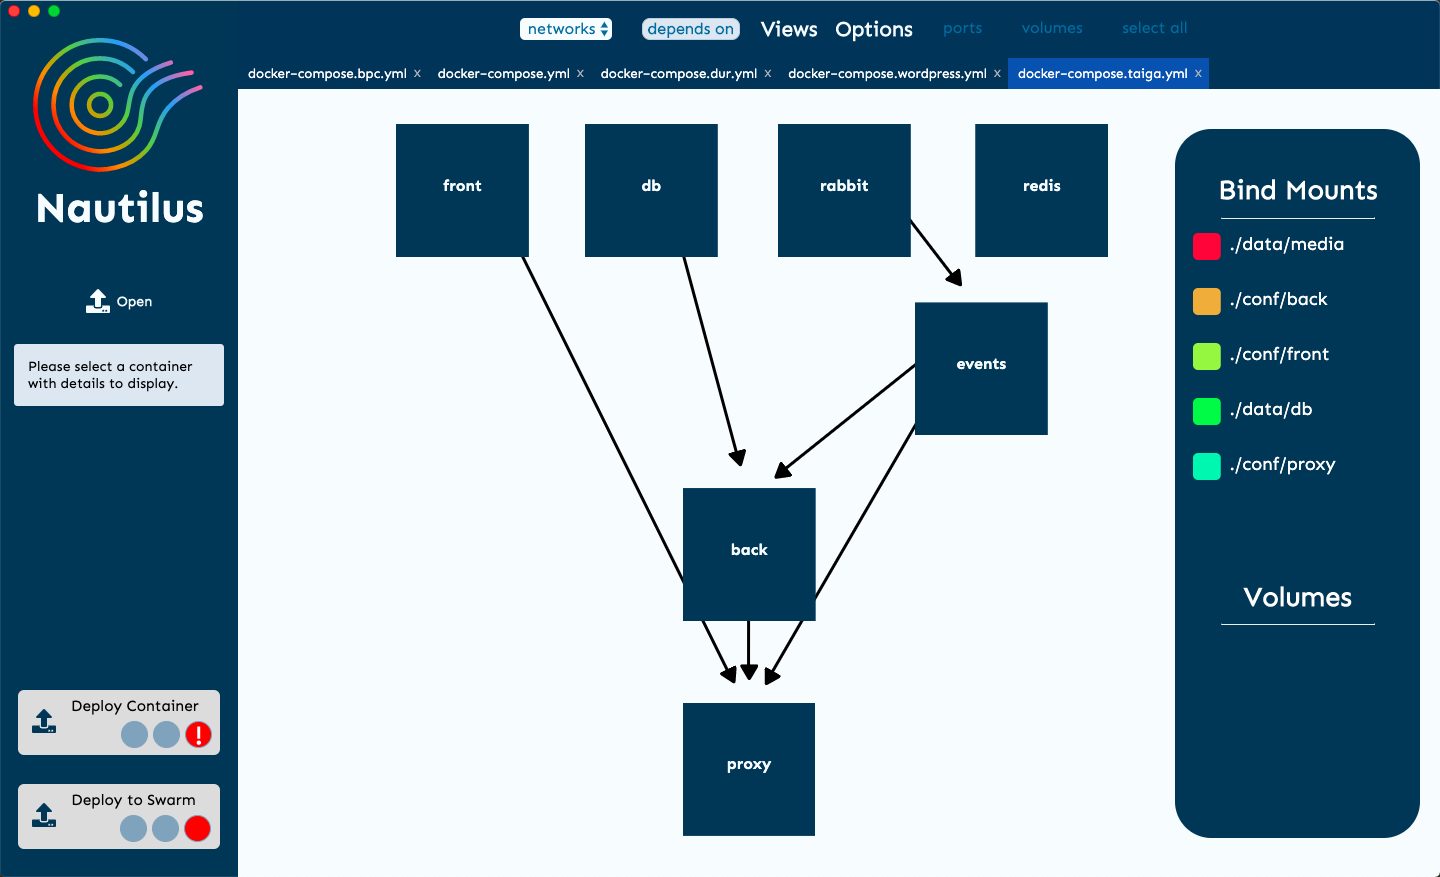
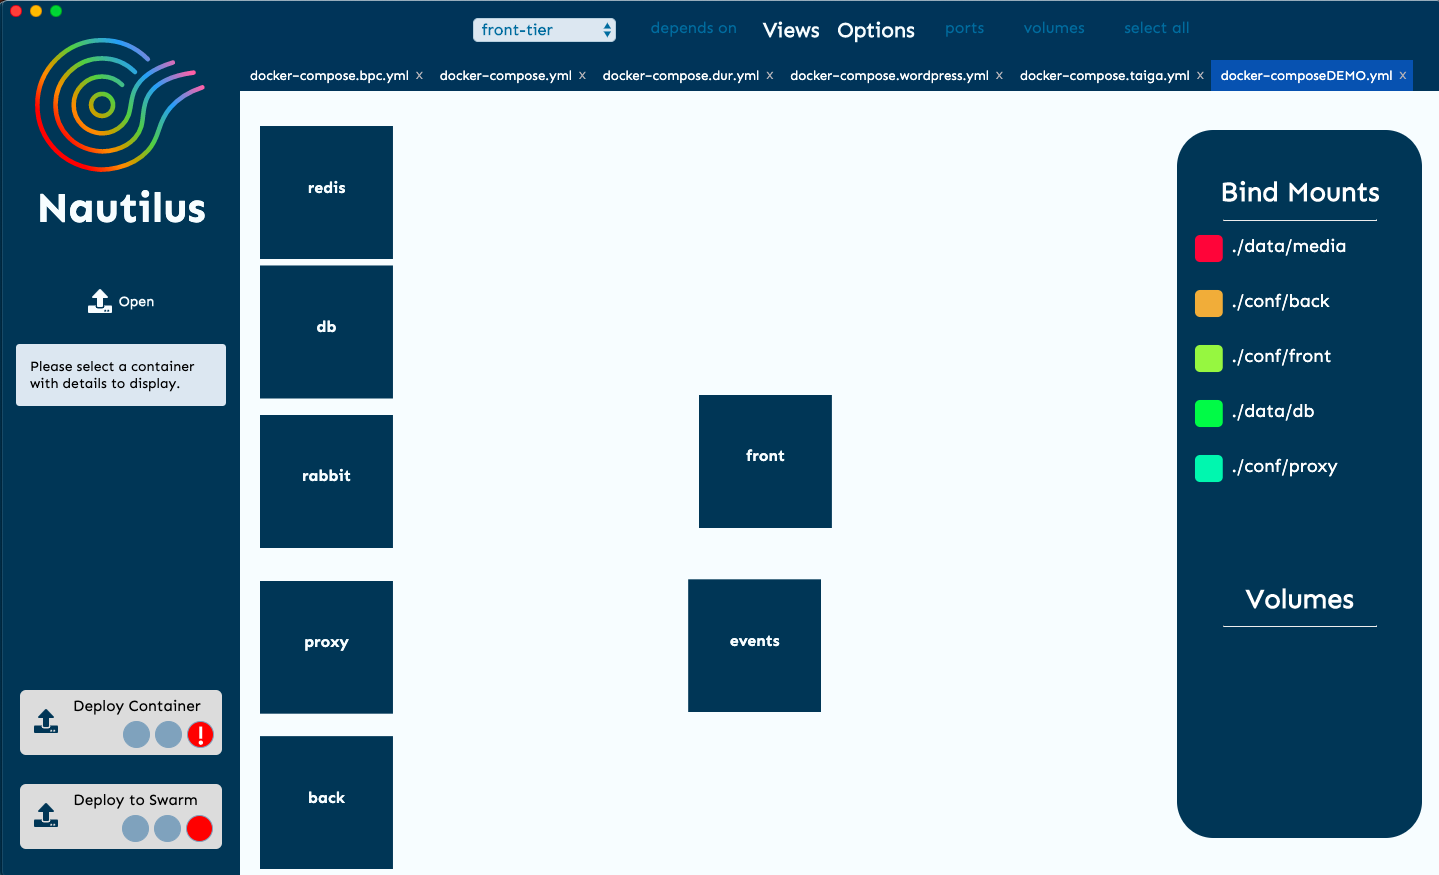
Run the application, open your Docker Compose file, and visualize your Docker Compose setup with the various views and options.
Contributions are what make the open source community such an amazing place to be learn, inspire, and create. Any contributions you make are greatly appreciated.
-
Fork the Project and clone the repo to your local machine
-
Install Dependencies
Using Yarn (highly recommended):
yarnUsing npm:
npm install -
Make changes
-
Write tests for changes
-
Open a Pull Request
When developing, you'll probably want to run the dev version of our application. Nautilus development is fully integrated with webpack HMR, typescript and sass loaders and Electron. To start the development environment. Note: Have Eslint and Prettier installed, with your code editor set to format on save. In VSCode, you can add a rule to the settings.json "editor.
yarn dev
This will open a new instance of the Nautilus desktop application and will reload automatically as you make changes. Code away!!
Nautilus utilizes electron-builder to package the application. If you want to see the changes you've made to Nautilus in a production version of the application, use these scripts:
Package for MacOS:
yarn package-mac
Package for Windows:
yarn package-win
Package for Linux:
yarn package-linux
OR
Package for all three operating systems:
yarn package-all
The Nautilus repo is integrated with Travis CI, so tests will run automatically on all pull requests. But, we highly recommend that you test as you develop--Nautilus is a test driven development team. We have two ways to run tests:
yarn test
Best use for yarn test is right before making a PR to make sure that none of your changes have broken the application.
yarn test-f <test-filename>
This command is ideal when working on a particular component to streamline development. No need to run tests for the whole application when only touching one file.
- V2.0: David, Yevgeniy, Kim, Linda
- V1.0: Aris, Danny, Josh, Michael, Tyler,
Distributed under the MIT License. See LICENSE for more information.
The Nautilus Devs - LinkedIn


