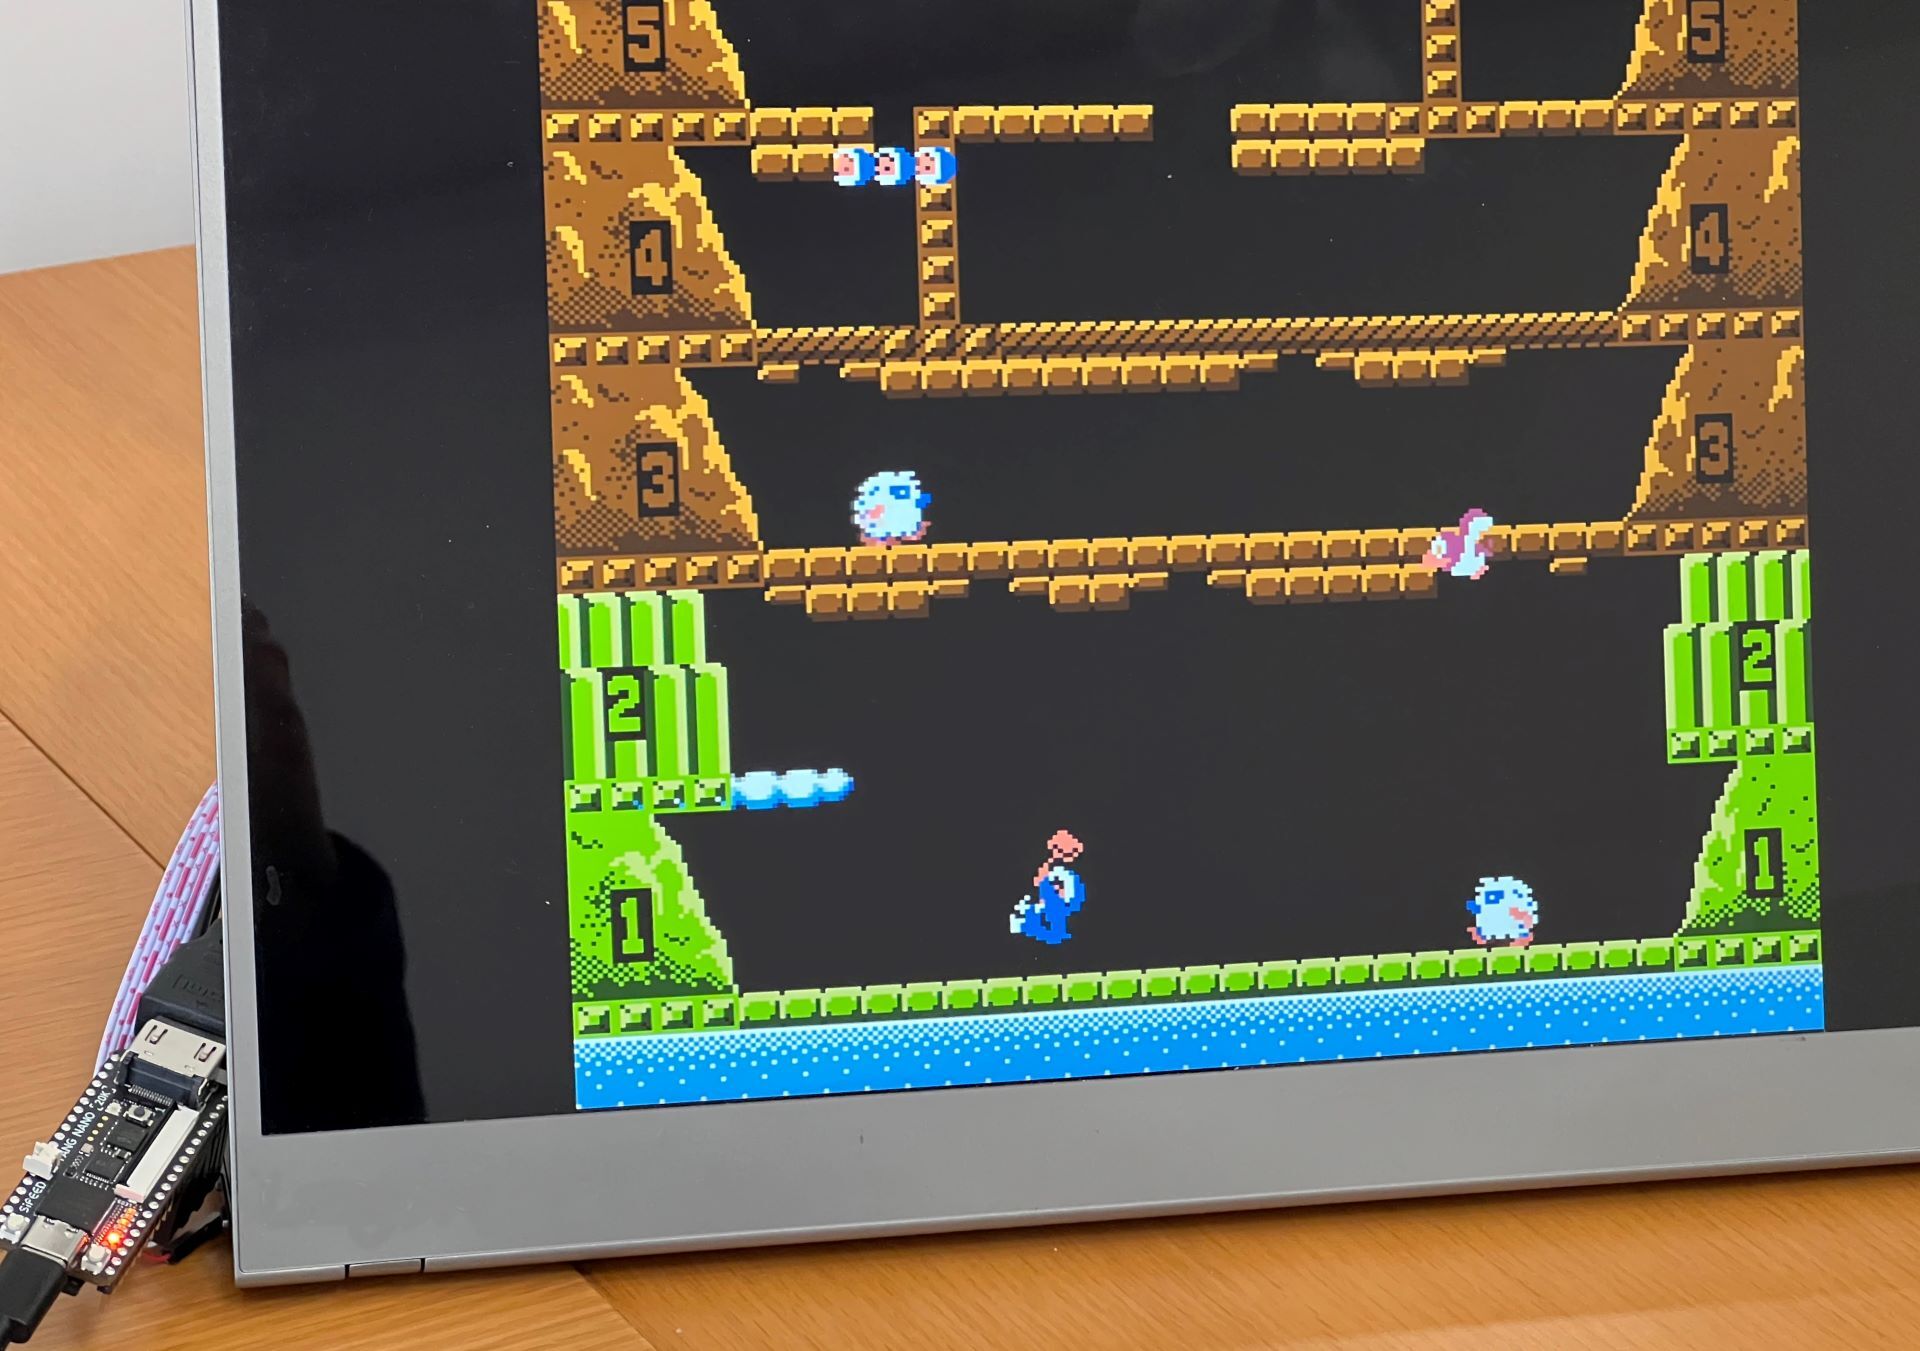
NESTang is an open source project to recreate the Nintendo Entertainment System (NES) with modern affordable FPGA boards including Sipeed Tang Nano 20K and Primer 20K. The main logic comes from fpganes, to which I have added SDRAM/DDR3 and HDMI interfaces, among other features.
Main features,
- HDMI output with a resolution of 720p and sound capabilities.
- Cycle accurate gameplay quality has been achieved since the NES circuits have been almost entirely replicated.
- Game loading via MicroSD cards (for Tang Nano 20K only) or Windows/Linux loader program.
- Playstation 2 controller interface (for Tang Nano 20K only) or interfacing with controllers connected through a PC.
The best way to experience NESTang is with the Tang Nano 20K (Retro Game Kit version), which cost $38 last time I checked. The board features FPGA-friendly SDRAM memory. And the kit includes the necessary controller adapters and a pair of controllers. Here's what you need to run NESTang:
- The Tang Nano 20K board.
- Sipeed ps2 controller adapters connected to the board's pin 15-20 on both sides. The latest 0.6 release also supports USB gamepads.
- Playstation controllers (wired or wireless) connected to the adapters.
- HDMI cable to connect the board to a monitor.
- Latest NESTang program downloaded from github and transferred to the board using either openFPGALoader or Gowin programmer.
- A MicroSD card to hold ROMs. An 8GB cards should suffice. The
tools/nes2img.pypython program can be used to convert .nes ROM files to an .img file. Ensure that you have Python version 3.7 or higher, and then install the Pillow package usingpip3 install pillow. You can then use an SD imaging tool such as Balena Etcher to burn the newly created image onto the MicroSD card. - Insert the MicroSD card and power up the board to start playing your favorite games!
If you own a Tang Primer 20K board, you can also run NESTang. The following components are required:
- Sipeed Tang Primer 20K board
- Muse-Lab HDMI PMod if you got the "lite" version of Tang board. You can purchase it from aliexpress or taobao. The "dock" version of the board already has an HDMI port, so there is no need for this component. The wiring instructions for the "lite" version can be found in the doc/wiring.md file.
Follow the instructions below:
- Download NESTang 0.4 since later versions only support Tang Nano 20K.
- Launch the Gowin Programmer application and program either the
nestang-lite.fsornestang-dock.fsfile, depending on your specific board. If your setup is correctly configured, a colorful NES palette should be displayed. - Connect your game controller/controllers to your PC. I use a pair of old Xbox 360 controllers.
- Use the command
loader.exe -c COM4 games\rom.nes(replace COM4 with your port number) to load the gamerom.nes. If the game does not load, install Microsoft Visual C++ Redistributable package to resolve any missing DLL errors. - Press the left button (LB) to open the in-game OSD menu, from where you can load other games located in the
gamesdirectory. - If the game does not load, run
loader.exe -r game.nesto generate error messages from the core.
Congratulations! Now you can enjoy all your favorite NES games. For version 0.4, a Linux loader program is also available. See Linux loader for details.
If you want to generate the bitstream from source, see Build Instructions.
Quite some time was spent on getting a low-latency (90ns) DDR3 controller to work for Tang Primer 20K. You may find that useful too.
See NESTang changes.md.
Here are what I may work on when I get time. No promise though. Suggestions and pull requests are welcome!
- Support more games.
- An enclosure?
- Cheats support.
- Saves and loads.
- fpganes by Ludvig Strigeus.
- hdl-util/hdmi by Sameer Puri.
- NES for Tang Nano 9K by hi631
nand2mario (nand2mario at outlook.com)
Since 2022.9

