FAQ: How can I allow a blocked connection?
dhaavi opened this issue · 1 comments
Portmaster is all about protecting your privacy. This also means that it may block something that you want to allow. Here's how you do it:
1. Find the blocked connection in the Network Monitor
Before we can try to fix anything, we need to find the connection that is blocked in the Network Monitor. To do this, open the Portmaster App, which will start with the Network Monitor already open.
Then, find the application that you are having trouble with. Sometimes applications are split into multiple sub-parts, so you might need to click around. If you see an application that has at least a little bit of a grey bar, it means that at least one connection is blocked:

If you have found the application, open it and search for the blocked connection, which are marked with a red dot:

If your connections are grouped in some way, again look out for the grey parts of the bar:
If you found a connection that was blocked and looks like the one that you'd rather allow, continue to the next step:
2. Find out why it is blocked
To get more information about the blocked connection, click on it to open the details:

In addition to many other details (also depending on your User Interface Mode), you can see "Applied Setting" in the bottom left of this section.
This tells you which setting was responsible for blocking this connection.
3. Allow the connection
In order to allow this connection, you now have two options:
- Add an exception for this connection (recommended), or
- Change the responsible setting
3.1. Add an exception for this connection
In order to add an exception for this domain, just press the button at the bottom left of the connection section:
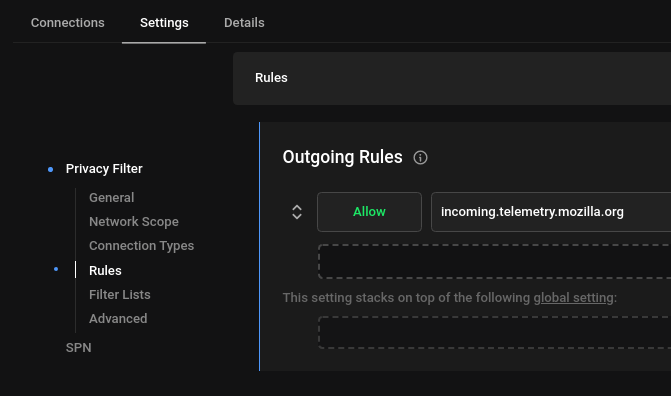
If you then go to the settings of the application, you will see that a new rule was added:
If the "Allow Domain" or "Allow IP" button is disabled, this means that an exception is not possible and that you must change the responsible setting:
3.2. Change the responsible setting
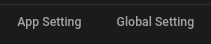
Before you change the setting, you must decide whether you want to change the settings for this app only (recommended) or globally for all apps (which don't have this setting configured differently).
Pressing the corresponding button will take you to the responsible setting:
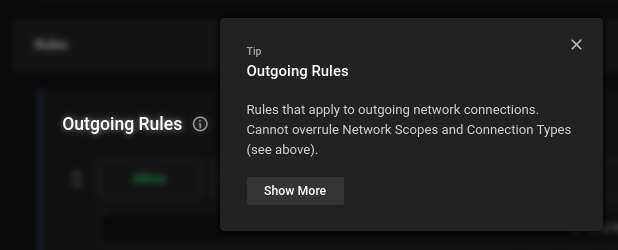
How to change the setting heavily depends on the setting itself, so the best way to go forward is to read the description by clicking on the (i) icon:
Generally, we try to make all settings provide more protection by turning them "on", so in most cases turning off a setting will allow the connection.
In case there are multiple settings that block a connection, you might need to repeat this process.
Keywords: allow, exception, unbreak, unblock, not block, stop blocking, deny, denied, dropped, permit, connection, DNS request
Categories: Guides, Privacy Filter
Reserved.