This is small neat drill press stand designed to use laser printer engines widely sold on ebay/aliexpress. This project based on http://www.thingiverse.com/thing:144333 by Mark Benson design with next improvements:
- Designed for engine body sized L=35-60mm D=30mm
- Shifted base hole to center drill according new motor diameter
- Added 3x 3mm super light LED holders focused on drill working area
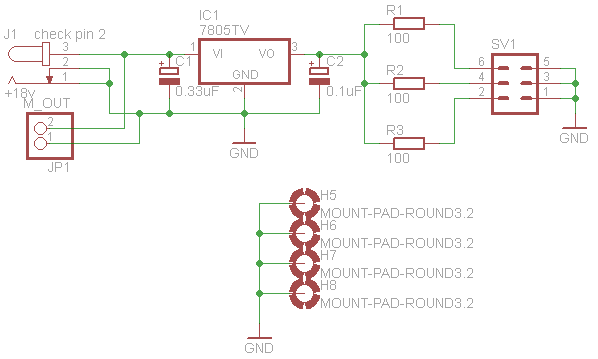
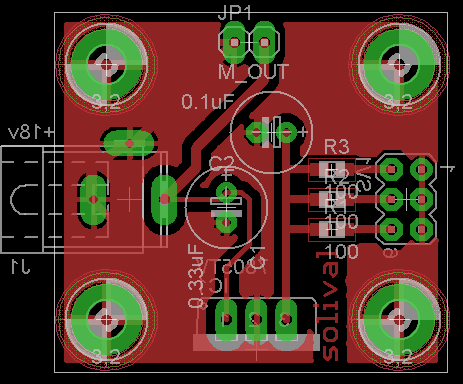
- Added PCB with voltage regulator and connector for standard notebook power unit (which is used for drill and light). This can be easily changed on any power source up to 24v (only connector should be changed in this case)
- Added holes in slider to mount PCB
- Added hole on left side of fixed sliding wedge for balancing spring/rubber.
Apart from that no big changes. I print gears with 40% filament and all other parts with 20% filament. Works fine.
This thing on thingiverse: http://www.thingiverse.com/thing:766712
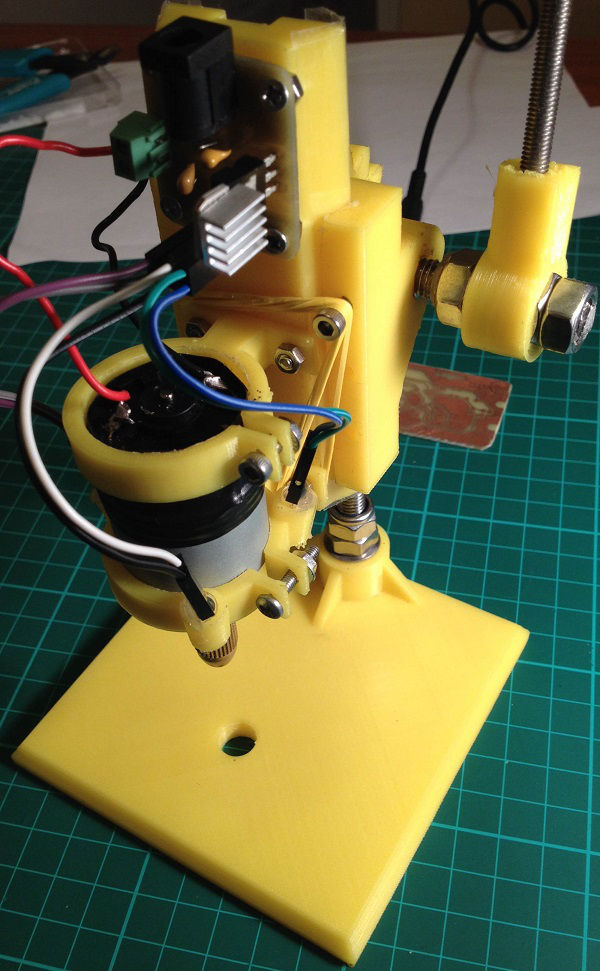
Drill Press Stand assembled
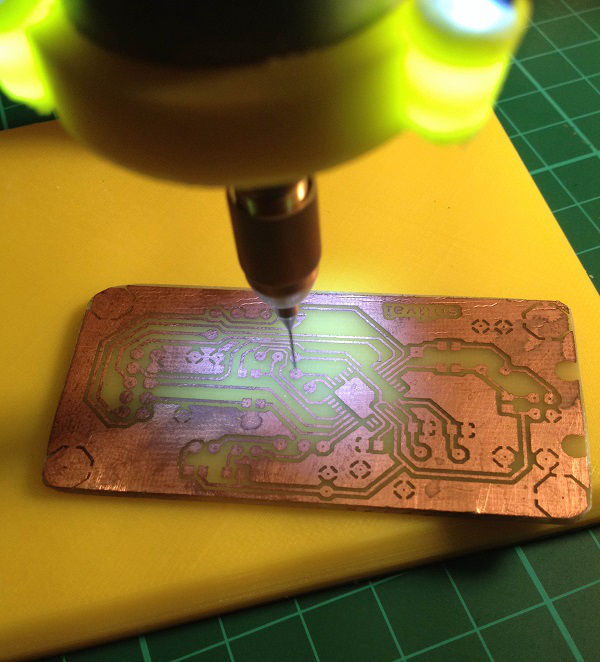
Drilling area light
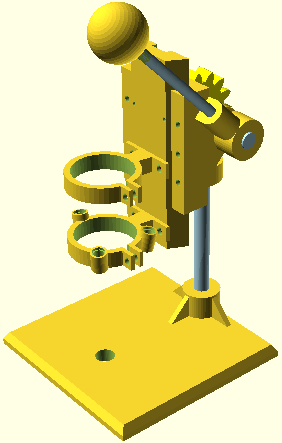
Assembled render front
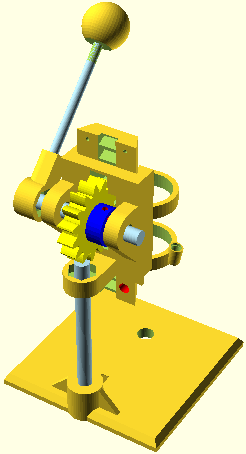
Assembled render back:
LED Light Schematics
LED Light board layout
- ABS or PLA filament
- Drill chuck
- Threaded rod M5 (about 110mm)
- Threaded rod M8 (about 95mm and 80mm). One is for stand, second is for gear and fixed slider.
- 6x M8 nut, nyloc (better 8x for stand tightening)
- 4x 8mm washer
- 9x M3 18mm bolts
- 10x M3 nuts
- 6x 3mm washers
- 6x 3x12mm screws
- Motor from printer with body diameter 30mm and length between 35-60mm
- Female-Female du-pont wires 10cm (6x)
- 3x LED 3mm White
- 2.54mm 2-wire connector
- Jack plug (diameters must match your notebook power unit connector)
- Notebook power unit
- 2x3 pin header male
- LM7805 (or LM7812) voltage regulator
- 0.1uF and 0.33uF capacitors
- 3x 100 Ohm resistors (or 390 Ohm if LM7812 used)
- Prototype Board or etched PCB
