In a previous tutorial, Deploying a Kubernetes-In-Docker (KIND) Cluster Using Podman on Ubuntu Linux, we took a look at how to use Podman to deploy a KIND container.
While discussing good use cases for an article on deploying an application in a Podman Pod with my friend Jeff Kaleth, he suggested Atlassian Confluence, as he does quite a bit of work documenting things with it. Confluence tends to be consumed as SaaS these days, but sometimes you might want to run a local instance.
Traditionally, this would mean installing software either on a bare metal server or virtual machine, on top of an operating system. This would be messy, and take time and effort to get everything configured properly. Yuck!
There has to be a better way.
Deploying a self-hosted Confluence server doesn't have to be difficult! Using the power of Podman, pods and containers, we can have a hosted instance of Confluence up in short order.
In this tutorial, I'm going to show you how to get a minimal instance of Confluence with a Postgres instance backing it up, in a Podman Pod, up and running in minutes.
GitHub: Deploying a Confluence Server in a Podman Pod Using Containers
Deploying a Kubernetes-In-Docker (KIND) Cluster Using Podman on Ubuntu Linux
dockerhub: atlassian/confluence-server
Podman: Managing pods and containers in a local container runtime
Podman can now ease the transition to Kubernetes and CRI-O
You will need an x64 Linux instance (physical or virtual) to deploy the Confluence container we will be using. You're also going to need Podman installed and configured on your x64 Linux instance. If you need to accomplish this, see the References section above.
First, let's create directories for our Confluence server data and our Postgres database data:
mkdir -p ~/confluence/site1/data
mkdir -p ~/confluence/site1/database
This will give us a place to store both our Confluence server data, as well as our Postgres database. Next, let's pull our container images, so we have them.
Pull the atlassian/confluence-server container image:
podman pull atlassian/confluence-serverPull the postgres container image:
podman pull postgresChecking our work:
podman imagesWe should see something like the following:
REPOSITORY                             TAG         IMAGE ID      CREATED      SIZE
docker.io/atlassian/confluence-server  latest      5c4ded270ac6  3 days ago   1.42 GB
docker.io/library/postgres             latest      3b6645d2c145  2 weeks ago  387 MB
k8s.gcr.io/pause                       3.5         ed210e3e4a5b  2 years ago  690 kB
We should see both of the images we just pulled. Let's put them to use!
First, we'll create our confluence-pod to put our atlassian/confluence-server and postgres containers in. We'll publish our Confluence server port, which is 8090, to our host on 8290, as some folks use port 8090 for Cockpit. We're going to keep the database traffic local to our pod.
Create our confluence-pod pod:
podman pod create --name confluence-pod -p 8290:8090Next, we'll add our atlassian/confluence-server and postgres containers.
Create our confluence-postgres container in the confluence-pod pod:
podman run --name confluence-postgres -e POSTGRES_USER=confluenceUser -e POSTGRES_PASSWORD=confluencePW -e POSTGRES_DB=confluenceDB -v ~/confluence/site1/database:/var/lib/postgresql/data --pod confluence-pod -d postgresNote the postgres user, password and the Confluence database password above.
Next, create our confluence-server container in the confluence-pod pod:
podman run -v ~/confluence/site1/data:/var/atlassian/application-data/confluence --name confluence-server --pod confluence-pod -d atlassian/confluenceChecking our work:
podman ps -a --podWe should see our confluence-pod pod, with the confluence-postgres and confluence-server containers:
CONTAINER ID  IMAGE                                  COMMAND         CREATED         STATUS             PORTS                   NAMES                POD ID        PODNAME
8a80bda6dd22  k8s.gcr.io/pause:3.5                                   29 seconds ago  Up 21 seconds ago  0.0.0.0:8290->8090/tcp  f982618cef09-infra   f982618cef09  confluence-pod
caaf6a6604de  docker.io/library/postgres:latest      postgres        21 seconds ago  Up 21 seconds ago  0.0.0.0:8290->8090/tcp  confluence-postgres  f982618cef09  confluence-pod
ec8ee150827f  docker.io/atlassian/confluence:latest  /entrypoint.py  10 seconds ago  Up 10 seconds ago  0.0.0.0:8290->8090/tcp  confluence-server    f982618cef09  confluence-pod
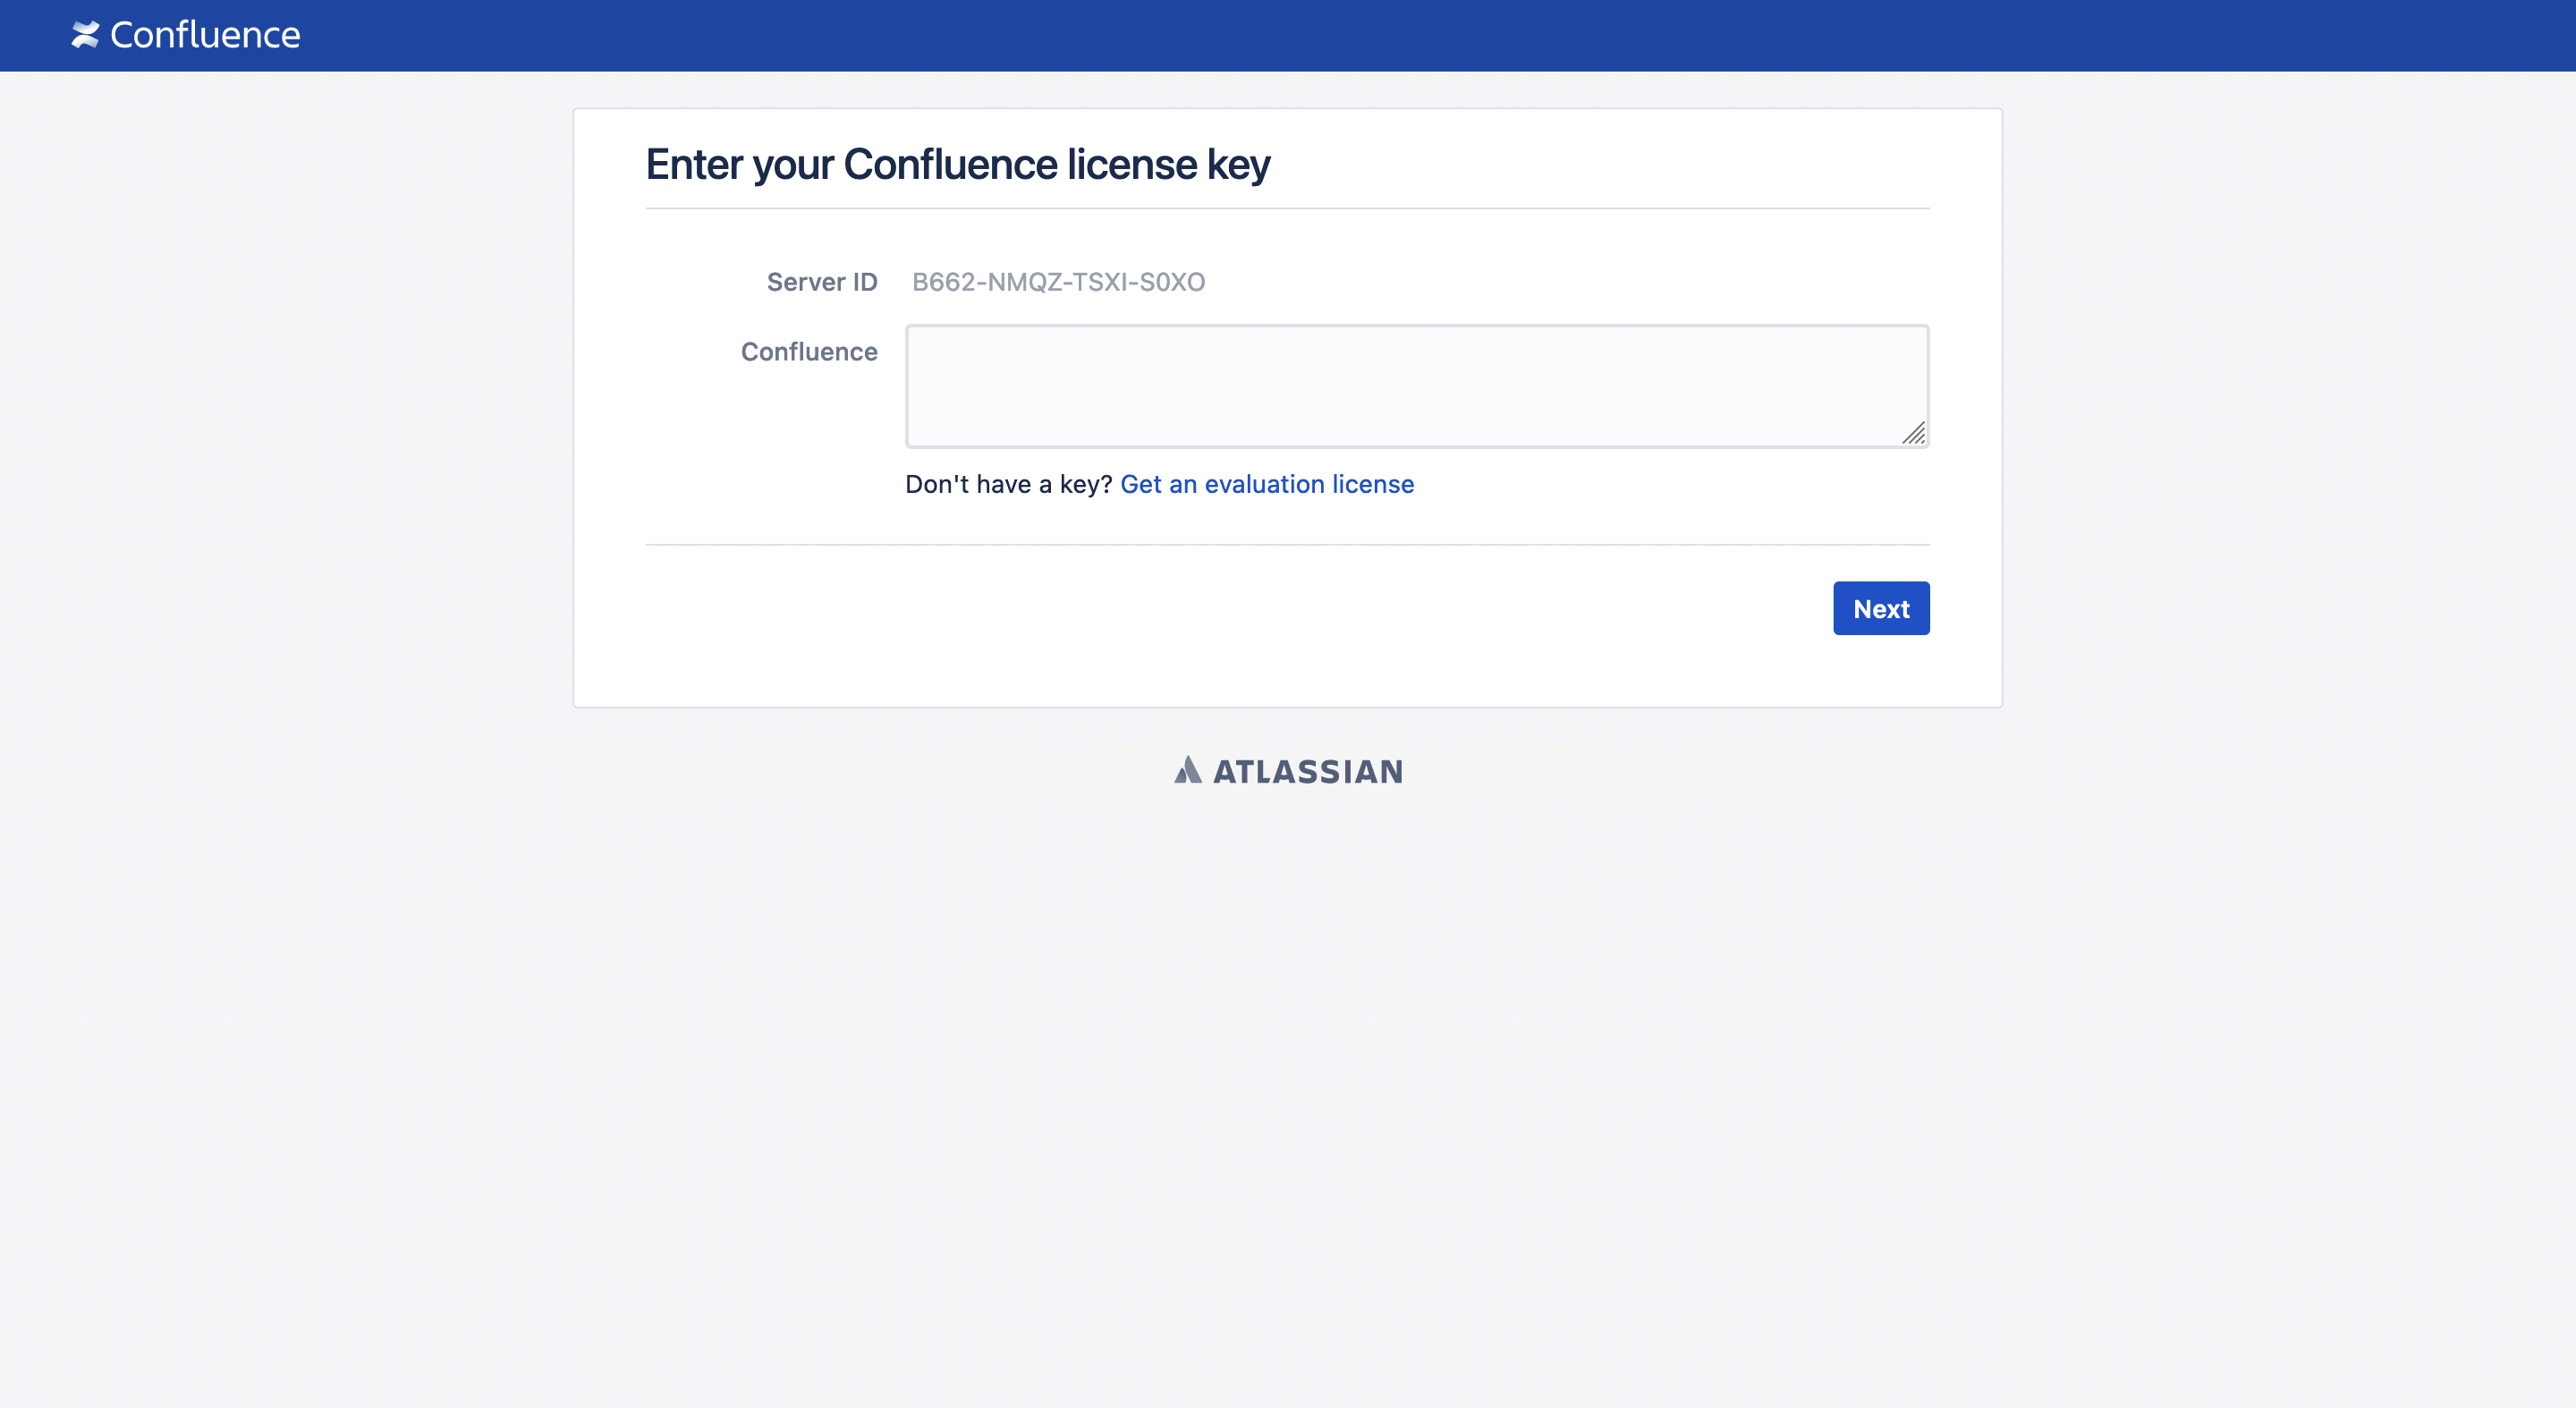
If we point our web browser at our host, on port 8290, we should get our Confluence licensing page as shown below.
We're not going to go through setup in this tutorial, but if you wish, you can get a trial license and set up your Confluence instance.
You now have a working instance of Confluence Server!
When we're done with our Confluence server pod, we can tear it down in short order.
Delete the containers:
podman rm -f confluence-server confluence-postgresDelete the pod:
podman pod rm -f confluence-podChecking our work:
podman ps -a --podWe should not see any containers or pods:
CONTAINER ID IMAGE COMMAND CREATED STATUS PORTS NAMES POD ID PODNAMELooking great! That was easy!
So, we've shown that deploying a self-hosted Confluence server doesn't have to be a pain. We stood up a hosted instance of Confluence in short order, using the power of Podman, pods and containers.
What if we wanted to take our Confluence pod to Kubernetes?
In the next tutorial, we'll take a look at how we can use Podman to generate and test a YAML manifest for our Confluence pod, so we can run it in our KIND (Kubernetes-In-Docker) cluster!
Enjoy!
Tom Dean
