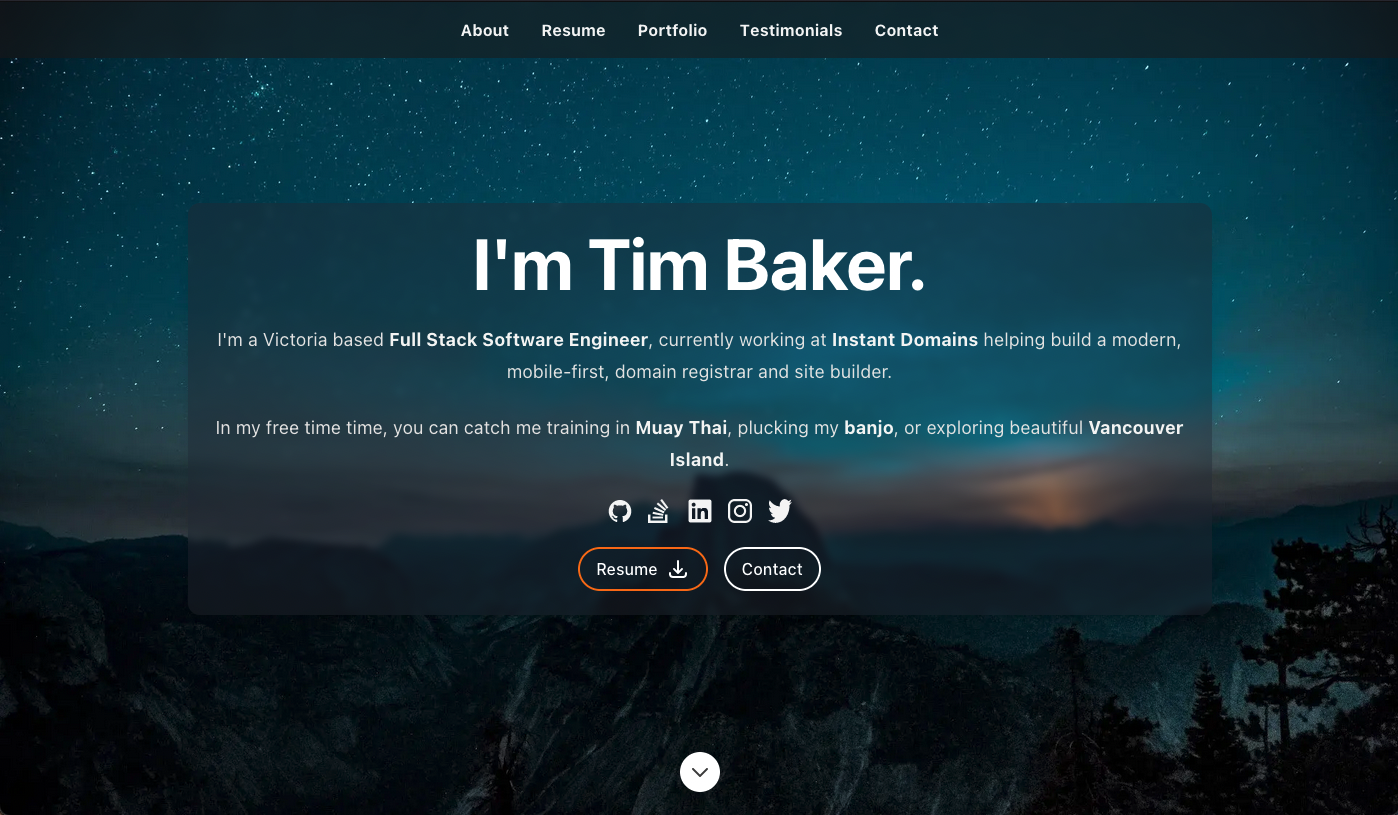
View a live demo here.
If this template has helped you and you'd like to support my work, feel free to ♥️ Sponsor the project
- Completely rebuilt with React and full typescript support
- Built on the Next.js framework for easy server side rendering/static generation, image optimization, api routes, and deployment
- Styled entirely with TailwindCss
- Re-organized data population file for customizing site.
- Significant improvement/modernization of all site sections
Looking for the old version? You can find it here.
This is a React based personal resume website template. Built with typescript on the Next.js framework, styled with Tailwind css, and populated with data from a single file, you can easily create, customize and host your own personal website in minutes. Even better, the site is fully mobile-optimized and server-side rendered to ensure fast loading and a clean UI on any device. Read on to learn how to make it your own.
To build this website, you will need to have the latest stable versions of Node and Yarn downloaded and installed on your machine. If you don't already have them, you can get Node here, and Yarn here.
Next, find the Fork button in the top right of this page. This will allow you to make your own copy, for more info on forking repo's see here. After this, download to your development machine using the green Code button at the top of the repo page.
Once you have your own copy of this repo forked and downloaded, open the folder in your favorite terminal and run yarn install to install dependencies. Following this, run yarn dev to run the project. In your terminal you should be given the url of the running instance (usually http://localhost:3000 unless you have something else running).
All of the data for the site is driven via a file at /src/data/data.tsx. This is where you'll find the existing content, and updating the values here will be reflected on the site. If you have the site running as described above, you should see these changes reflected on save. The data types for all of these items are given in the same folder in the dataDef.ts file. Example images can be found at src/images/ and are imported in the data file. To change, simply update these images using the same name and location, or add new images and update the imports.
Due to the variety of options available for contact form providers, I've hooked up the contact form only so far as handling inputs and state. Form submission and the actual sending of the email is open to your own implementation. My personal recommendation for email provider is Sendgrid.
Of course, all of the code is there and nothing is hidden from you so if you would like to make any other styling/data changes, feel free!
Deploying your new site to Vercel is simple, and can be done by following their guide here. When you're all done and the build succeeds, you should be given a url for your live site, go there and you'll see your new personal resume website! Congratulations!
