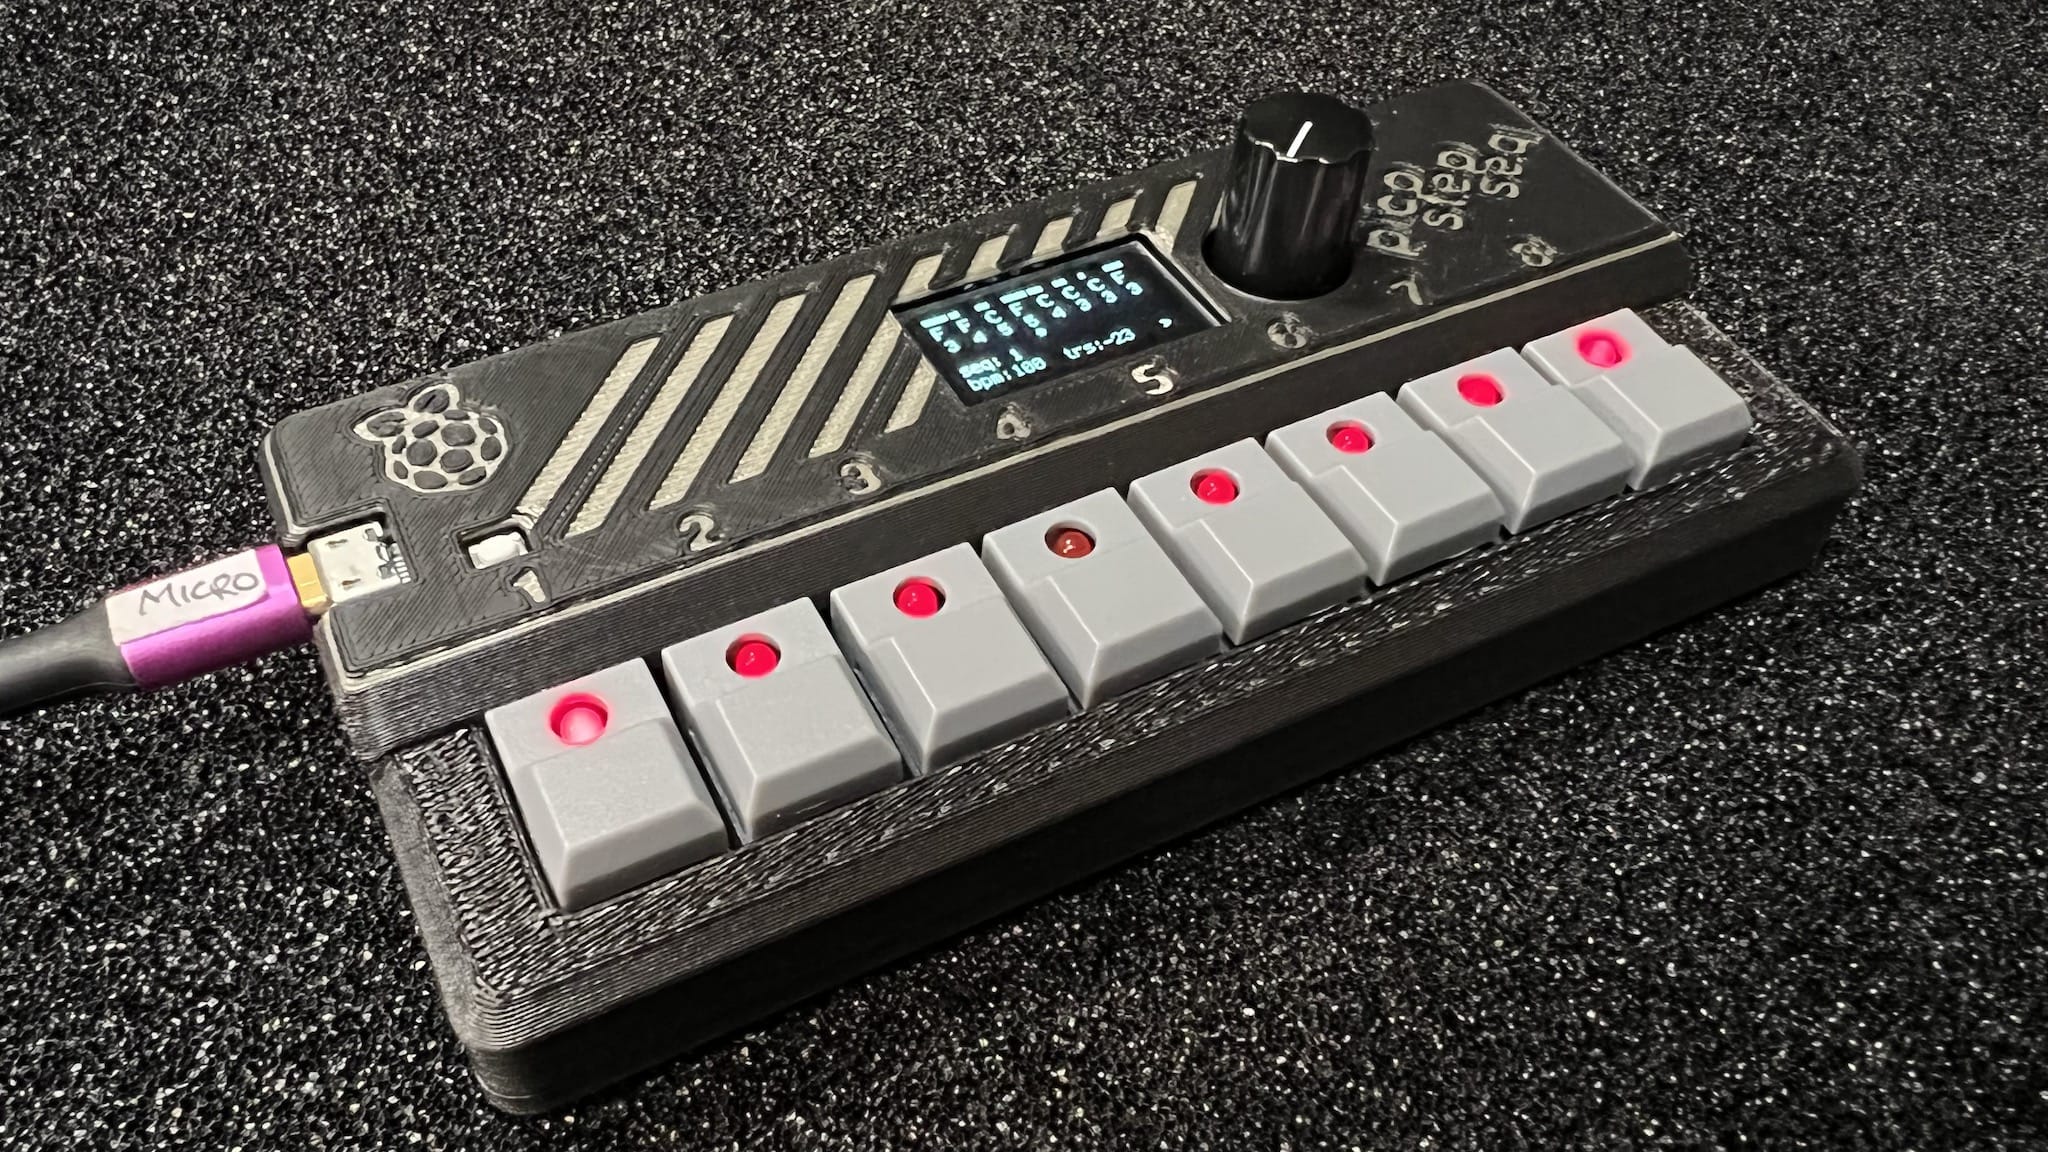
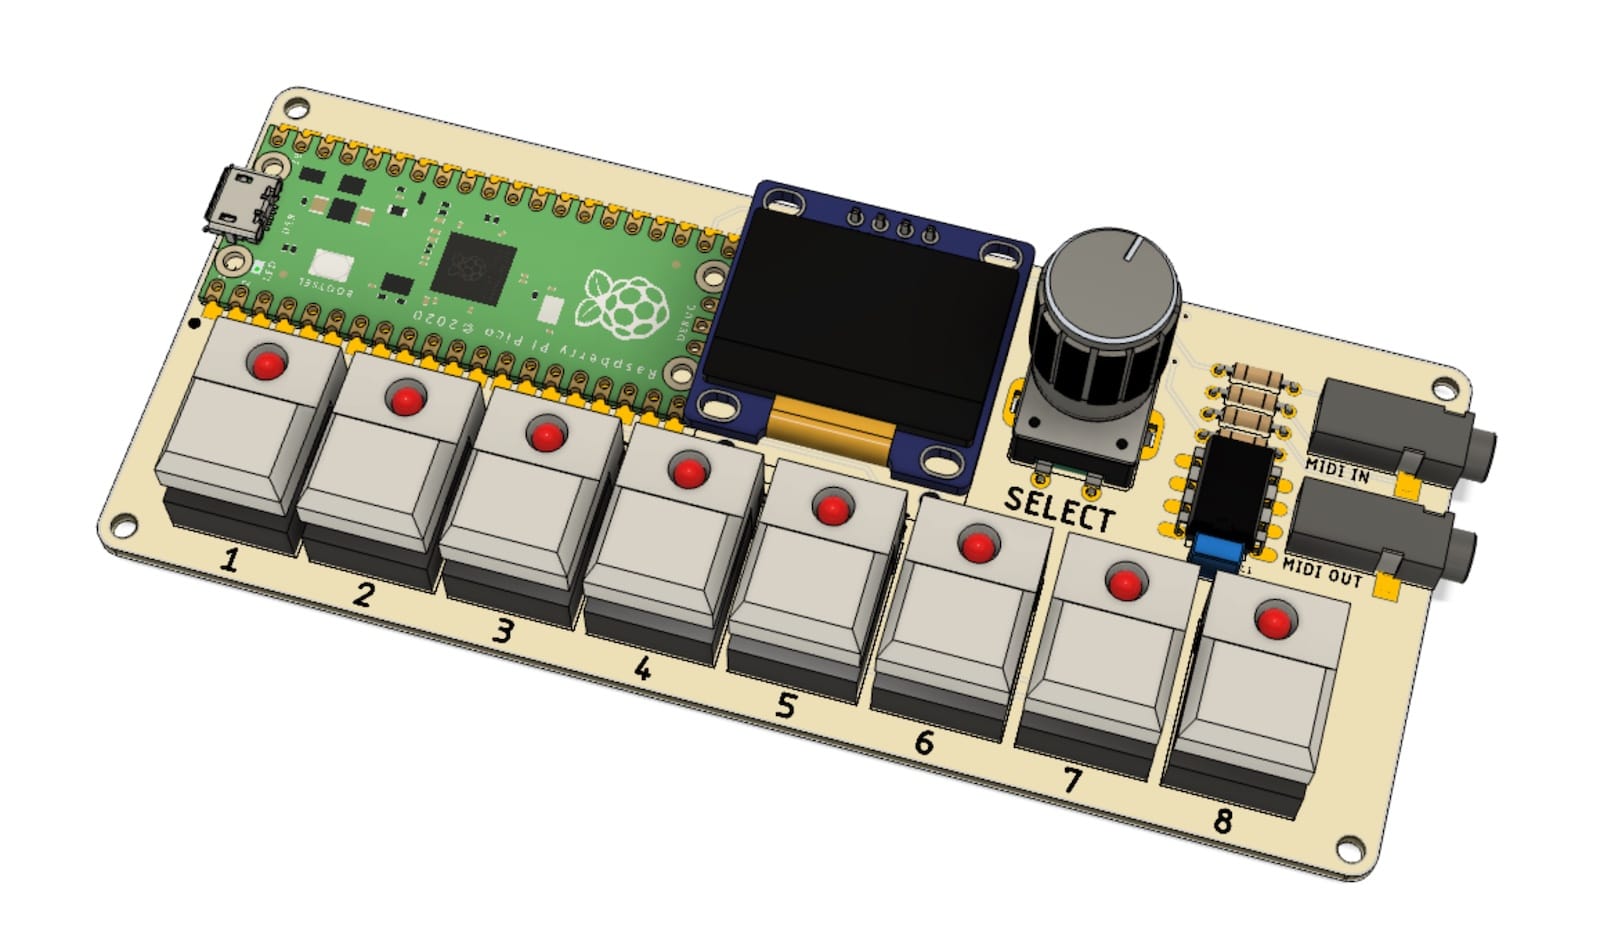
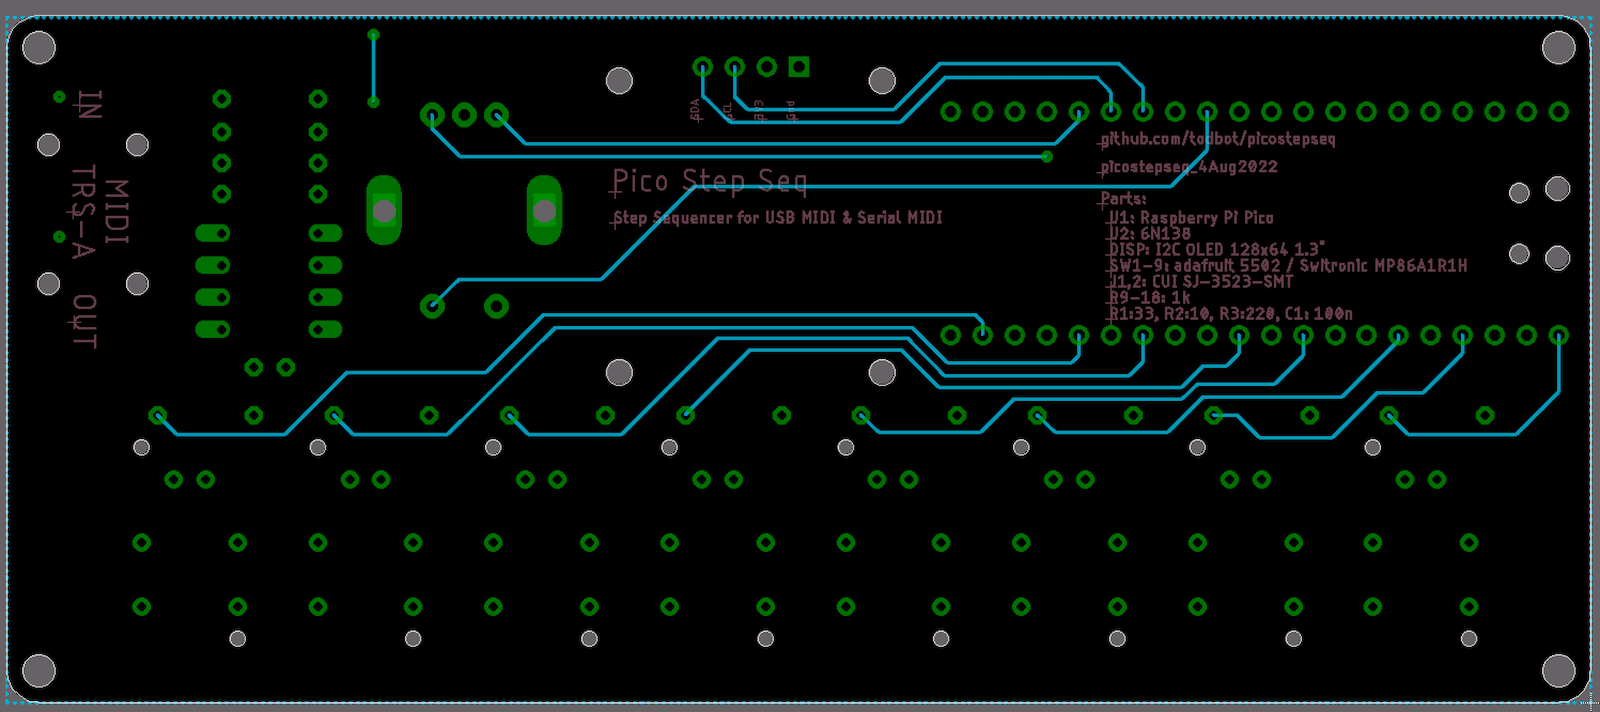
PicoStepSeq is an 8-step MIDI sequencer using a Raspberry Pi Pico, an I2C SSD1306 OLED display, a rotary encoder. and 8 "Step Switches". It outputs via USB MIDI and Serial MIDI via TRS-A 3.5mm.
It is designed as a potential DIY kit for people with beginner-level soldering skills Part count is minimal, with all parts are through-hole, except for the two MIDI jacks, which are easily solderable by hand.
picostepseq_demo13Aug2022z.mov
picostepseq_demo2a.mp4
Also featured in MagPi Magazine #123, and in print too!
In use, PicoStepSeq has two states: Play and Pause. It is designed so you never have to stop playing to edit and save/load a sequence. It has 8 sequence slots that can be edited and are persistently saved to flash.
While Playing, the actions are:
- Pause -- Tap encoder button
- Transpose sequence up/down -- Turn encoder knob
- Change tempo BPM -- Push + turn encoder knob
- Mute / Unmute steps -- Tap corresponding step key
- Change step's pitch -- Hold step key, turn encoder knob
- Change step's gate -- Hold step key, push + turn encoder knob
- Load sequence -- Push encoder, tap step key 1-8, release encoder
- Save sequence -- Push encoder, hold step key 1-8 for 2 secs, release encoder
When Paused, the actions are:
- Play -- Tap encoder button
- Play notes -- tap corresponding step key to play its pitch
- Change step's pitch -- Hold step key, turn encoder knob
Sequence Save & Load:
- On startup,
saved_sequences.jsonis read from disk and loaded into the 8 sequence slots - Upon transitioning from Play to Pause, all 8 sequences will be written to disk as
saved_sequences.json
The 8 "step keys" have an LED that indicate current mute/unmute status and which step is currently being played. Tap on a step key to mute/unmute it. Hold a key and turn the encoder knob to change the pitch of that step.
Turning the encoder adjusts the transpose amount of the playing sequence. Push + turning adjusts the tempo.
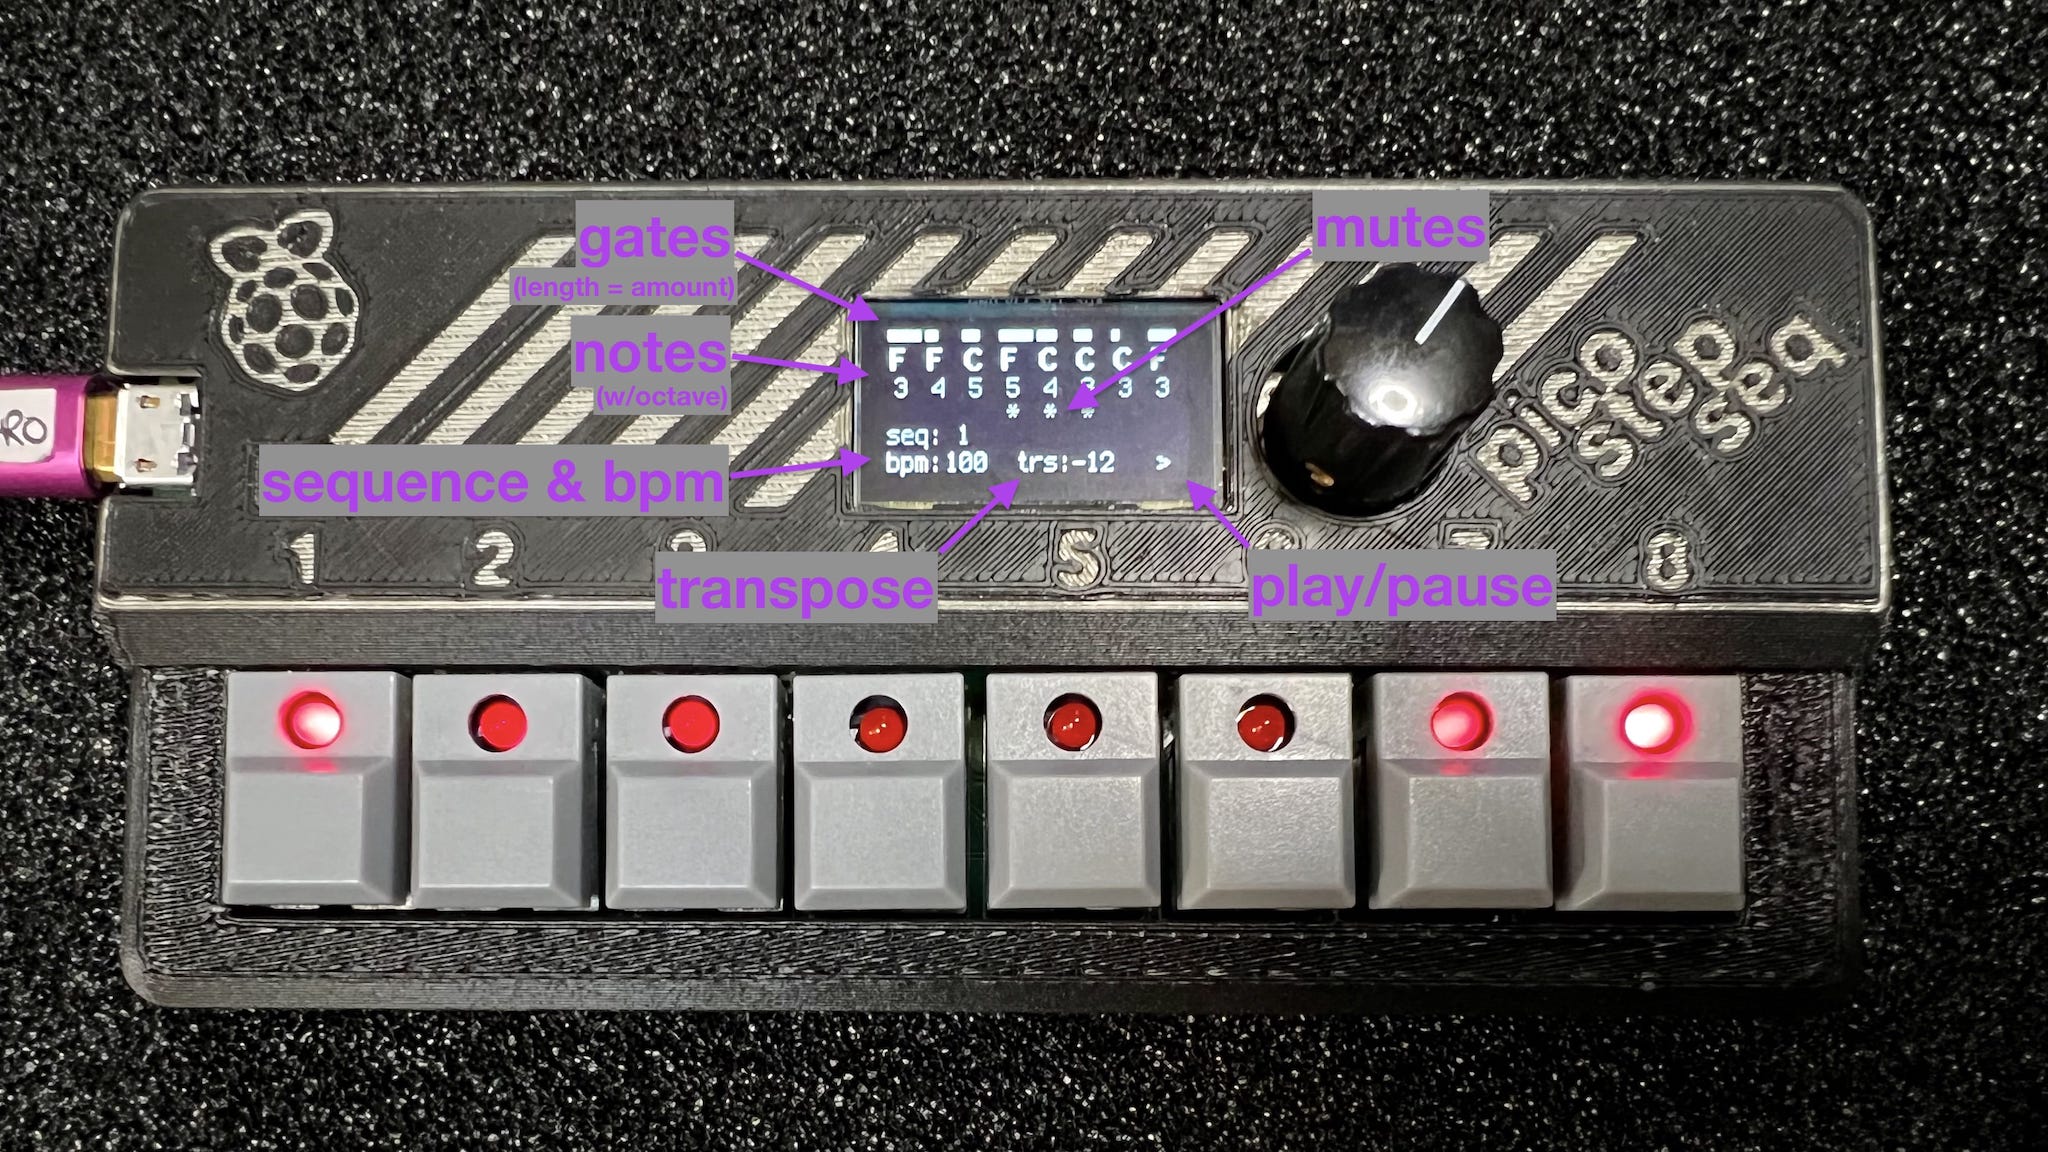
PicoStepSeq can be used without really looking at the display (which is good because the display is very small). The display is hopefully clear. It's divided into the top section showing 8 notes with gate info and the bottom section showing which sequence, current BPM & transpose, and if the sequencer is in play/pause mode.
PicoStepSeq outputs both USB MIDI and Serial MIDI.
There is preliminary support for syncing to MIDI Clock.
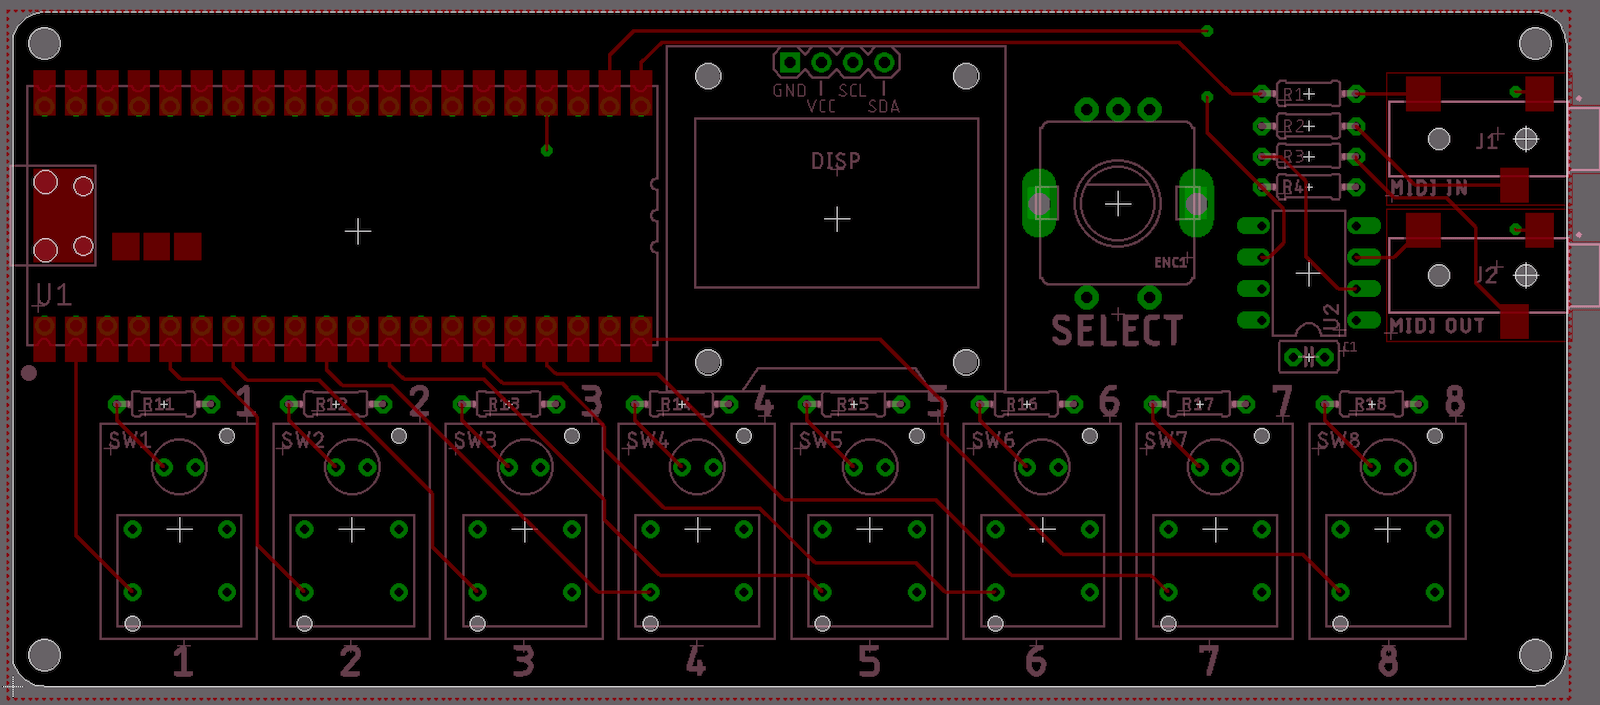
The schematic and PCB design is in the hardware directory.
An OSHPark project of the PCBs is ready to go.
[Build guide to come!]
A 3d-printable enclosure is available on Printables
The current enclosure is designed for the case where sockets are used for both the Pico and the OLED display. This is so either can be removed for other uses, so you don't have to sacrifice a Pico if you want to try this out.
Probalby the easiest way to get PicoStepSeq running is to install the precompiled Arduino UF2 version in the Releases section.
The Arduino firmware lives in arduino/picostepseq.
To compile the Arduino firmware, see the top of the picostepseq.ino file.
To install the CircuitPython version:
The firmware lives in the circuitpython/picostepseq directory.
-
Copy all files in the
circuitpython/picostepseqdirectory to the CIRCUITPY disk.If using a Mac terminal, you can do:
cd picostepseq/circuitpython/picostepseq
cp -rX * /Volumes/CIRUITPY
-
Install the CircuitPython libraries
adafruit_displayio_ssd1306andadafruit_display_textYou can use the
circuptool in Terminal for this:circup install adafruit_displayio_ssd1306 adafruit_display_text
If you do not have
circup, then you will need to copy the following files/dirs from the Adafruit_CircuitPython_Bundle 8.x:adafruit_bitmap_font/ adafruit_display_text/ adafruit_displayio_ssd1306.mpy -
Reset the board and the sequencer should come up!
(The reset is important so that
boot.pyis run, which allows you to save sequences)
The Arduino version is a bit more tricky to get going. See the top of the picostepseq.ino file for details.
Here is a Digikey cart with most parts.
Links also included below for major parts
For basic USB MIDI functionality:
- 1 - "picostepseq" PCB (OSHpark, also see "hardware" directory for gerbers)
- 1 - Raspberry Pi Pico (Adafruit, Digikey)
- 1 - 0.96" I2C OLED SSD1306 128x64 display (Amazon)
- w/ pins in order GND, VCC, SCL, SDA; some have GND & VCC swapped
- 1 - EC11 style rotary encoder w/ switch (Digikey, Adafruit]
- 8 - "step switch" w/ built-in LED (Adafruit]
- 8 - resistor 1k (R1-R8, 500 ohm also works) (Digikey, Adafruit]
- 1 - encoder knob ("Davies 1900" style works well, Adafruit)
For both USB + Serial MIDI, add:
- 2 - 3.5mm TRS jack, SJ-3523-SMT-TR (J1,J2) (Digikey)
- 1 - 6N138 optoisolator (U2) (Digikey)
- 1 - 100n capacitor (C1) (Digikey, Adafruit)
- 1 - resistor 10 ohm (R1)
- 1 - resistor 30 ohm (R2) (47 ohm also works)
- 1 - resistor 220 ohm (R3)
- 1 - resistor 4.7k ohm (R4)
And if you've not used "TRS MIDI" and have normal 5-pin DIN MIDI jacks on your gear, you'll need a few:
- Type A" MIDI adapter (PerfectCircuit or Amazon)
You can attach the Pico & the OLED display how you like, but if using the 3d-printable "picostepseq_headers" case, you will also need:
- 2 - 20-pin header socket (Digikey, Adafruit)
- 2 - 20-pin header pins (Digikey, Adafruit )
- 1 - 4-pin female (same as above, break off 4-pin chunk)
Timing in CircuitPython is all over the place and there's no periodic timer support (like Timer in MicroPython).
So, in order to minimize timing jitter due to I2C displayio transactions, the UI & display update code
is designed so only the minimal amount of information is changed on the display in one iteration of the main
UI loop. This is most noticable when loading a new sequence: the entire sequence is revealed only after a full
loop.
The sequencer "beat scheduler" also tries to account for the variation in CircuitPython timing by measuring an "error" on the delta_t between beats and applies that to the next beat
[More to come!]
Thanks to Winterbloom and @theacodes for the awesome SmolMIDI library for efficient MIDI parsing. (and for really cool Eurorack synthesizer devices)
Note: If you have an Adafruit MacroPad RP2040, you can experiment with the sequencer without building any hardware! The code will auto-detect if it's running on a MacroPad. Rotate the MacroPad so the display is on the left, then the sequencer keys are arranged as two rows of four.
Here's a demo video of an early dev version of the sequencer running on the MacroPad:
picostepseq_macropad_dev.mp4
This is the original version that has a typo on the MIDI jacks.
