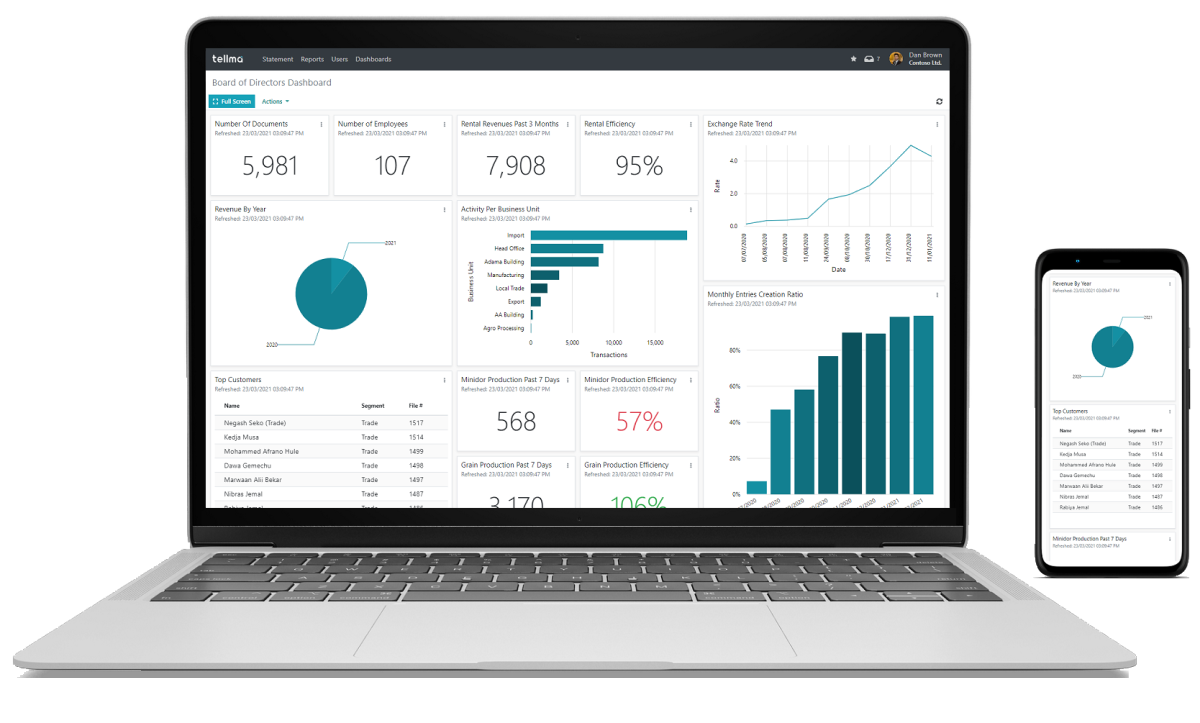
Tellma
For the time being, this document will contain instructions for developers on Windows.
First Time Setup
Follow the steps below to set up the solution for the first time.
Environment
- Install Visual Studio 2019 (or later) Community Edition with the "ASP.NET and web development" workload
- Install Visual Studio Code from the official website with the Angular Language Service extension
- Install SQL Server 2017 (or later) Developer Edition and make sure it is accessible on "." with Windows authentication
- Install NodeJS (LTS edition) from the official website
- Install Angular CLI globally by running the following in cmd:
npm install -g @angular/cli - Install typescript globally by running the following in cmd:
npm install -g typescript
IDEs
- Use Visual Studio to open Tellma.sln
- Use Visual Studio Code to open the Angular project in (SolutionDir)/Tellma.Api.Web/ClientApp/
Database Tier
-
Right-Click -> Publish the project Tellma.Database.Admin to a database
[Tellma]on SQL server "." -
Right-Click -> Publish the project Tellma.Database.Application to a separate database
[Tellma.101]on the same server "." setting the SQLCMD variables as follows:SQLCMD Variable Value DeployEmail admin@tellma.com OverwriteDb 1 FunctionalCurrency USD PrimaryLanguageId en SecondaryLanguageId NULL TernaryLanguageId NULL ShortCompanyName Contoso Ltd. ShortCompanyName2 NULL ShortCompanyName3 NULL -
In the Admin database, run the following script:
BEGIN TRANSACTION;

DECLARE @Email NVARCHAR(255) = N'admin@tellma.com'

EXEC [dal].[AdminUsers__CreateAdmin] @Email = @Email, @FullName = N'Administrator'

-- Add [Tellma.101] DB to the sharding catalogue
DECLARE @ServerId INT = (SELECT [Id] FROM [dbo].[SqlServers] WHERE [ServerName] = N'<AdminServer>')
DECLARE @AdminId INT = (SELECT [Id] FROM [dbo].[AdminUsers] WHERE [Email] = @Email)
INSERT INTO [dbo].[SqlDatabases] ([Id], [DatabaseName], [ServerId], [CreatedById], [ModifiedById])
VALUES (101, N'Tellma.101', @ServerId, @AdminId, @AdminId)

-- Add membership for the admin user in [Tellma.101]
DECLARE @DirectoryAdminId INT = (SELECT [Id] FROM [dbo].[DirectoryUsers] WHERE [Email] = @Email)
INSERT INTO [dbo].[DirectoryUserMemberships] ([UserId], [DatabaseId])
VALUES (@DirectoryAdminId, 101)

COMMIT;
Application Tier
- Make sure the project Tellma.Api.Web is your startup project (Right-Click -> Set as Startup Project)
Client Tier
- Install all ClientApp npm dependencies as follows: Go inside "(SolutionDir)/Tellma.Api.Web/ClientApp/" in cmd and run:
npm install
Running The App
Follow these steps to run the solution on your development machine:
- Make sure you pull the latest version of the solution from GitHub
- Make sure the latest version of the admin and app databases are published to
[Tellma]and[Tellma.101] - Make sure the latest ClientApp npm dependencies are installed: Go inside "(SolutionDir)/Tellma.Api.Web/ClientApp/" and run:
npm install - Start the backend server on https://localhost:5001/ as follows: Visual Studio -> Debug -> Start Without Debugging. This should launch a debug console similar to this:
- Start the client app server on http://localhost:4200/ as follows:
- Open cmd
- Navigate to "(SolutionDir)/Tellma.Api.Web/ClientApp/"
- Run
ng serve -o
- Sign in with username:
admin@tellma.comand default password:Admin@123
Optional Configuration
In your development environment you can use the user secrets of project Tellma.Api.Web to add additional functionality or override any of the default settings in appsettings.json and appsettings.Development.json.
To Enable Email
- Right-Click the project Tellma.Api.Web -> Manage User Secrets, this opens a file
secrets.jsoncontaining a JSON object - Add the following properties inside the JSON object:
  "EmailEnabled": true,
  "Email": {
    "SendGrid": {
      "ApiKey": "(YourSendGridApiKey)",
      "CallbacksEnabled": false
    }
}- Replace (YourSendGridApiKey) with a real SendGrid API key, you can grab one for free from SendGrid.
To Enable SMS
- Right-Click the project Tellma.Api.Web -> Manage User Secrets, this opens a file
secrets.jsoncontaining a JSON object - Add the following properties inside the JSON object:
  "SmsEnabled": true,
  "Twilio": {
    "AccountSid": "(YourTwilioAccountSid)",
    "AuthToken": "(YourTwilioAuthToken)",
    "Sms": {
      "ServiceSid": "(YourTwilioServiceSid)",
      "CallbacksEnabled": false
    }
}- Replace all placeholders (Your...) with real values, you can grab those values from Twilio
To Use Custom Port Numbers
If you want to run the client app server on a port number other than 4200, follow these steps:
- Right-Click the project Tellma.Api.Web -> Manage User Secrets, this opens a file
secrets.jsoncontaining a JSON object - Add the following property inside the JSON object:
  "ClientApplications": {
    "WebClientUri": "http://localhost:(YourClientPortNumber)"
}- Replace (YourClientPortNumber) with your custom port number
If you want to run the backend server on a port number other than 5001, follow these steps:
- Launch the client app in the browser
- Using the browser's developer tools open the console and run
localStorage.appsettings = "{\"apiAddress\":\"https://localhost:(YourBackendPortNumber)\"}"replacing (YourBackendPortNumber) with your custom port number - Refresh the client app in the browser
- The preconfigured credentials for Google and Microsoft redirect only to http://localhost:5001, so either remove them or add your own credentials for your custom port number:
- Right-Click the project Tellma.Api.Web -> Manage User Secrets, this opens a file
secrets.jsoncontaining a JSON object - To remove the preconfigured credentials, add the following property inside the JSON object:
   "EmbeddedIdentityServer": {
     "Google": {
       "ClientId": "",
       "ClientSecret": ""
     },
     "Microsoft": {
       "ClientId": "",
       "ClientSecret": ""
     }
   }
- Or you can grab your custom credentials from Google Developer Console and Microsoft Azure
- Right-Click the project Tellma.Api.Web -> Manage User Secrets, this opens a file


