This repository can be used to generate your planning (what will be done and in what order) and a little bit of scheduling (when it needs to be done). On top of that, it is a platform for collaboration on old exam solutions, because in my experience it is too much work to properly solve all old exams of a single course before the exam takes place.
- a list of taskwarrior commands of all tasks you need to complete (succesfully) to pass this course.
- A (link to a) google calendar with all your deadlines of this course in it.
- Open the
CoursePlanningTemplate/PlanningData-Form-Temp.odsand fill in all the sheets. (This is the hard work, you have to meticulously scan the entire brightspace page, course guide and spam the teacher if any data is missing (such as when an assignment is due) or what the weight of an assignment is. The software needs to know all that stuff at the start of the course, and for you to be able to make a proper and complete planning you need that information as well.) - To run the python script, you need to install the following modules/packages in anaconda prompt (or whatever your python software is):
python -m pip install pyexcel
python -m pip install pyexcel-xlsx
python -m pip install pyexcel-ods3
- browse to the directory
CoursePlanningTemplate/processPlanning/using thechange directorycommand:cd "<this path>". - run the python script
python convertOds.pyin Anaconda prompt with command:
python convertOds.py
- Thats it now you have the taskwarrior commands in folder:
CoursePlanningTemplate/processPlanning/CsvTasks/taskwarriorCommands.txt - The exam solution templates are in:
/ExamSolutions/. To edit them in Overleaf just click "Fork(=difficult word for copy to your own github account)" on this repository and in overleaf clicknew project>import from github>Then select your fork(=copy) of this repository.
- FYI the python script combines all the scripts that generate:
1.1 A Taskwarrior command for each single tasks
1.2 Latex templates for all old exams that you can immediatly start filling in (in Overleaf!) (collectively and pseudo-anonymously)!
1.3 A PDF with a story/visualisation/tables/overview of the entire course planning, instead of just a calender link. (I think this option is currently not active though, it has low development priority).
1.4 If you use the taskwarrior software from: https://github.com/a-t-0/Taskwarrior-installation you can copy paste the taskwarrior commands and get your google calendar (link). The idea is that all this stuff is done automatically by the website, but I still need to do 2 things for that:
1.4.1 Complete the website that takes a new course as input and stores it in a mongoDB such that I can automatically generate the course planning (.ods).
1.4.2 Set up Collabora Online with SSL, I am only able to host it on my own pc/local network without ssl, but I need to set up "Let's encrypt" to make collabora online available on my website. (so that you just can fill in the .ods sheet in the browser (in collabora online) so that you just click "done" and directly get your google calendar link, (and link to overleaf with your old exam solution template).
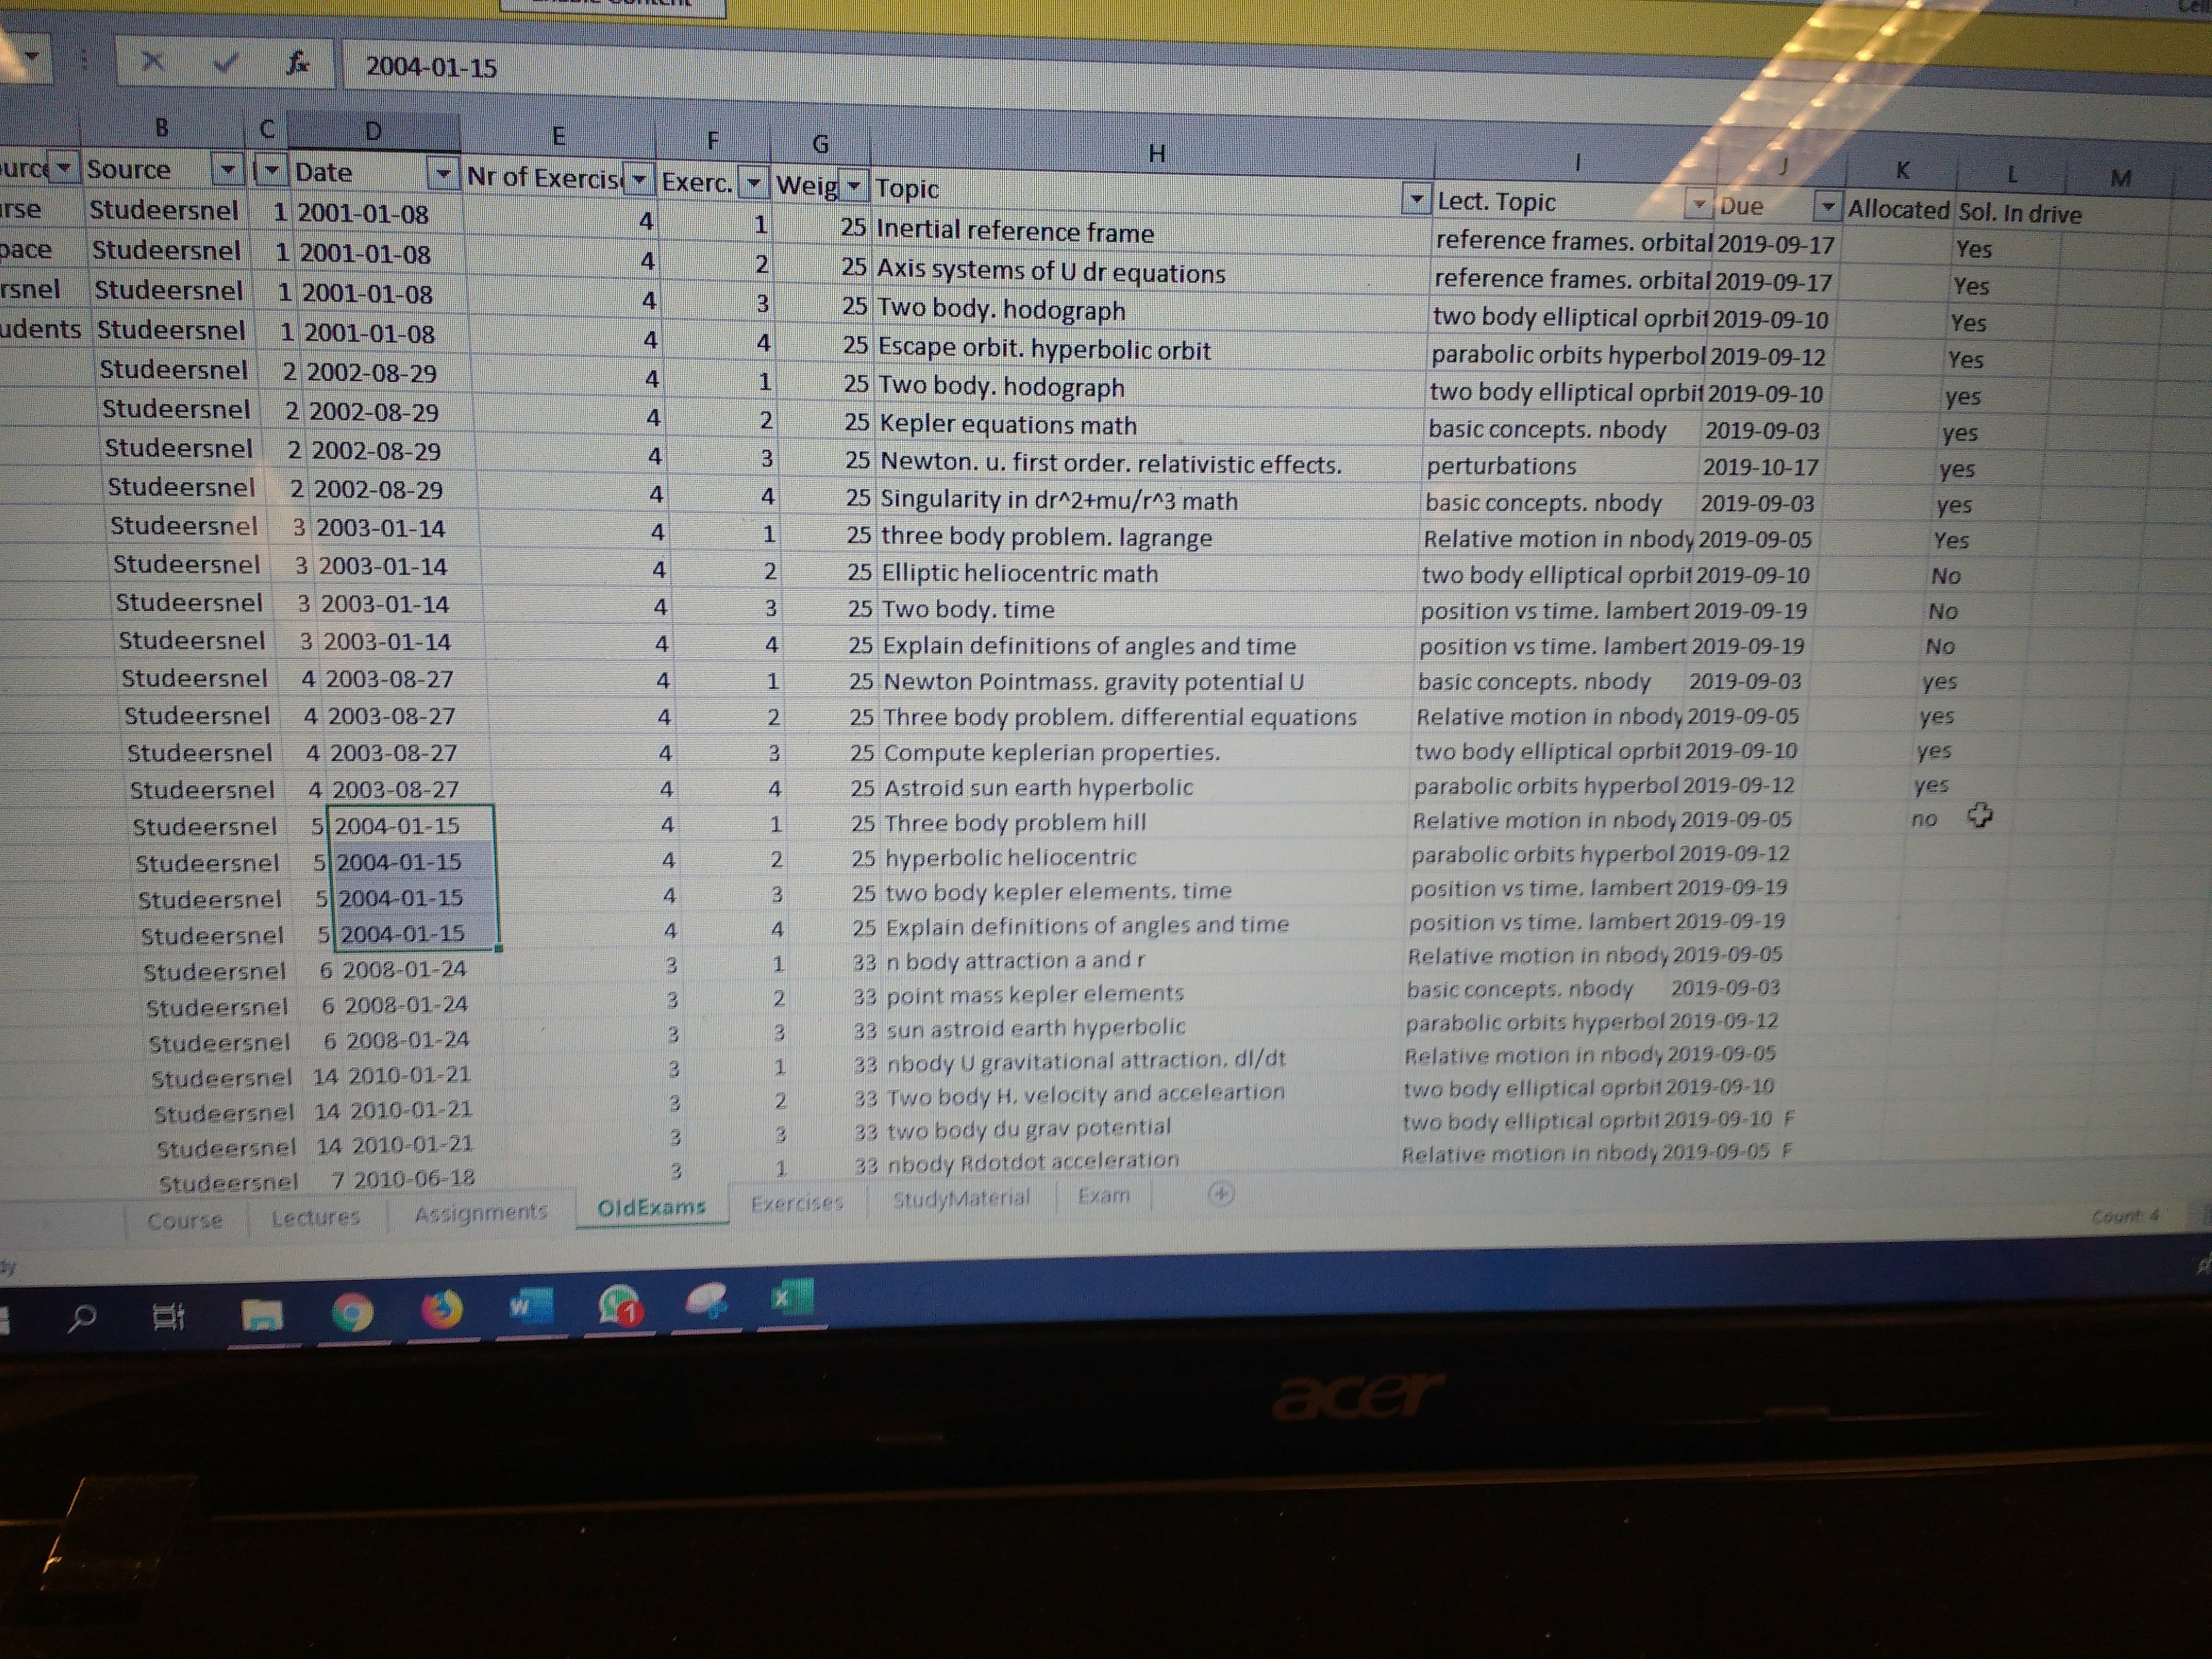
In the .ods sheet in CoursePlanningTemplate/PlanningData-Form-Temp.ods on sheet OldExams is a separate column to allocate yourself to an old exam (column K), you can fill in a letter in that column to indicate you will create the solutions for that exam.
In the .ods sheet in CoursePlanningTemplate/PlanningData-Form-Temp.ods on sheet OldExams is a separate column to allocate yourself to an old exam (column K), you can fill in a letter in that column to indicate you will create the solutions for that exam.
Below are some more detailed instructions on how to put your letter in that PlanningData-Form-Temp.ods in the github repository (so that other people know that someone will be making that exam solution). The instructions discuss:
0. How to add yourself as collaborator to the list.
- How to request a review of your solution
- How to use Texworks for off-line latex editing (You can also just import to overleaf if you want.)
- Advanced repository instructions
Short: 0. git- fork,
- open xlsm,
2.a find un-allocated exam (~ see column K)
2.b or add new one that doesnt have solutions in drive etc.,
- Add yourself by new Letter(~see col G) in column K
- push,
- send me pull request.
Exact steps:
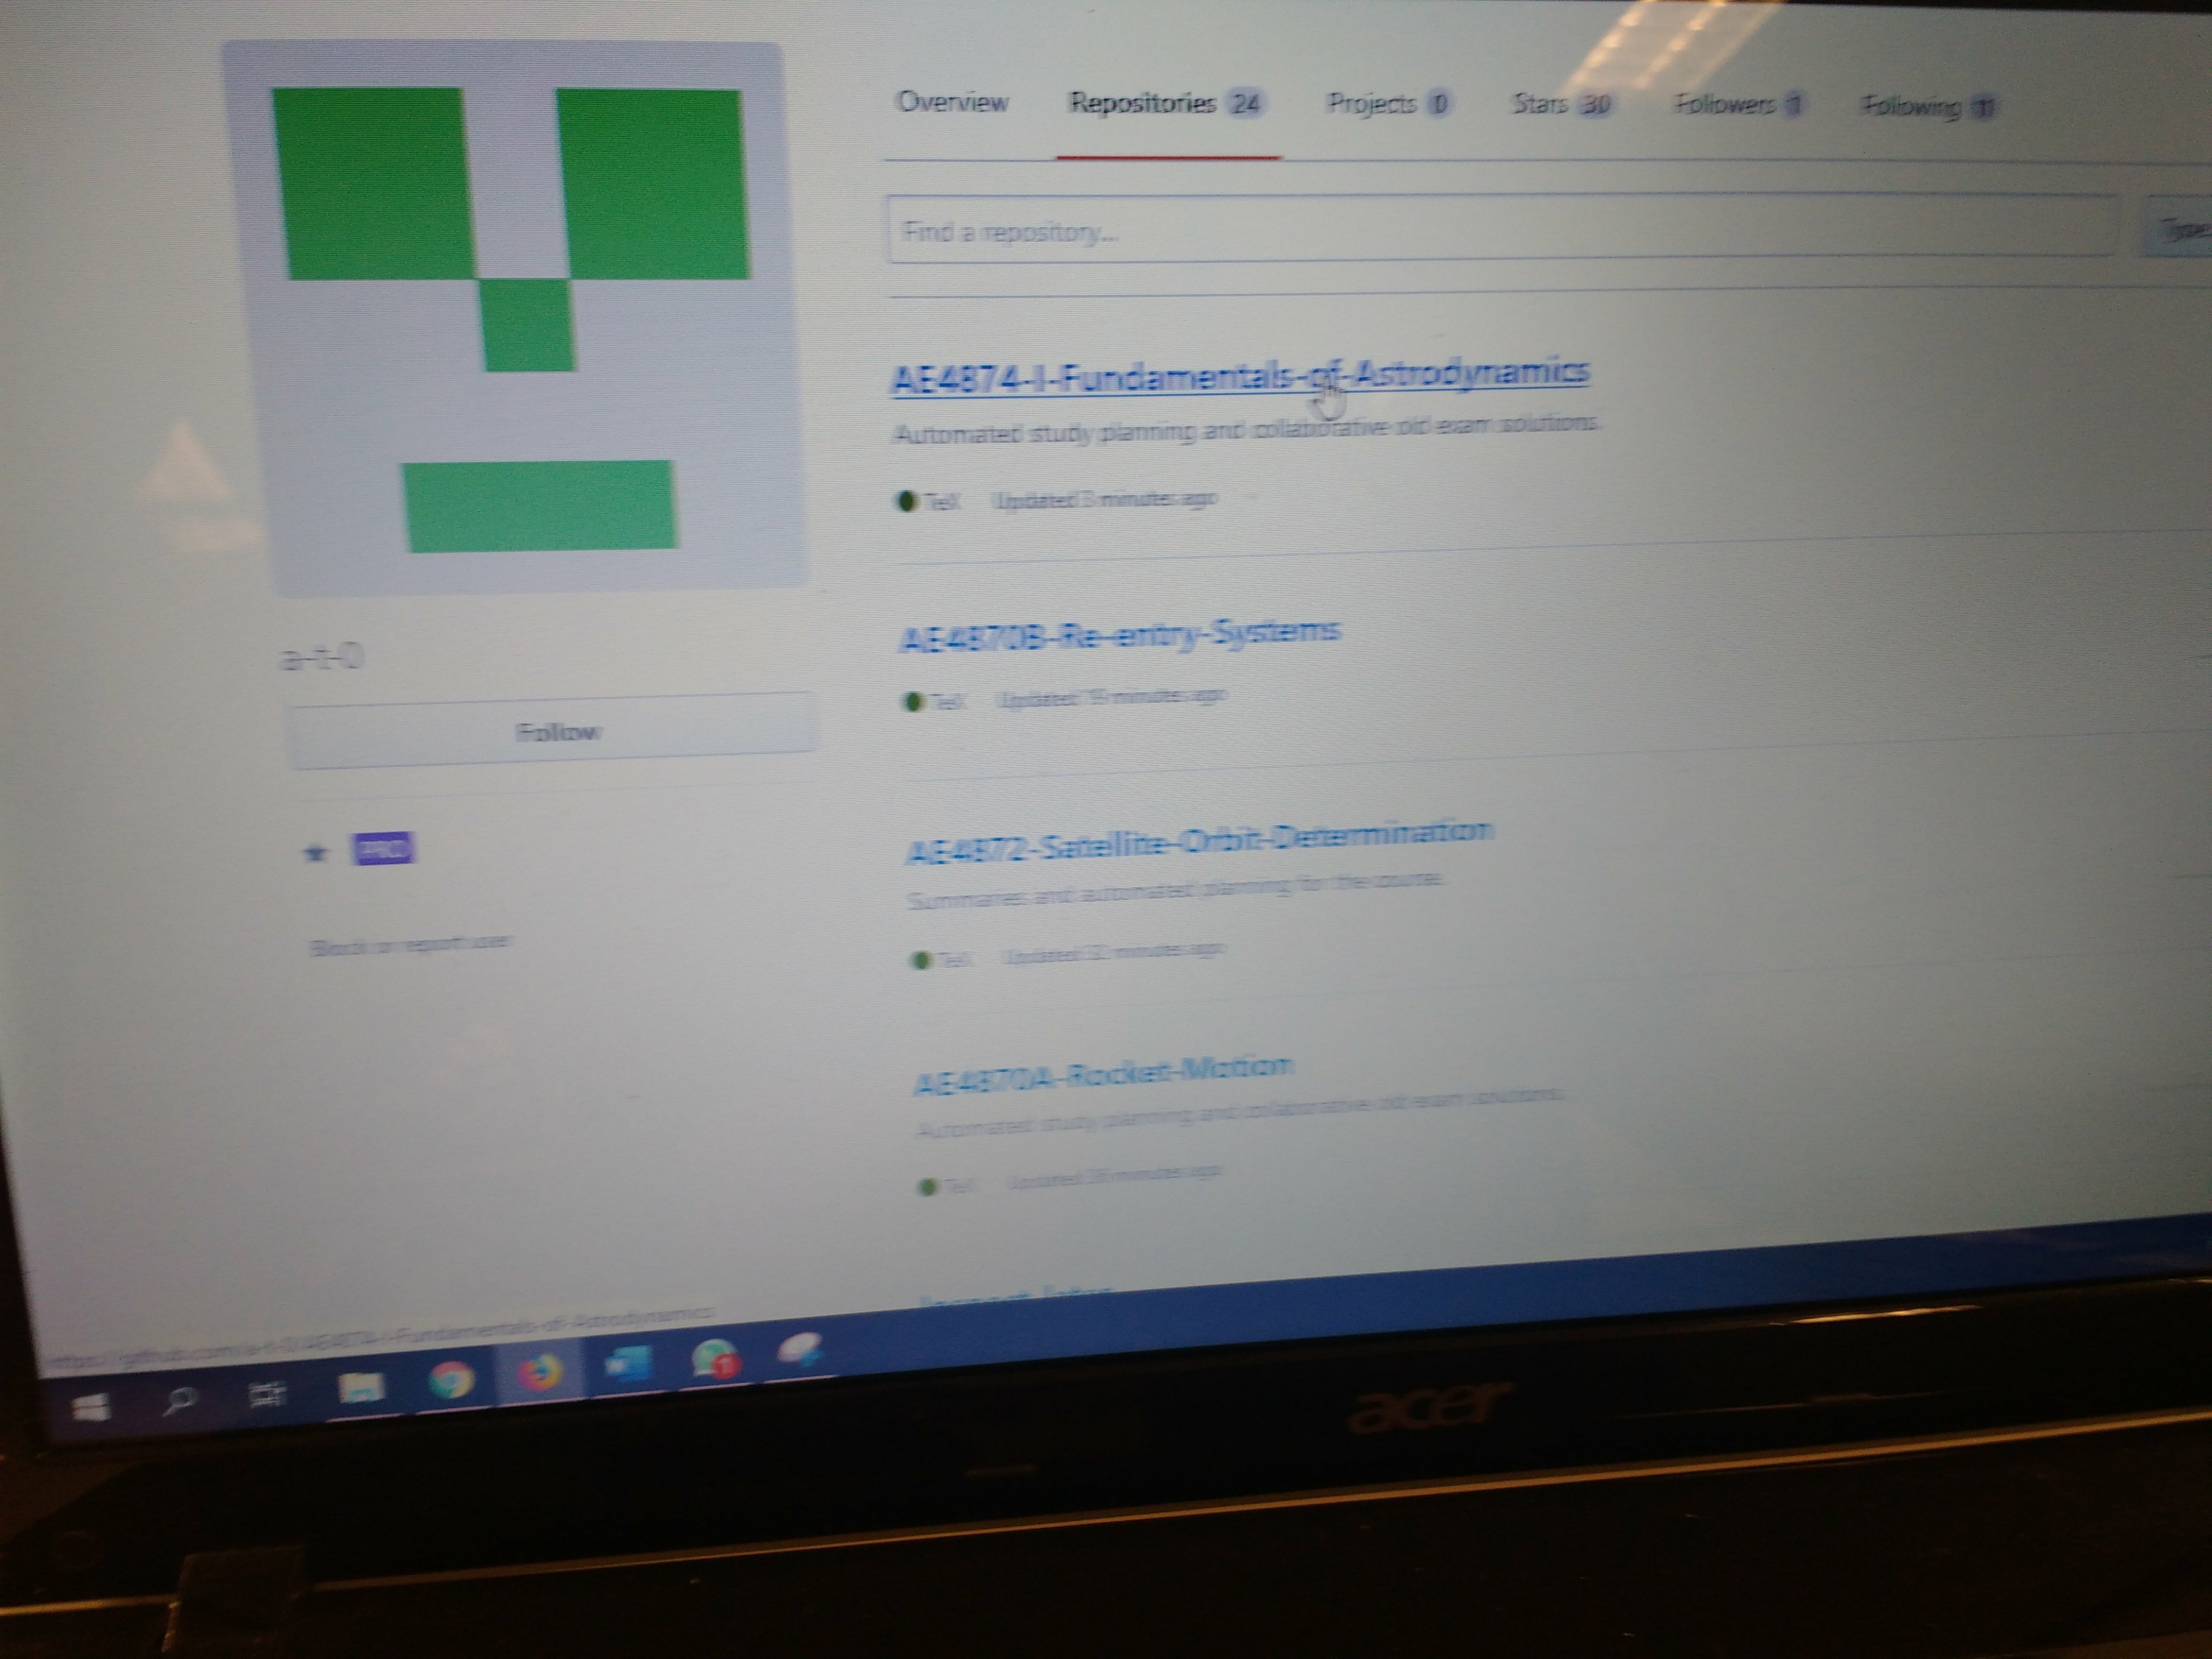
0. Browse to my github

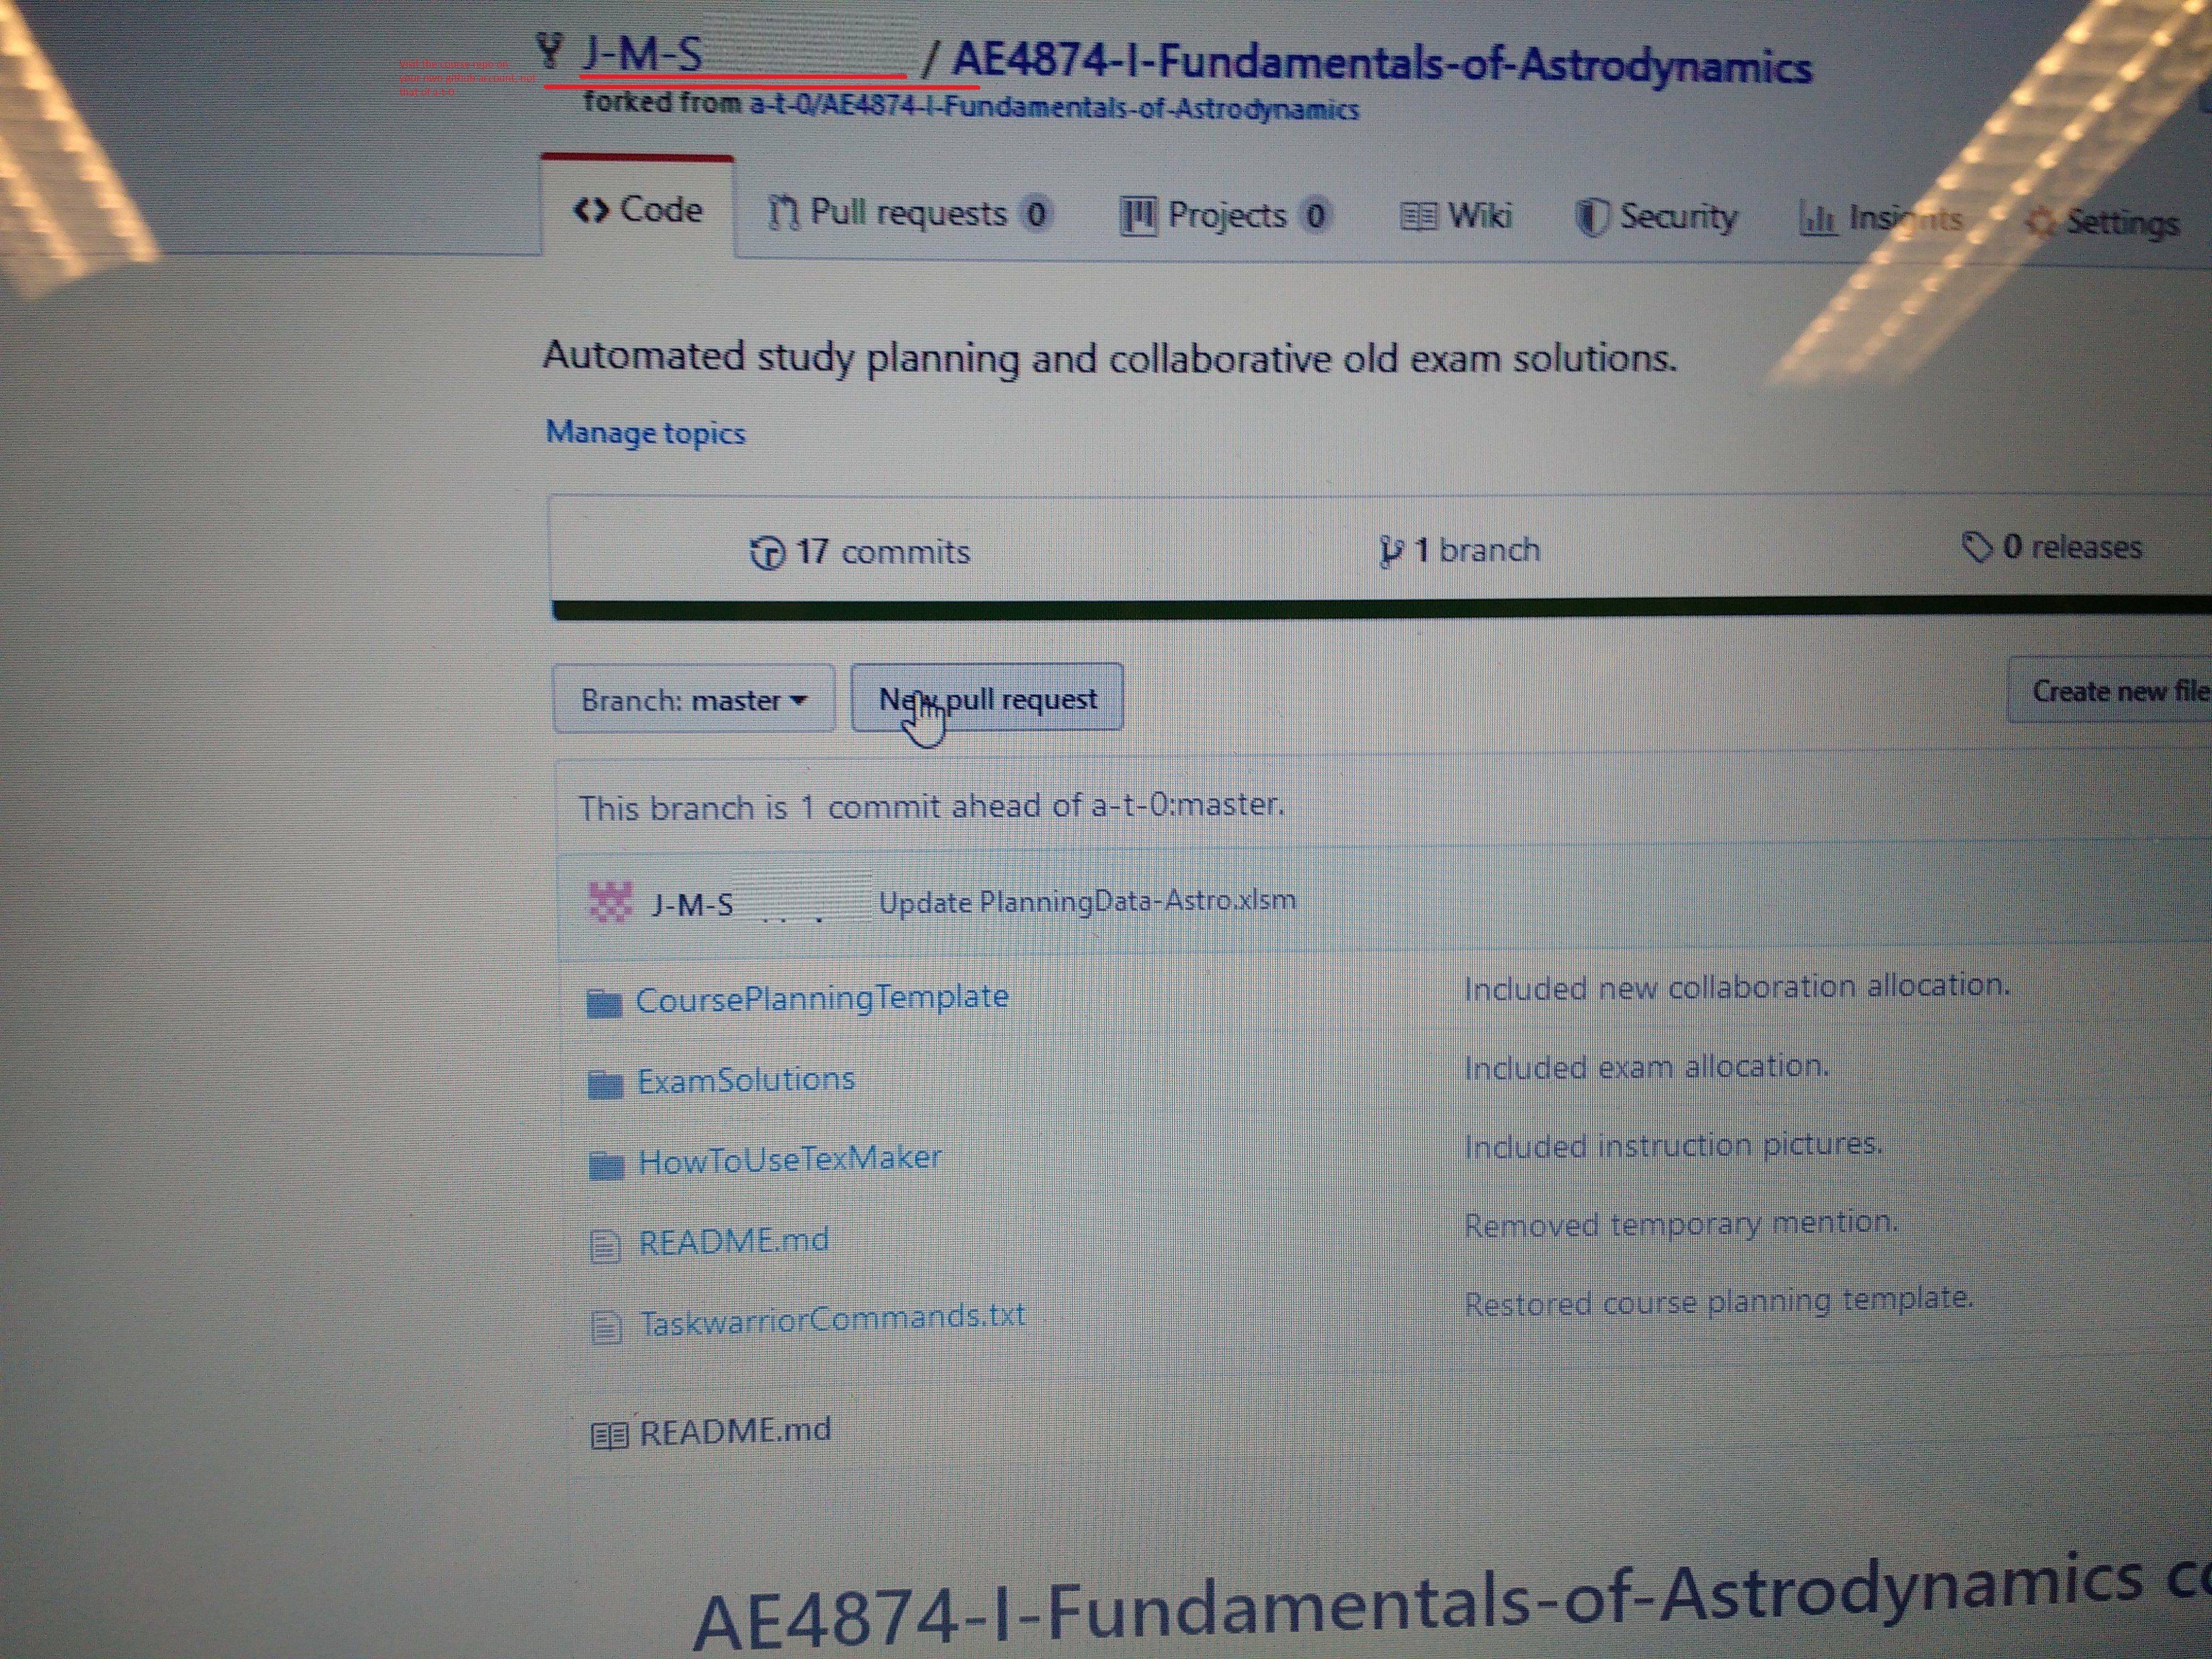
- Open the repo of the course (you're already here if you're reading this)
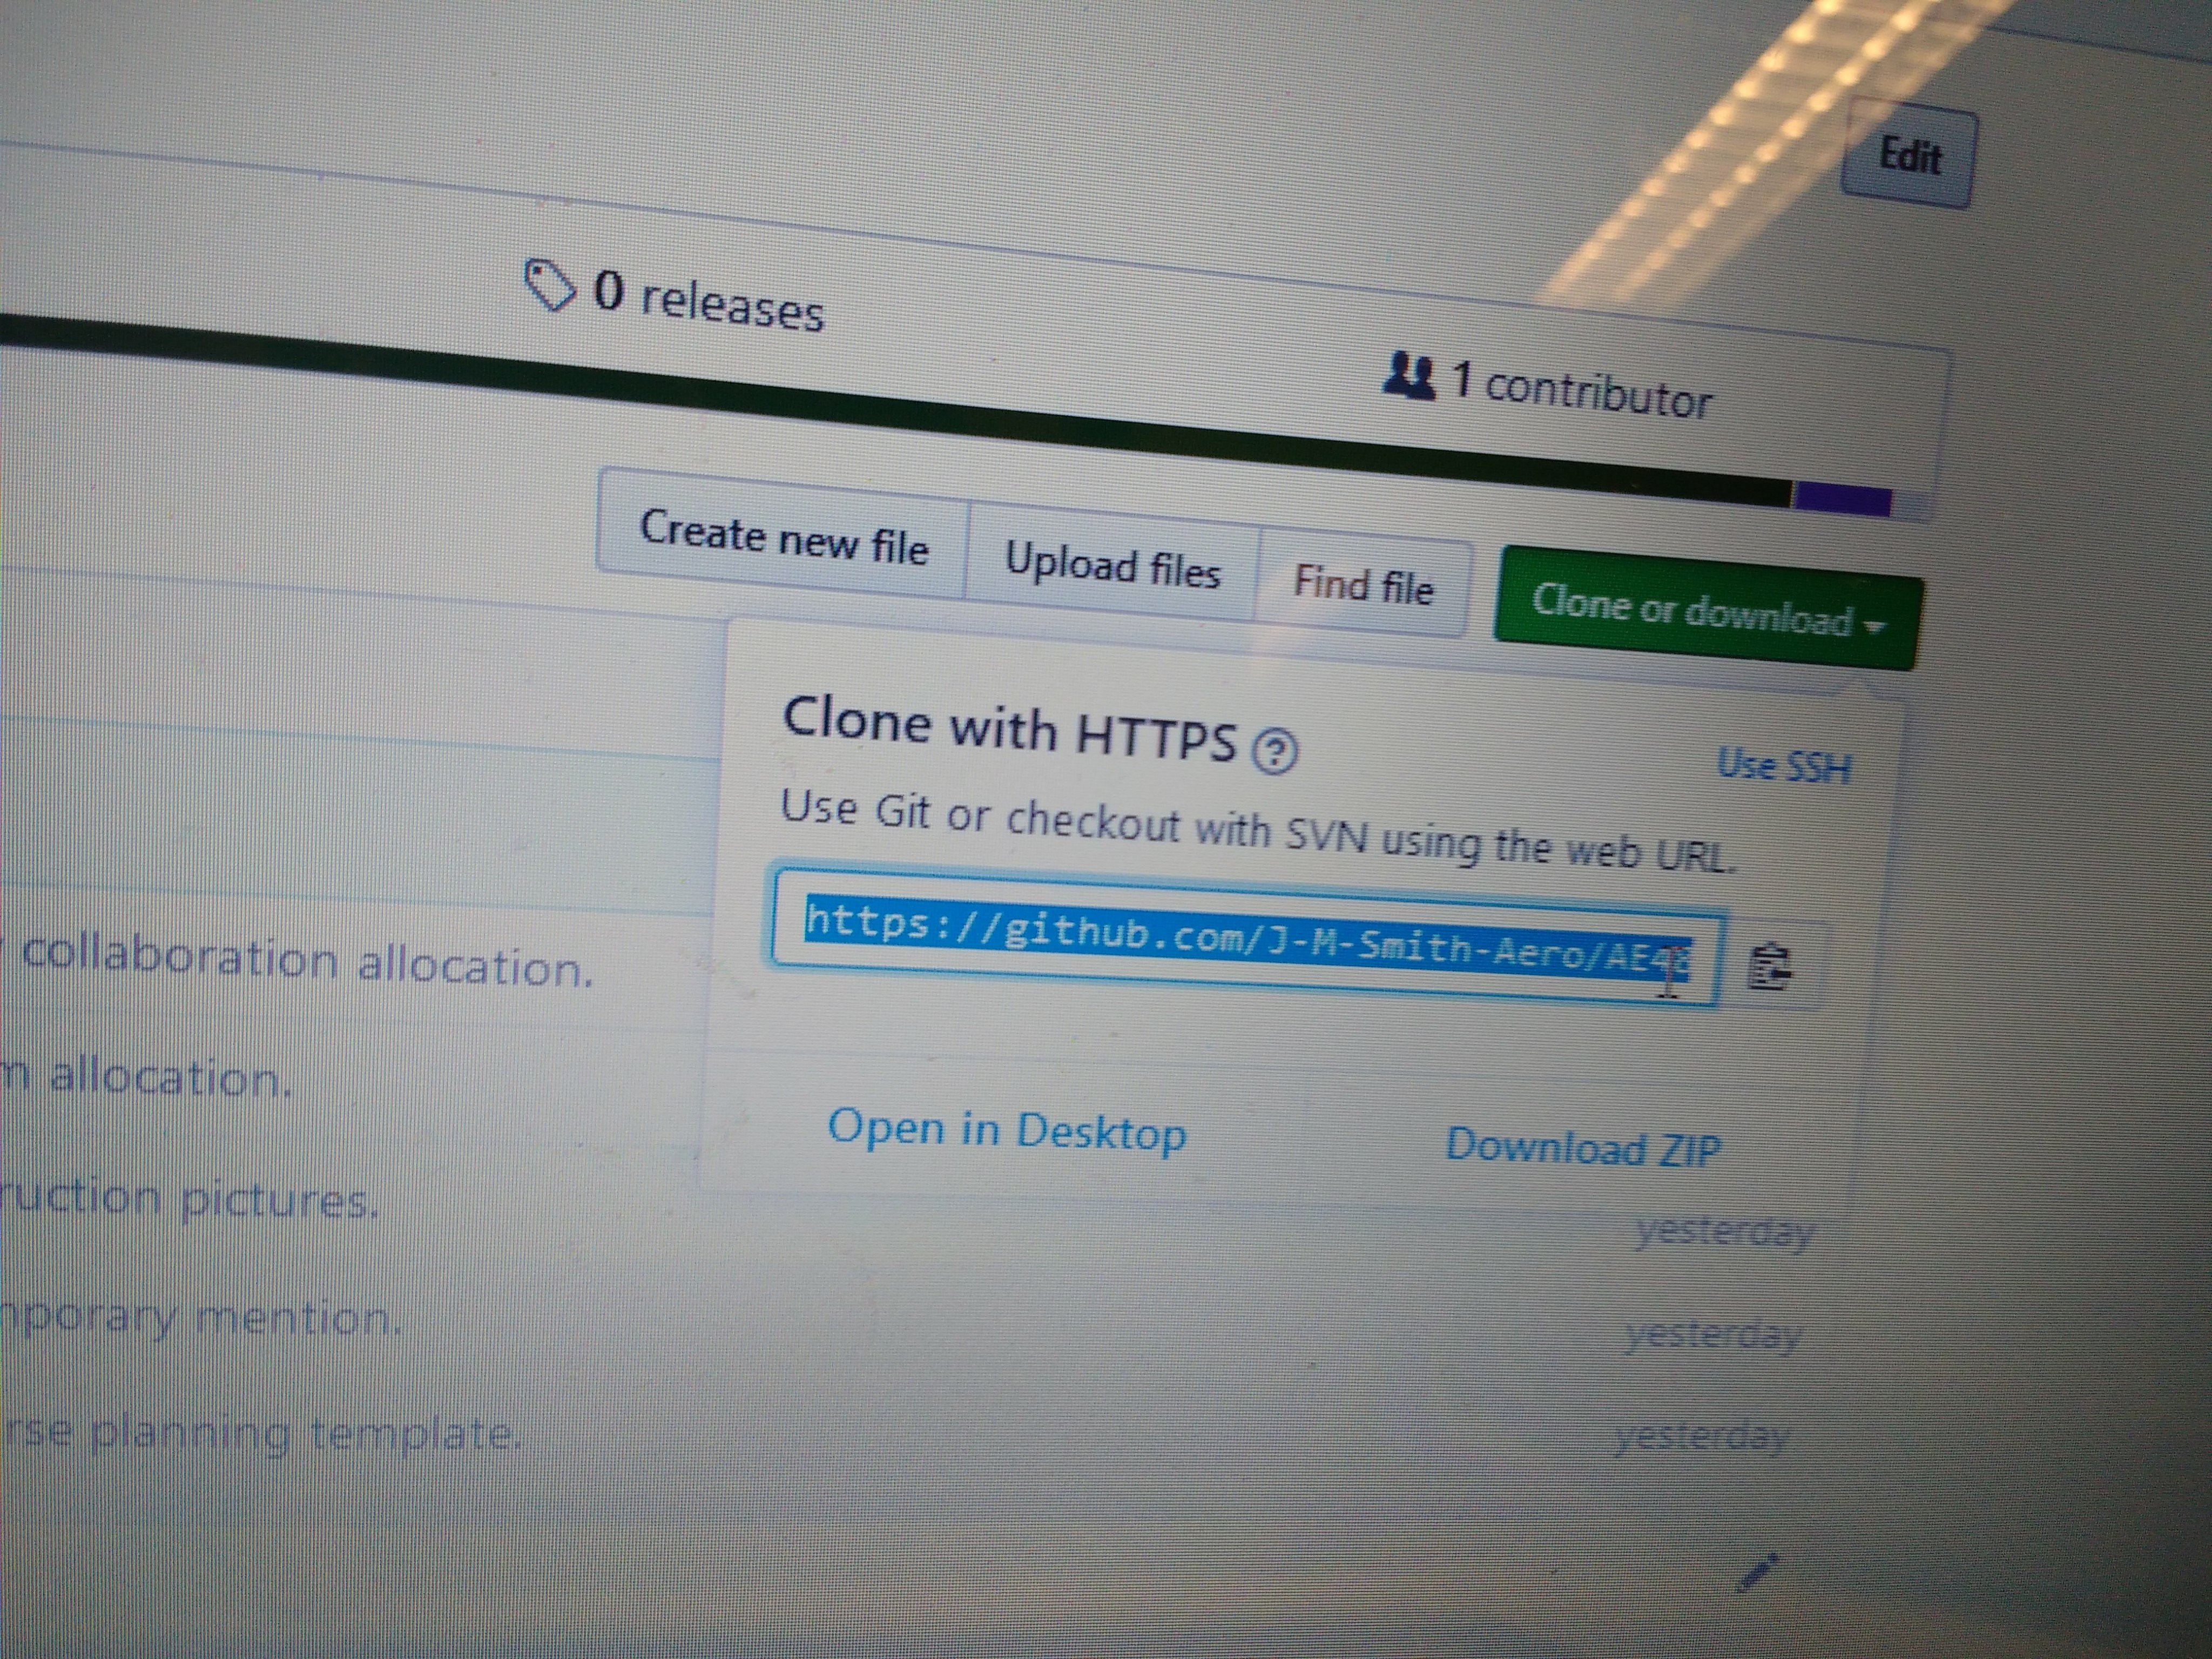
- Copy the link to clone the repo
 3.Ensure you installed github and that it works, then open the software.(Go to: desktop.github.com)
- click add>CLONE repository.
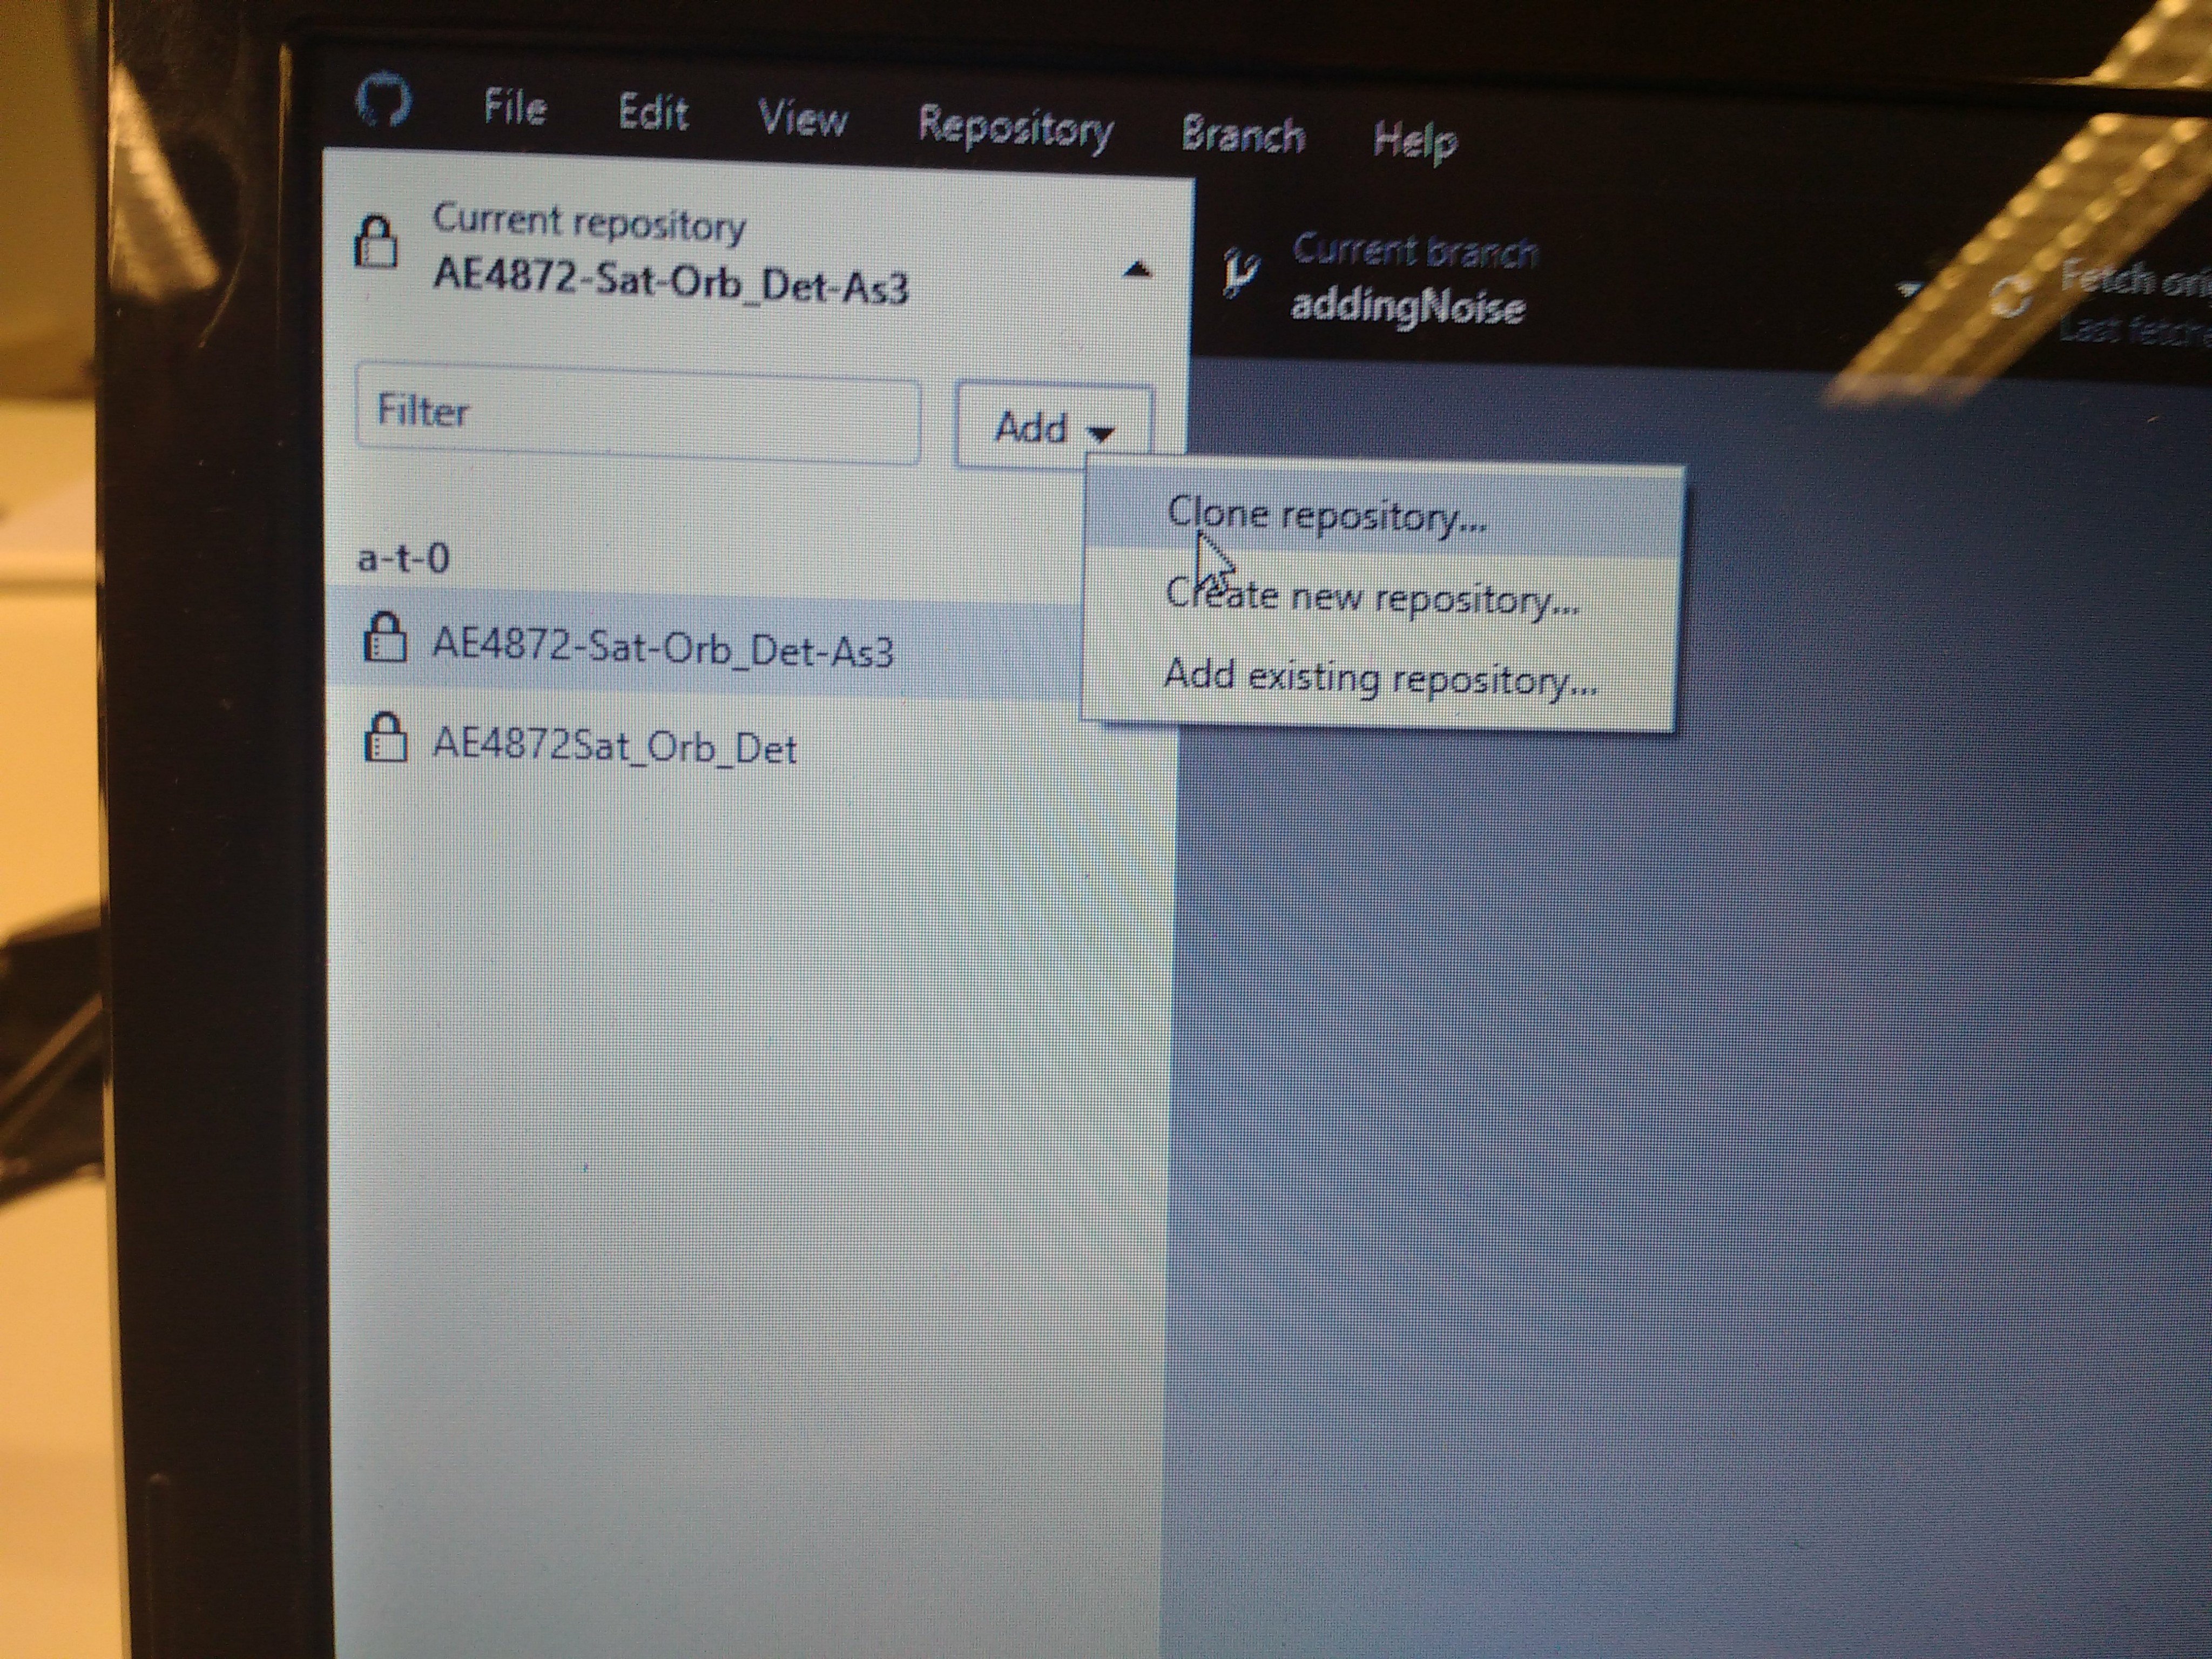
- Copy the git clone link you copied in step 2. and paste it in, then click add repository (If you get "ssh error" please click the refresh button in the github gui software again, untill the github gui software/program shows your fork of the course repository, then click that repository and clone.)
- Probably takes you to the next screen, tab url, (else enter the copied git clone link again) and press clone.
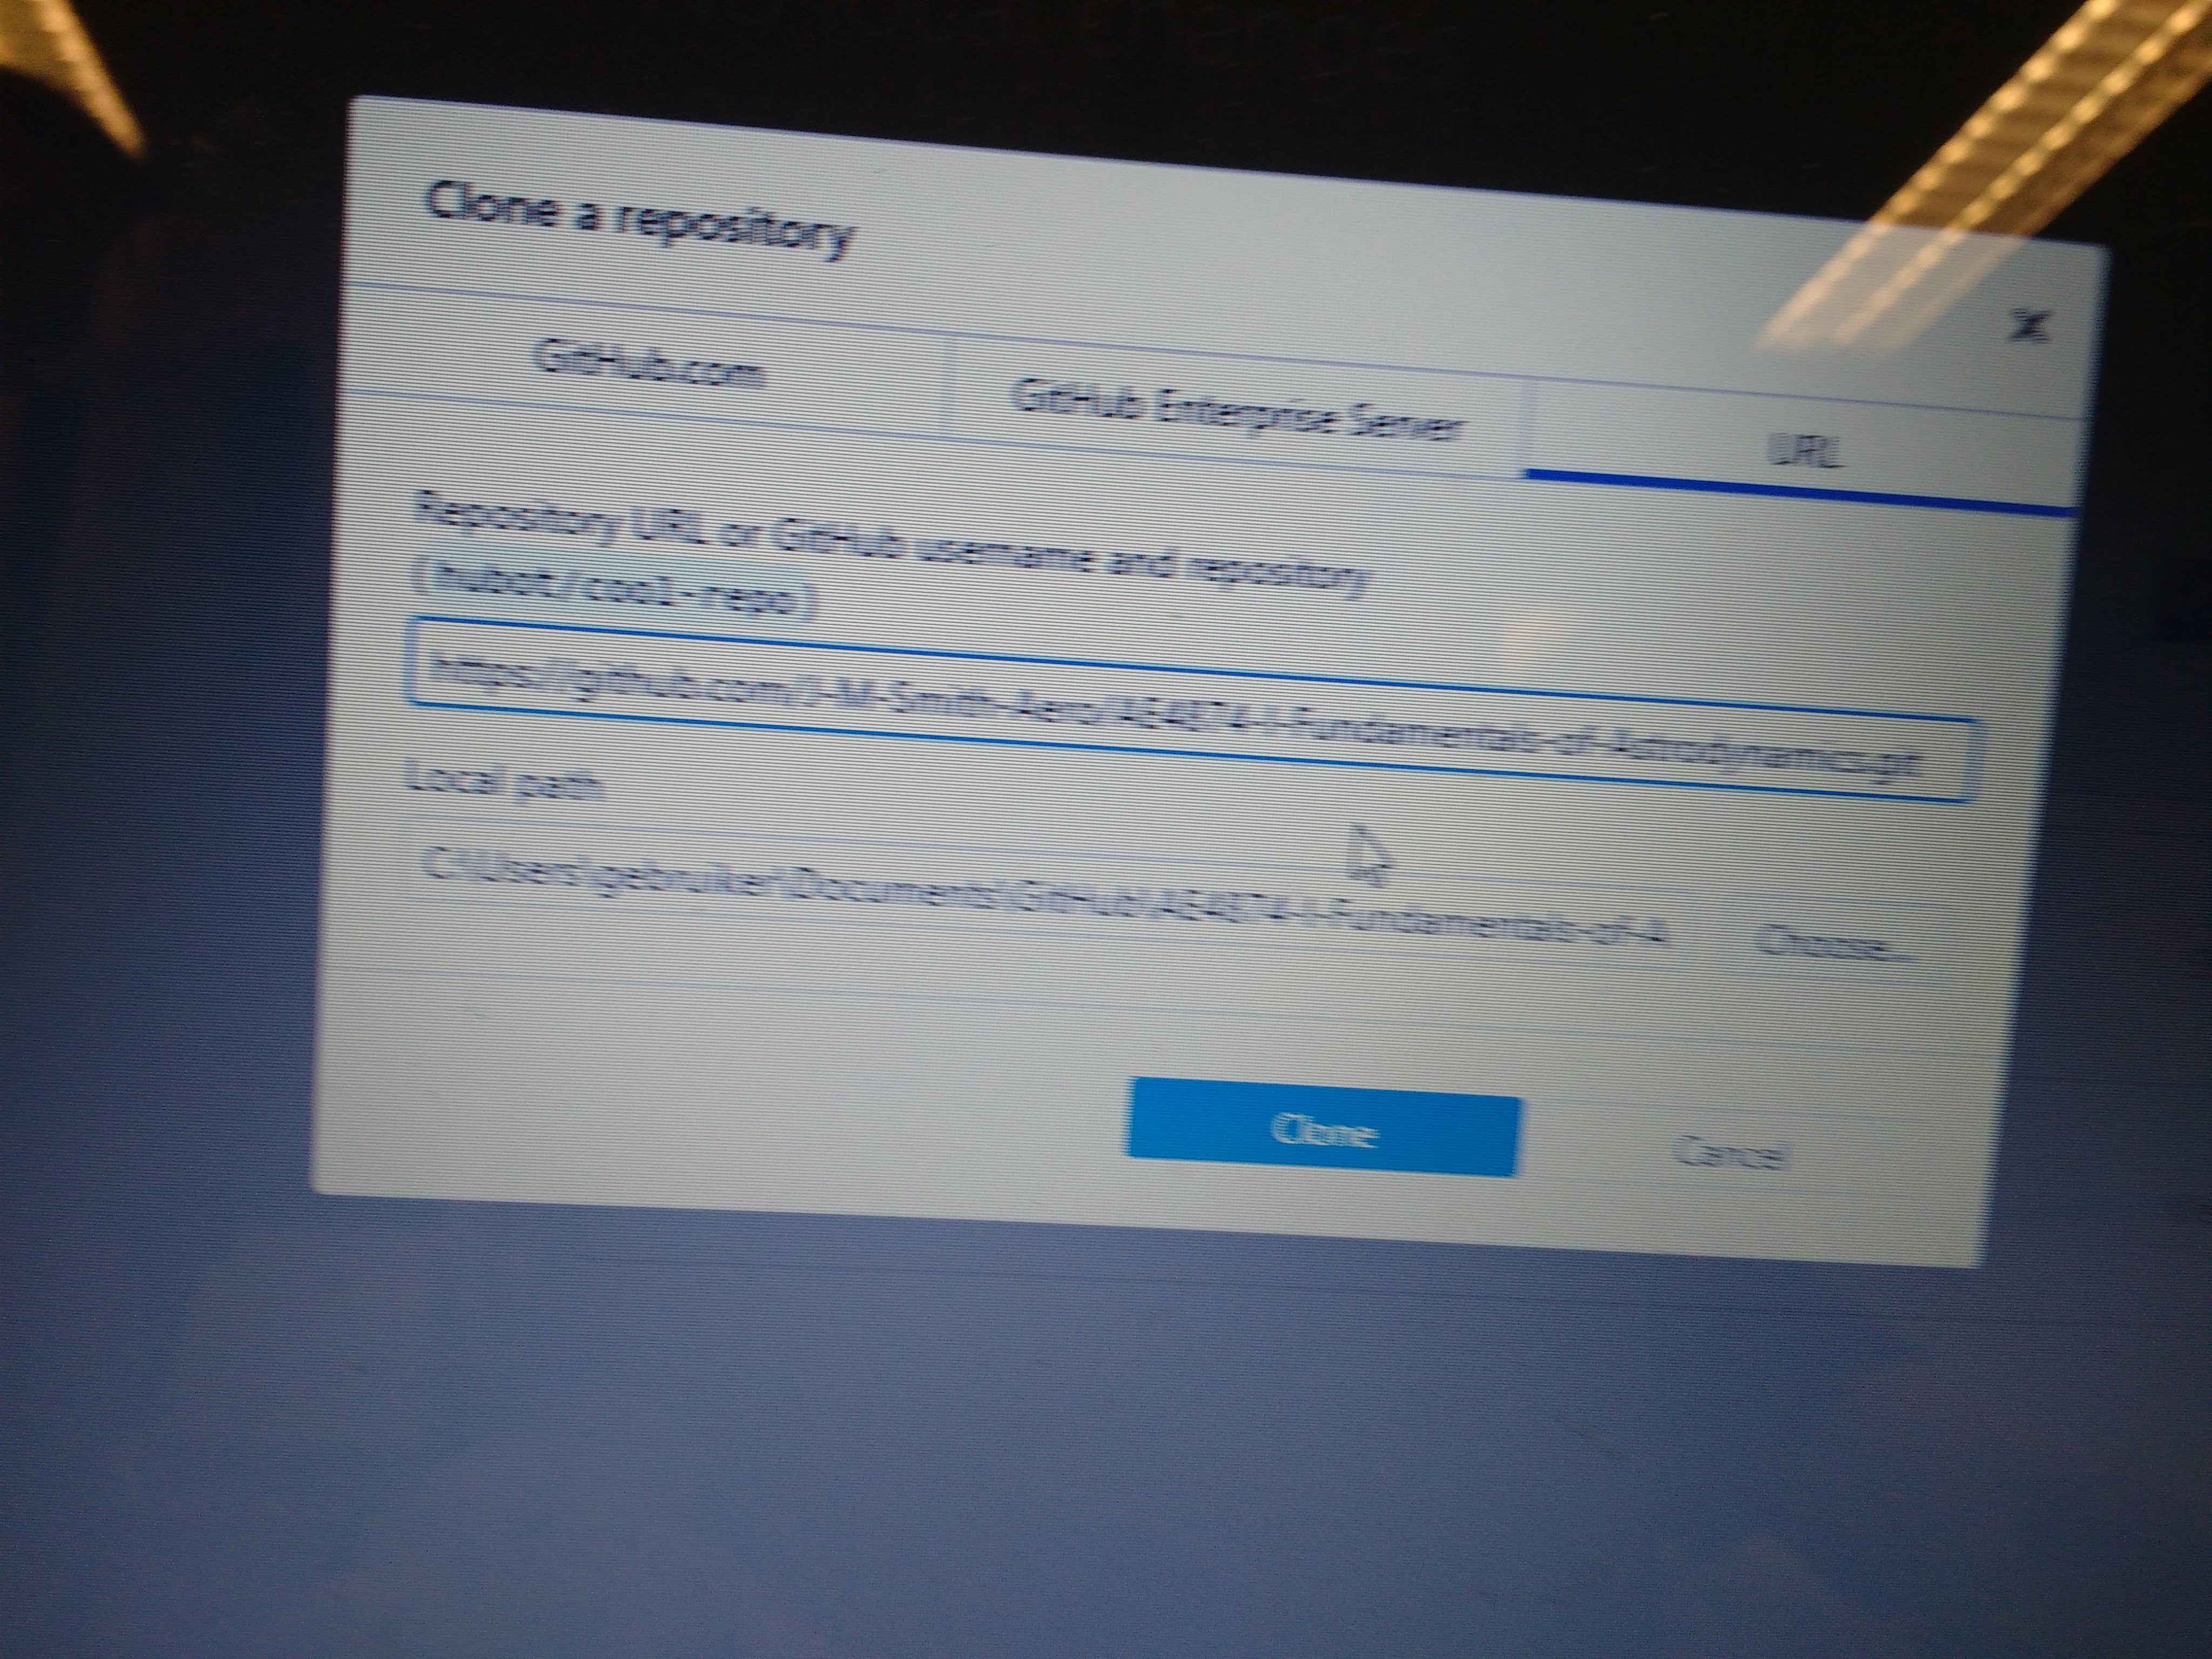
- Then open the cloned repository on your pc,
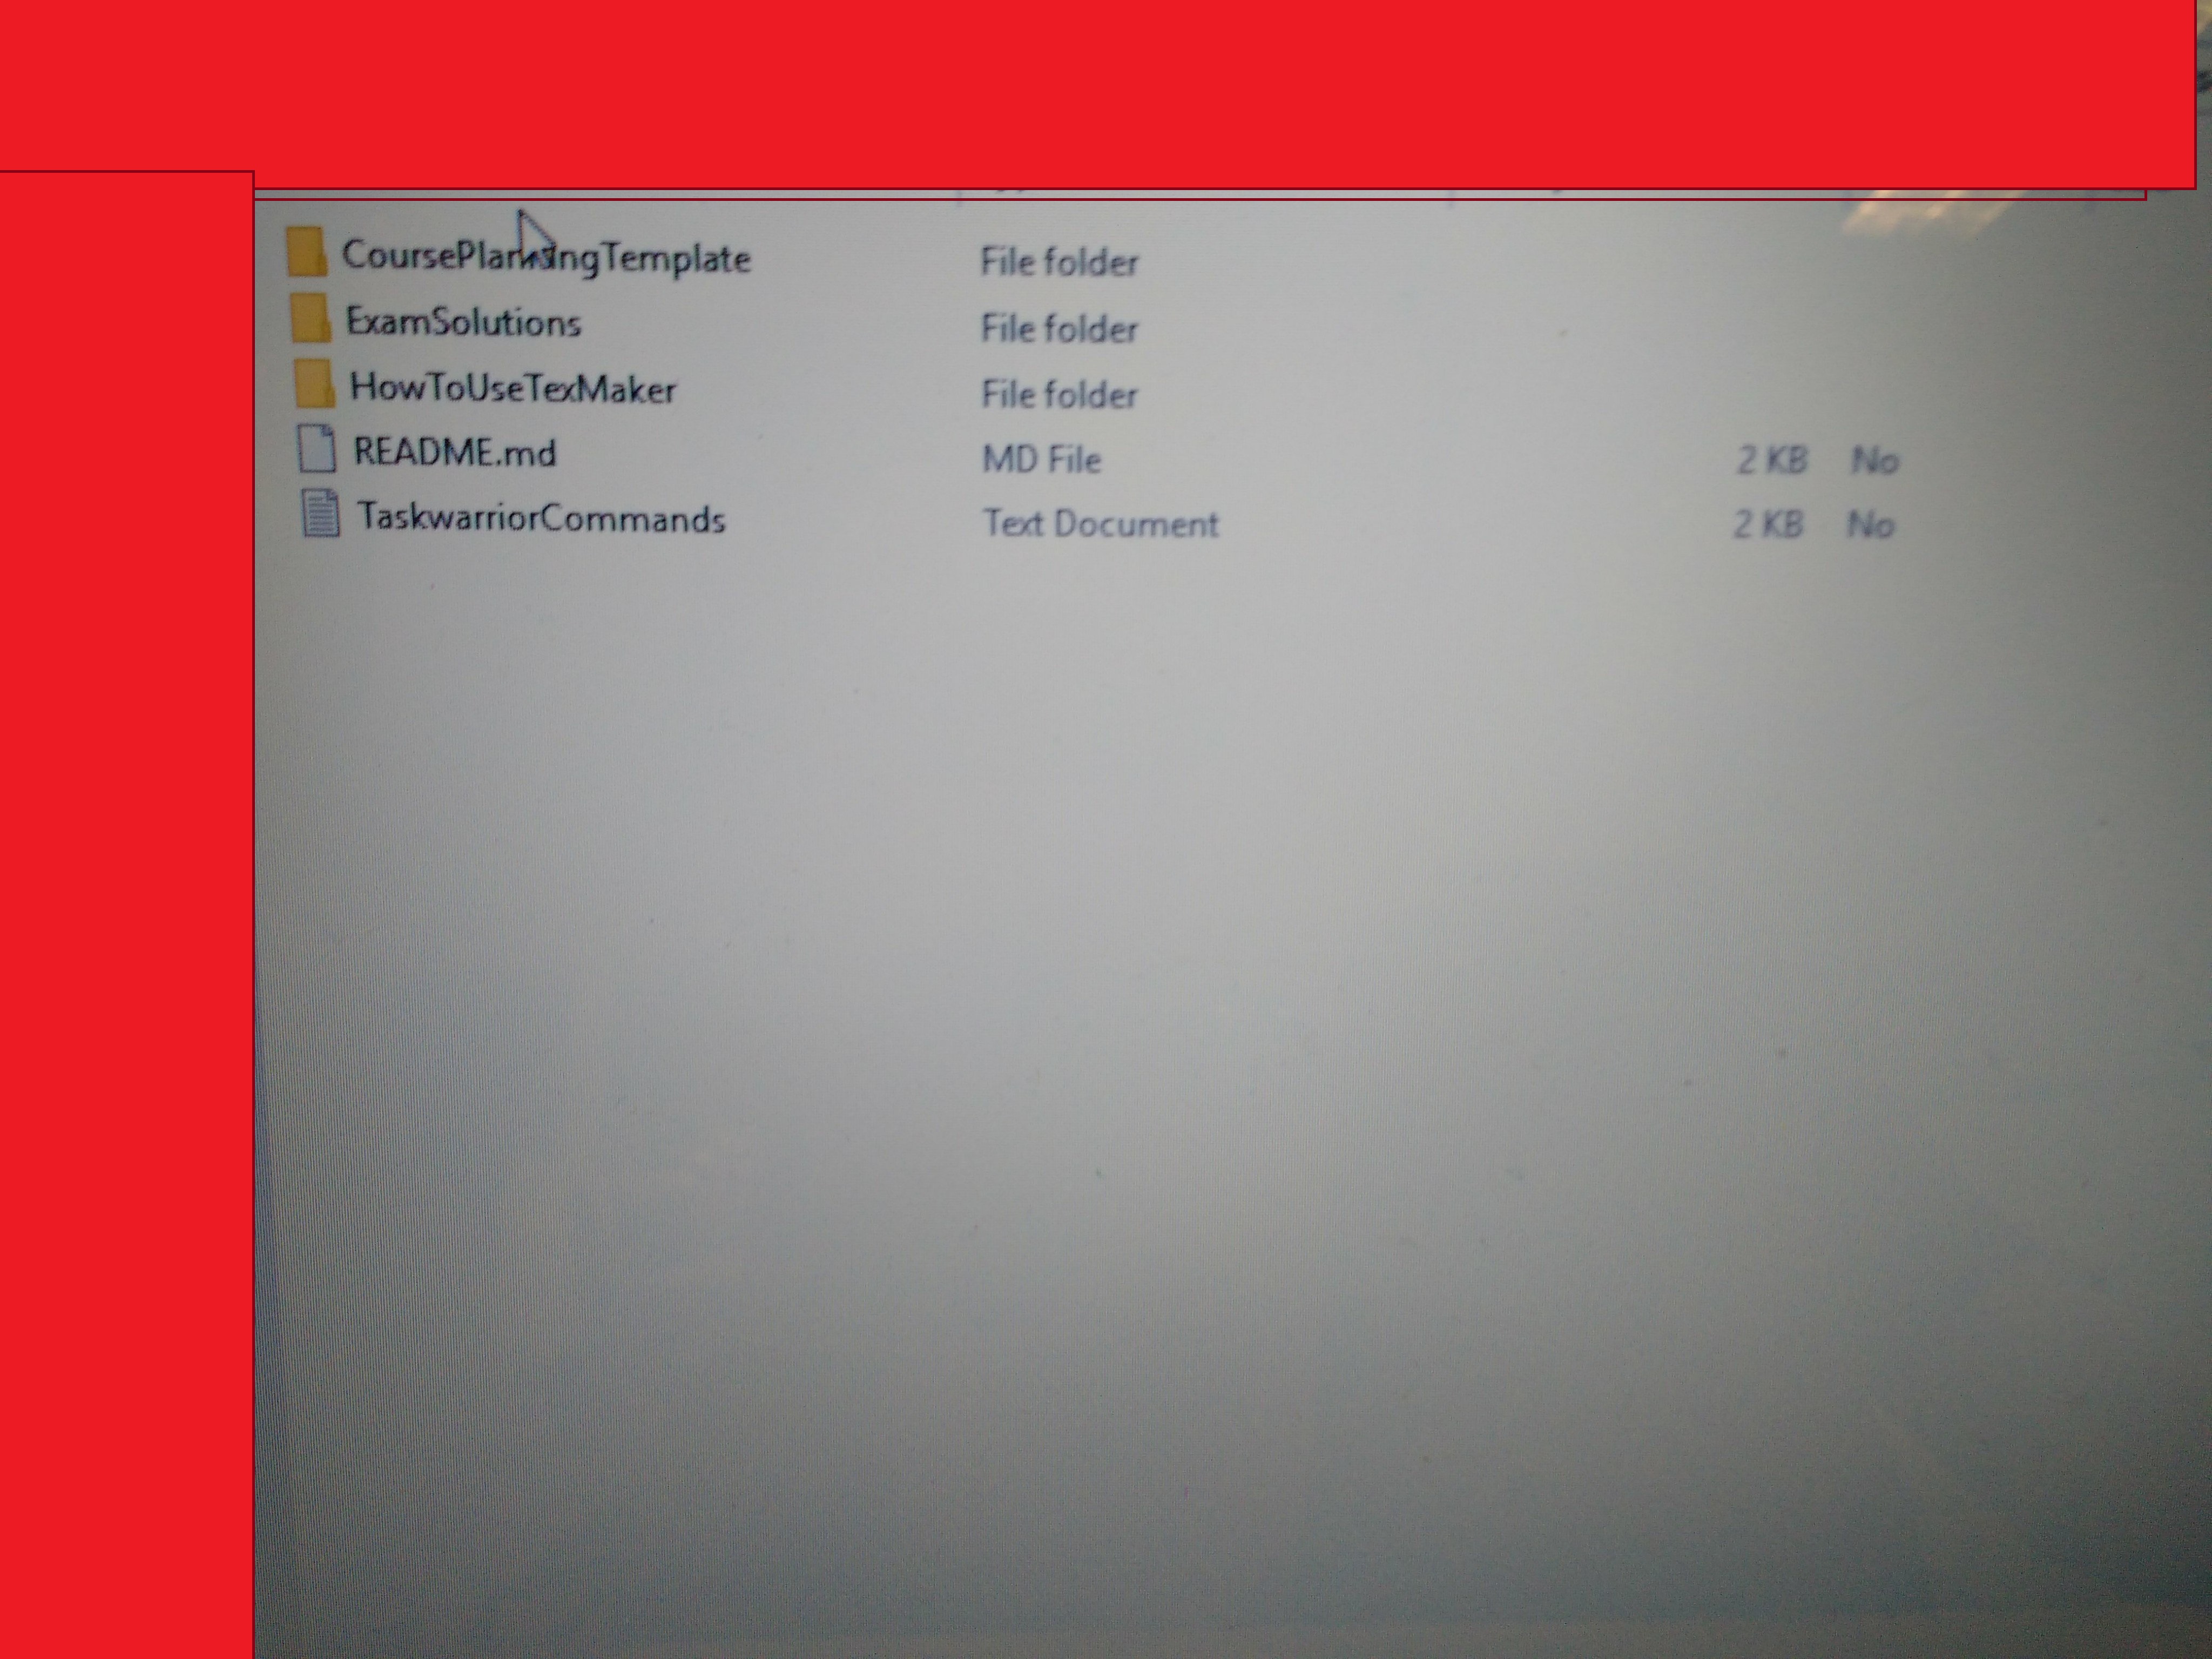 9.and browse to CoursePlanningTemplate
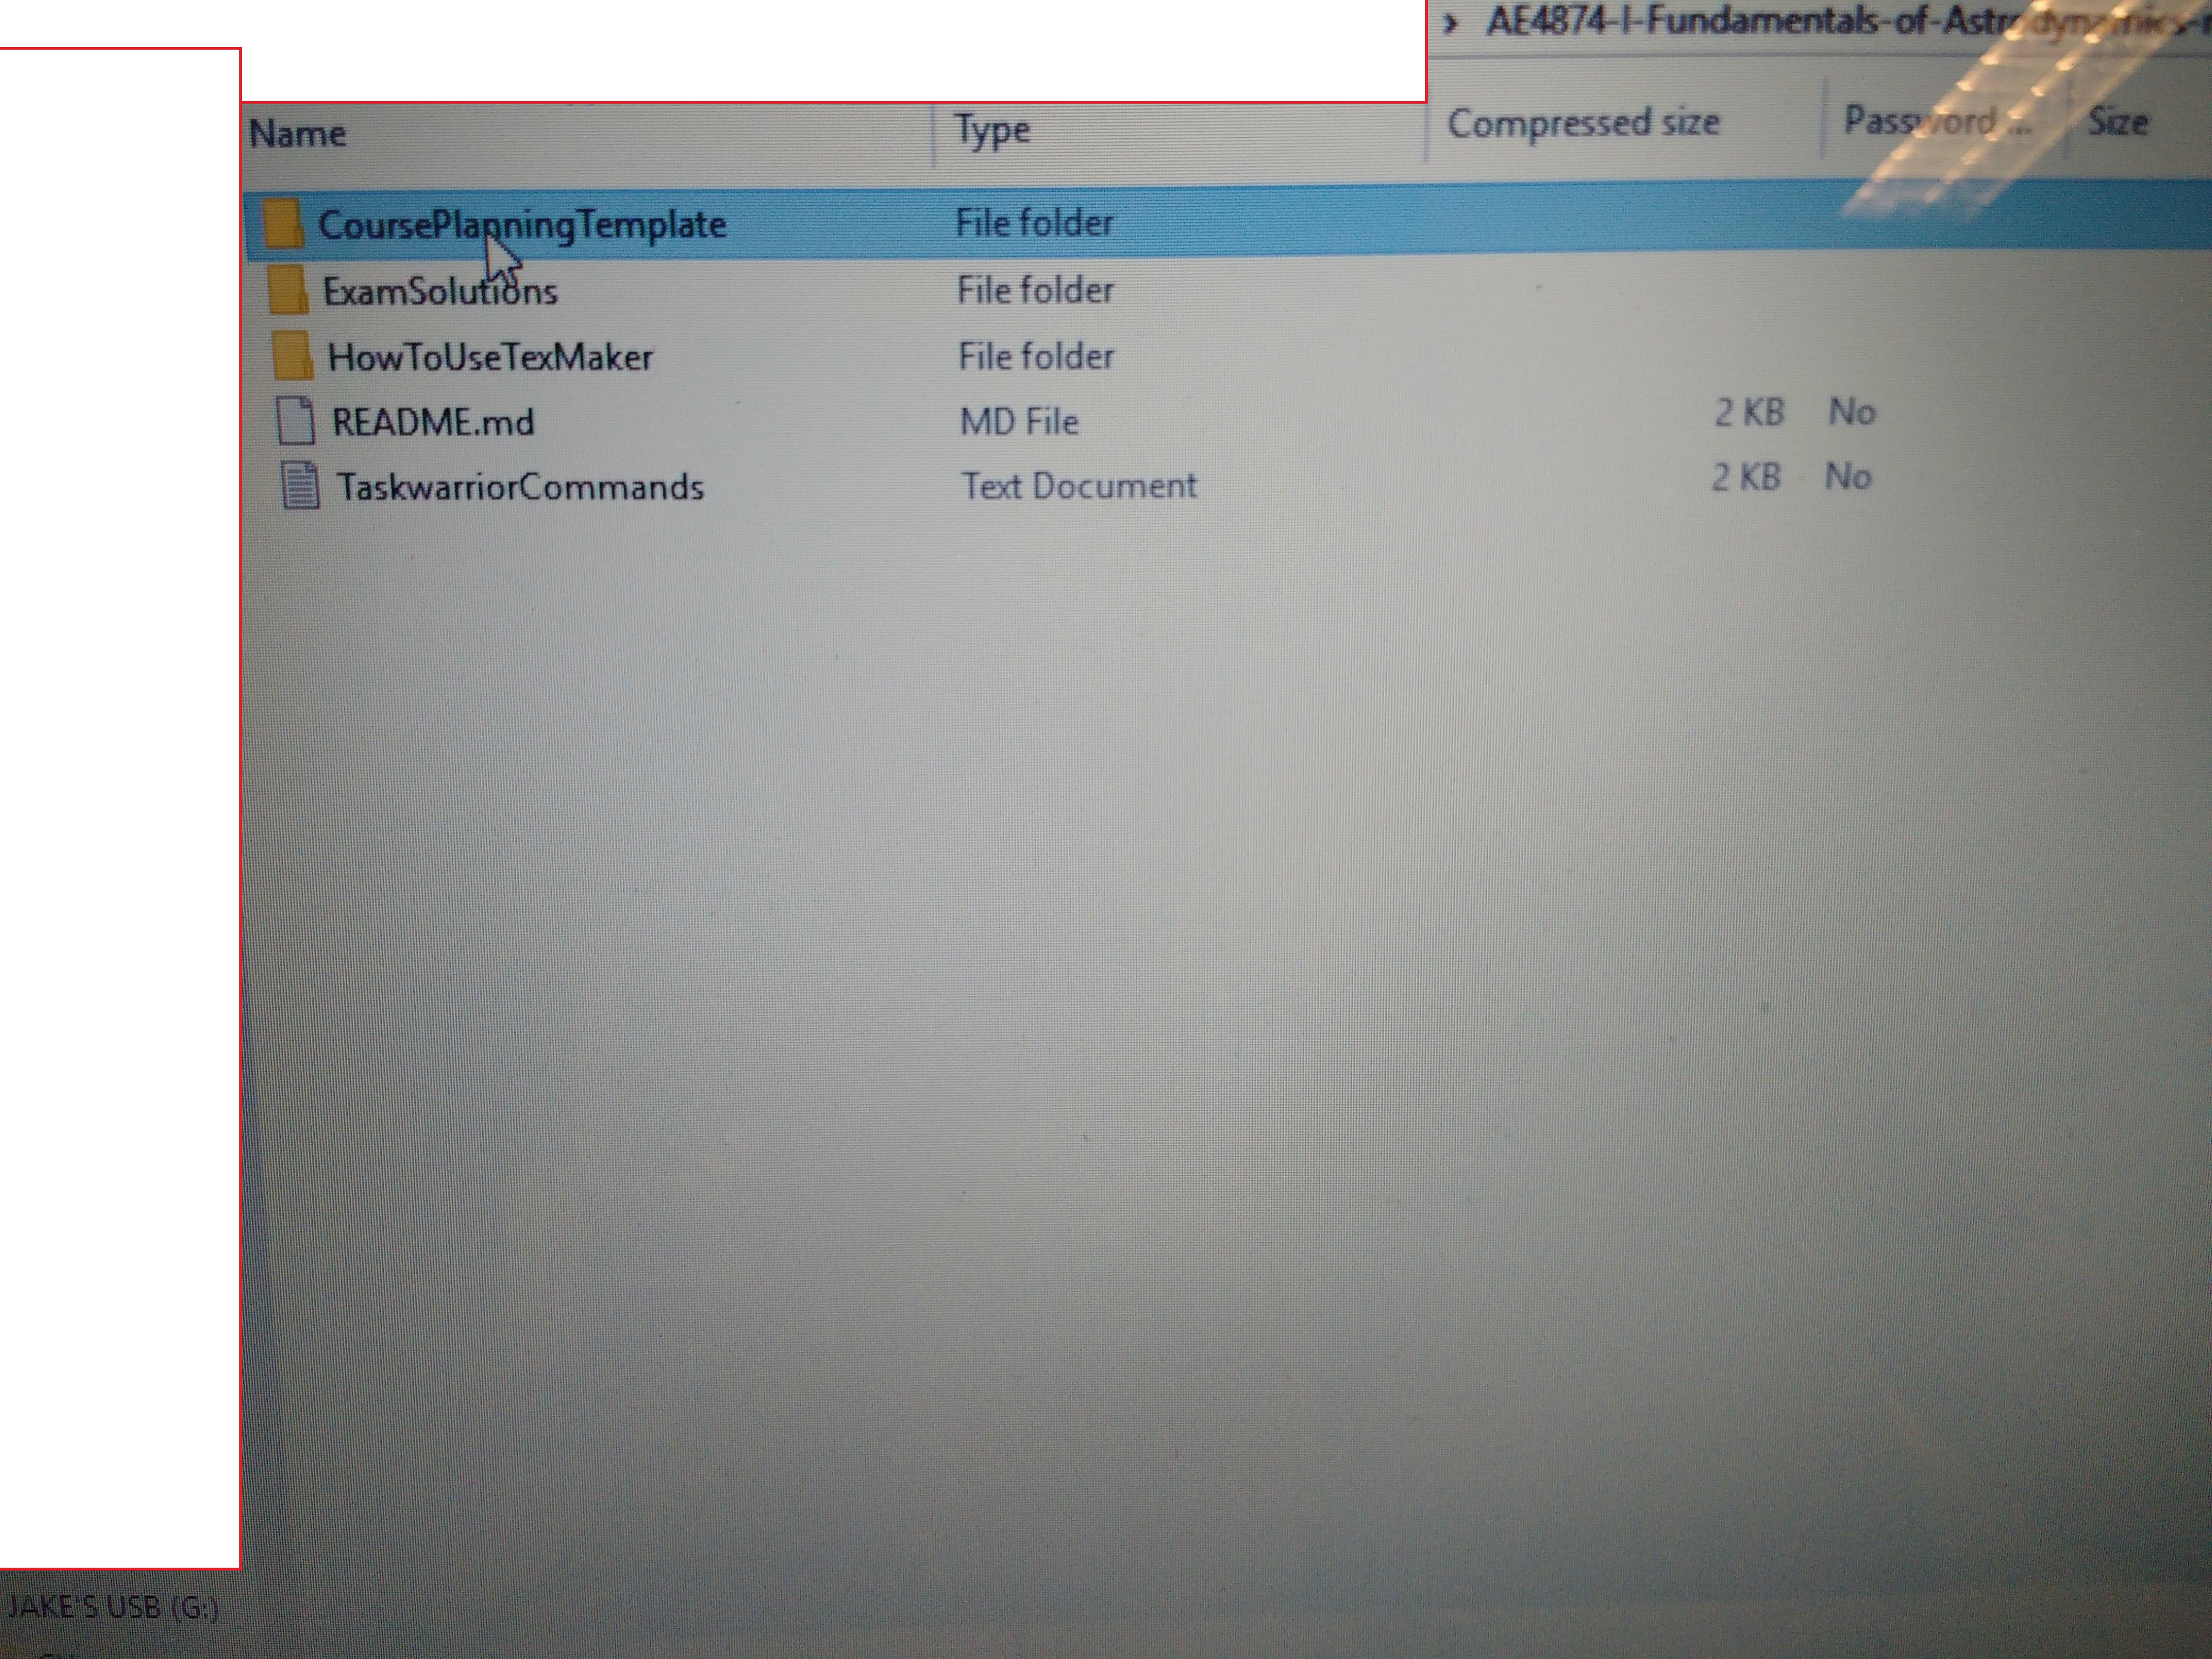
- Open
PlanningData-<Coursename>.xlsm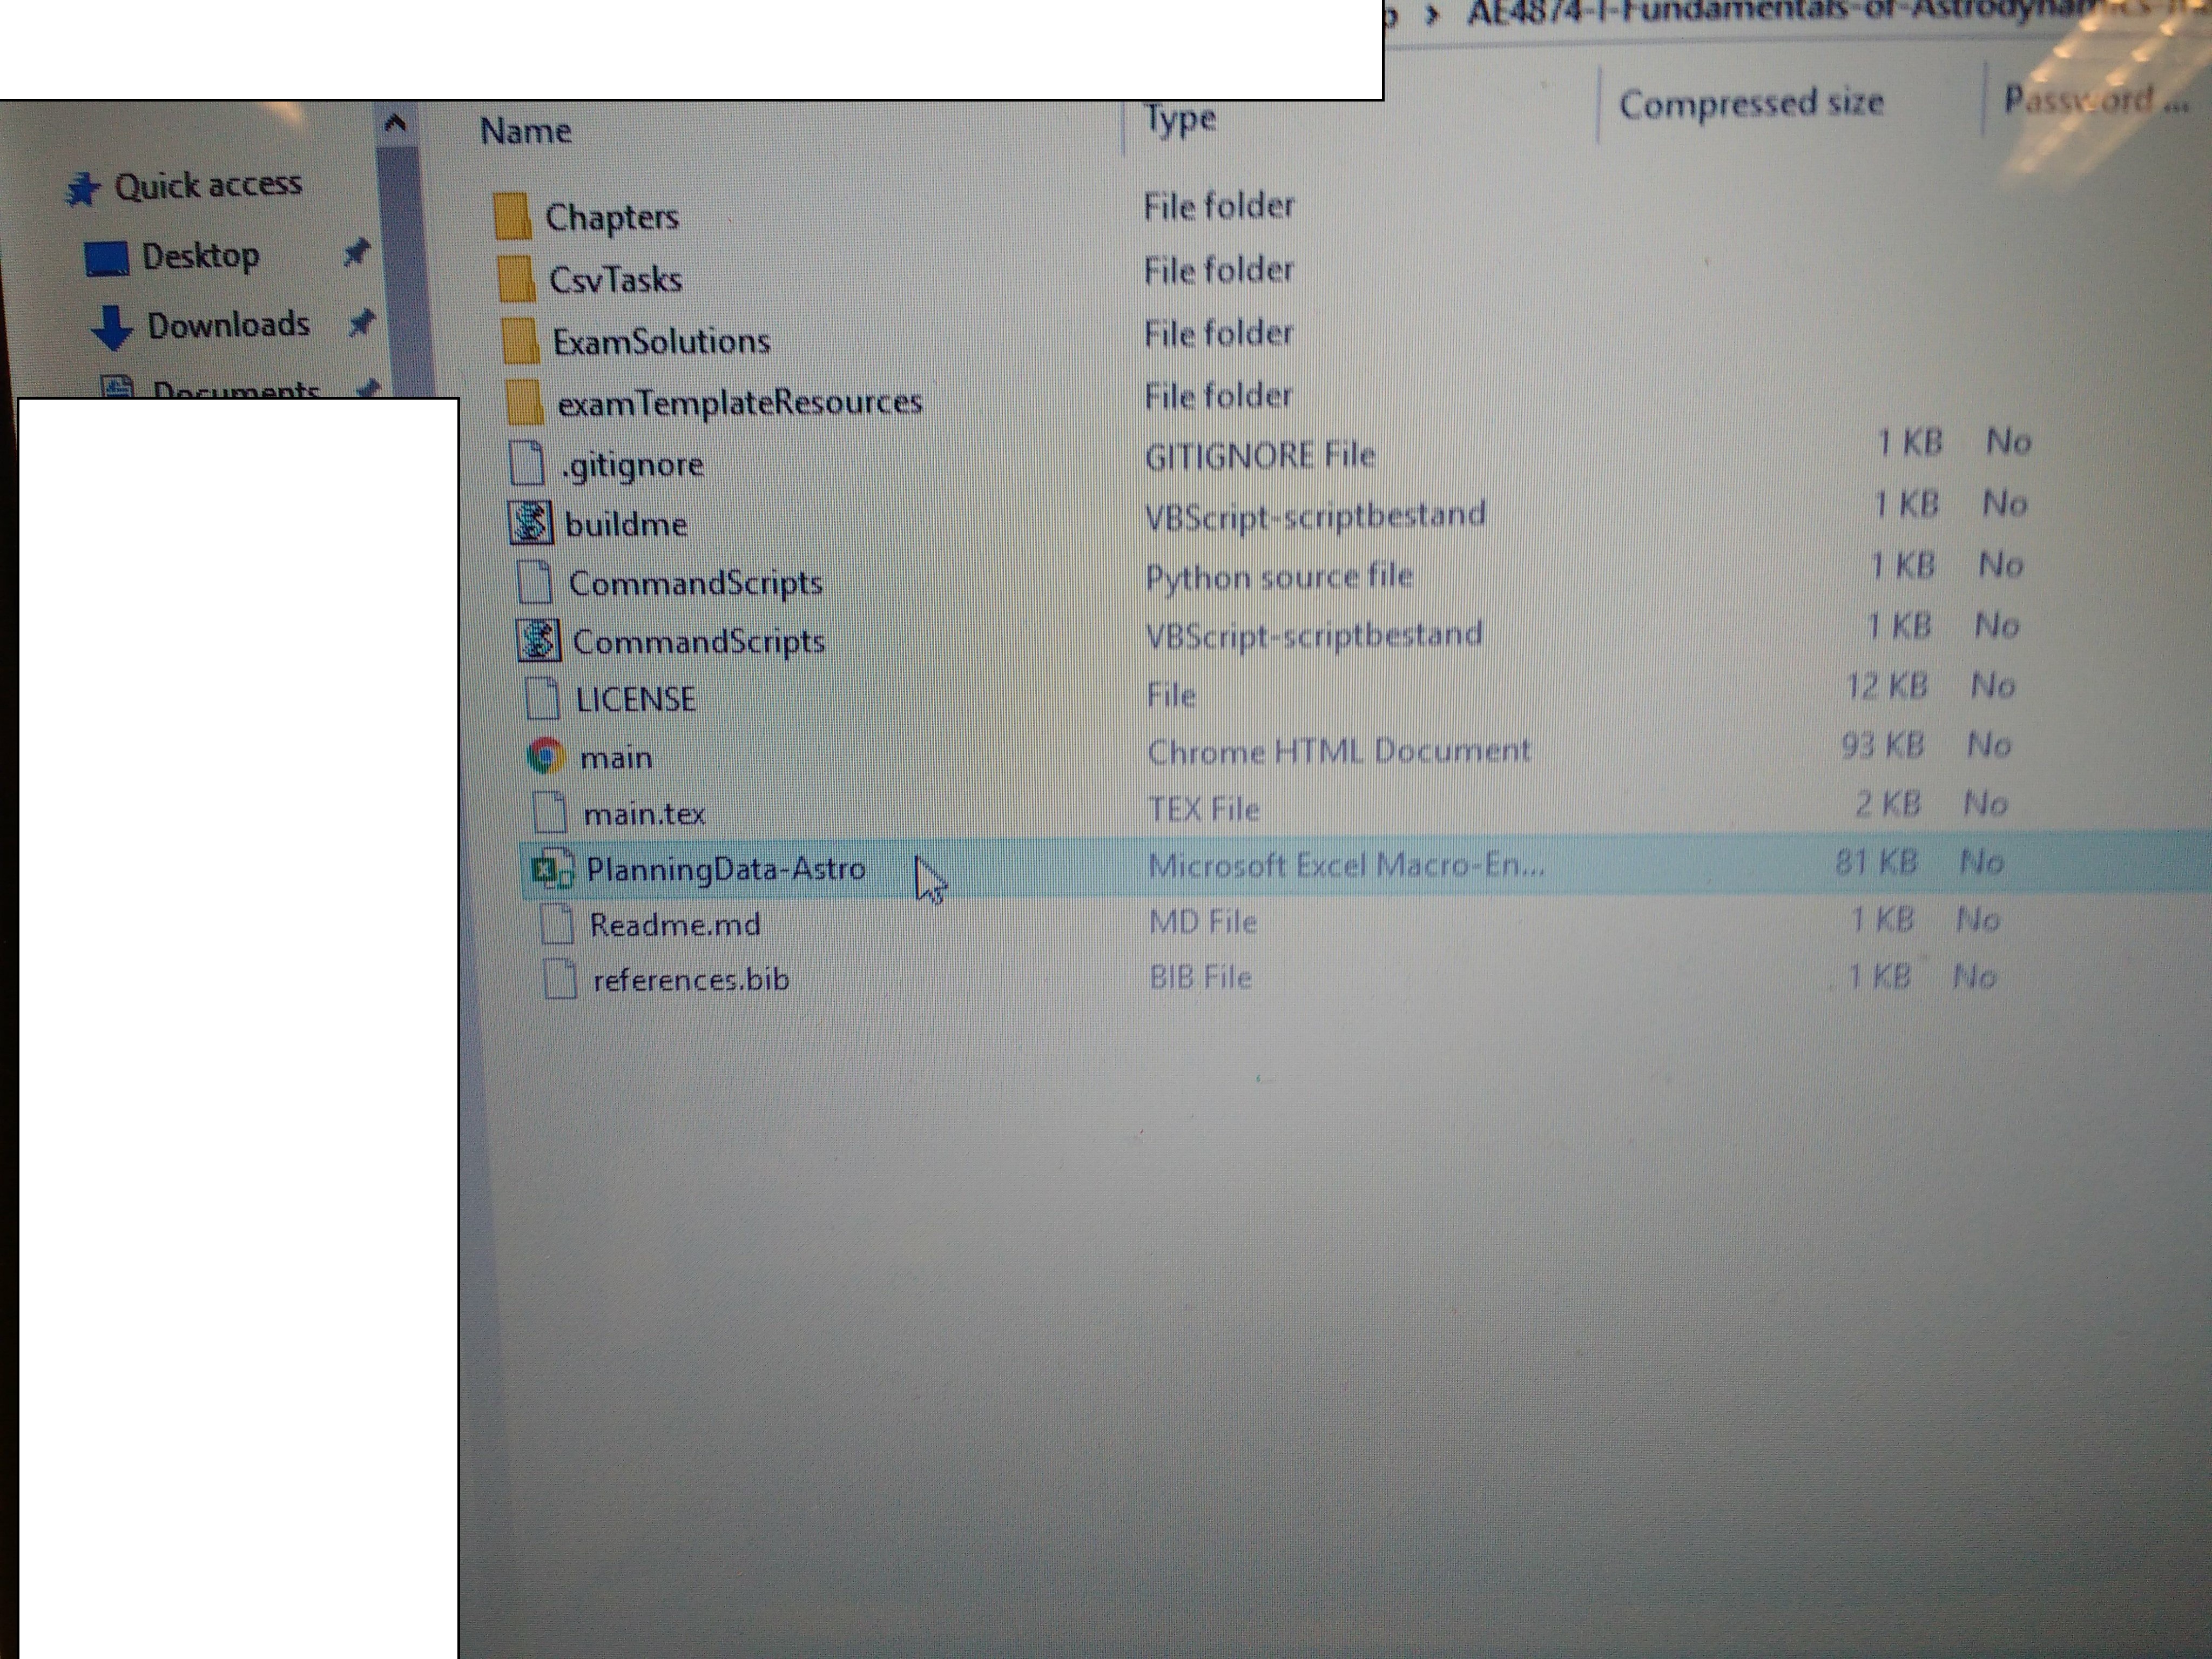 11.Find an exam
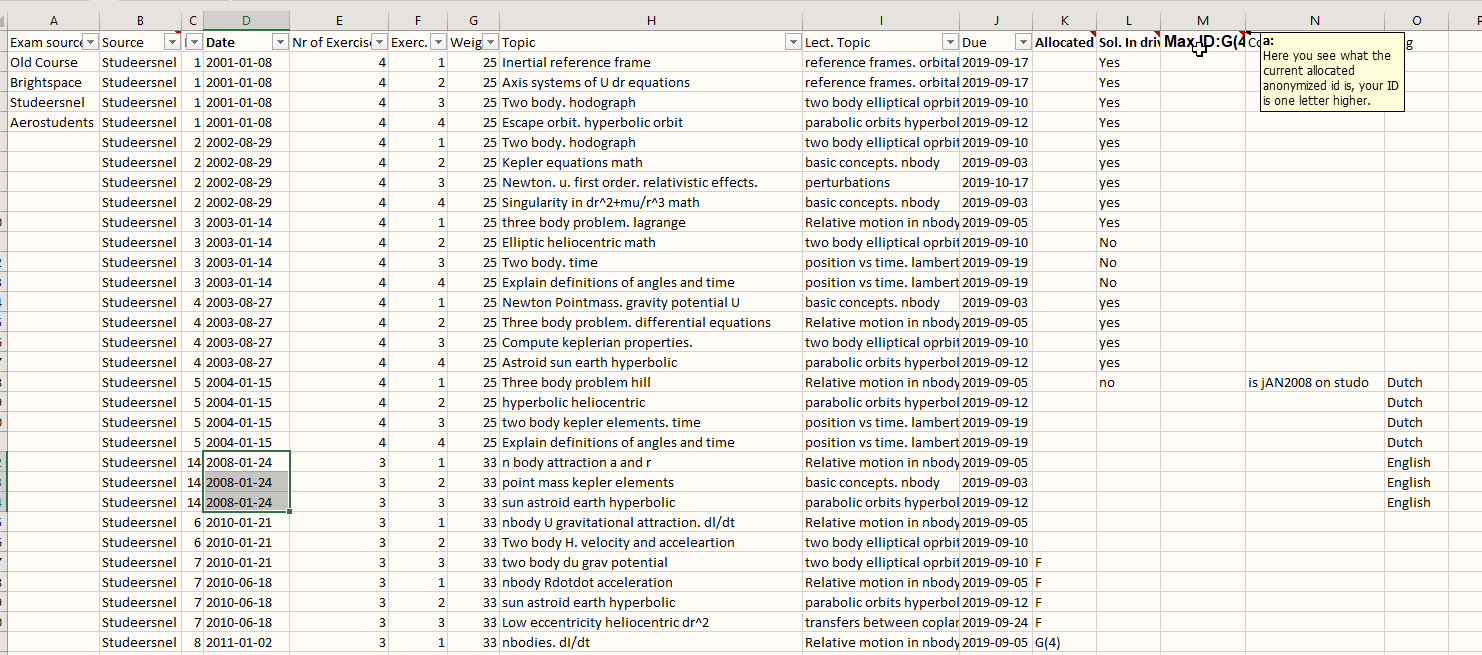
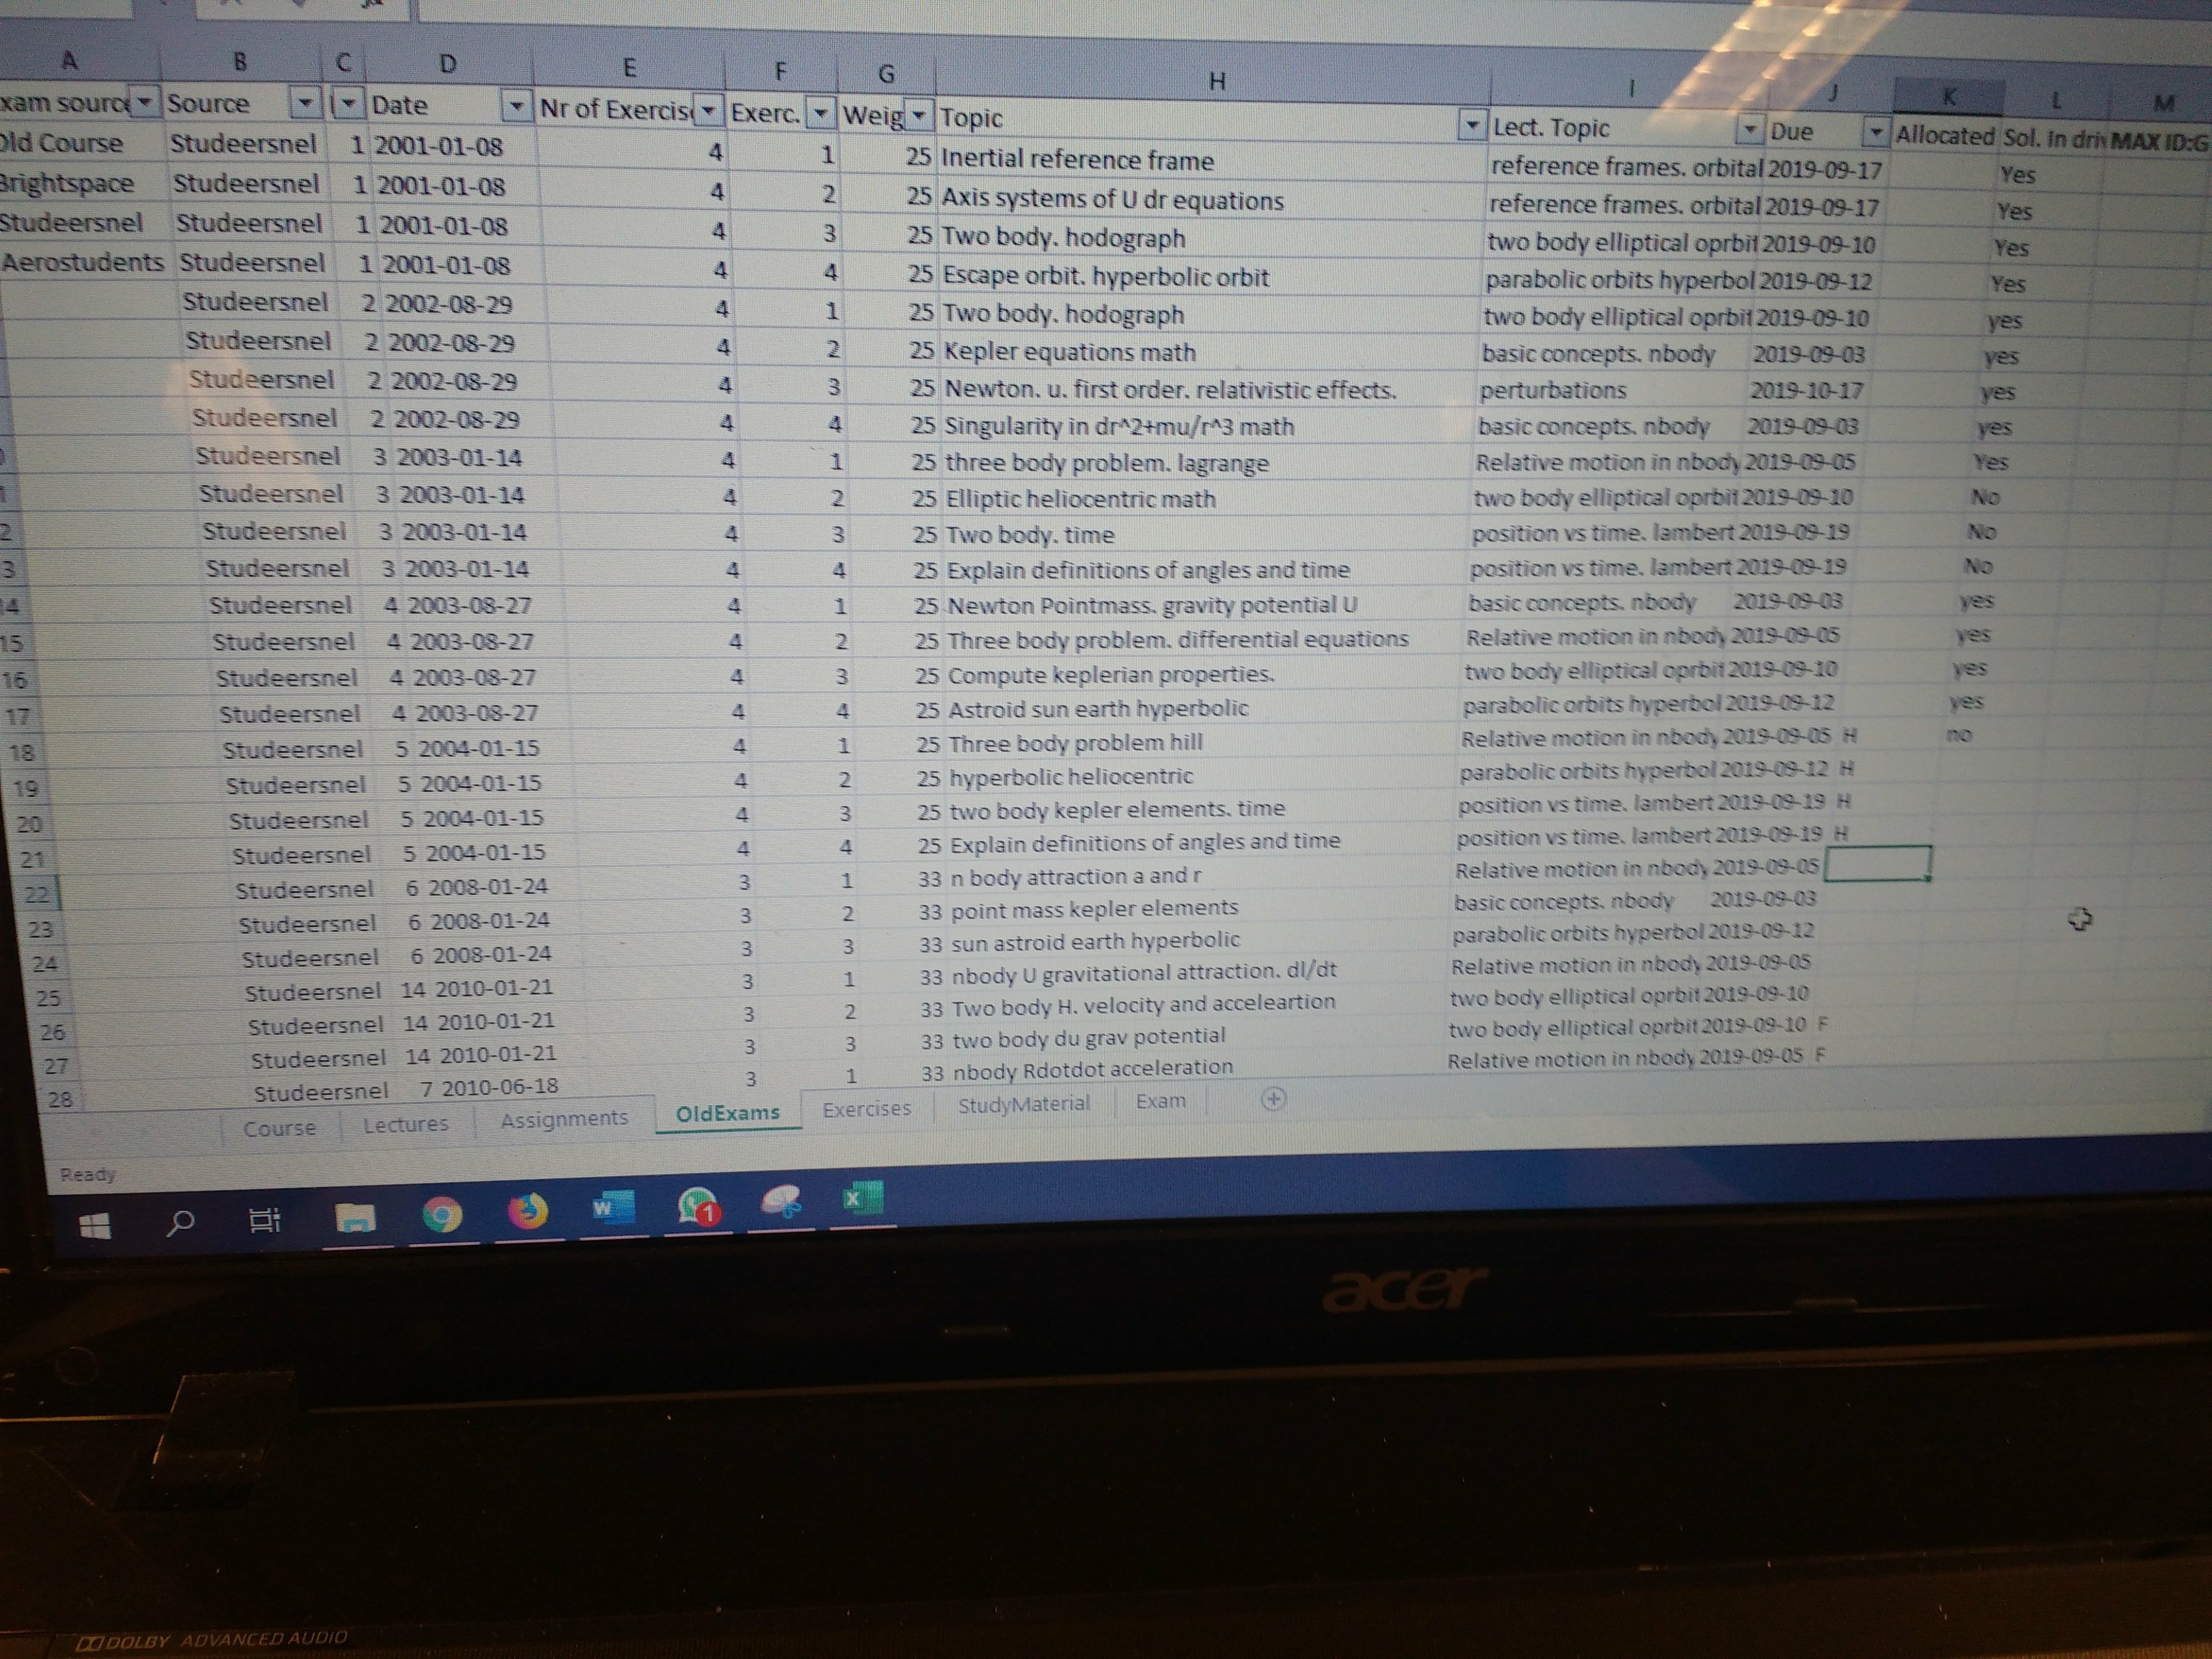
 12.Find your new ID /letter by going one letter beyond the current maximum ID as listed in cell M1, e.g. if the repo contains allocations in colum K of: A-G, your new ID = H.
 13.Allocate yourself to an exam by typing your ID into column K.
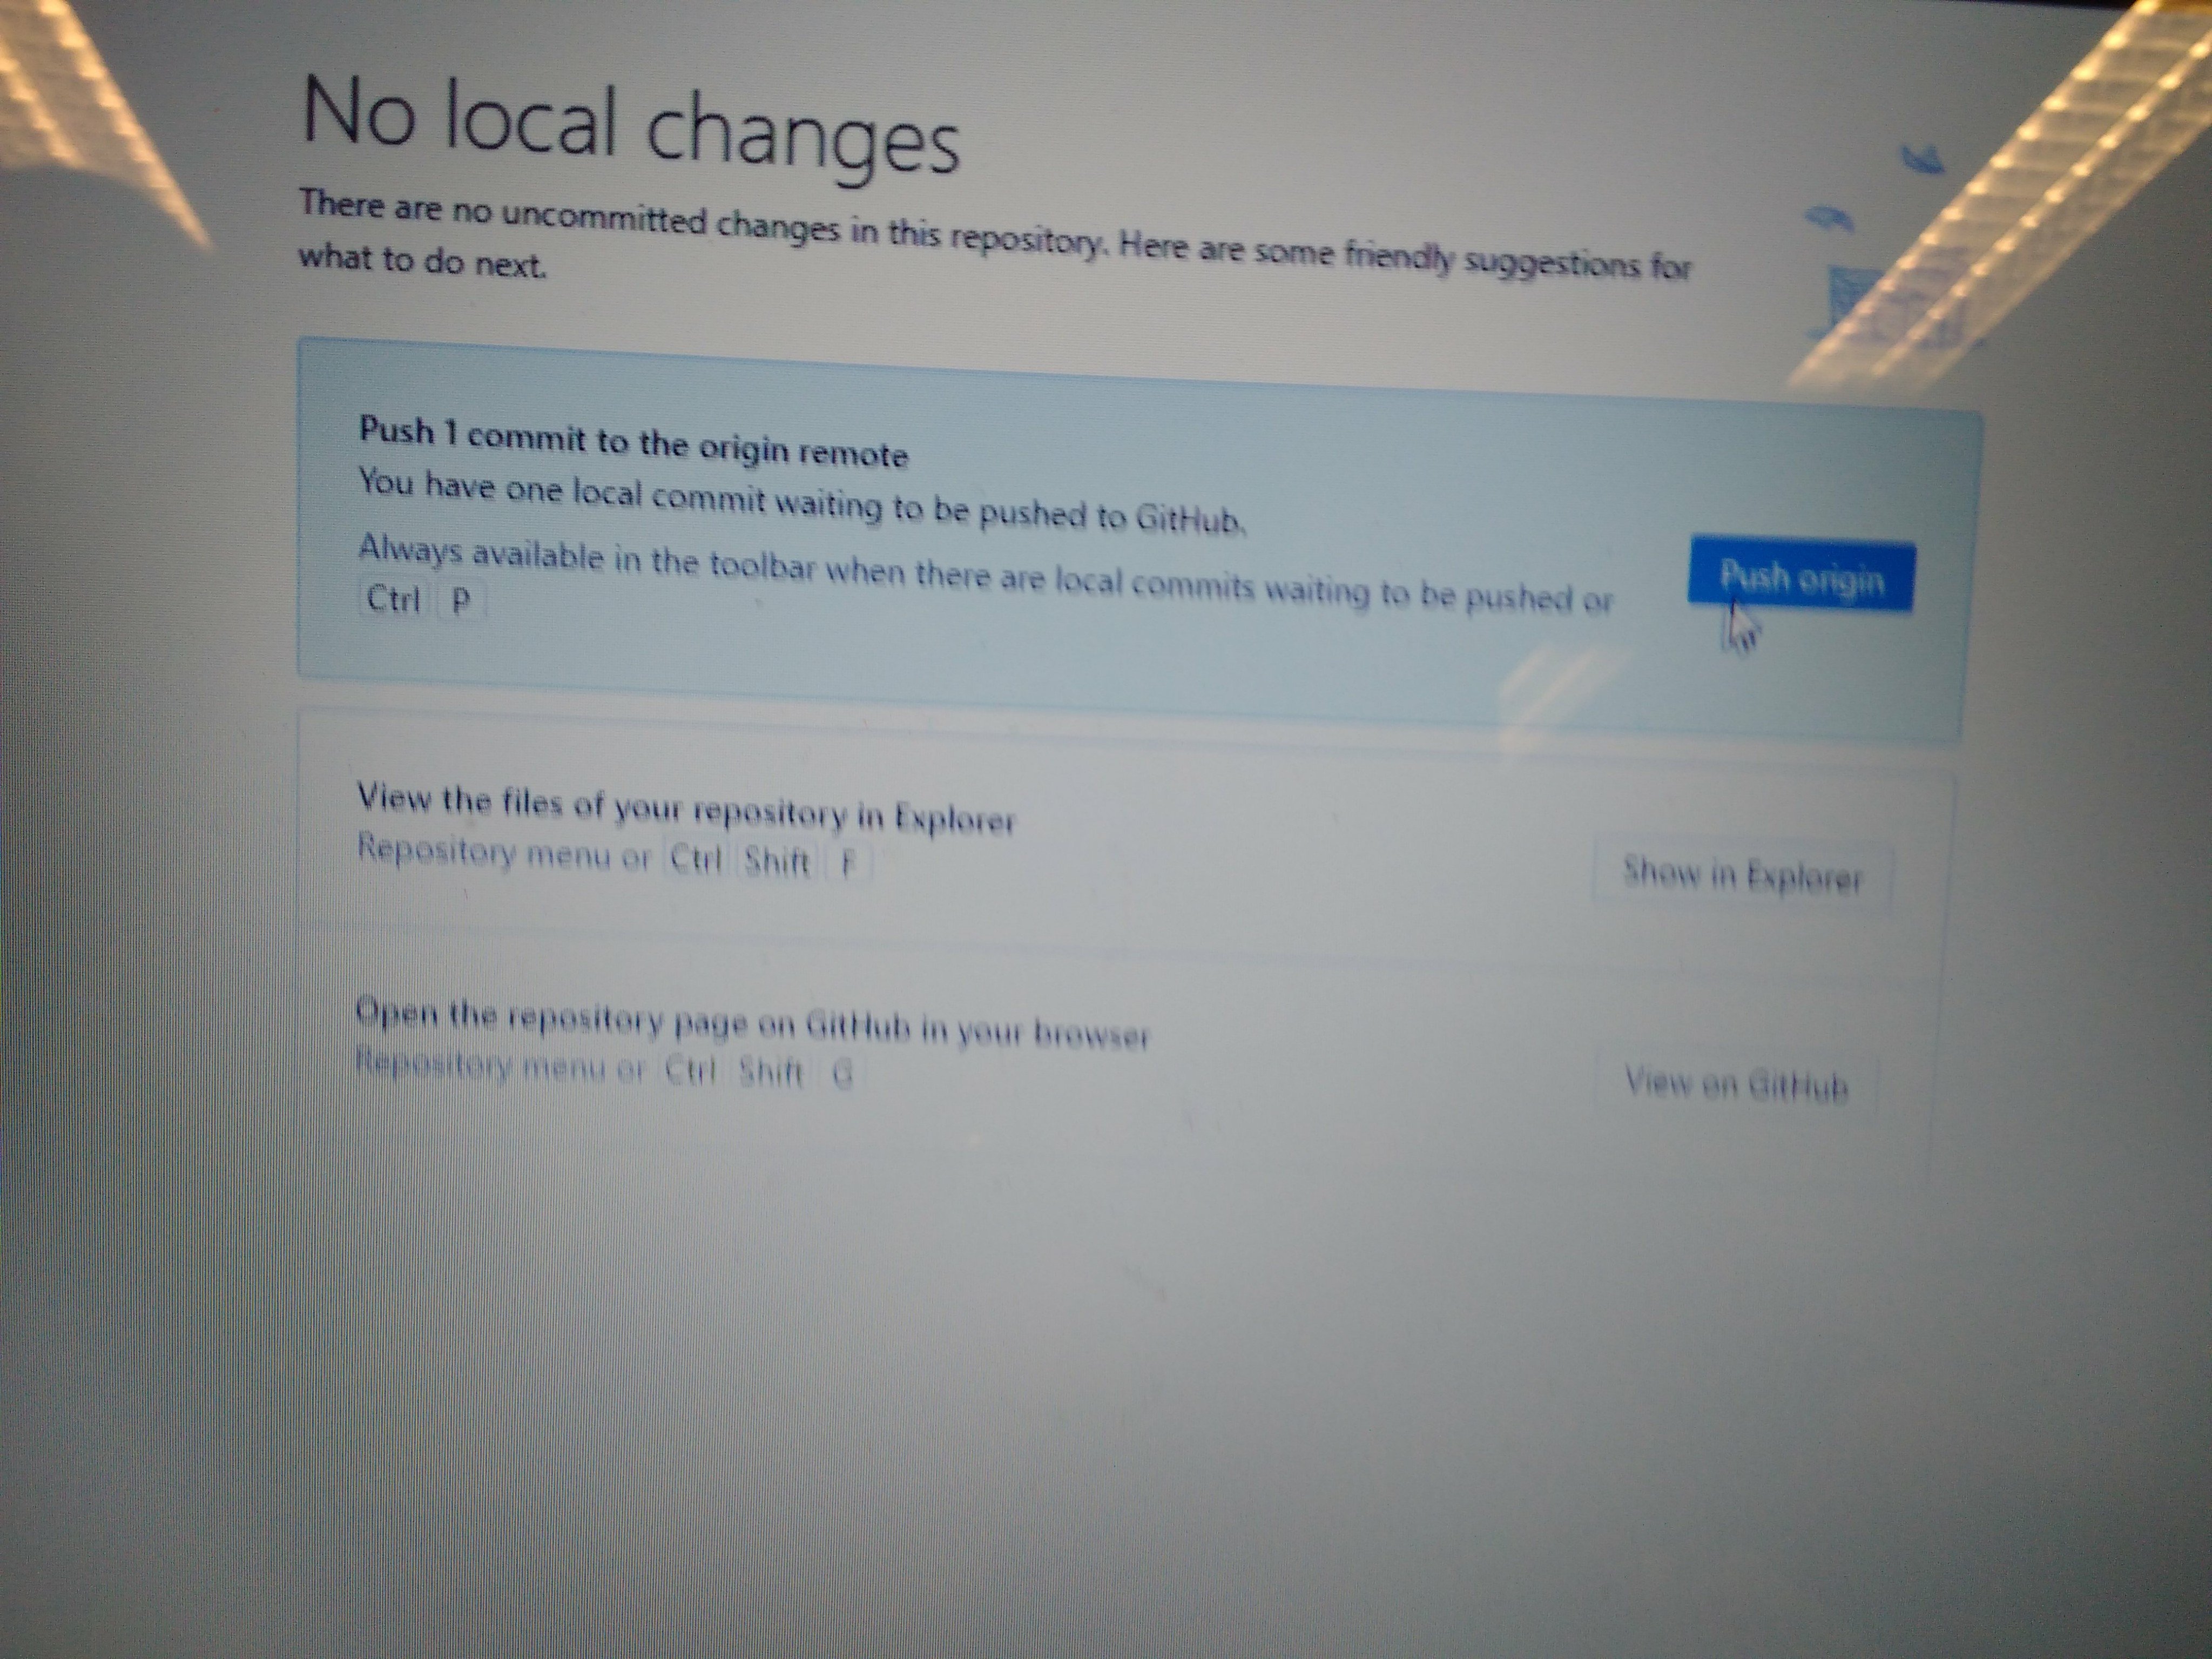
- git pull/ git fetch before you push, forgot screenshot.

- Then after saving your xlsm and closing it, press git push (If you get auth error, you probably cloned my repository instead of your fork/copy of my repository {You are trying to push to my public repository while you're not a collaborator in that, hence you don't have the authentication to push to it}. Please go back to step 1 and try again.)
- Then in your ownforked/copied repository/github of this course click"new pull request"


17.Create pull request (sends me message hey A-T-0 do you want this change I made?
 18.Type a bit more than just your id.
 19.Thats it, then I'll get a notification of your pull request, inspect it.
 20.And then merge your pull request to my/the main repo.

- Thats it, now make an exam solution in the latex template.
22.a First make sure you have the latex files and a compiled pdf in the folder examSolutions/<exam date> of your local copy of your personal fork/copy of my public repository. Then open your browser, browse to your fork of my public repository.
22.b Now click settings in your fork of this repository

- That brings you to the settings tab as depicted:

- Scroll all the way down (Right into the danger zone, Kenny Loggins would be proud). Make sure you have a github pro account with your academic licence. Then click "Make private".

- Type the name of the repository (EXACTLY) so for different course, different repository name.

- Then click collaborators

- Type your password to continue.

- Then add me,
a-t-0as collaborator and click invite.

- That's it. Now I will inspect it, and if your solutions are complete you will be granted access to the private repository (where you can upload your solution).
Normally you can switch between your tabs/files with Alt+PageDown and Alt+PageUp. However if you also have FLux installed on windows, those shortcuts are already mapped to reducing the blue content in your screen. The shortcuts wont work in that case. To switch between screens fast with your keyboard:
-
Click Options.
-
Click Configure Texmaker.

-
Click tab: "Shortcuts" and scroll down to Action: "Next Documents".
-
Click the "shortcut" next to
Next Documentand Press the shortcut you want, e.g. pressCtrl+PageDown.

- Then do the same for the
Previous Document
If you are having troubles with any of the above steps/don't know how you do any of that, feel free to click on: "issue" and type your question :)
-
You can git clone this repository
-
You can edit pdf's in this repository with TexMaker (OpenSource):https://www.xm1math.net/texmaker/download.html
-
You can compile/create the pdf's in this repository by telling TexMaker to use MikTex (OpenSource): https://download.cnet.com/MiKTeX-64-bit/3000-18483_4-75851644.html Or: https://miktex.org/download https://miktex.org/howto/install-miktex
-
Or just do it in overleaf (Skip to step
7.band7.c) -
And then send a pull request after you have pushed your changes. After inspection of your pull request (and acceptance), you will be made collaborator in the private repo, to re-do your pull request which will be accepted. This will grant you access to all the exam solutions generated collectively!
To change (a copy of) this a latex exam solution template after you have installed TexMaker: 0. Open Main.tex file in TexMaker:


-
Make sure you have opened
Main.texand notsomeChapterOrOther.texand click the triangle meaning "Run/compile". That exports the PDF to your/this directory. -
Click
Options>Define current document as "Master Document".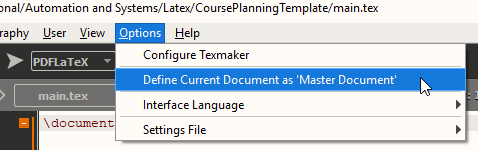
-
Selected
PDFLatexandView PDF(see next pic)

3.a Press f2,f11 to compile the bibliography, followed by f2 to include the bibliography in the report. Then:
- Press
f6to compile the pdf. (left triangle in pic below)

- Press
f7to preview the pdf in the right half of your screen. (Right triangle in pic below)

- If you get error saying: "no logfile" or anything else, it's most likely becuase you havent installed "the compiler". So latex is just some kind of computer language, Texworks is an editor for files of that language, and Miktex (also open source) is a compiler. So you can already edit your tex files, but to also build the pdf, install miktex and tell texworks where it can find your miktex
.exefile (viaOptions> ?compiler? ..). Actually you have 3 options to create your latex solution:
7.a Install miktex, (F did that already) AND link the target destination of miktex in texworks.
7.b Import your forked repository to overleaf (get a temporary free trial acount with ggr.la mail.
7.c Import your forked repository to overleaf by pressing: menu>new>import zip file> put your 2010-xx-yy folder Content into a zip, and click import. Then you can just work in overleaf.