Example repo that demonstrate how to leverage Github to orchestrate your development cycles with Windmill.
This repo illustrates the following process:
- Users iterates and make their changes in a "staging" Windmill workspace,
called
github-sync-example-stagingfor this tutorial - Everytime a Windmill App, Flow or Script is deployed to that workspace (via Windmill's UI), Windmill automatically commits it to this repo and creates one branch per app/flow/script.
- On every commit, PRs are automatically created via a Github action. Approved Github users can review and merge those PRs.
- Everytime a PR is merged, another Github action automatically deploys the
change to a "production" Windmill workspace, called
github-sync-example-prodfor this tutorial
First the Github repo needs to be setup and Windmill needs to be able to commit to it.
- Create a Github repository
- Generate a Github token with write permission to this repository. This is necessary for Windmill to push commits to the repo everytime a change is made to the staging workspase. (keep the token value somewhere, we will need it in the following setup steps)
- In the repository settings > Actions > General, tick the Allow GitHub Actions to create and approve pull requests. This is necessary for the Github action automatically creating PRs when Windmill commits a change
- From Windmill, create a token under User settings > Token and
save it as a secret
named
WMILL_TOKENin the repo settings > "Secret and Variable" > "Actions". This is necessary for Windmill to push to the production workspace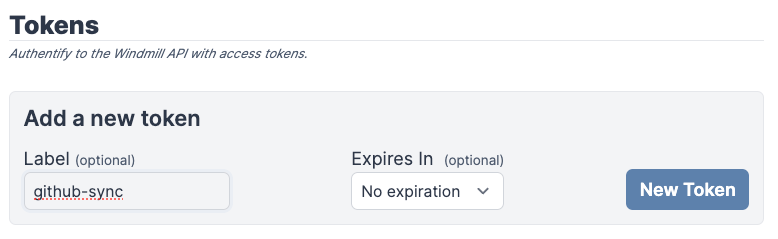

- In Windmill, create a
git_repositoryresource pointing to the Github repository and containing the token generated previously. You URL should behttps://[USERNAME]:[TOKEN]@github.com/[ORG|USER]/[REPO_NAME].git. Note that you have the possibility to input a custom branch name and a subfolder in this resource. Given that we are going to request Windmill to create one branch per script/flow/app, setting a custom branch will have no effect. However, if you wish to persist the windmill workspace in a subfolder of your repository, you can set it here.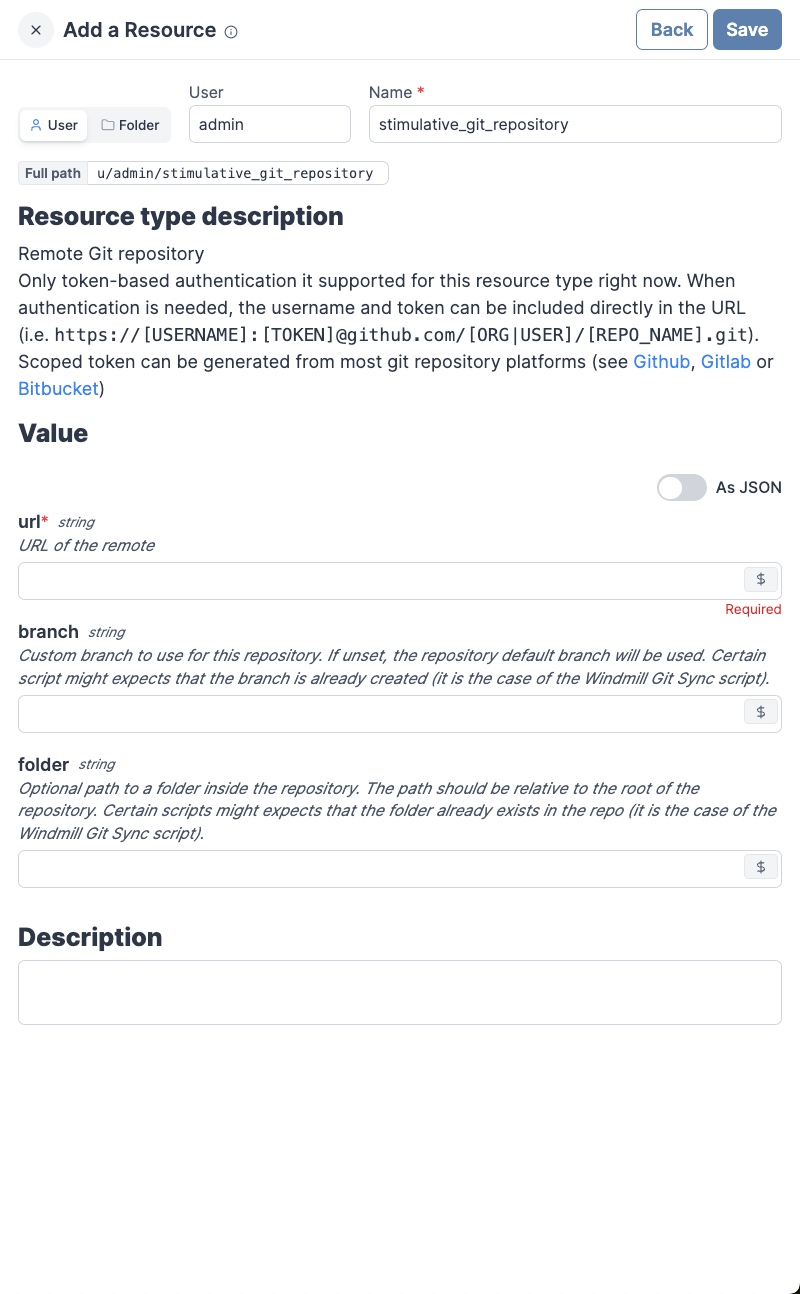
- In Windmill workspace settings > Git sync tab, pick the
git_repositoryresource and toggle ON "Create one branch per per deployed script/flow/app"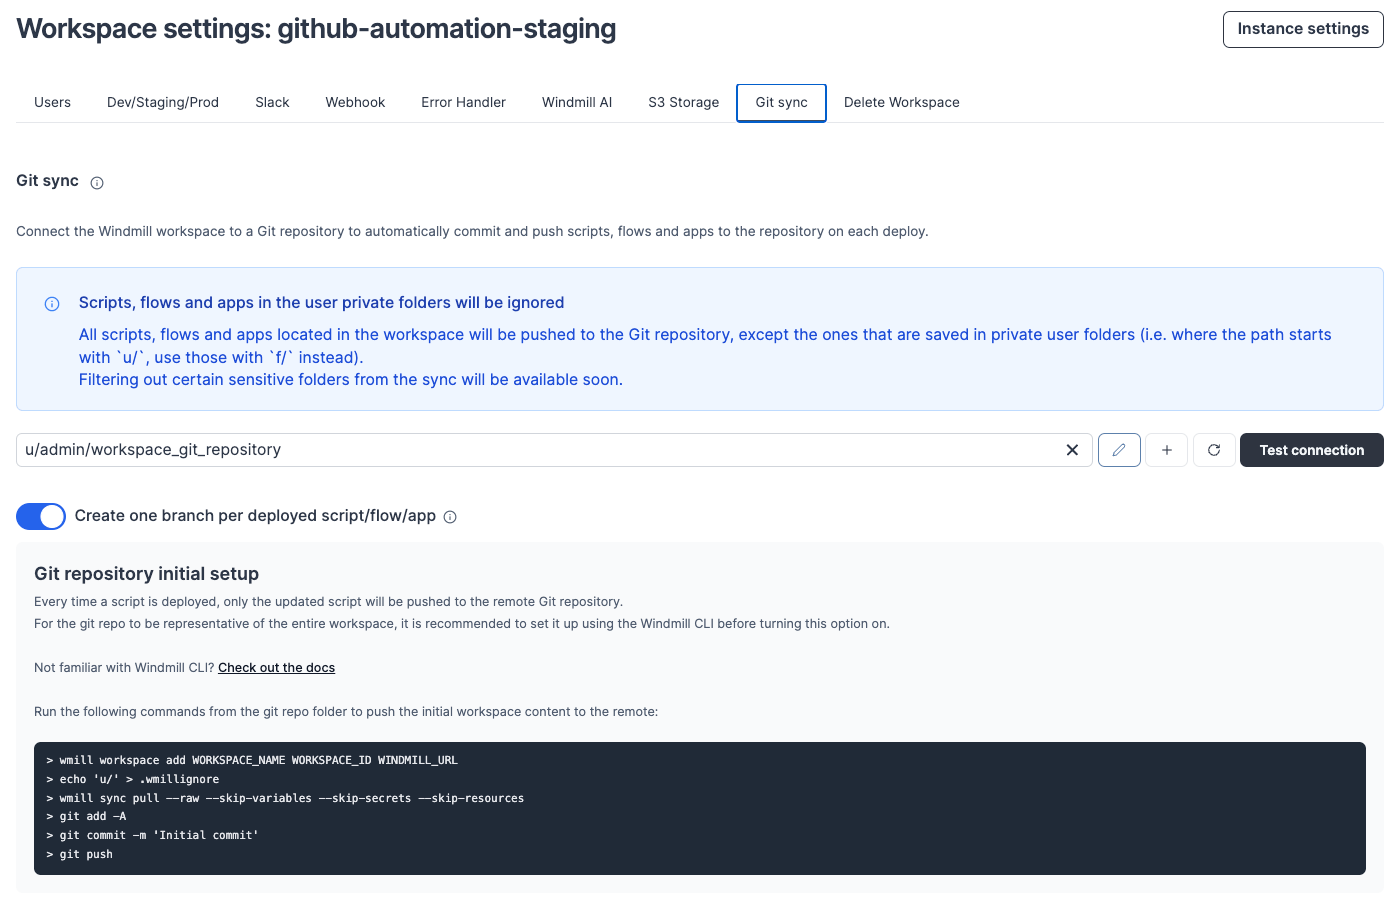


Two actions are needed.
- The first one to automatically create a PR when Windmill commits a change
after a user deployed a script/flow/app in the staging workspace. It is
open-pr-on-commit.yaml. All
branches created by Windmill will have a
wm_deploy/prefix, which is handy to triger this action only when a branch mathcing this pattern is created. - The second one to automatically push the content of the repo to the Windmill production workspace when a PR is merged. It is push-on-merge.yaml. This action uses the Github CLI which is available by default on Github action workers.