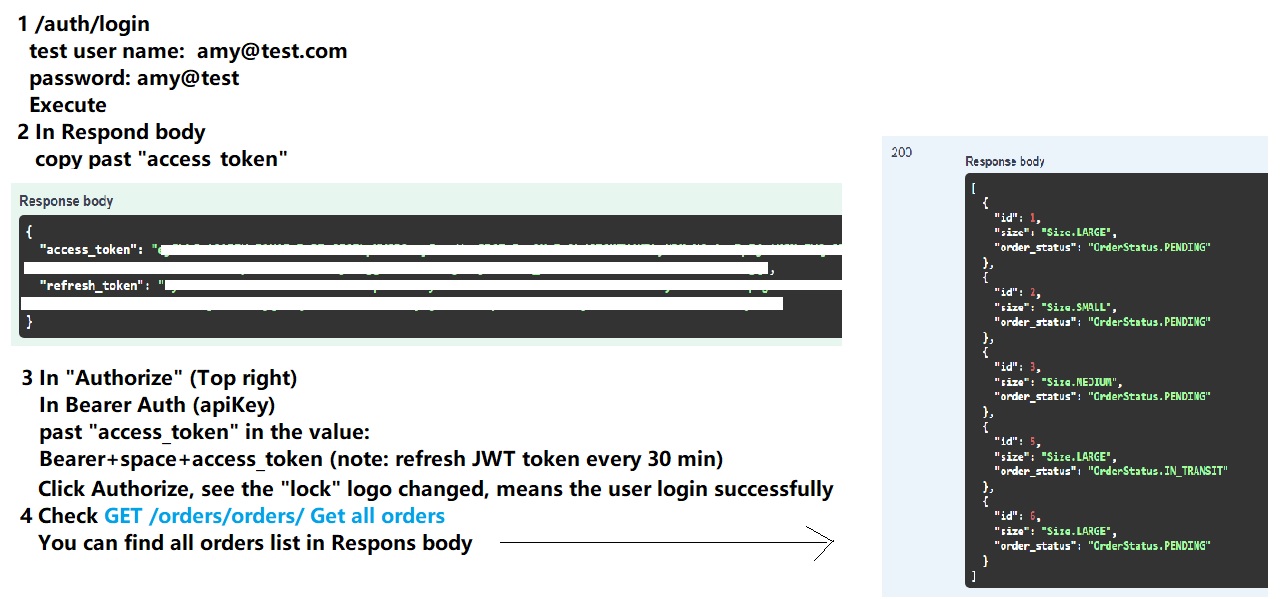
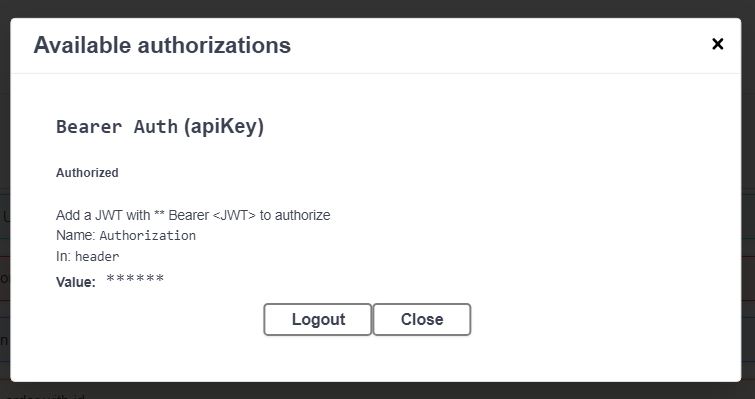
Deployed in Render.com, check it out 👉 https://flask-rest-api-project-rmrw.onrender.com/
Database transformation: SQLite -> PostgreSQL
Flask, Flask-SQLAlchemy, Flask-JWT-Extended, Flask-RESTX, Python-Decouple, PyTest, SwaggerUI, Werkzeug, Unittest, Render.com, PostgreSQL, DB browser, SQLite
- Flask REST API with Python
- Environment variables with Python-Decouple
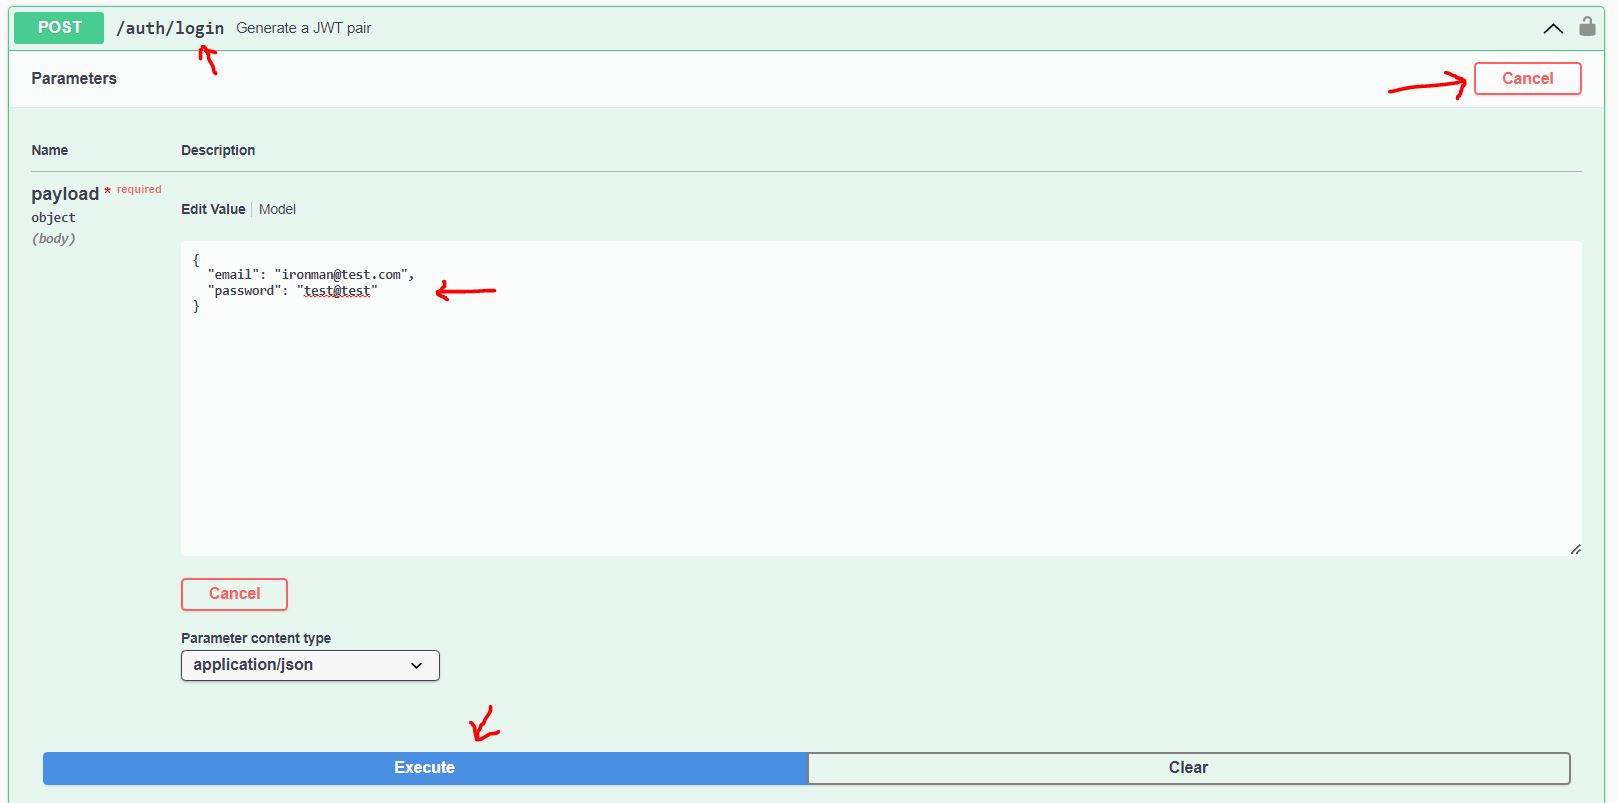
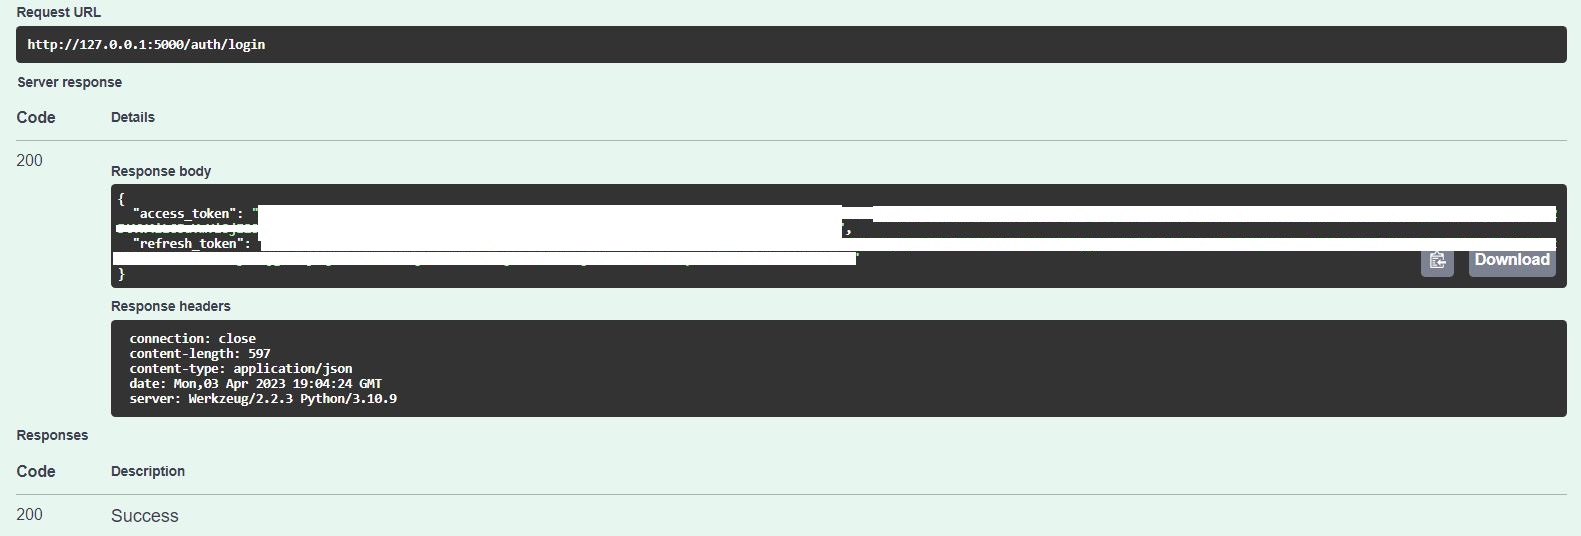
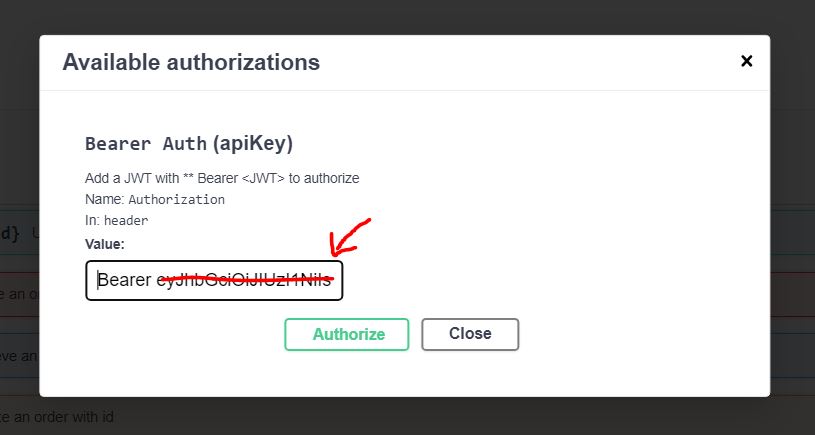
- JWT Authentication with Flask-JWT-Extended
- Databases with Flask-SQLAlchemy
- How to write Unit Tests with Unittest and PyTest
- Documenting REST APIs with SwaggerUI and Flask-RESTX
- Error Handling with Werkzeug
Enter the project folder and create a virtual environment
$ python -m venv env
$ source env/bin/actvate #On linux Or Unix
$ source env/Scripts/activate #On Windows
$ pip install -r requirements.txt #Install all requirements
python runserver.py #Run the serverNote: While transferring the database schema from SQLite to PostgreSQL, I encountered errors when signing up new users and creating new orders in SwaggerUI. After thorough troubleshooting, I discovered that PostgreSQL does not auto-increment the ID, unlike SQLite. To resolve this, I deleted the transformed old table in HeidiSQL, changed the ID type to serial, created a new table, inserted data, and implemented SQL auto-increment code in the table, which resolved the issue.
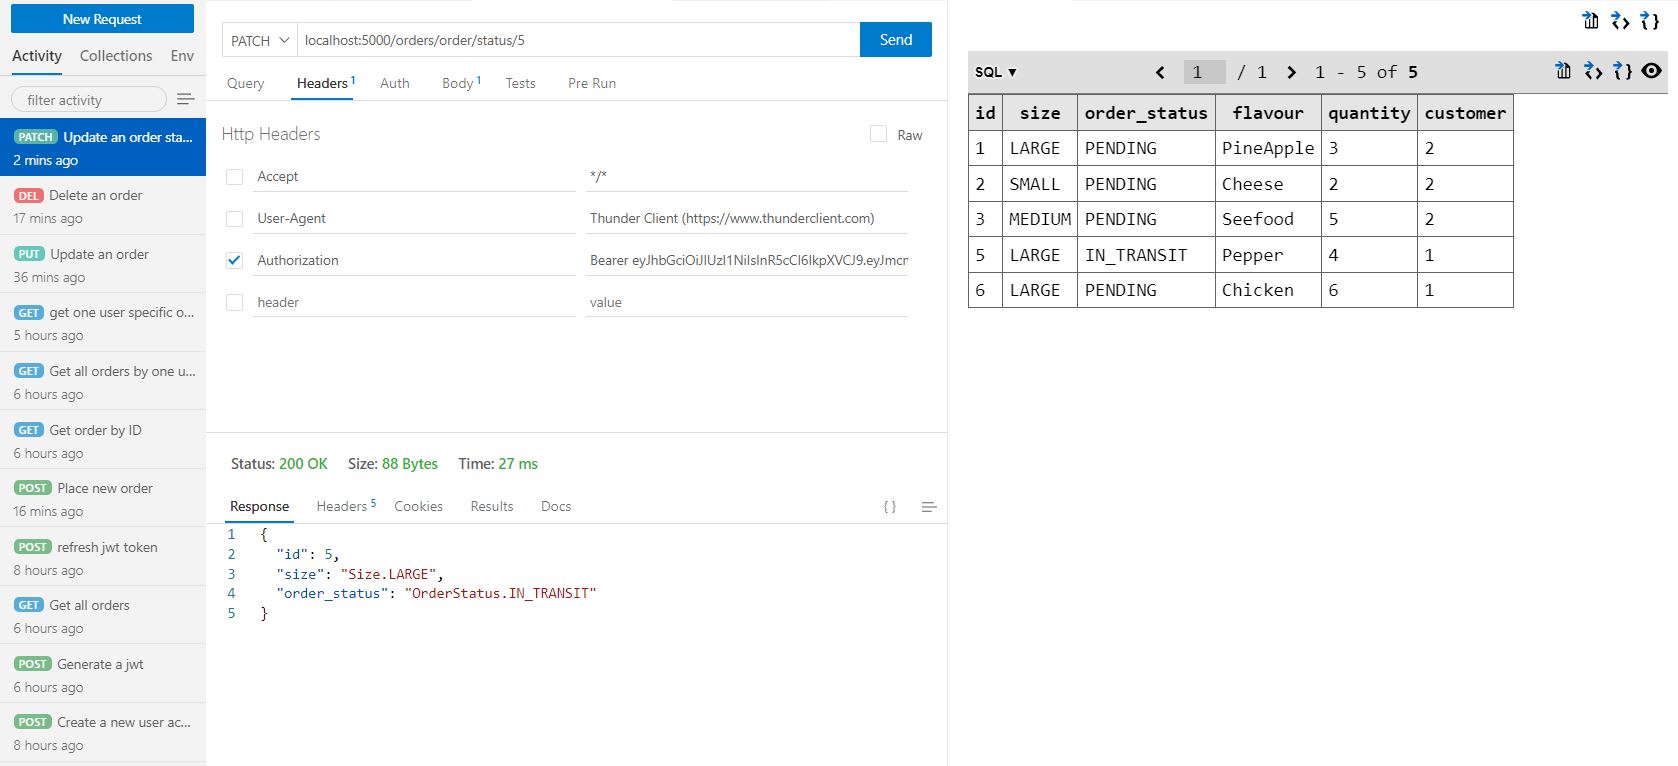
Database: SQLite || Backend test tool: Thunder Client
localhost http://127.0.0.1:5000/
👍 Very good Flask learning resource from Youtuber Ssali Jonathan
