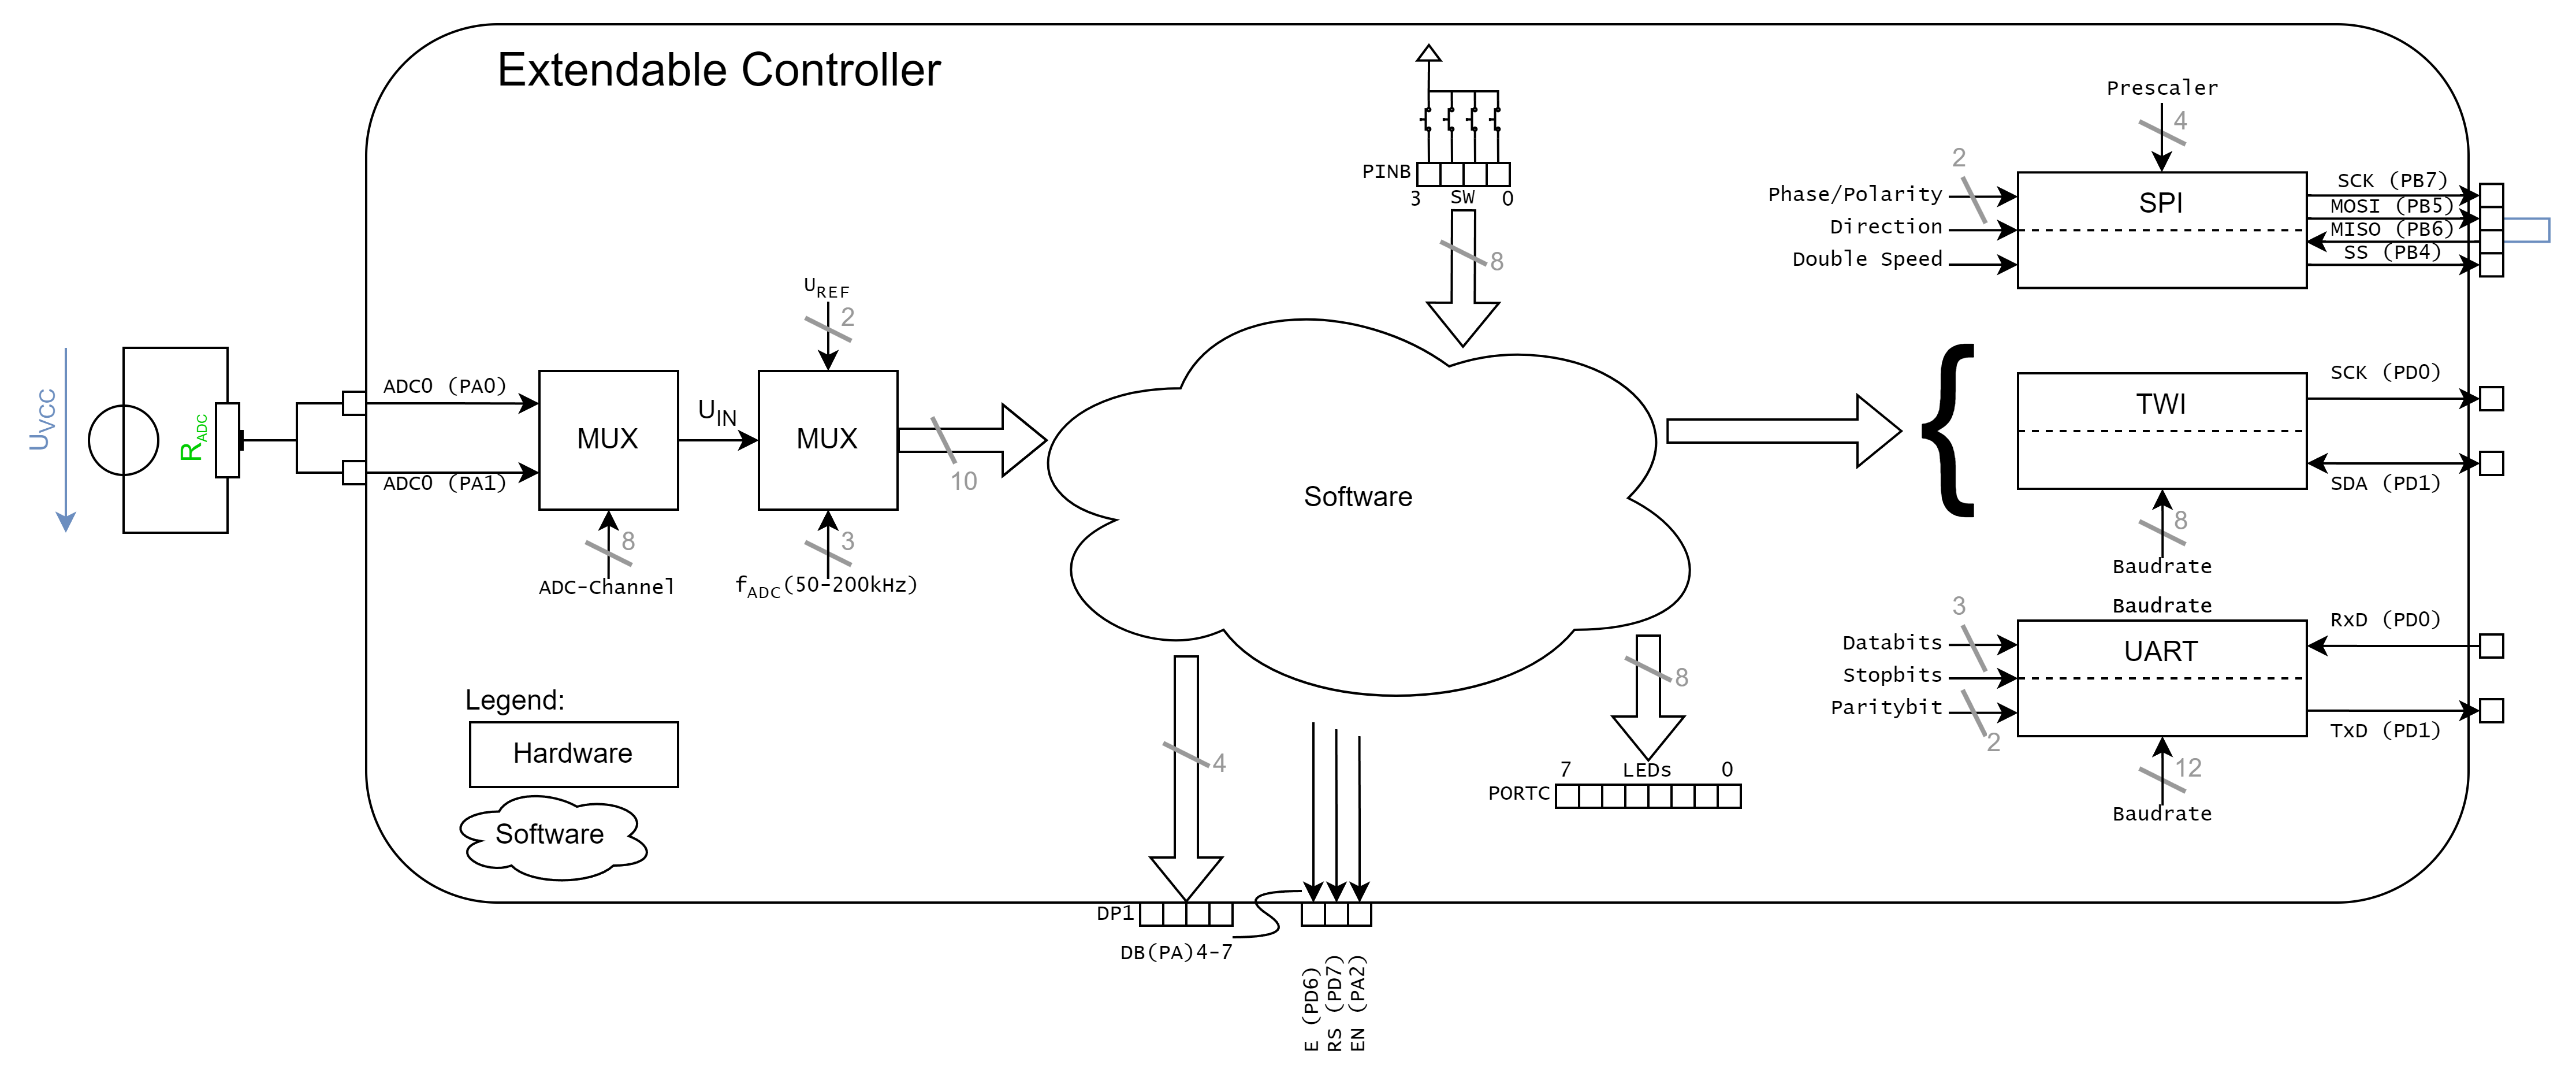
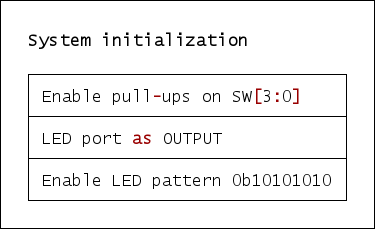
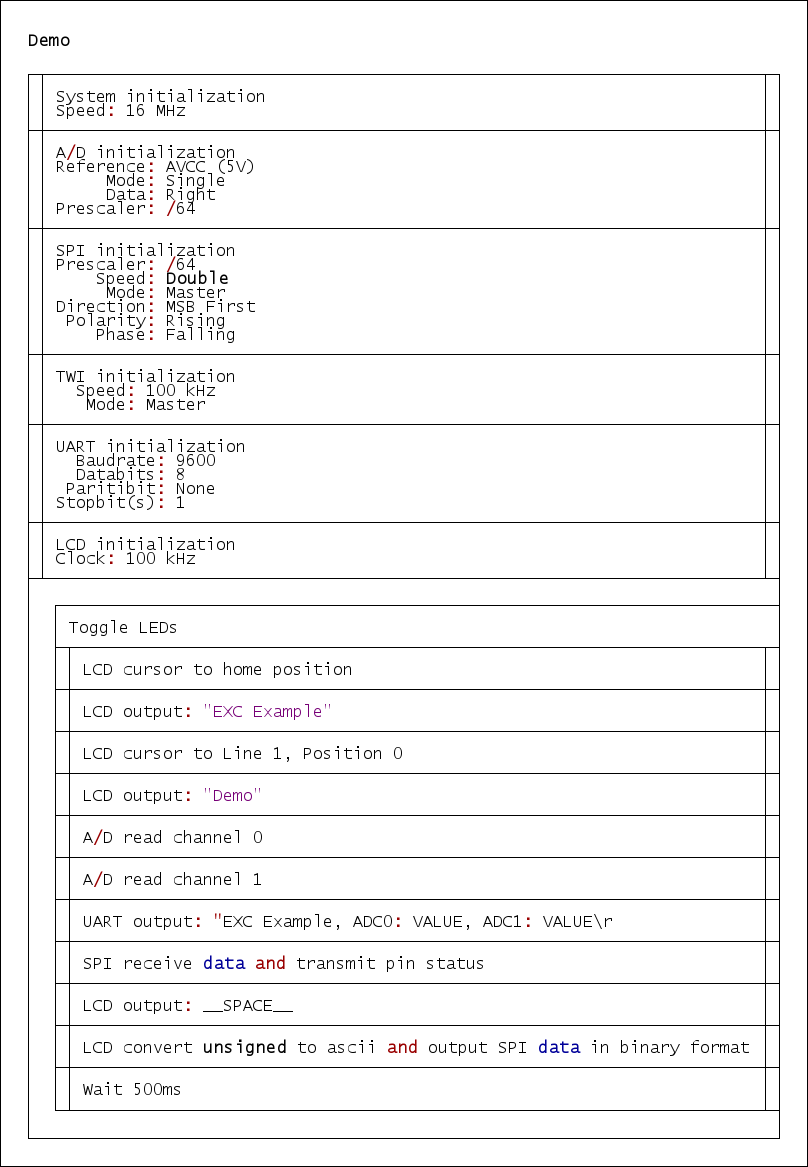
The EXC is a microcontroller board with an ATmega16A/ATmega164A. The Board can be powerd over USB or from an external Source (9-15V) and used with common Voltages of 3V3 or 5V. Over the USB port it is also possible to establish a serial (uart) connection to a computer. The Board itself offers a SPI, I2C interface for bus systems, a interface for connection to external interrupts of the microcontroller and a analog interface for reading analog data into the microcontroller. At DP1 a Display can be connected to the board. The available demo firmware offers a quick demonstartion of the board functionallity. Check the Software section to get more information.
| Experience | Level |
|---|---|
| Soldering | |
| Software |
| Type | File | Description |
|---|---|---|
| Schematic | pdf / cadlab | Schematic files |
| Board | pdf / cadlab | Board file |
| Drill | Drill file | |
| Gerber | zip / tar | Gerber/Drill files |
| Firmware | zip / tar | Firmware for ATmega164A |
The pcb is created with KiCAD. All files are built with github actions so that they are ready for a production environment.
The circuit board is populated on one side. The best way for soldering is within a vapor phase soldering system.
With Jumper J13 the EXC system is getting bus powered (5V). If the system runs with 5V jumper J12 has to be shorten between 2-3. When the system is driven by an external source through the step-down converter the system voltage is switchable between 5V and 3V3 over the slider switch SW6. If 3V3 are choosen the jumper J12 should be shorten between 1-2.
Only change the state of
SW6with disconnected power source. Also check if jumperJ12is set correctly!
To enable the LEDs LED0-1 jumper J10 has to be shorten. If the I2C interface should be used the jumper J10 has to be removed.
The UART of the ATmega164A can be coupled with the USB/UART bridge or with the external UART interface at connector J5. To set the transmission over USB/UART bridge jumper J1 and J2 should be shorten between 1-2. For the external UART interface jumper J1 and J2 should be shorten between 2-3.
The display can be powerd constantly over J99 shorten between 2-3 or controllabe over the microcontroller pin PA2 and J99 shorten between 1-2.
The Firmware of the EXC can be programmed with Microchip Studio over ISP with an ATMEL ICE connected to J9 of the EXC. It is necessary to power the board from outside either over USB or the external power supply during programming.
| Register | Value |
|---|---|
HIGH |
0xD8 |
LOW |
0xFF |
| Type | Link | Description |
|---|---|---|
| Display | web | Display for extendable controller |
| Microchip Studio | web | Download Page for Microchip Studio |
| Atmel ICE | Atmel ICE Datasheet | |
| ATmega16A | Microchip ATmega16A Datasheet | |
| ATmega164A | Microchip ATmega164A Datasheet |
R. GAECHTER


