Unofficial client API for IKEA's new Smarthome Hub DIRIGERA. The client API uses DIRIGERA's REST interface at port 8443. The vast majority of interfaces have been implemented. However, most are barely tested, and some are known as inoperable.
- Pair API with DIRIGERA
- Dump DIRIGERA's data model
- Fetch and edit devices
- (Un-)Link devices (e.g., light controller with light bulb)
- List and play music playlists and favorites
- Create, manipulate, and delete rooms, device-sets, and scenes
- Manipulate, and delete users
| Device Type | API | Home-Assistant Integration | Tested Devices |
|---|---|---|---|
| Gateway | ✓ | X |
|
| Repeater | ✓ | X |
|
| Light | ✓ | ✓ |
|
| Outlet | ✓ | ✓ |
|
| Air Purifier | ? | X |
|
| Blinds | ? | ? |
|
| Light-Controller | ✓ | X |
|
| Blinds-Controller | ✓ | X |
|
| Sound-Controller | ? | X |
|
| Shortcut-Controller | ✓ | X |
|
| Motion-Sensor | ✓ | X |
|
| Speaker | ? | X |
|
Legend:
✓ fully functional
? implemented but not tested
X not implemented
The package dirigera-client-examples provides several example
applications, which essentially cover the aforementioned points.
However, to give you a glimpse of the look and feel of the library,
here's an example:
@SpringBootApplication
@ComponentScan(basePackageClasses = {DirigeraClientApi.class})
public class MyApplication {
    @Bean
    public CommandLineRunner run(final DirigeraApi api) {
        return (String... args) -> {
            api.device.light.all() // fetch all light devices from hub
                    .flatMapMany(Flux::fromIterable)
                    .flatMap(d -> api.device.light.turnOn(d)) // turn on lights
                    .flatMap(d -> api.device.light.setLevel(d, 100)) // set light level to 100%
                    .flatMap(d -> api.device.light.setTemperature(d, d.attributes.state.color.temperatureMax)) // set color temperature
                    .blockLast();
        };
    }

    public static void main(String[] args) {
        SpringApplication.run(MyApplication.class, args).close();
    }
}The API cannot catch any button presses from controllers or status changes from motion detectors to process them programmatically. However, both device types may be paired with actuators (e.g., lights or outlets) that will process the inputs directly (see example LinkDevices). As a workaround, controllers can be used to some extent as triggers for scenes whose status change can be intercepted as an event from the WebSocket stream SceneTriggers).
- The most significant pain point is the limitation of the API data model.
You can help us to improve it, and to support progressively more devices.
To do so, run the Dump Application. This application reads the data model of your DIRIGERA and outputs it as JSON. Based on the dump, we can determine at which points the API data model deviates or is incomplete. You may submit the generated dump as an issue to GitHub. - Try it out and share your experience. Many functionalities are blind implemented. This means
that the endpoints have been reverse-engineered, and the transmitted data was derived from shared
dumps. However, only testing with real devices can verify whether the interface is implemented
correctly.
- Tell us how you plan to use the API and what features are lacking or need to be improved.
Prerequisites:
- Java 17 (or higher) has to be installed
- Download Java the latest OpenJDK for your operating system here
- Unpack the zip file to a location of your choosing
- Add
JAVA_HOMEto your environment variables with the following path<PATH_TO_UNPACKED_ZIP_FILE> - Add
%JAVA_HOME%\binto your path variable - Reboot your pc
- Execute
java -version- This should output something like:
  openjdk version "17.0.2" 2022-01-18
  OpenJDK Runtime Environment (build 17.0.2+8-86)
  OpenJDK 64-Bit Server VM (build 17.0.2+8-86, mixed mode, sharing)
- DIRIGERA Gateway is connected to the internet
- Find the IP address of your DIRIGERA Gateway in your router.
- Download the latest dirigera-client-dump.jar
- Run
java -jar dirigera-client-dump.jar
If the autodiscovery fails and no DIRIGERA is found in your Network, you may pass the DIRIGERA's connection details by the parameters--dirigera.hostname=<ip address of DIRIGERA Gateway>and--dirigera.port=8443.
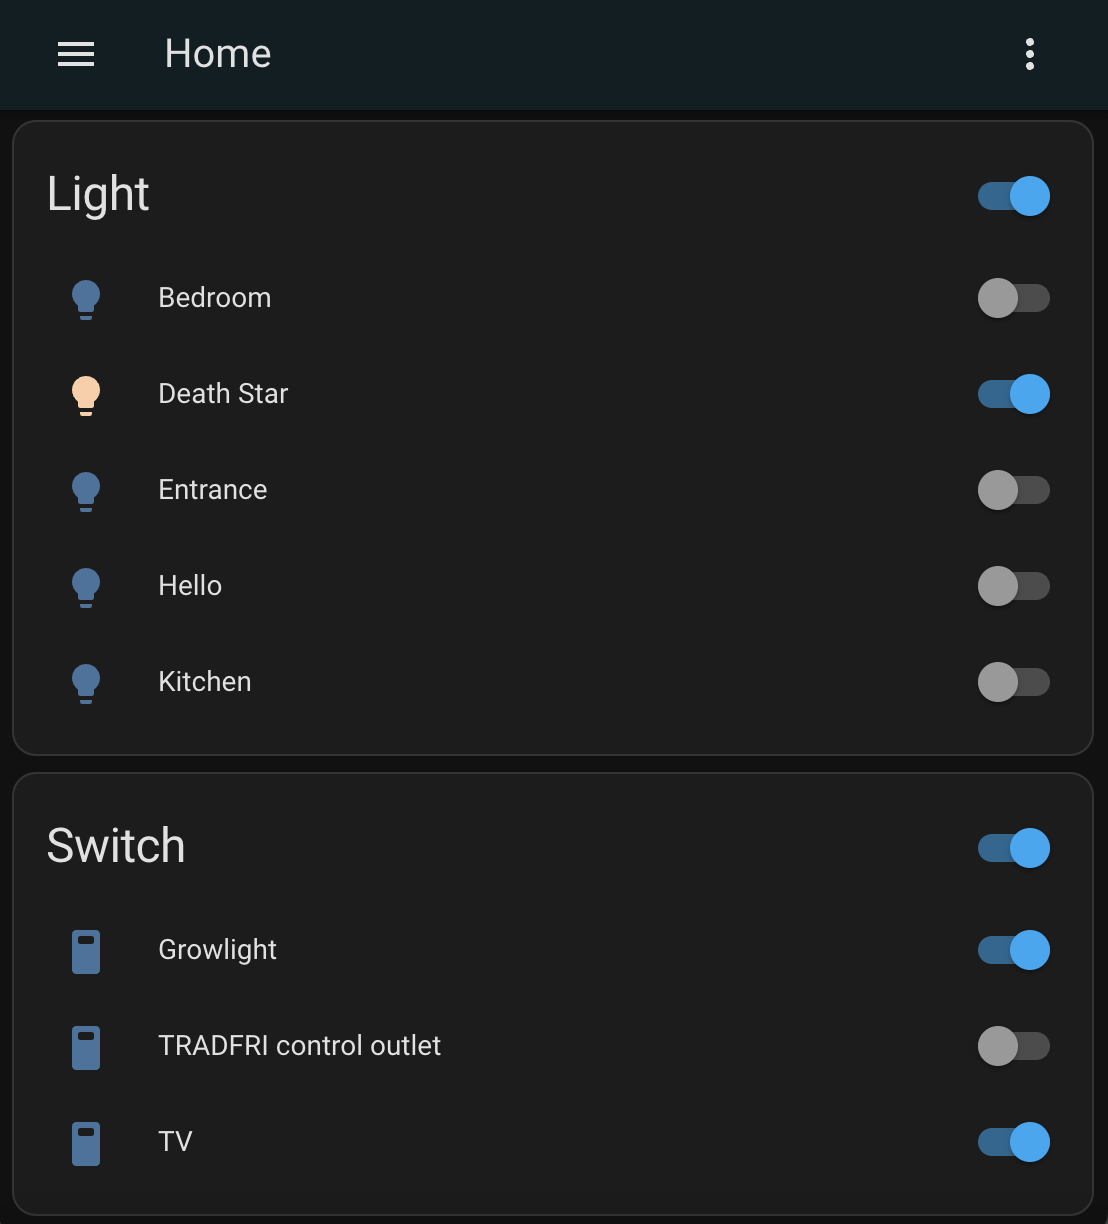
Lights and sockets can be integrated into Home Assistant via MQTT (more devices will follow). Home Assistant will create entities for supported devices, based on its MQTT auto discovery approach.
Add https://github.com/TheMrBooyah/hassio-repository to your home assistant.
Update the configuration to your setup.
In order to get your 'Token', run the Dump Application. This will ask you to pair your gateway. After successfully pairing the gateway a file 'dirigera_access_token' will be created. Open the file with your favourite text editor and copy everything into the 'Token' field.
Start the addon, watch the logs for any errors and if everything went as expected, home assistant should have some new devices/entities from your IKEA Smart Hub.


