This project is a turf reservation system. The web frontend uses tech tools like React, CSS, Bootstrap, and Axios.
Make sure to checkout backend repository.
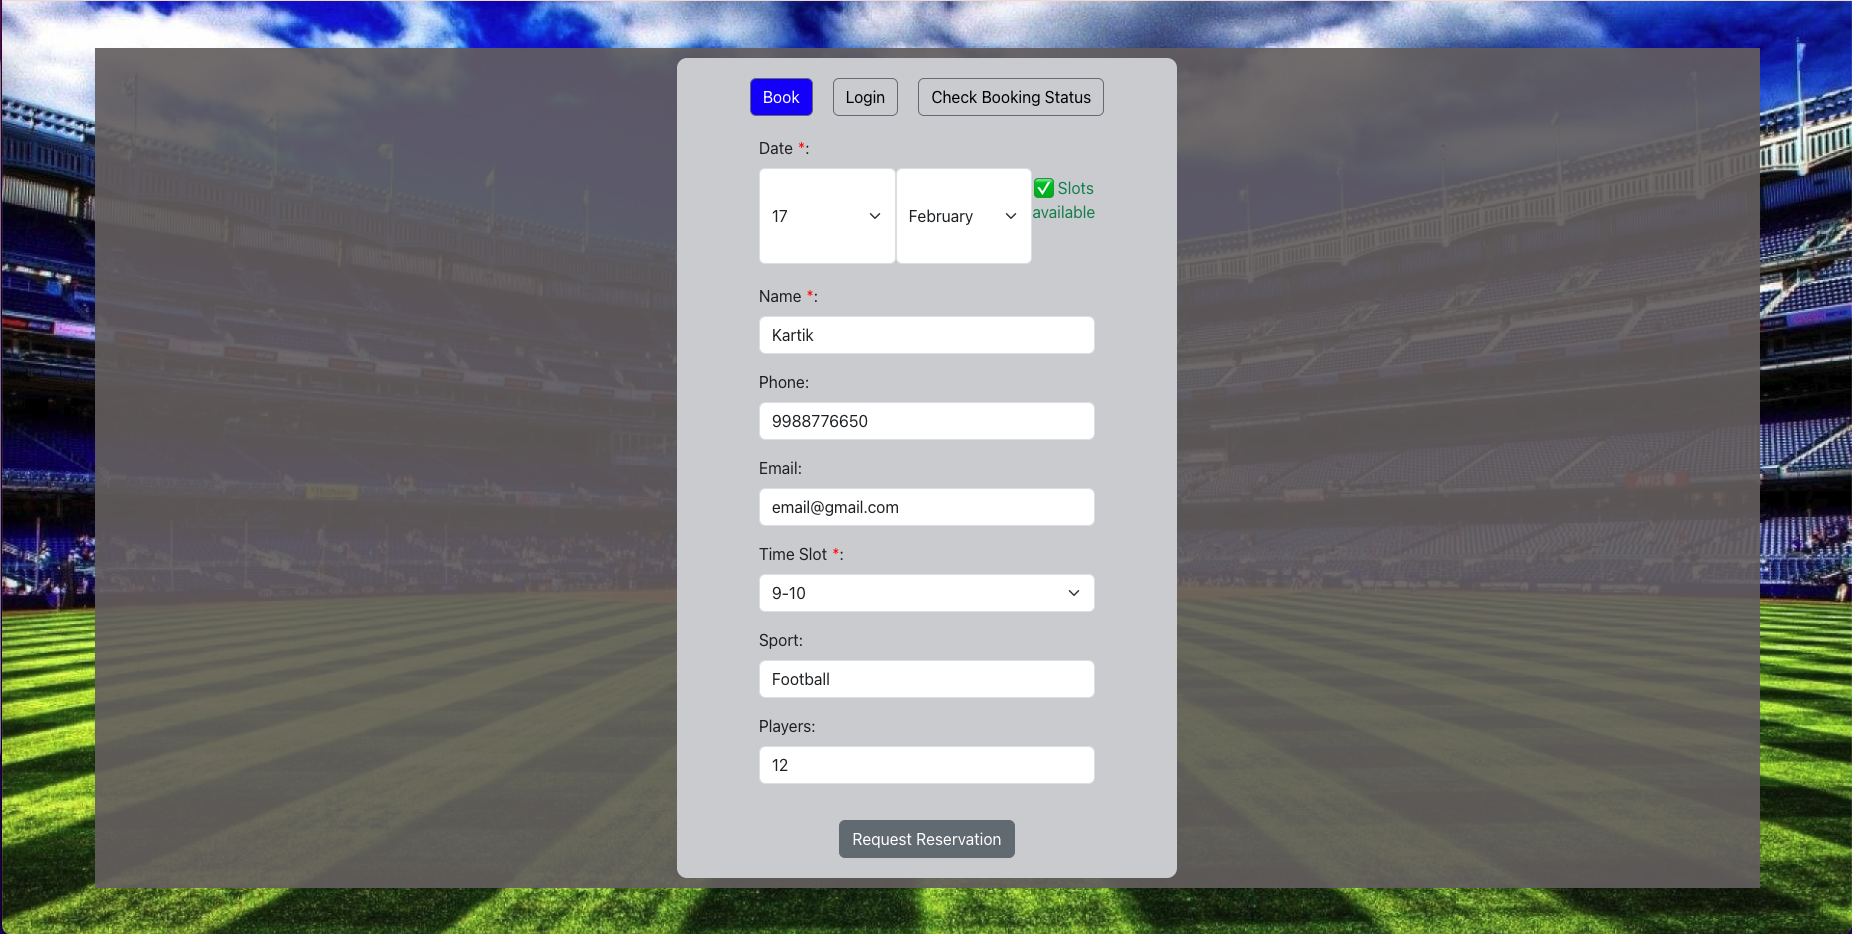
Visitors can access the website to view the available time slots for booking. The system displays a list of available slots.
Users can select their desired time slot for booking and proceed to the booking form.
Guests need to enter basic information (name, phone, email) to confirm the booking.
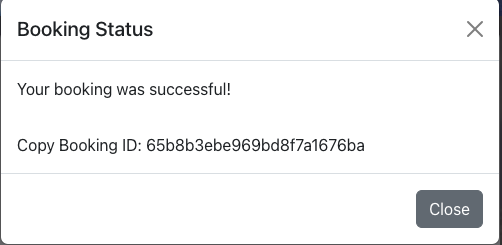
Users have the ability to review the booking details and confirm the booking.
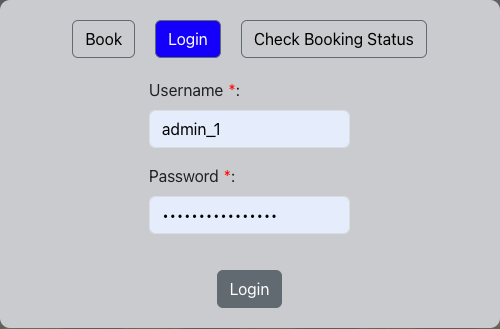
Admins can log in to the admin panel and view the list of pending bookings.
After confirming payment, admins can mark the booking as booked.
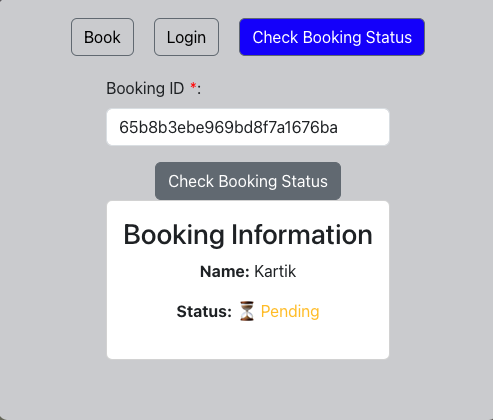
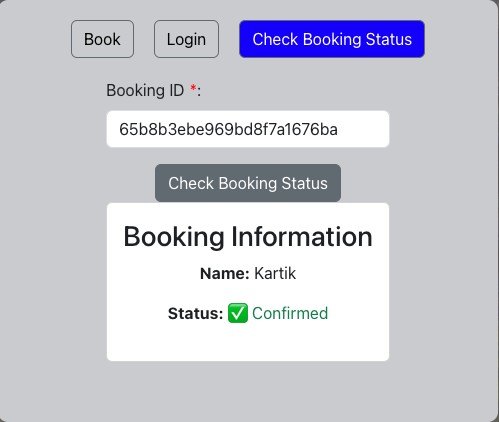
Guest or Admin can check and verify booking status.
Before you begin, ensure that you have forked and set up the backend repository, which is running successfully. You can find the backend repository at the following link: Turf Reservation API.
Follow these steps to set up this repository:
-
Fork the Repository: Start by forking this repository to your own GitHub account.
-
Clone the Repository: After forking, clone the repository to your local machine by using the
git clonecommand. -
Install Dependencies: Navigate to the cloned repository's directory and run
npm installto install all the necessary dependencies. -
Set Environment Variables: Create a
.envfile in the root directory of the project and set all the required environment variables. -
Start the Server: Run
npm startto start the server. The application should now be running atlocalhost:3000. -
Make Changes: After you've made your changes, commit and push them to your forked repository.
-
Deploy the Application: To deploy the application, type
vercelin your terminal to create a preview deployment. Once you're ready to push your changes live, usevercel --prodto create a production deployment.
That's it! You've now successfully set up and deployed the application.
