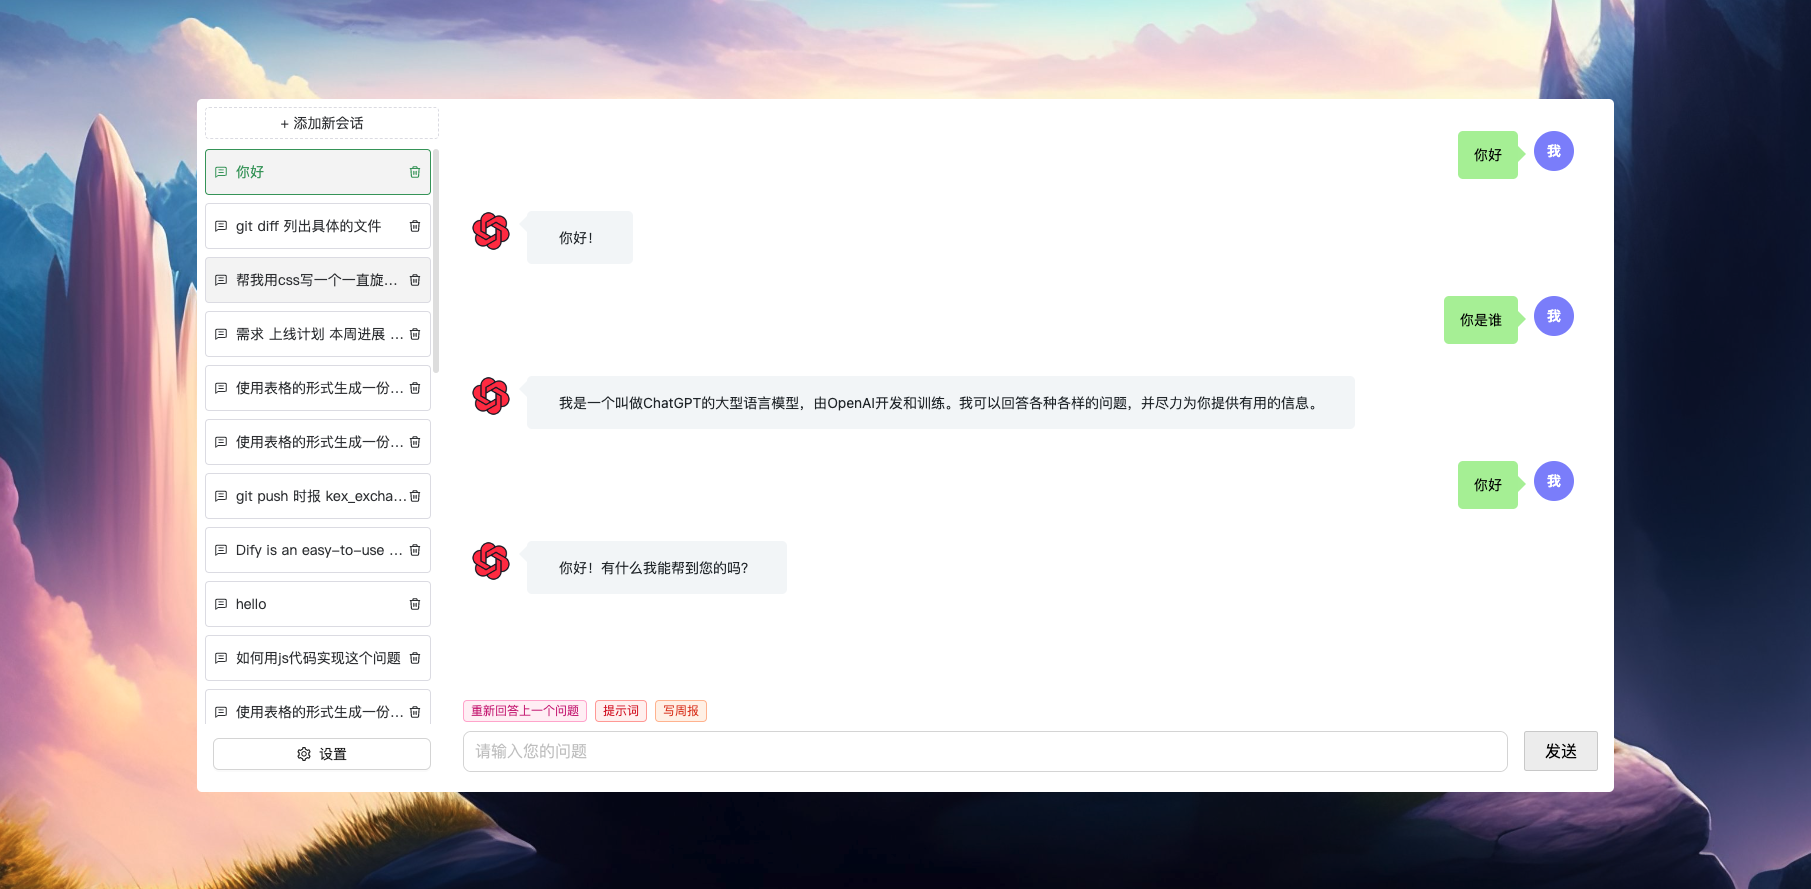
This is an AI project that integrates various open source AI capabilities.
- Currently, only the chatgpt API is integrated, and other AIs such as domestic AIs are planned to be integrated later.
- The front-end uses umijs, react, ts; the back-end uses koa, ts, and also uses ES module to write.
Node version >= 18 is required.
In the /packages/backend directory, copy an .env.example file and rename it to .env, then modify its fields:
# OpenAI API Key - https://platform.openai.com/account/api-keys
OPENAI_API_KEY=

# PROXY_ADDRESS represents an http proxy. If left blank or not passed any value,
# it means that the http proxy is not enabled.
PROXY_ADDRESS=

# change this to an `accessToken` extracted from the ChatGPT site's
# `https://chat.openai.com/api/auth/session` response
OPENAI_ACCESS_TOKEN=

# Reverse Proxy - Available on accessToken
# Default: https://ai.fakeopen.com/api/conversation
API_REVERSE_PROXY=
OPENAI_API_KEY: Indicates that official OpenAI APIs will be used to access chatgpt.PROXY_ADDRESS: Scientific Internet access proxy configuration, for example: http://xxx.OPENAI_ACCESS_TOKEN: Indicates that unofficial APIs will be used to access chatgpt.API_REVERSE_PROXY: Indicates available unofficial reverse proxies. By default it adopts "https://ai.fakeopen.com/api/conversation". For details please refer transitive-bullshit 大佬.
If both
OPENAI_API_KEYandOPENAI_ACCESS_TOKENare configured,OPENAI_API_KEYwill be given priority.
- First install dependencies, install code using
pnpmin the root directory. - Start the project: execute
pnpm run devin the root directory. - Access the project address:
http://localhost:3000.
Execute pnpm run dev in the root directory.
- Start front-end:
pnpm run dev:fe. - Start back-end:
pnpm run dev:be. - Access front-end project address:
http://localhost:8000.
- Stream output
-
Get account information - Support switching to GPT-4
- Monorepo exploration
- Chrome extension
- i18n
