this is not the guide itself (it's over at https://1dsag.github.io/UI5-Best-Practice/), but the corresponding repository with instructions on how to contribute to the guide.
Because the DSAG UI5 best practice guide is a living document 👨💻 - thriving on and with its' community 🥳
The document is written in (kramdown flavored) markdown and served via jekyll in github pages (https://1dsag.github.io/UI5-Best-Practice/).
👉 No local installation
👉 Everything in Browser
👉 Preview after every commit
The web-based editor is as IDE that runs entirely in your browser. With the web-based editor, you can navigate files and source code repositories from GitHub, and make and commit code changes. You can open any repository, fork, or pull request in the editor.
Also you can preview markdown files while you edit.
This makes it very easy to get started since no local installation is required.
You can't see the final result right away, but GitHub can generate that as well for you.
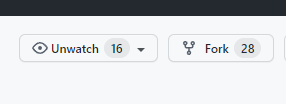
- Fork Repo
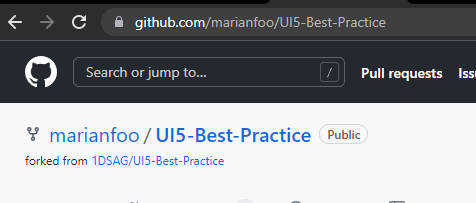
- Go to your created Fork Page
-
Press just
.on your keyboard to switch to the IDE -
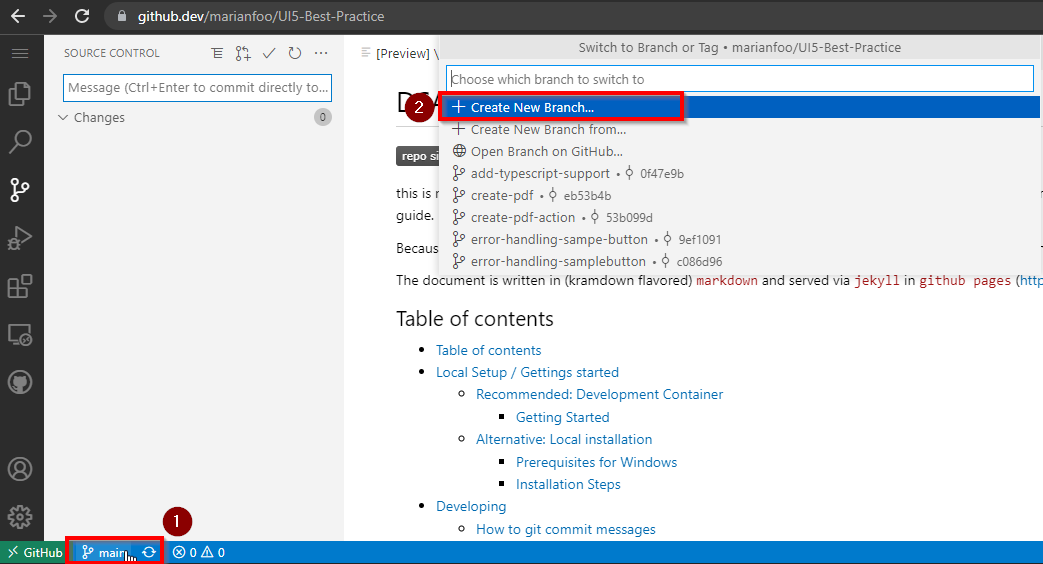
Create new Branch
- Define Branch Name
- Start writing
Under /docs is the documentation. Just start editing or create a new folder for a new topic
- Preview Site
You can preview the site also within GitHub.
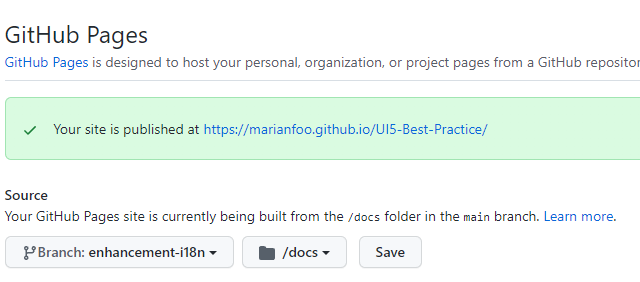
Just go to Settings in your repository and there to Pages.
The link would be https://github.com/YOURUSERNAME/UI5-Best-Practice/settings/pages
Choose here your branch you´re working on and choose the docs folder.
After you have saved, it takes a few minutes until the page is accessible under the given URL.
From then on, the page is rebuilt with every commit.
👉 Only Visual Studio Code and Docker needed
👉 Instant Preview of your Changes
👉 Run linting before commiting
This is the easiest way to have your development environment ready in no time. You get a ready to use configured Debian Container which is transparently used by Visual Studio Code.
Install the following programs:
Clone the repository with the command Remote-Containers: Clone Repository in Container Volume...
This will
- Clone the Repository in a Container Volume
- Build the Docker Image
- Start the Docker Container and map the required ports
- Mount the created Container Volume
- Install the required npm packages
- Install the required ruby gems
The only thing left to do is open the console in Visual Studio Code (it is attached to the running Development Container), navigate into the docs folder and start the Development Server:
cd docs
bundle exec jekyll serve --livereload👉 Same as Docker Container
👉 Complete Control over Enviroment
- Install https://chocolatey.org/
- Install MSYS2
choco install msys2https://chocolatey.org/packages/msys2 - Install Ruby
choco install rubyhttps://chocolatey.org/packages/ruby - Update Build Toolchain
ridk install 3 - see setup local github pages site 😉
-
make sure,
ruby2.7 is installed on your system -
clone the repo
-
switch to the document base
$> cd docs -
$> bundle install
for installing thegithub-pagesjekyll incarnation -
start the local gh-pages instance, including automatic browser live-reload
bundle exec jekyll serve --livereload
Configuration file: /Users/you/UI5-Best-Practice/docs/_config.yml
            Source: /Users/you/UI5-Best-Practice/docs
       Destination: /Users/you/UI5-Best-Practice/docs/_site
 Incremental build: disabled. Enable with --incremental
      Generating...
       Jekyll Feed: Generating feed for posts
                    done in 0.233 seconds.
 Auto-regeneration: enabled for '/Users/you/UI5-Best-Practice/docs'
 LiveReload address: http://127.0.0.1:35729
    Server address: http://127.0.0.1:4000/
  Server running... press ctrl-c to stop.
-
point your web browser to http://localhost:4000
For all information on the development process and best practices for creating content, visit Contributing.
This project uses the CC BY 4.0 license : LICENSE


