Learn & Do: Google Anthos on Hyperflex: What is all the Buzz About?
THIS IS A SHARED ENVIRONMENT. IN ORDER TO MAXIMIZE THE NUMBER OF USERS YOU WILL BE SHARING PODS
Table of Contents
Credentials
| VPN Uname | SSH Host | SSH Uname | GCP Uname. | Password |
|---|---|---|---|---|
| demo1 | 10.139.14.21 | root | user1@threepings.com | C1sco12345! |
| demo2 | 10.139.14.22 | root | user2@threepings.com | C1sco12345! |
| demo3 | 10.139.14.23 | root | user3@threepings.com | C1sco12345! |
| demo4 | 10.139.14.24 | root | user4@threepings.com | C1sco12345! |
| demo5 | 10.139.14.25 | root | user5@threepings.com | C1sco12345! |
| demo6 | 10.139.14.26 | root | user6@threepings.com | C1sco12345! |
| demo7 | 10.139.14.27 | root | user7@threepings.com | C1sco12345! |
| demo8 | 10.139.14.28 | root | user8@threepings.com | C1sco12345! |
| demo9 | 10.139.14.29 | root | user9@threepings.com | C1sco12345! |
| demo10 | 10.139.14.30 | root | user10@threepings.com | C1sco12345! |
| demo11 | 10.139.14.31 | root | user11@threepings.com | C1sco12345! |
| demo12 | 10.139.14.32 | root | user12@threepings.com | C1sco12345! |
| demo13 | 10.139.14.33 | root | user13@threepings.com | C1sco12345! |
| demo14 | 10.139.14.34 | root | user14@threepings.com | C1sco12345! |
| demo15 | 10.139.14.35 | root | user15@threepings.com | C1sco12345! |
| demo16 | 10.139.14.36 | root | user16@threepings.com | C1sco12345! |
| demo17 | 10.139.14.37 | root | user17@threepings.com | C1sco12345! |
| demo18 | 10.139.14.38 | root | user18@threepings.com | C1sco12345! |
| demo19 | 10.139.14.39 | root | user19@threepings.com | C1sco12345! |
| demo20 | 10.139.14.40 | root | user20@threepings.com | C1sco12345! |
| demo21 | 10.139.14.41 | root | user21@threepings.com | C1sco12345! |
| demo22 | 10.139.14.42 | root | user22@threepings.com | C1sco12345! |
| demo23 | 10.139.14.43 | root | user23@threepings.com | C1sco12345! |
| demo24 | 10.139.14.44 | root | user24@threepings.com | C1sco12345! |
| demo25 | 10.139.14.45 | root | user25@threepings.com | C1sco12345! |
Preparation
The lab leverages a Cisco Field Lab in the DMZ. We will leverage the Cisco Anyconnect Client to access this lab.
Logging In
-
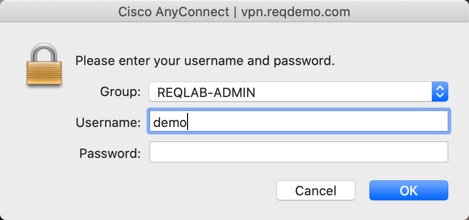
Open your Cisco Anyconnect Client
- Connect to vpn.reqdemo.com
- Select "reqlab-admin" as the Group
(your vpn may drop and reconnect after 1 minute. This is normal)
-
For MAC users running Catalina. Mac Security Policies have been enhanced. See below: https://support.apple.com/en-us/HT210176
-
To work around this please do the following:

cd /opt/cisco/AnyConnect
sudo nano AnyConnectLocalPolicy.xml
- Edit ExcludeMacNativeCertStore to "true"
<ExcludeMacNativeCertStore>true</ExcludeMacNativeCertStore>
^X (control X to exit) press Y to indicate that you want to save press enter to accept the existing name
Quit anyconnect and re-launch
Connect to SSH Host
- ssh to the IP Address you were provided
- Use the user credentials you were provided.
Connect to Google Cloud Console
-
Open a web browser and browse to https://console.cloud.google.com/
- Use the credentials above.
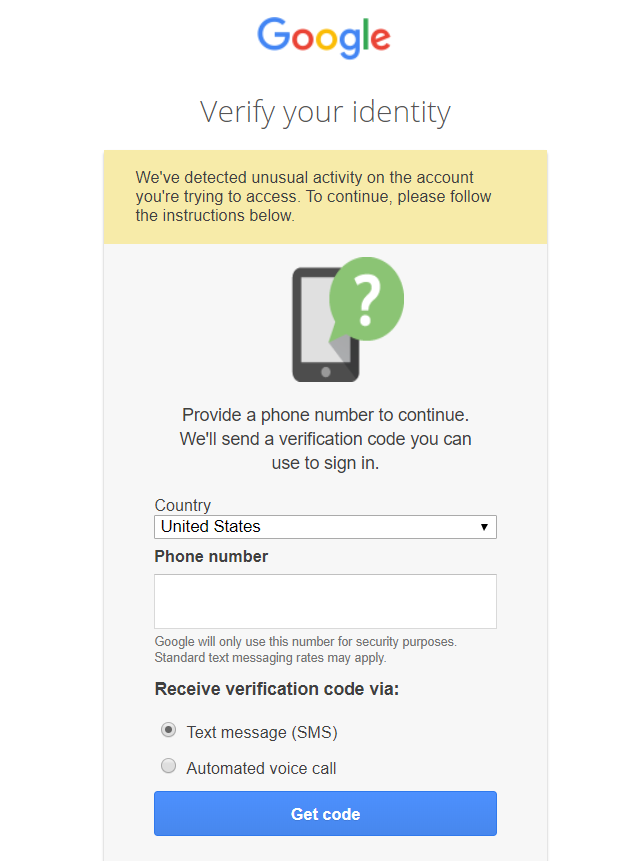
- You MAY see a screen prompt you for a phone number. Please enter you cell phone number. When the text comes to your cell phone, enter it.
-
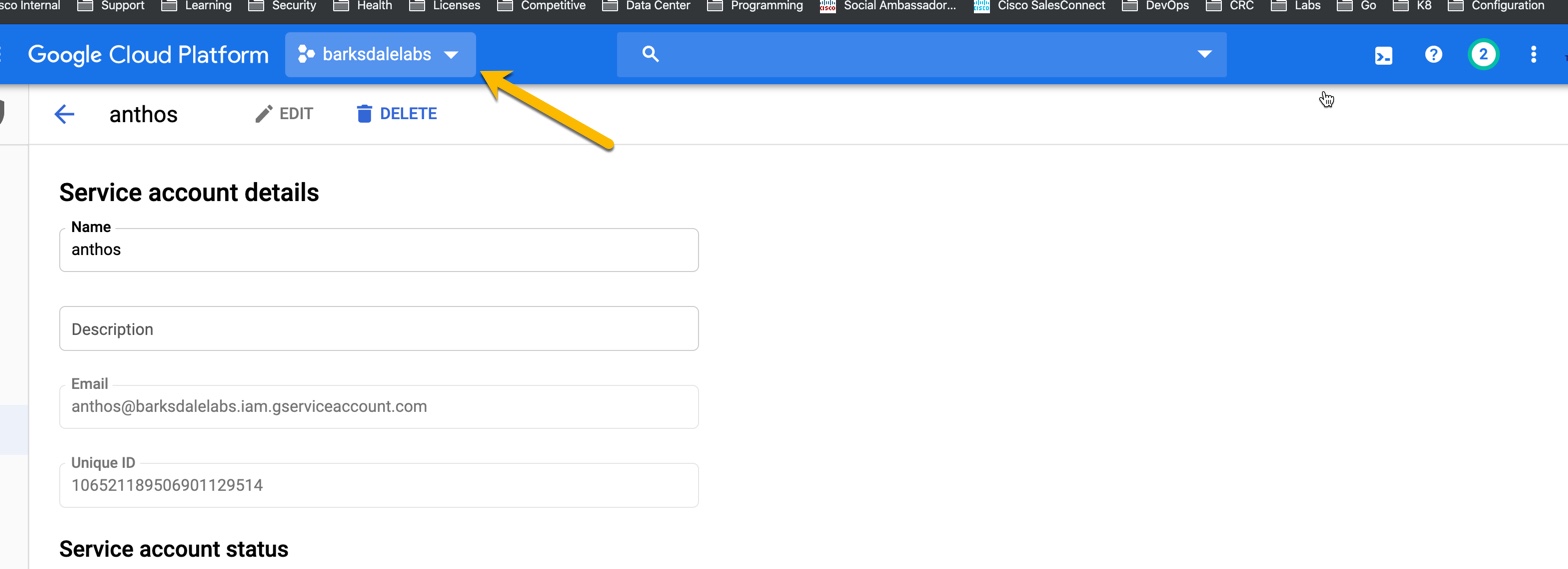
In the upper left verify the project is "barksdalelabs".
-
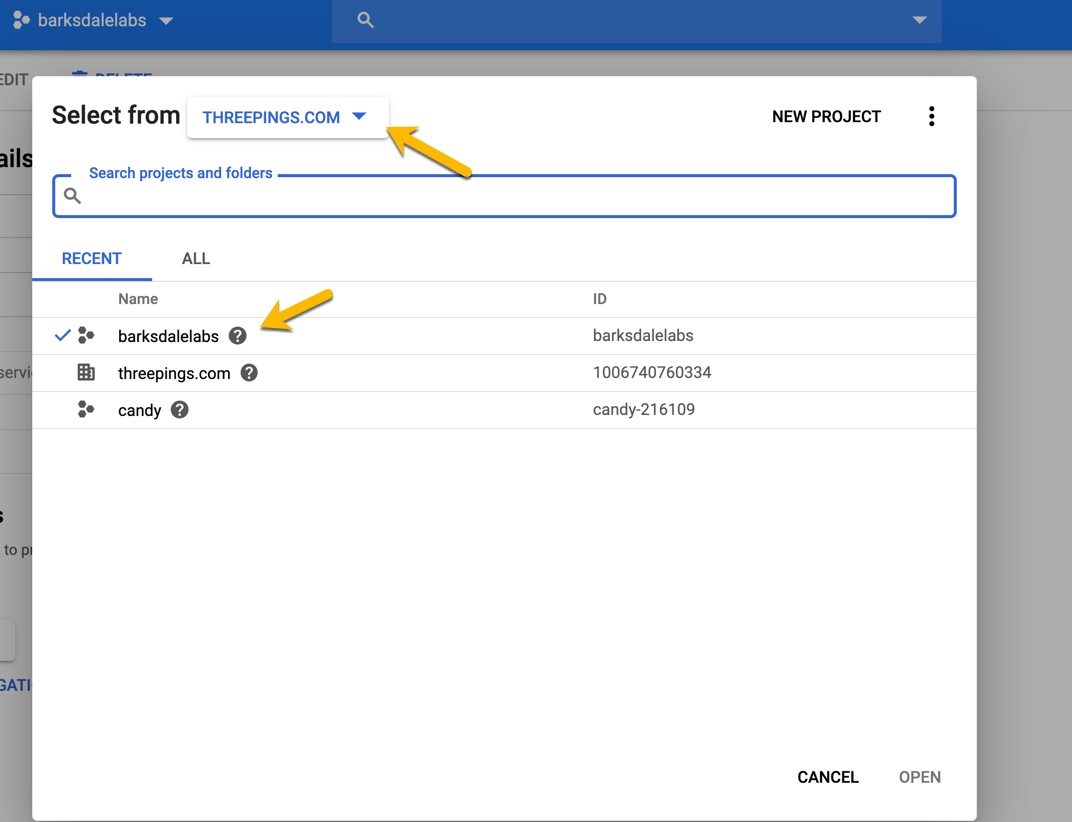
If it is not:
- Select the dropdown
- Select "threepings" as the Organization
- Select "barksdalelabs" as the project.
- Click "Open"
-
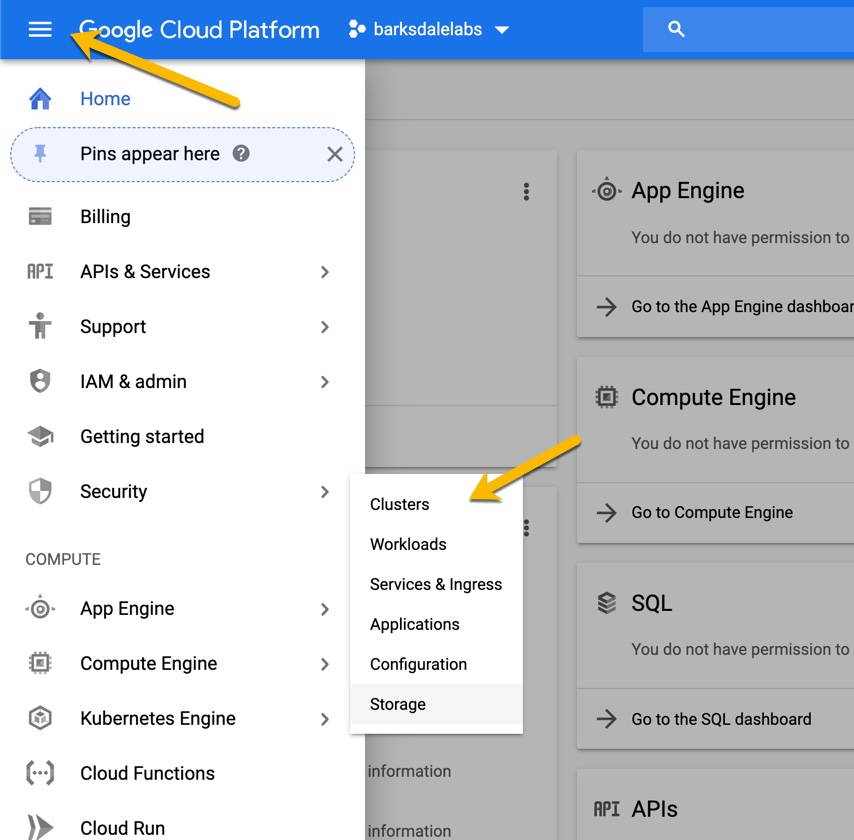
Click the 3 lines in the upper left to expand the menu.
- Hover over "Kubernetes Engine"
- Select "Clusters"


Log Cluster in to GCP
-
After the user cluster has been deployed it is automatically registered to GCP. This can be seen in the dashboard by navigating to "Clusters" under "Kubernetes Engine".
-
We need to login from our dashboard to that cluster that is on-prem.
-
Do the following:
-
From your SSH Host
 mkdir <:wq
 username>
 cd <name of user>
 ls -l
 export KUBECONFIG=~/<SUBSTITUTE USER CLUSTER FILE NAME>
-
-
The Example above shows the "user cluster file name" as "user1-kubeconfig"
-
The command for this example would be:
export KUBECONFIG=~/user1-kubeconfig -
This sets the KUBECONFIG Environment Variable
export KSA_NAME=gke-connect-admin kubectl create serviceaccount $KSA_NAME kubectl create clusterrolebinding $KSA_NAME --clusterrole cluster-admin - serviceaccount=default:$KSA_NAME TOKEN_SECRET=`kubectl get serviceaccounts $KSA_NAME -o yaml | \ grep $KSA_NAME-token | awk -F": " '{print $2}'` echo `kubectl get secret $TOKEN_SECRET -o yaml | grep "token:" | awk -F": " '{print $2}' | base64 -d`- Copy the token that is presented back.
-
Deploy HX CSI
- On your SSH Host
- Set the kubeconfig file for the
Deploy Persistant Volume App
-
Apply the Persistant Volume Claim
kubectl apply -f 01-message-board-pvc.yaml kubectl get pvc -
Apply the Message Board yaml file
kubectl apply -f 02-message-board.yaml
-
Get the Service IP
kubectl get svc
-
Notice the Port Number
-
Web to the IP on port 80


- Select "Signup"
- Provide the requested info (this is dummiy info for demo purposes only)

- Sign in using the credentials you provided

- Create a few messages to fill in the database.

-
Apply the new version of the messageboard
./06-changeimage.sh -
What happened?

- Notice the messages stayed.
- Why?
Lab Cleanup
-
Please run the following commands to clean up your pod for the next session
kubectl delete -f 05-mb-pod.yaml kubectl delete -f 04-mb-pvc.yaml kubectl delete -f 03-nginx-svc.yaml -
In your GCP Dashboard do the following: *