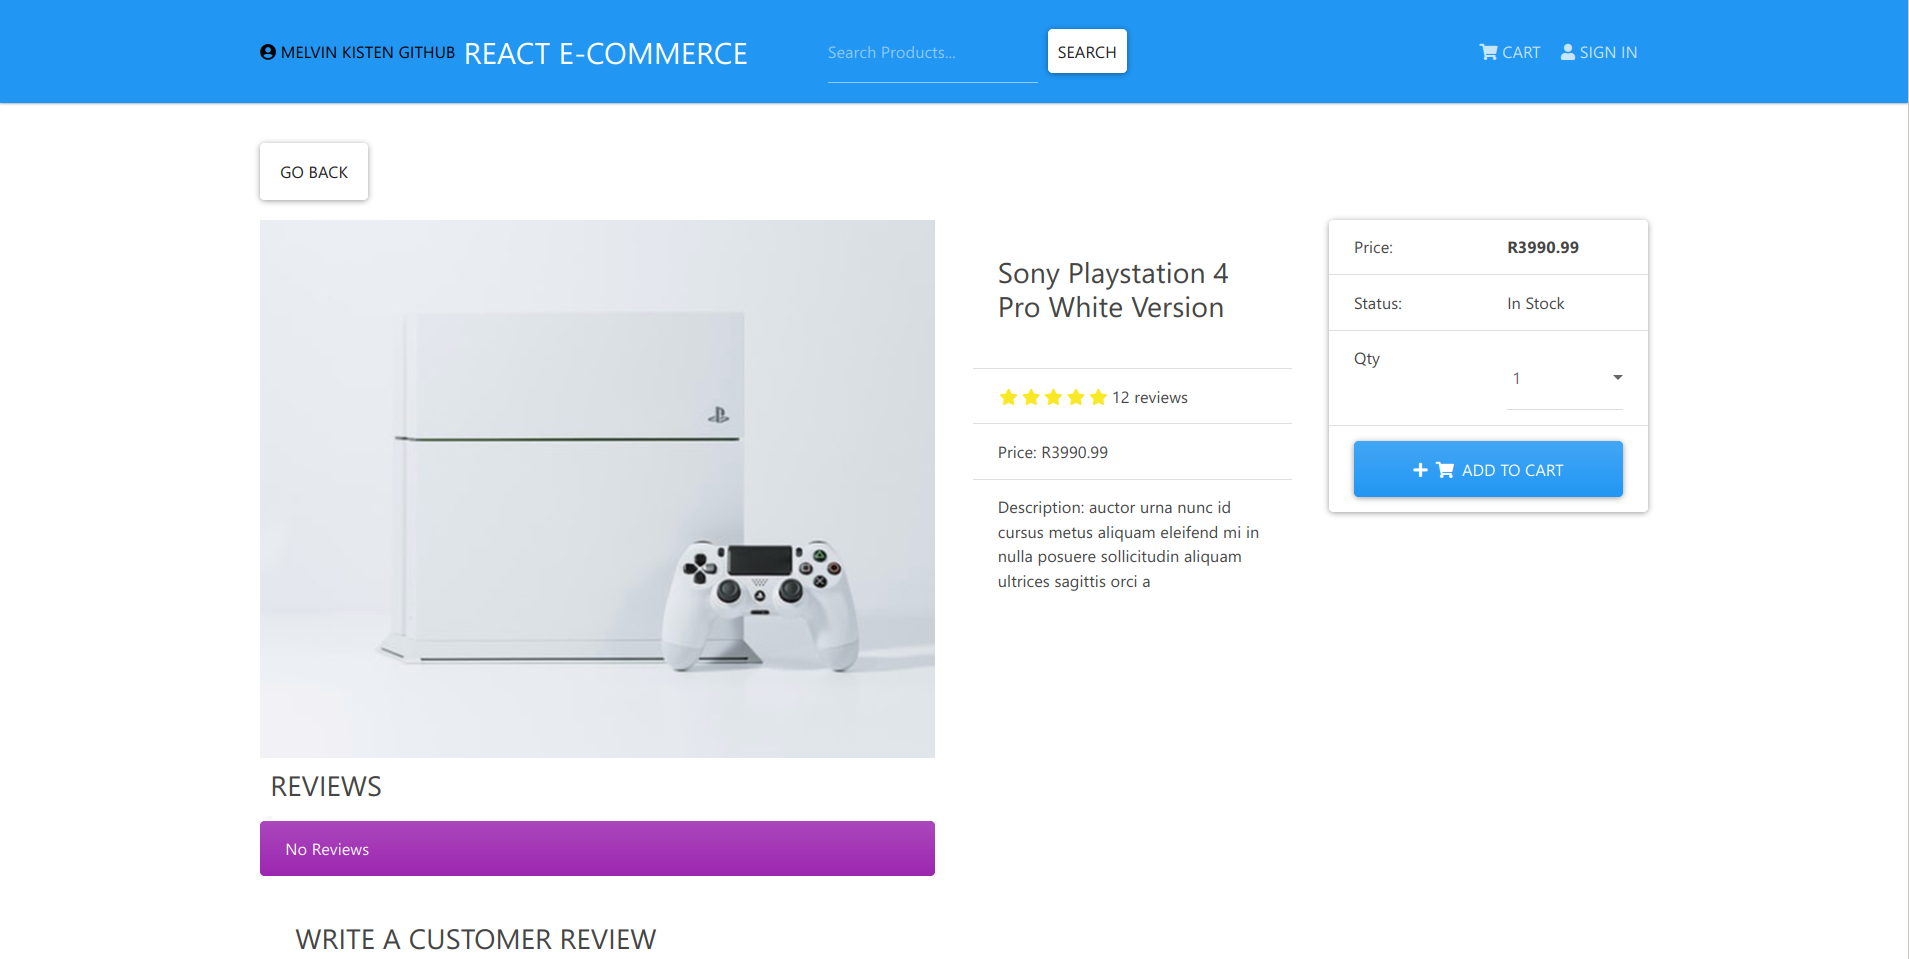
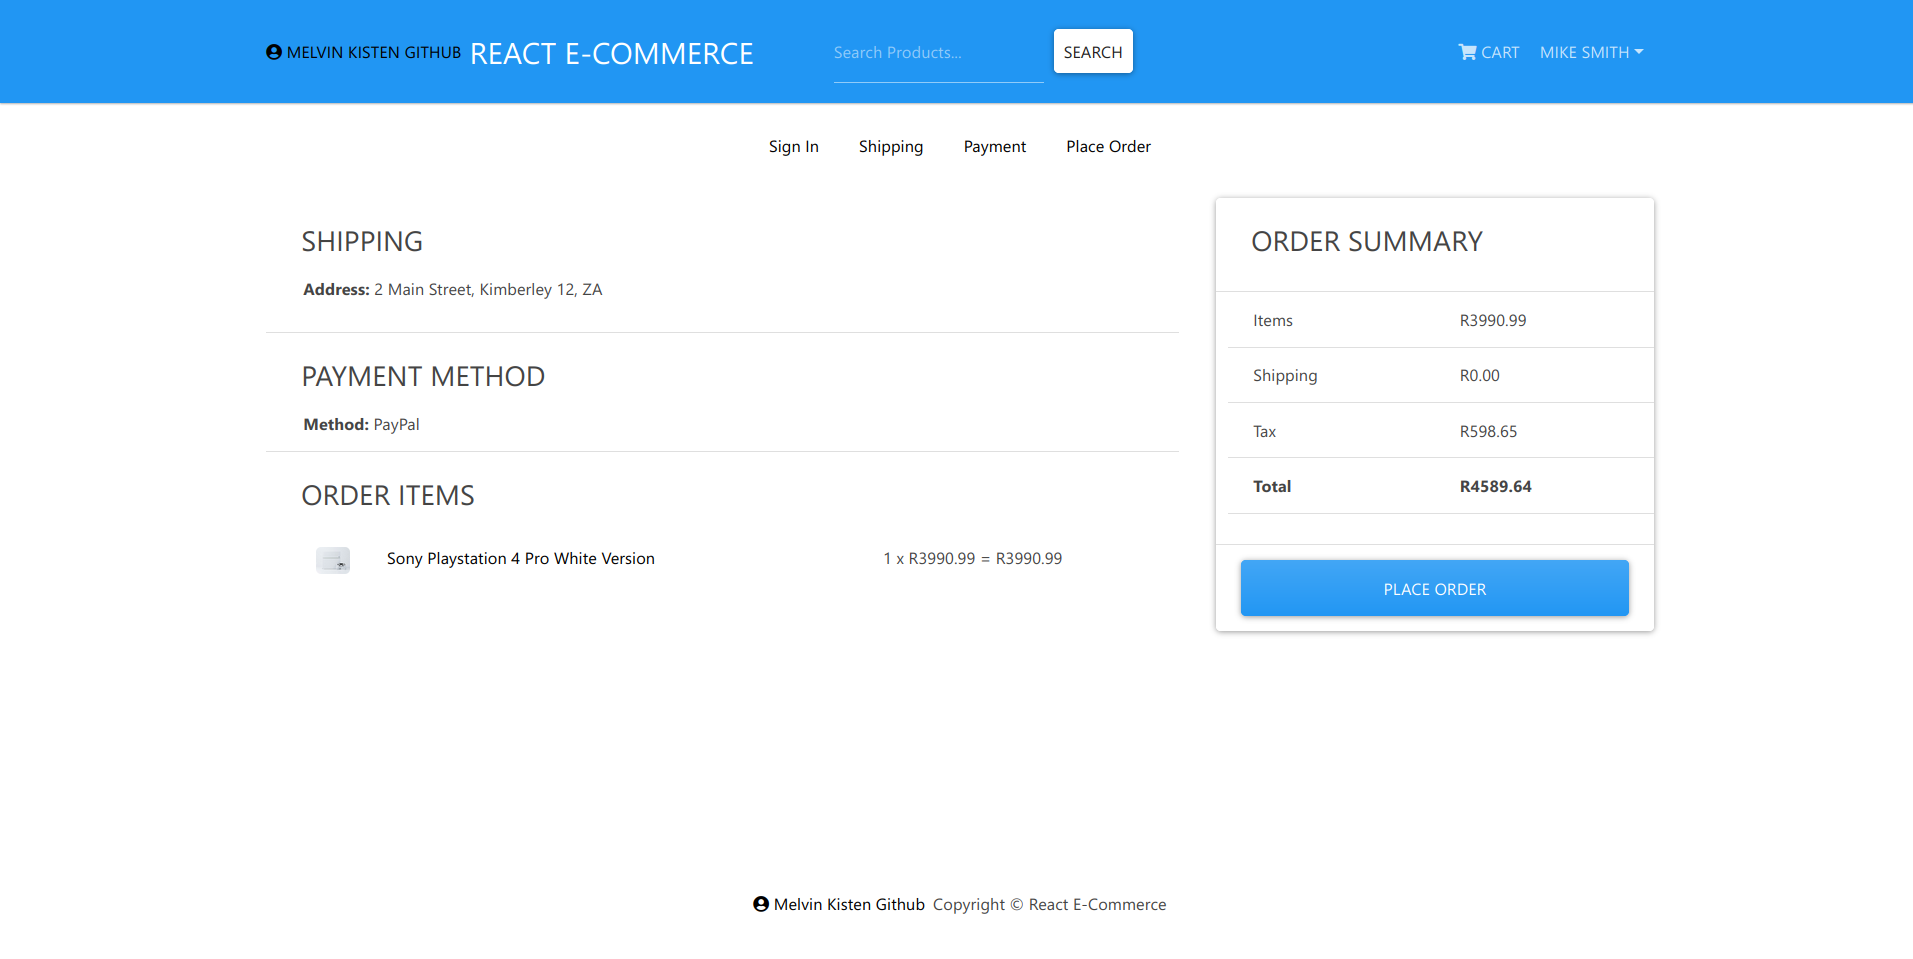
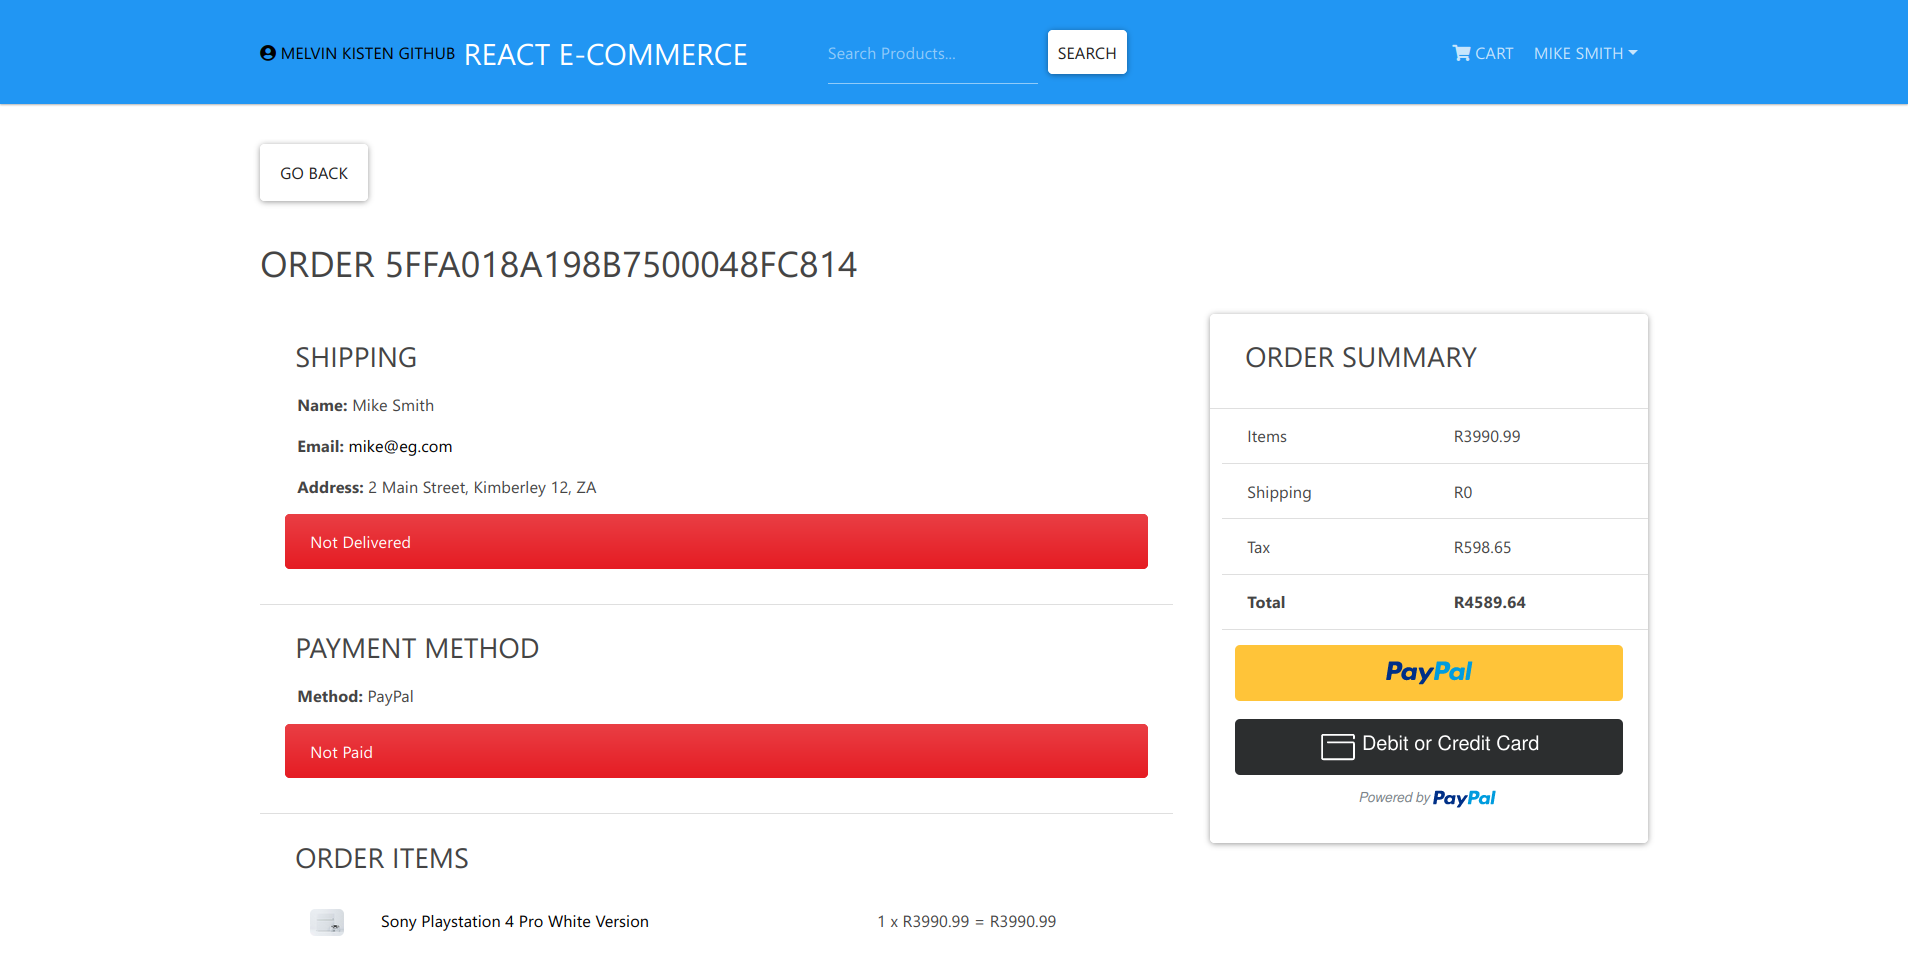
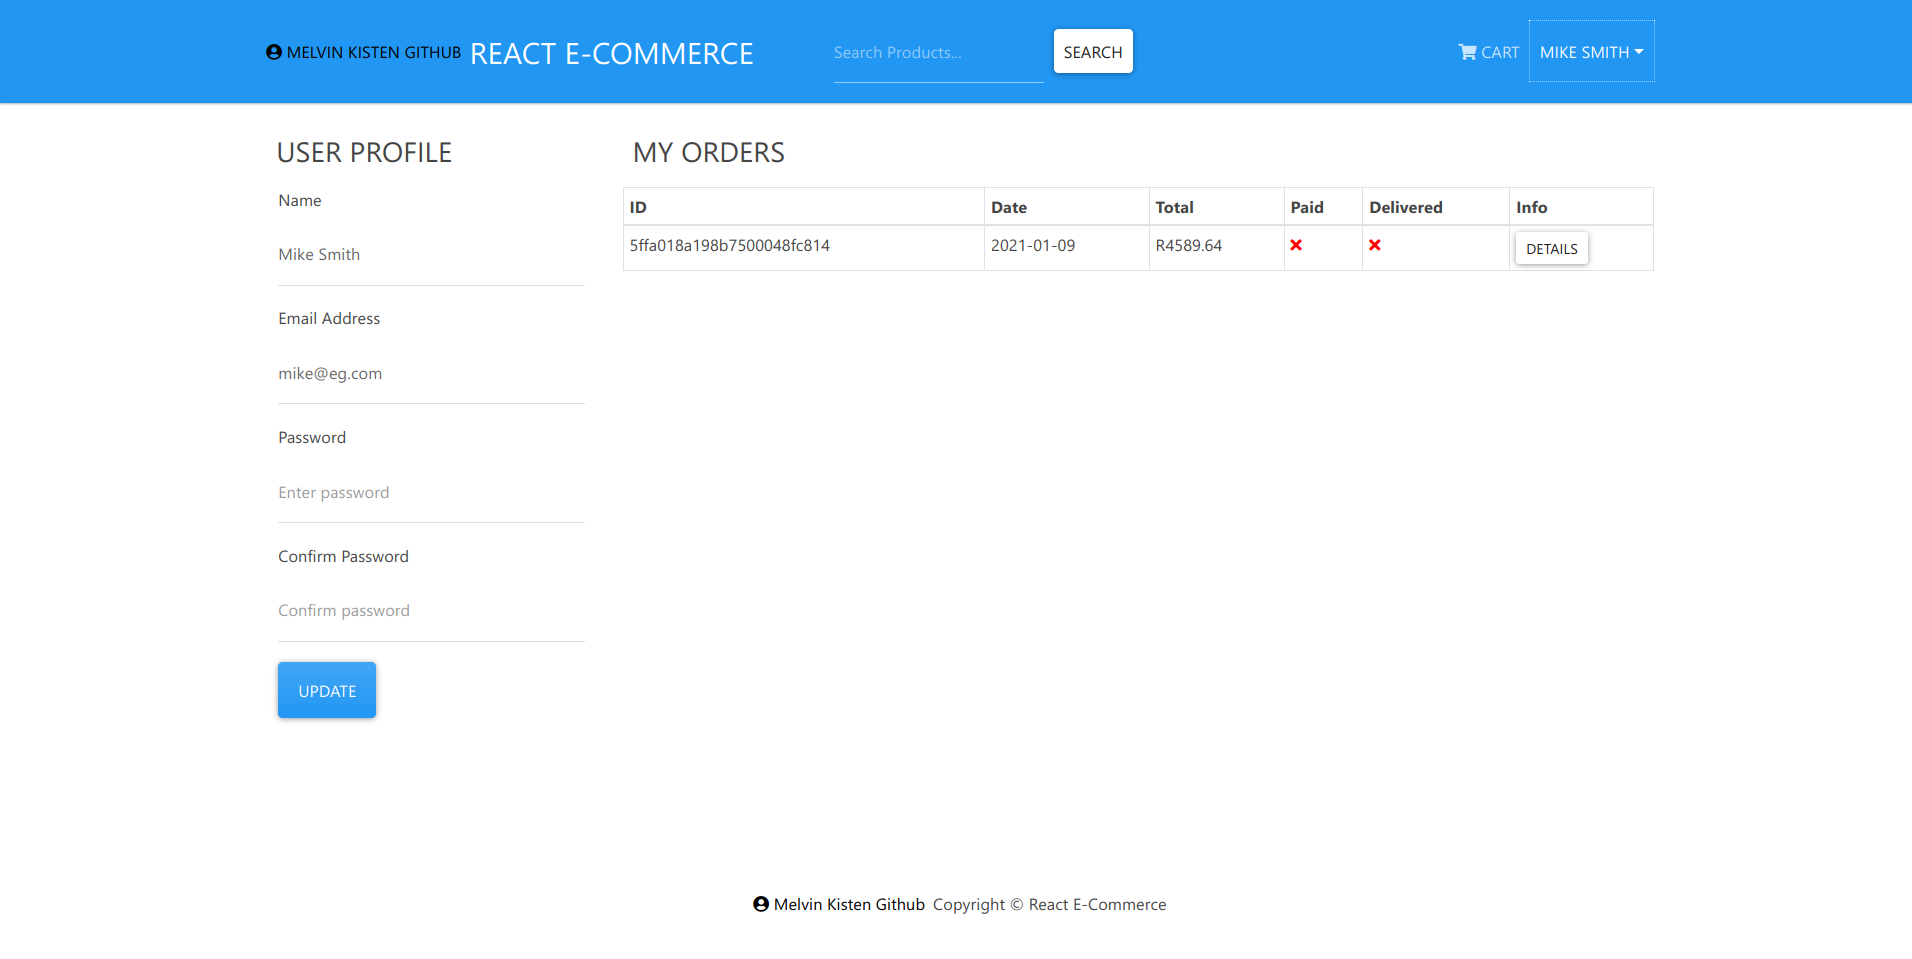
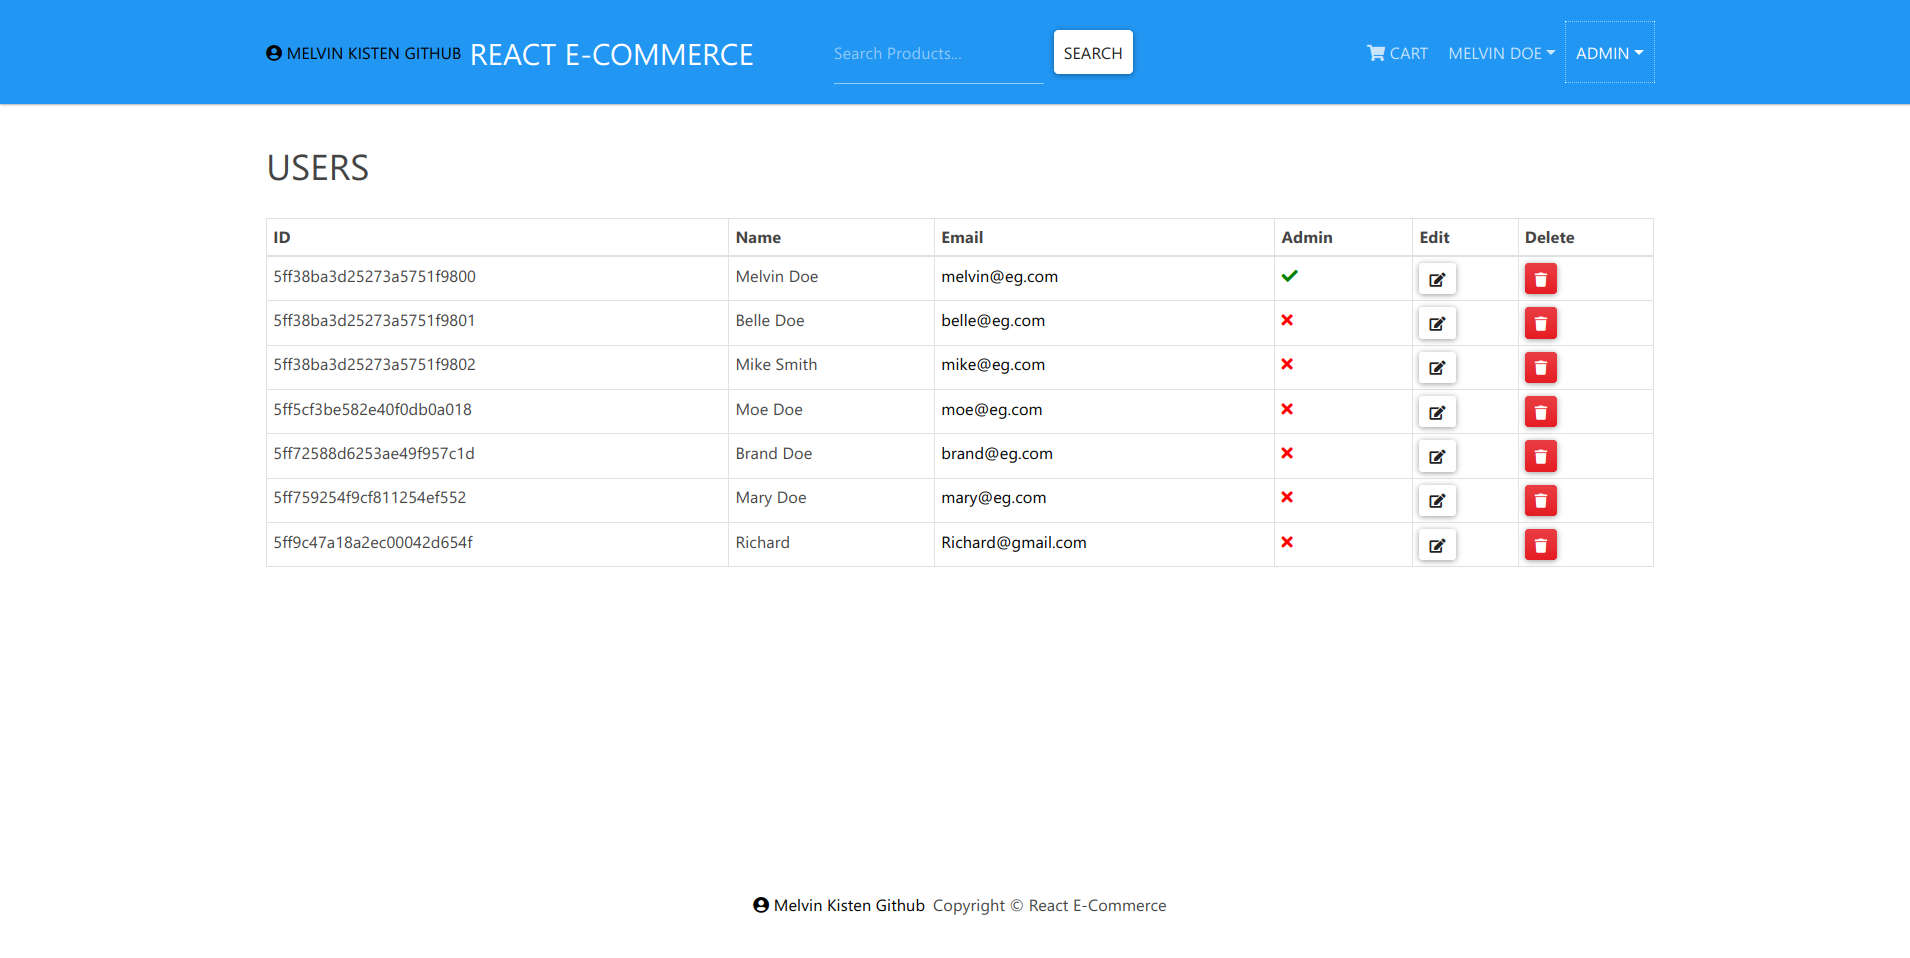
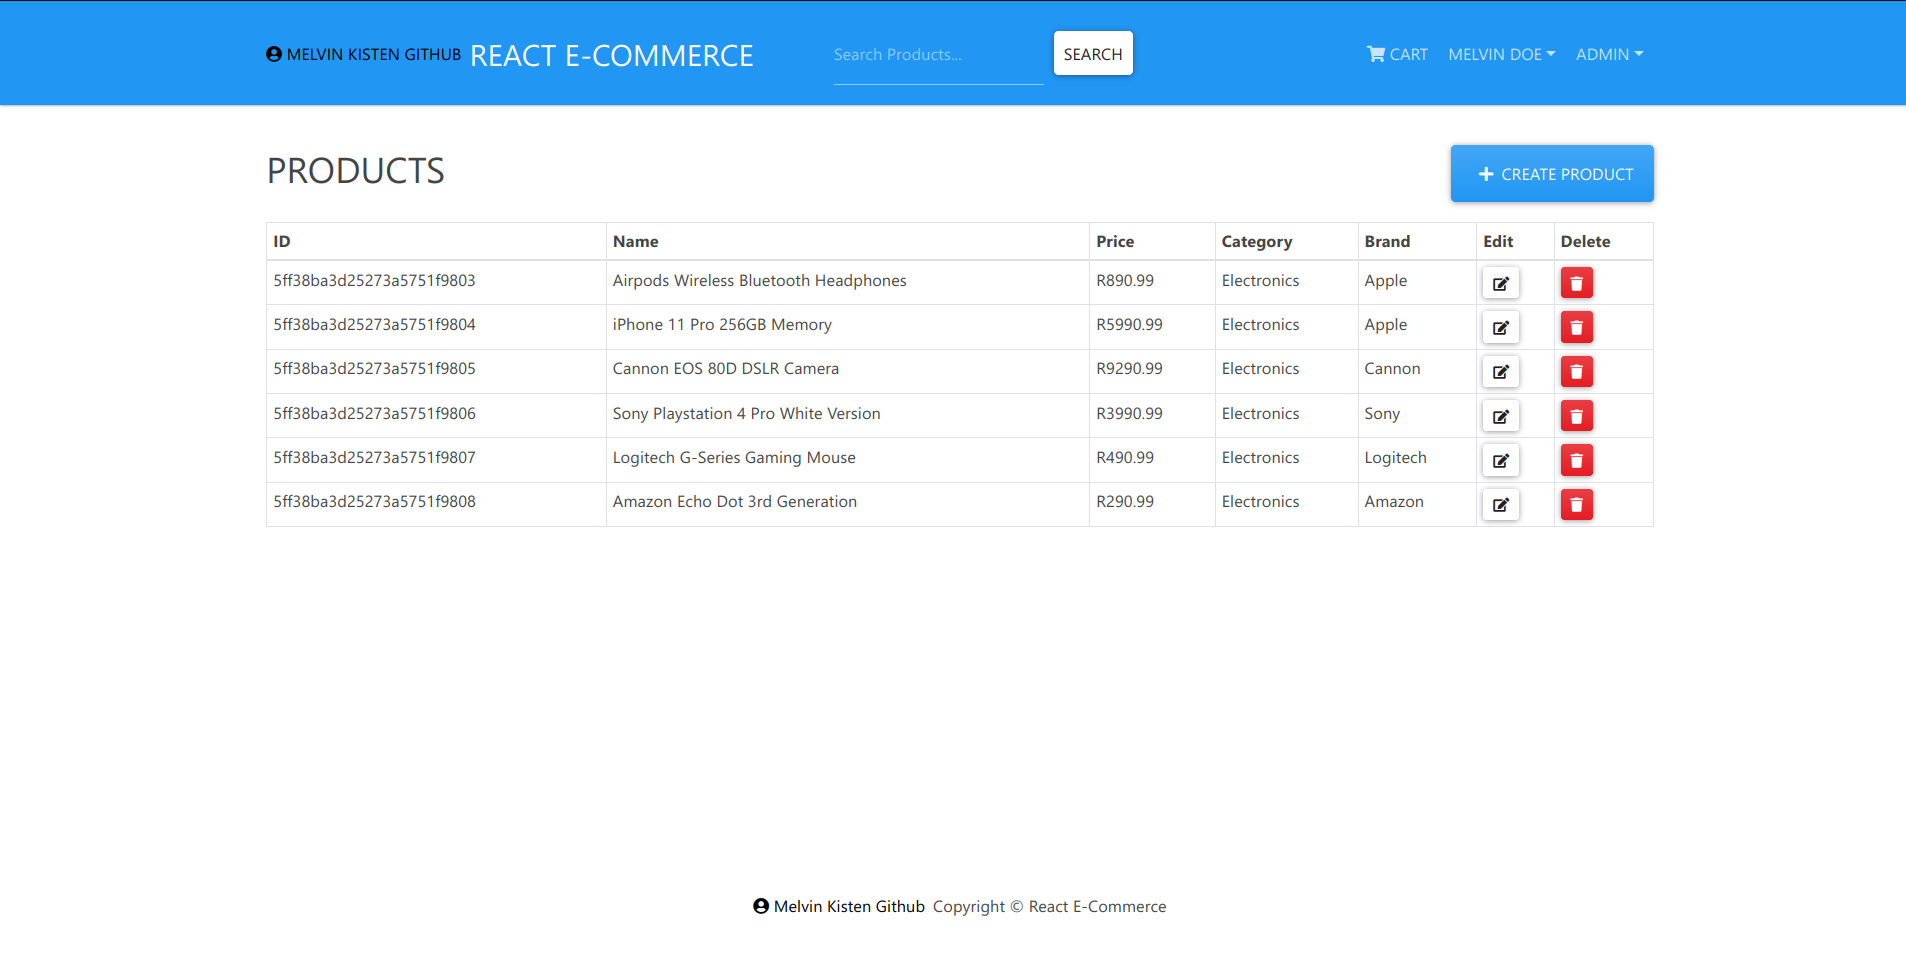
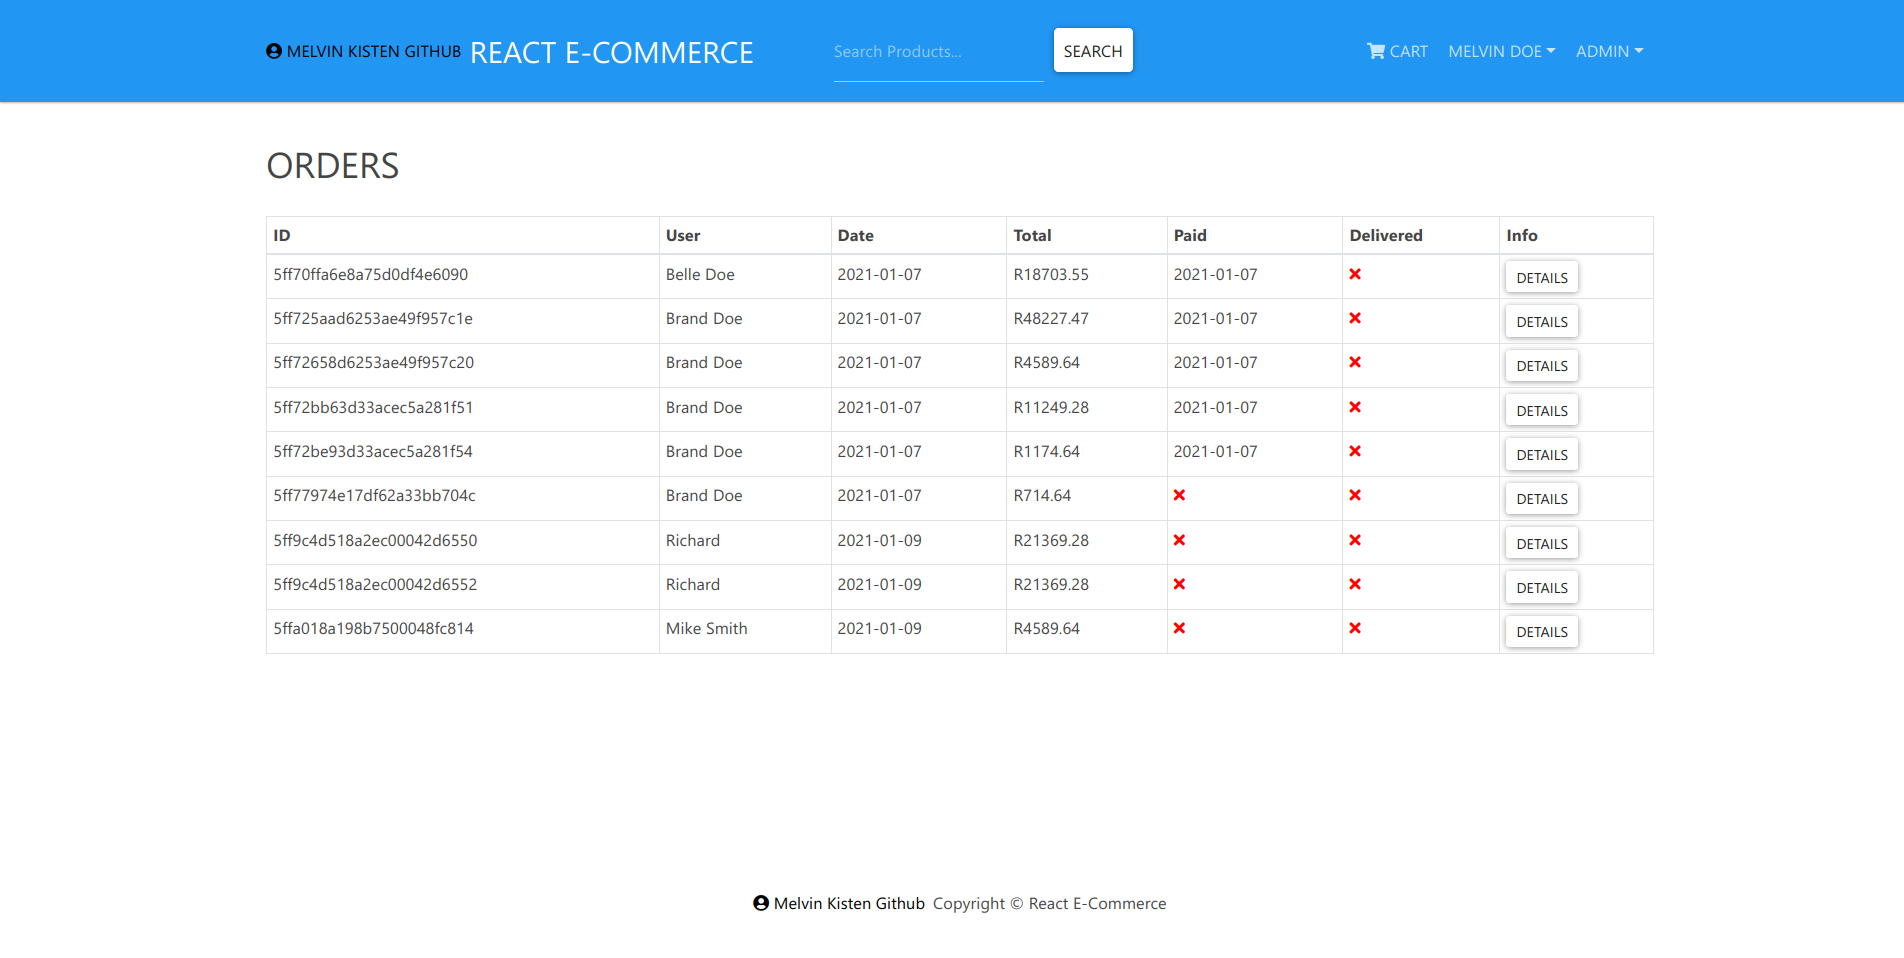
Find out how to build a complete e-commerce platform. Author Melvin Kisten tackles CRUD functions and connects the system to a database of MongoDB (Document database). Created a full-stack platform using JavaScript. The frontend was created using React and the backend was created using NodeJS, Express, MongoDB. Then I used Axios and Redux to link my backend with my frontend. I also used Postman to test my end points.
-
Methodologies/Project Management:
- Agile
-
Coding Practices:
- OOP (Object Oriented Programming)
- MVC (Model View Controller)
-
Programming Languages/Frameworks:
- JavaScript
- React
- Redux
- NodeJS
- Express
- MongoDB
- Postman
- Axios
-
Make sure you have these installed
-
Clone this repository into your local machine using the terminal (mac) or Gitbash (PC)
> git clone https://github.com/iammelvink/react-complete-e-commerce.git -
backend setup (DO NOT cd to backend) (running on port you decide)
> npm install -
frontend setup (running on port 3000)
> cd frontend> npm install -
Insert data into the MongoDB database
-
Start MongoDB server
> mongod -
Enter mongo shell
> mongo -
Insert data into the MongoDB database
> npm run data:import
-
-
Rename .env-example to .env and set these values
NODE_ENV = development PORT = <> MONGO_URI = <> JWT_SECRET = <> PAYPAL_CLIENT_ID = <> -
Runs both frontend and backend (cd to ROOT of project)
> npm run dev -
Enjoy!
-
Make sure you have created accounts at
-
Then follow ALL step by step
MongoDB:
Logging into remote MongoDB server (may need to change the url, as well as in backend/src/server.js)
> mongo "mongodb+srv://<cluster_name>.mongodb.net/<dbname>" --username <username>Inserting data into remote MongoDB database
> npm run data:importHeroku:
Installing Heroku using npm globally
> npm install -g herokuLogging into Heroku
> heroku loginCreating a heroku app
> heroku createCreate .gitignore file Add this
ONLY in entire file
## Dependency directories
node_modules/
OR
Remove 'dist' and 'build' from .gitignore file> git init> heroku git:remote -a <app name>> git add .> git commit -am "initial commit"> git push heroku masterOR> git push --set-upstream heroku masterOR> git push herokuSetting environment variables
> heroku config:set NODE_ENV=production -a <app name>> heroku config:set PORT=<> -a <app name>> heroku config:set MONGO_URI='<entire_uri+password>' -a <app name>> heroku config:set JWT_SECRET='<secret>' -a <app name>> heroku config:set PAYPAL_CLIENT_ID='<id>' -a <app name>> heroku ps:scale web=1
Check out some other stuff on Melvin K.


