By,
- Zhou Yang
- Evan Garrett
- Matt San Pedro
- Saugat Dhungel
Link to deployed version: https://schedio.netlify.com/
Visit schedio-server to learn more about consumable RESTful apis we used in this project.
Schedio is the Greek word for design. We give users the freedom to design their own traveling itineraries with customizable widgets including:
- Google Maps API
- Weather API Predictions
- Yelp API for Food
- Sports API for nearby events
- Hiking Trails API
- To do list
Tech stack:
- ReactJS
- Redux
- MongoDB
- Express.js
- Node.js
- Material UI
Deployment:
- mLab
- Travis CI
- Heroku
- Netlify
Credentials have been created to demo the app. Simply go to login page and type in "demo" for username and "demo" for password.
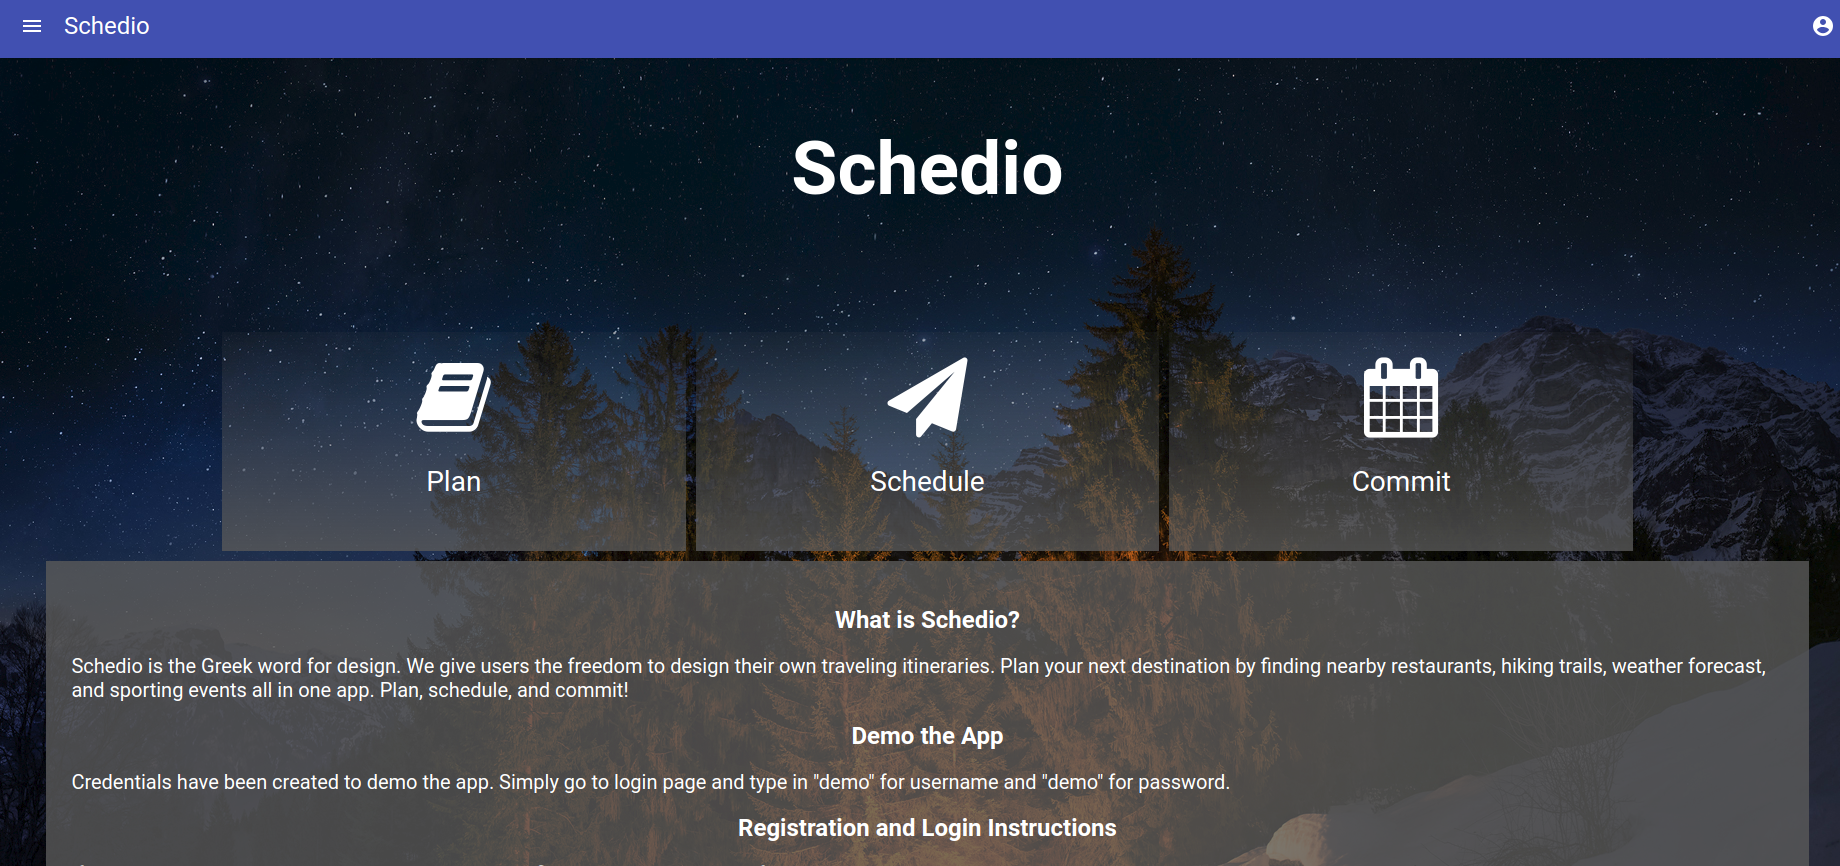 Landing page provides detailed instructions on how to work the core functionalities of the app.
You could login with a Google account for easier access by clicking on the "Login With Google" button onthe registration window. This will prompt and pop up window to provide Google account credentials.
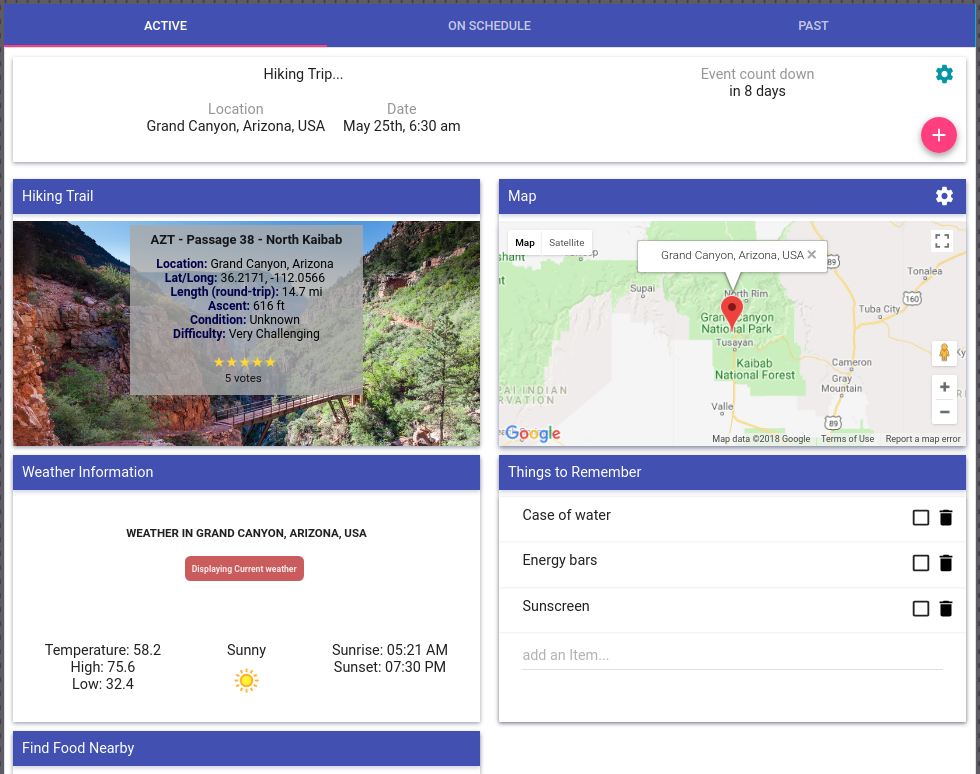 The Events window contains three subsection including View Event, Upcoming Event, and Past Events. By default, View Event is active on the display window. The current date is calculated and associates upcoming and past events in their respective tabs. To add an event, click on the red "+" tab found at the bottom of each tab.
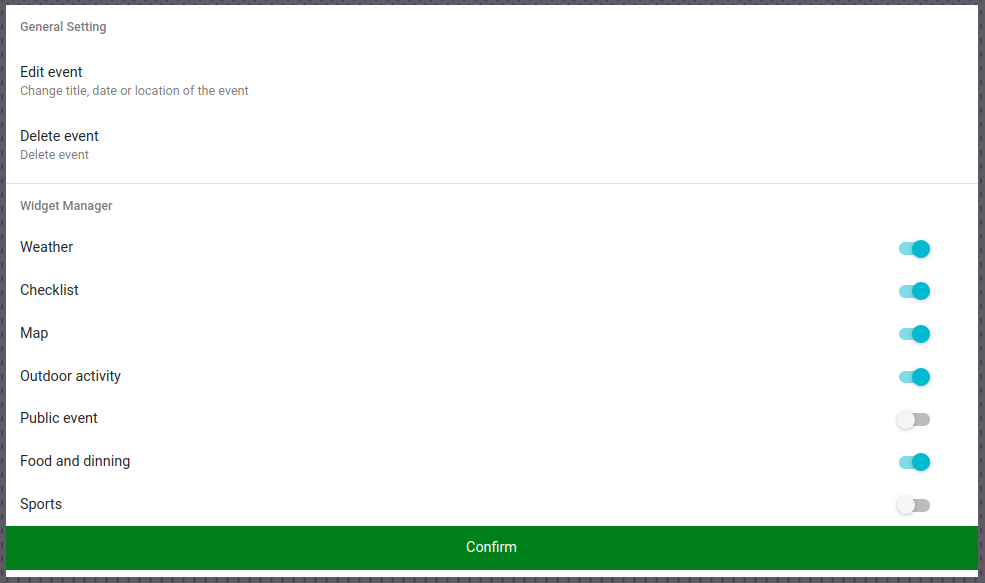 To add widgets to the event currently on the "View Event" tab, first click on the "gear" on the top right. A window will pop up and display all available widgets. For basic events, notice the Weather and Checklist widgets have been turned on by default. Turn on or off the widgets with the switch buttons on the right-hand-side. When done, click on the "Confirm" button on the bottom.
Run "npm install" in both client and server directories.